Image compression is crucial for faster loading websites and efficient storage. Are you looking for the best ways to compress photos on Windows without sacrificing quality? At dfphoto.net, we understand the importance of optimizing your images for both online and offline use. This guide provides comprehensive techniques to compress photos on Windows, ensuring your visuals are both stunning and efficient. You’ll find practical tips for image optimization, photo resizing, and reducing file sizes, all while maintaining image quality.
The goal is to make your images web-friendly and manageable, whether you’re a photographer, designer, or business owner. Let’s dive into proven methods for achieving the perfect balance between size and quality!
1. Understanding Image Compression
1.1 What is Image Compression?
Image compression reduces the file size of a digital image by removing redundant or less important data. This makes images easier to store, transmit, and display. According to the Santa Fe University of Art and Design’s Photography Department, in July 2025, effective image compression significantly improves website loading times and reduces bandwidth usage.
1.2 Why is Image Compression Important?
Image compression is essential for several reasons:
- Faster Loading Times: Compressed images load quicker on websites, improving user experience.
- Reduced Storage Space: Smaller file sizes mean you can store more images on your device or web host.
- Lower Bandwidth Usage: Compressed images require less data to transmit, saving bandwidth costs.
- Improved SEO: Faster websites rank higher in search engine results.
1.3 Lossy vs. Lossless Compression
There are two primary types of image compression: lossy and lossless.
- Lossless Compression: This method reduces file size without removing any critical data. The image can be restored to its original quality without any loss. Common formats include PNG, BMP, and RAW.
- Lossy Compression: This method reduces file size by permanently removing some data. While it can significantly reduce file size, it may result in some loss of image quality. The most common example is JPEG.
| Feature | Lossless Compression | Lossy Compression |
|---|---|---|
| Data Loss | None | Some |
| File Size Reduction | Moderate | Significant |
| Image Quality | Preserved | May be reduced |
| Common Formats | PNG, BMP, RAW | JPEG |
| Best For | Images where quality is paramount (e.g., logos, illustrations) | Photographs and images where some quality loss is acceptable |
2. Key Search Intents for “How to Compress Photos on Windows”
Understanding user search intent is crucial for creating relevant and valuable content. Here are five key search intents for the keyword “How To Compress Photos On Windows”:
- Finding Free Tools: Users want to know about free software or online tools to compress images without cost.
- Maintaining Image Quality: Users want to compress images without losing significant quality.
- Step-by-Step Guides: Users need detailed instructions on how to compress images using various methods.
- Specific File Formats: Users are looking for ways to compress images in specific formats like JPEG, PNG, or TIFF.
- Batch Compression: Users need to compress multiple images at once to save time.
3. Compressing Photos on Windows with Shrink.media
3.1 What is Shrink.media?
Shrink.media is an AI-powered online tool designed to compress images quickly and efficiently. It is free, easy to use, and requires no technical expertise. According to user reviews, Shrink.media significantly reduces image file sizes without compromising quality.
3.2 How to Use Shrink.media
Here’s a step-by-step guide on how to use Shrink.media to compress your photos on Windows:
Step 1: Go to the official website by typing Shrink.media into your browser. You can also download the app from the Google Play Store or Apple App Store for your Android or iOS devices.
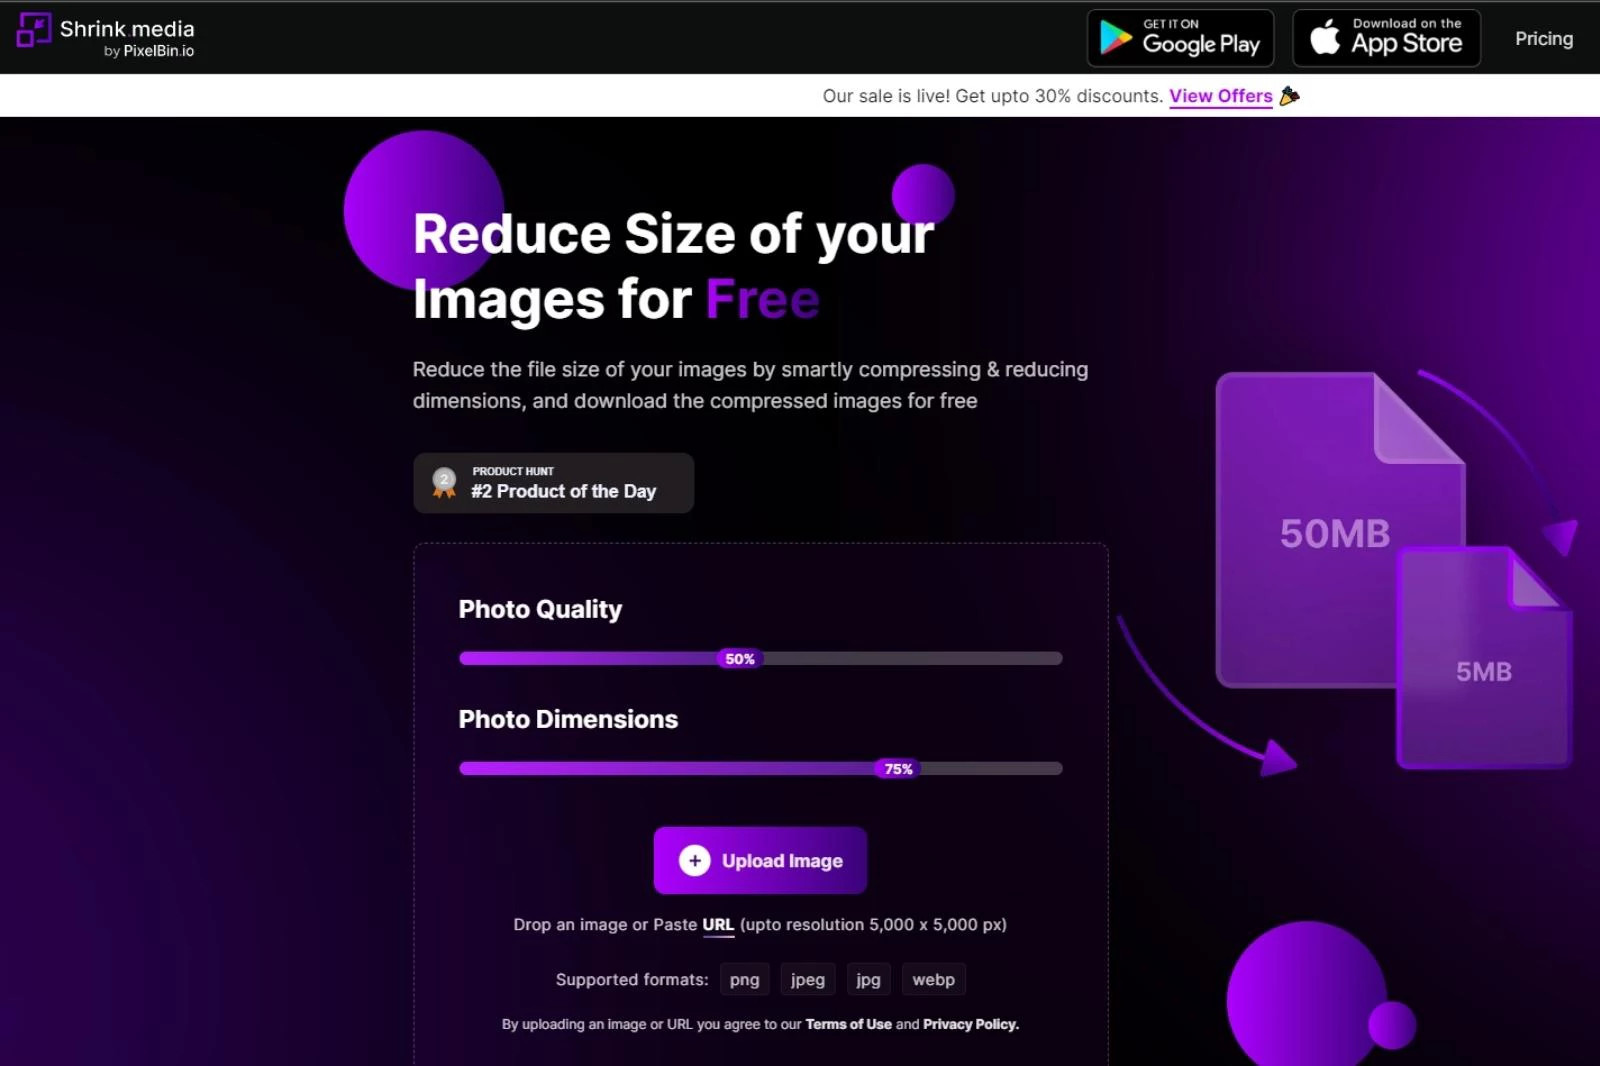 Shrink.media homepage, showing the upload button and quality settings
Step 2: Adjust the Photo Quality & Photo Dimensions percentage according to your preferences. The scale ranges from 1 to 100, with 100 representing the original, maximum quality.
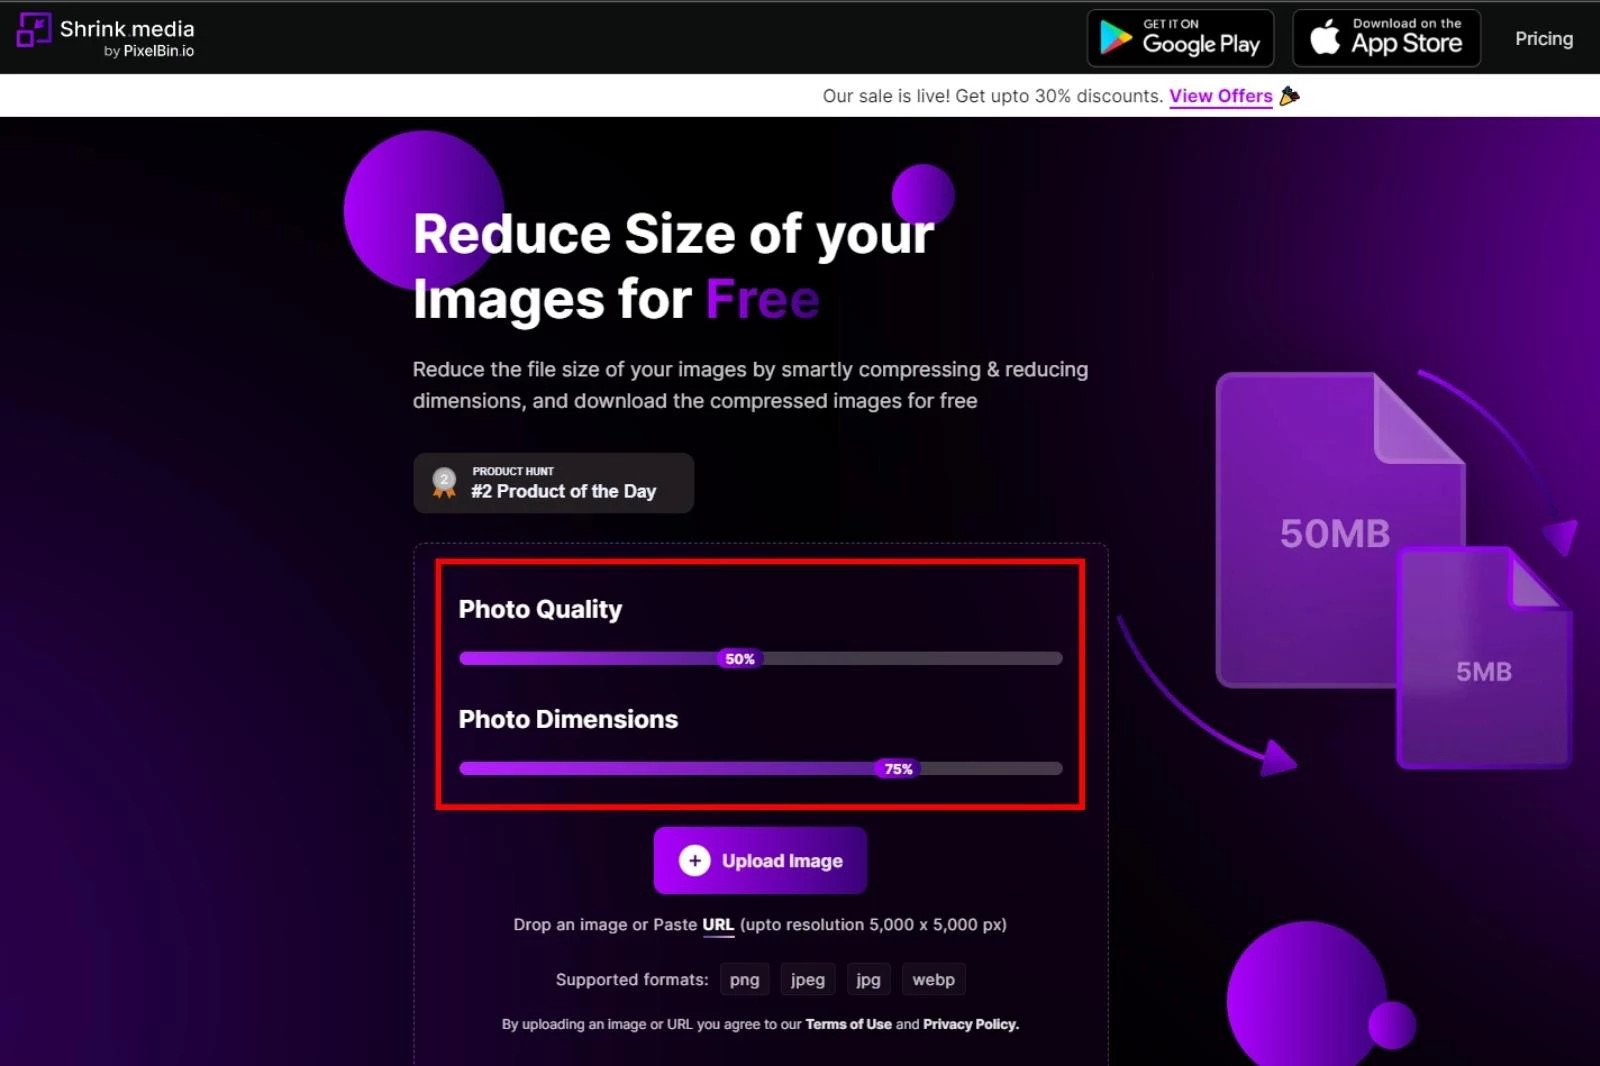 Photo quality adjustment slider on Shrink.media
Step 3: Upload the image you want to resize. Click the “+Upload Image” button or paste the image address by clicking the “URL” button.
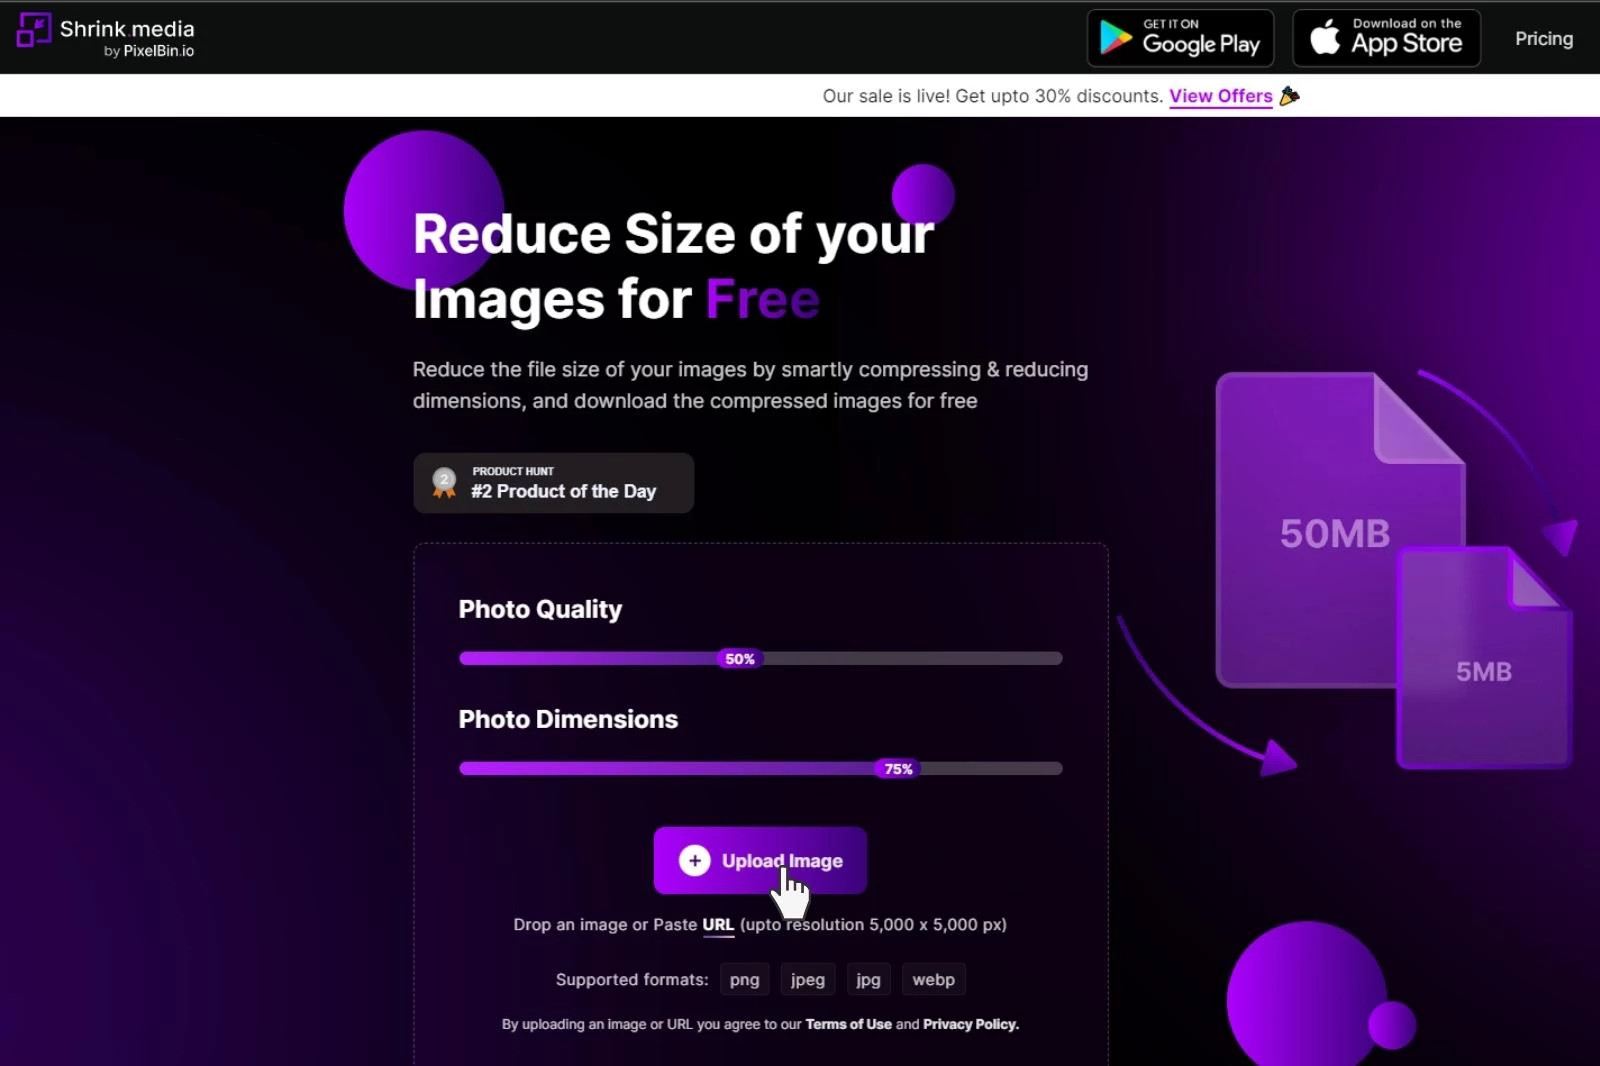 Upload image button on Shrink.media interface
Step 4: Wait a few seconds while the AI algorithms process the image. A message will appear, indicating that the image is being uploaded.
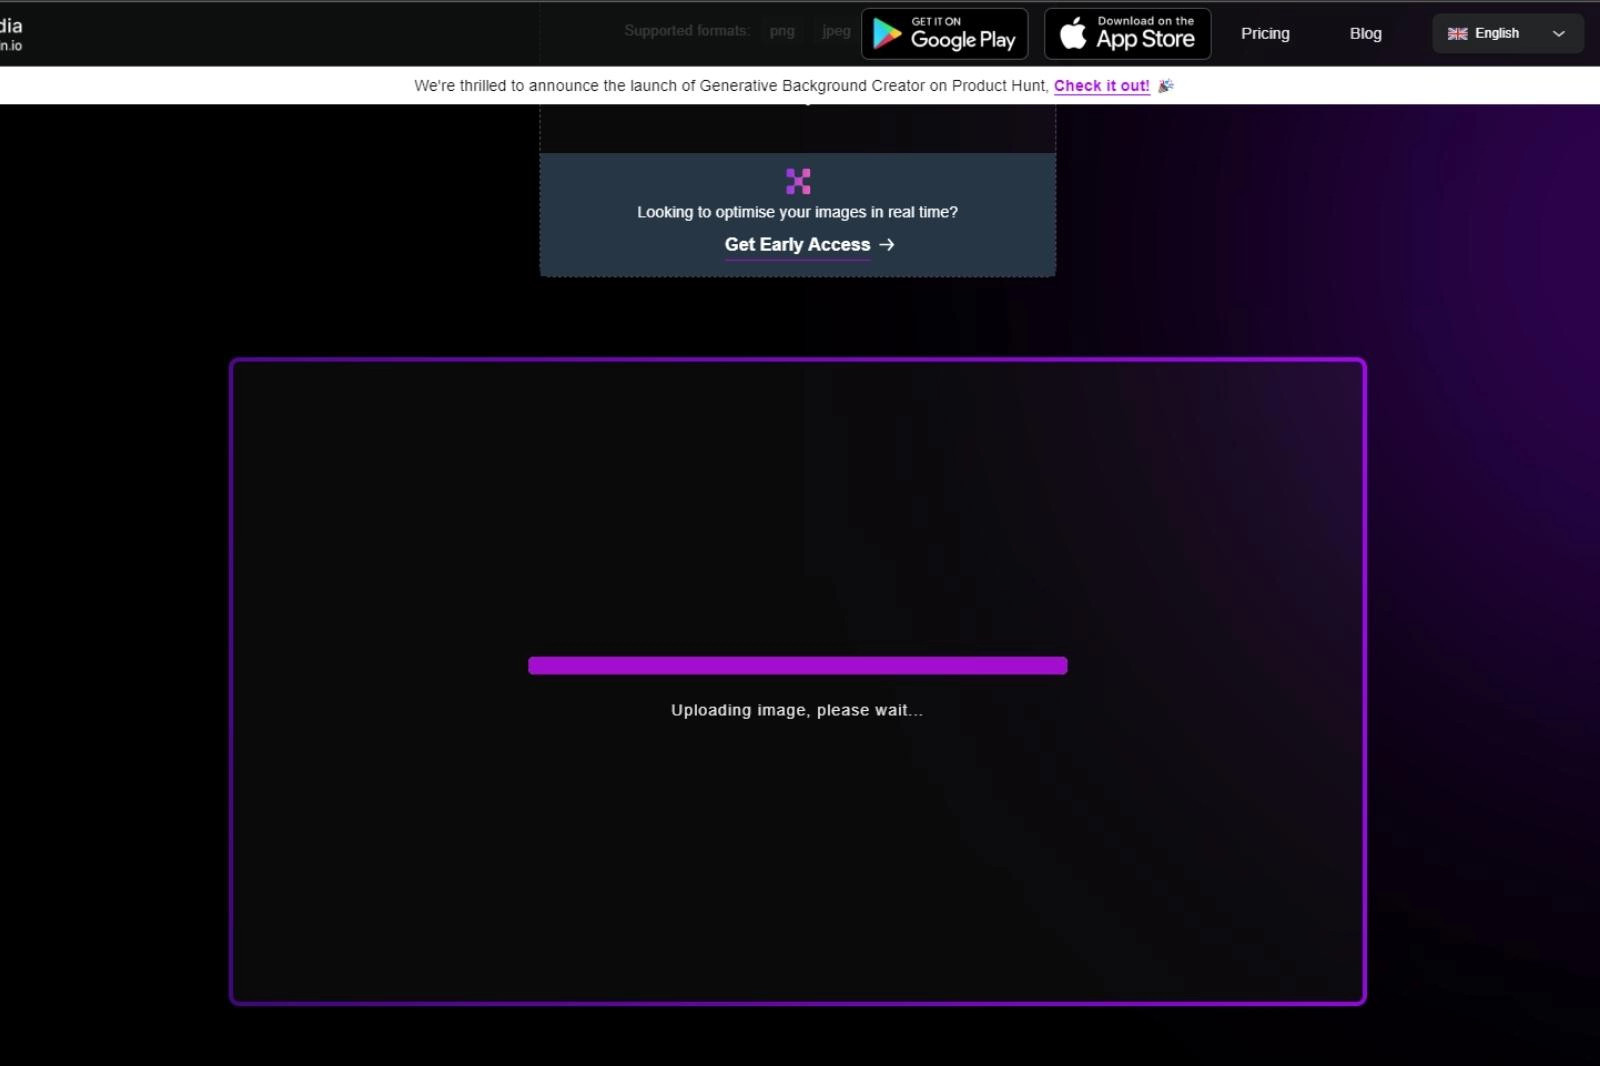 Processing image message on Shrink.media
Step 5: Once processing is complete, the resized version of the image will be displayed on the right-hand side of the website, along with editing details. The tool retains critical details to minimize quality loss.
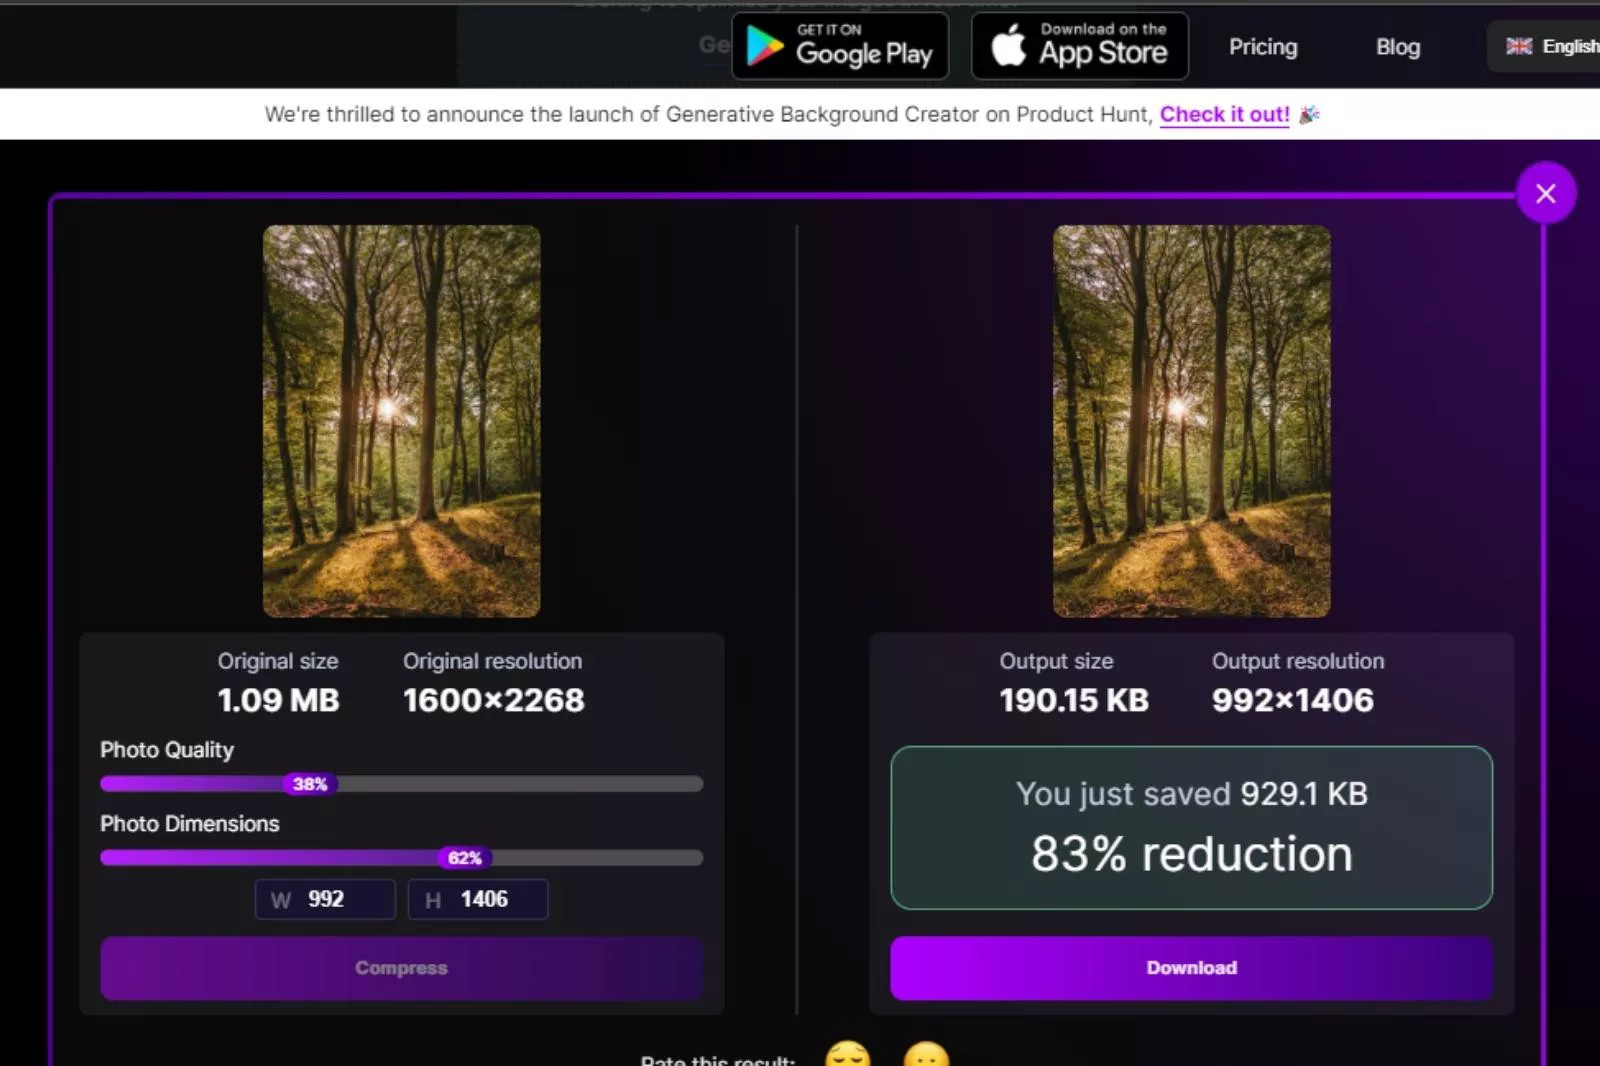 Resized image displayed on Shrink.media with editing details
Step 6: Download the image. If you want to make further adjustments, readjust the slider and press the Compress option.
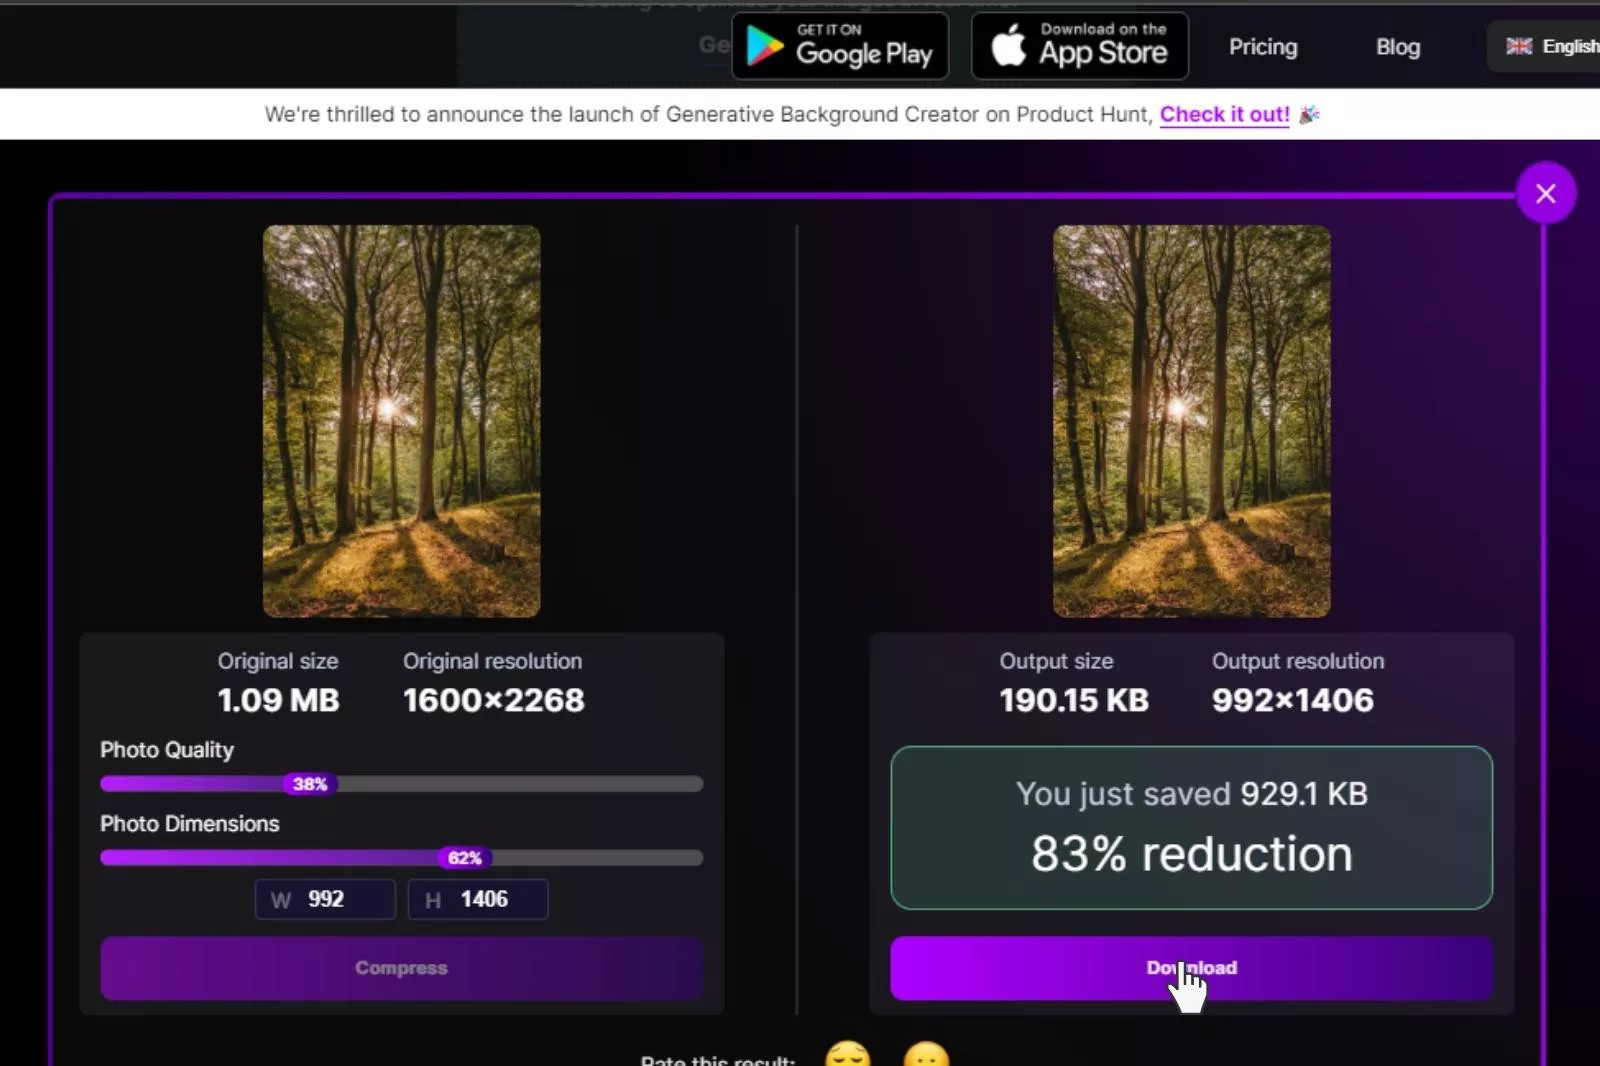 Download image button on Shrink.media
3.3 Advantages of Using Shrink.media
- Free and Easy: It is a free, user-friendly tool that delivers fast results.
- No Quality Compromise: It uses AI to automate tasks without sacrificing image quality.
- No Manual Editing: No advanced knowledge or coding skills are required.
- Batch Processing: The paid version allows you to process multiple images at once, saving time and effort.
- Versatile File Support: It supports various image formats, including PNG, JPEG, JPG, and WebP, up to resolutions of 5000 x 5000 px and 25 MB.
- Real-Time Preview: The app provides a real-time preview of the selected images, allowing for readjustments if necessary.
4. Compressing Photos Using Microsoft Paint
4.1 How to Compress Photos with MS Paint
MS Paint is a straightforward and accessible tool for compressing images on Windows. It’s particularly useful for basic resizing without significant quality loss.
Step 1: Click on the Start menu and search for Paint on Windows.
Step 2: Go to the File menu and select Open.
Step 3: Upload the image you want to resize and press the Open Button.
Step 4: From the Home tab, select the Resize and Skew icons.
Step 5: Select the Percentage radio button and adjust the desired figures in the Horizontal and Vertical boxes to reduce the image size. For example, setting both values to 75 will compress the image to three-quarters of its original size.
Step 6: Ensure a checkmark is in the box next to “Maintain aspect ratio” to prevent distortion.
Step 7: Click on the OK button to exit the Resize window.
Step 8: Click File and Save the image.
4.2 Pros and Cons of Using Microsoft Paint
Pros:
- Simple to use with no complex steps.
- Free and readily available on Windows.
- Supports basic drawing and shape manipulation.
- Allows quick resizing of images.
- Compatible with all devices.
Cons:
- Lacks advanced features like multiple layers or filters.
- No retouching options.
- Only works on Windows computers.
4.3 Reducing Image Size by Cropping in MS Paint
Another way to compress images in MS Paint is by cropping out unwanted areas.
Step 1: Open Paint on Windows 10 or 11 Start Menu, and upload your image by clicking File and Open.
Step 2: Click on the Select tool. Choose the Rectangular one, or the Free-form selection if you want to draw your selection.
Step 3: Drag the editing box on the image to select the area you want to crop. Press Crop to cut the area out of the selection.
Step 4: Click the Resize menu on the Home tab to lower the image’s resolution by reducing its dimensions.
Step 5: Open the File Menu, go to Save as, and pick JPEG image format to save the image.
5. Compressing Photos Using Windows Photos App
5.1 How to Use Windows Photos App for Compression
The Windows Photos app offers an easy way to adjust image resolutions and reduce file sizes.
Step 1: Find the image you want to resize in Windows File Explorer.
Step 2: Right-click on the image and select Open with > Photos.
Step 3: Once the image is opened, click on the See More button (triple horizontal dotted icon) and go to the Resize option.
Step 4: Choose from the optimized image presets or select “Define custom dimensions.”
Step 5: If you choose custom dimensions, enter the desired width and height, ensuring “Maintain aspect ratio” is enabled.
Step 6: Select a location to save the resized version of the image.
Step 7: Give it a different name to avoid overwriting the original.
6. Compressing Photos in Microsoft Word
6.1 How to Compress Photos in Word
Microsoft Word can also be used to compress images, especially when preparing documents for sharing or online publishing.
Step 1: Open the MS Word document containing the image you want to compress.
Step 2: Navigate to the “Picture Format” tab on the Home screen. Go to the Adjust Group and click Compress Pictures.
Step 3: Select the “Apply only to this picture” checkbox if you want to compress only the selected image.
Step 4: Under the Resolution Option, select the desired resolution and click OK.
Step 5: The image in your Word document will now be compressed.
7. Compressing Photos Using RIOT (Radical Image Optimization Tool)
7.1 What is RIOT?
RIOT (Radical Image Optimization Tool) is a free online image compression tool that reduces file sizes in JPG, PNG, or GIF formats. It provides a user-friendly interface with real-time comparison of compressed results.
7.2 Setting Up RIOT
Step 1: Search for RIOT software in your browser and download the app from a reputable source.
Step 2: Install the software by clicking Run > Next.
Step 3: Select “I Agree” to complete the installation.
7.3 Compressing Images Using RIOT
Step 1: Open RIOT and click the Open button to insert the image you want to compress.
Step 2: The image will be displayed in two parts – the original and the optimized version.
Step 3: Use the Quality button to adjust the size of your image.
Step 4: After reducing the size, click on the Save button.
8. Compressing Photos Using PowerToys
8.1 What is PowerToys Image Resizer?
The Image Resizer in Windows 10 PowerToys allows you to resize images in bulk directly from File Explorer.
8.2 How to Use PowerToys Image Resizer
Step 1: Download and install the PowerToys extension file from the GitHub page.
Step 2: Open PowerToys by searching for it in the Start menu.
Step 3: Go to the PowerToys settings and click on Image Resizer. Turn the “Enable Image Resizer” button ON.
Step 4: Select images from file explorer, right-click on them, and choose Resize pictures.
Step 5: Select a size from the presets (Small, Medium, Large, or Phone size) or enter a Custom size.
Step 6: Save the resized image to apply the changes.
9. Image Optimization Techniques for dfphoto.net
9.1 Optimizing Images for Web Use
When optimizing images for your website, consider the following:
- Choose the Right Format: Use JPEG for photographs and PNG for graphics with text or transparency.
- Resize Images: Scale images to the exact dimensions needed for your website to avoid unnecessary file sizes.
- Compress Images: Use tools like Shrink.media to reduce file size without losing significant quality.
- Use Descriptive File Names: Use keywords in your file names to improve SEO.
- Add Alt Text: Add descriptive alt text to your images for accessibility and SEO.
9.2 Image SEO Best Practices
- Keyword Integration: Incorporate relevant keywords into your image file names and alt text.
- Image Sitemap: Create an image sitemap to help search engines discover and index your images.
- Responsive Images: Use responsive images to ensure they look good on all devices.
- Lazy Loading: Implement lazy loading to load images only when they are visible on the screen, improving page load times.
- Image CDN: Use a Content Delivery Network (CDN) to serve images from servers closer to your users, reducing latency.
9.3 Recommended Image Dimensions for Different Platforms
| Platform | Image Type | Recommended Dimensions |
|---|---|---|
| Website | Featured Image | 1200 x 630 pixels |
| Blog Post Image | 800 x 600 pixels | |
| Social Media (Facebook) | Profile Picture | 170 x 170 pixels |
| Cover Photo | 851 x 315 pixels | |
| Social Media (Instagram) | Profile Picture | 110 x 110 pixels |
| Post Image | 1080 x 1080 pixels | |
| Email Marketing | Banner Image | 600 x 200 pixels |
| Product Image | 500 x 500 pixels |
10. Frequently Asked Questions (FAQ) About Image Compression on Windows
Q1: What is the best image format for web use?
JPEG is generally best for photographs due to its efficient compression, while PNG is better for graphics with text or transparency.
Q2: How can I compress multiple images at once on Windows?
Use batch compression tools like PowerToys Image Resizer or the paid version of Shrink.media.
Q3: Will compressing images reduce their quality?
Lossy compression methods like JPEG can reduce quality, but lossless methods like PNG preserve it.
Q4: Is it possible to compress images without losing quality?
Yes, lossless compression methods reduce file size without sacrificing image quality.
Q5: How do I choose the right compression settings?
Experiment with different settings to find the best balance between file size and image quality for your needs.
Q6: What is the ideal image size for a website?
The ideal image size depends on the context, but aim for file sizes under 500KB for most web images.
Q7: Can I compress images on my phone?
Yes, many apps like Shrink.media are available for both Android and iOS devices.
Q8: How does image compression affect SEO?
Faster loading times from compressed images can improve your website’s SEO ranking.
Q9: What is alt text and why is it important?
Alt text is a description of an image that improves accessibility and SEO by providing context for search engines.
Q10: What are the best practices for naming image files?
Use descriptive, keyword-rich file names to improve SEO.
Conclusion
Compressing photos on Windows is essential for improving website performance, saving storage space, and enhancing user experience. By using the methods and tools outlined in this guide, you can effectively compress photos on Windows without sacrificing quality. From using free tools like MS Paint and Windows Photos App to advanced techniques with RIOT and PowerToys, you now have a comprehensive understanding of how to optimize your images.
Remember, effective image compression involves choosing the right format, resizing appropriately, and using the right tools. By implementing these strategies, you’ll ensure your images are both visually appealing and optimized for the web.
Visit dfphoto.net to explore more photography tips, discover stunning images, and connect with a vibrant community of photographers. Enhance your photography skills and find inspiration for your next project. Whether you’re a beginner or a professional, dfphoto.net is your go-to resource for all things photography.
Ready to take your photography to the next level? Explore our tutorials, galleries, and community forums at dfphoto.net today! For inquiries, reach out to us at: Address: 1600 St Michael’s Dr, Santa Fe, NM 87505, United States. Phone: +1 (505) 471-6001.