Pictures are powerful tools in presentations, enhancing engagement and clarifying complex points. However, using images created by others necessitates proper attribution. Knowing How To Cite Photos In Powerpoint is not just about avoiding plagiarism; it’s about professional integrity and giving credit where it’s due. Whether you’re in academia, business, or any field that utilizes presentations, mastering image citation is an essential skill.
This guide provides a detailed, step-by-step approach to citing images in your PowerPoint presentations. We’ll cover everything from finding source information to formatting citations in different styles and address frequently asked questions to ensure your presentations are both visually compelling and ethically sound.
Step-by-Step Guide to Citing Images in PowerPoint
Step 1: Identify and Record Image Source Information
 get source for your image citation
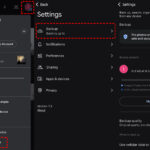
Before incorporating any image into your PowerPoint presentation, your first crucial step is to locate and meticulously record its source details. This involves more than just downloading the image; it requires investigating its origin and usage rights. The image’s license is your primary guide to understanding how to properly attribute it.
Begin by looking for licensing information associated with the image. This might be found on the website where you discovered the image, often in a “Terms of Use,” “Copyright,” or “Licensing” section. Creative Commons licenses are common and explicitly state the conditions for using an image, which may range from free use without citation in some cases to requiring specific attribution. Carefully review the license terms to understand your obligations.
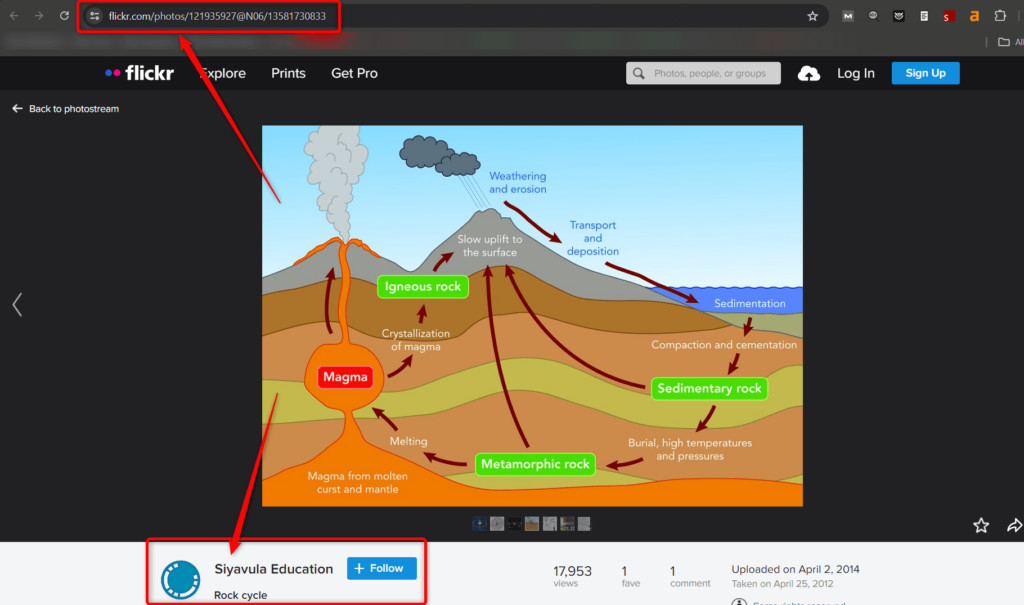
If no explicit license is available, it’s wise to assume the image is copyrighted and requires citation. Even for images that appear to be freely available online, tracing back to the original creator or source is best practice. Look for photographer or artist credits, website names, or publication details. Key information to gather includes:
- Creator’s Name: The photographer, artist, or organization that created the image.
- Image Title: The specific title of the image, if available.
- Source Website/Publication: The name of the website, book, journal, or platform where you found the image.
- Publication Date: The date the image was published or created, if available.
- URL (if online): The direct web address where the image is hosted.
- Copyright or License Information: Details about usage rights, such as Creative Commons licenses or copyright notices.
Gathering this information upfront will streamline the citation process and ensure you have all the necessary elements for proper attribution.
Step 2: Integrate Citations within Your PowerPoint Presentation
There are several effective methods for incorporating image citations into your PowerPoint slides, ensuring they are both visible and unobtrusive. A common and recommended approach is to include citations directly on the slides where the images are used, as well as compiling a comprehensive list of sources at the end of your presentation.
Adding Citations Directly on Slides
This method involves placing a brief citation directly beneath or near the image on the slide itself. This provides immediate context and attribution for your audience.
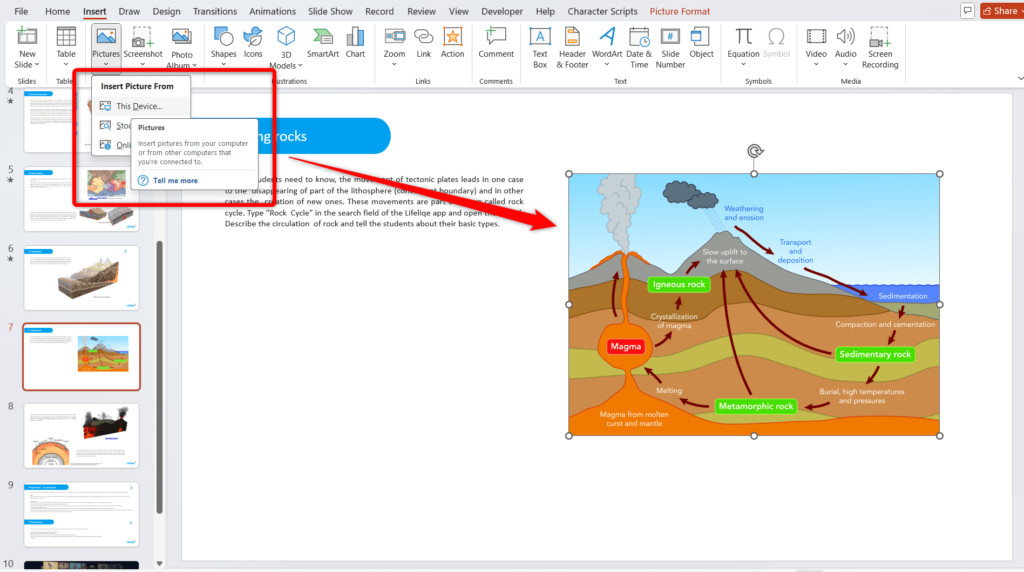
- Insert Image: Begin by inserting your chosen image onto the slide. In PowerPoint, navigate to the “Insert” tab, select “Pictures,” and choose “This Device” to upload your saved image. Position and resize the image as needed within your slide layout.
 add your image to the slide
- Insert a Text Box for Citation: To add the citation, go to the “Insert” tab again and select “Text Box.” Draw a text box directly below the image or in a visually appropriate location on the slide.
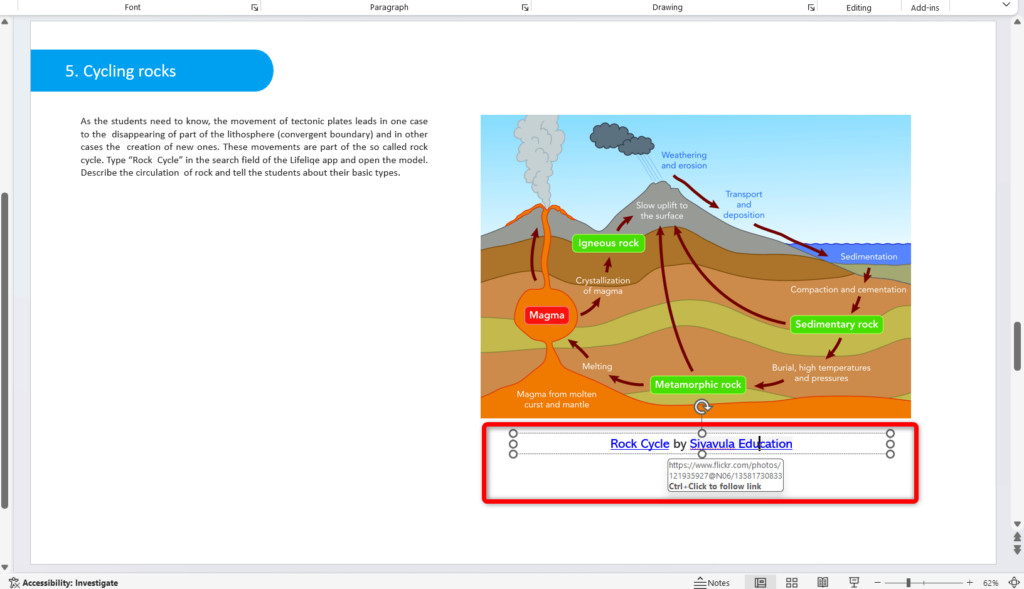 add text and link for citation
-
Write a Concise Citation: In the text box, write a brief citation. The content of this citation will vary based on the citation style you are using (APA, MLA, Chicago, etc.), but generally, it should include the creator’s name and a shortened title or source. For example:
- (Smith, Nature Photography Website)
- (Image from Wikimedia Commons)
- (© J. Doe Photography)
Keep the citation text concise and readable, using a font size that is smaller than your main slide text but still legible.
-
Optional: Hyperlinking to Source: To enhance accessibility and provide direct access to the image’s original source, consider hyperlinking the citation text. Select the citation text, right-click, choose “Link,” and paste the URL of the image source. This allows viewers of your presentation to easily explore the original context of the image.
Creating a Dedicated “Image Sources” or “Credits” Slide
In addition to on-slide citations, compiling a comprehensive list of image sources on a separate slide at the end of your presentation is highly recommended, especially for academic or formal presentations. This “Image Sources” or “Credits” slide provides a detailed bibliography of all images used.
-
Insert a New Slide: Add a new blank slide at the end of your PowerPoint presentation. Title this slide clearly, such as “Image Sources,” “Image Credits,” or “References.” Use a clear, prominent title to ensure it is easily identifiable.
-
List Full Citations: On this slide, list the full citations for every image used in your presentation. Format these citations according to your chosen style guide (APA, MLA, Chicago, etc.). Numbering each citation can improve clarity, especially if you have many images.
-
Example (APA Style):
- Jones, M. (2022). Sunflower in full bloom [Photograph]. Nature Photography Blog. Retrieved from https://www.naturephotographyblog.com/
-
Example (MLA Style):
- Montez, Olivia. “Mountain Goat Herd Climbing Fence.” Arpeggio Newsroom, 9 Oct. 2012, https://m.youtube.com/watch?v=340ODYnfCJY. Accessed 15 Jan. 2021.
-
Example (Chicago Style):
- Douglas, Addison. Maine Marigolds, 1999. [xyz.com] (May 9, 2021).
-
-
Organize Citations: Arrange the citations logically. Alphabetical order by creator’s last name or the order in which images appear in your presentation are common organizational methods. Consistency is key for readability.
By using both on-slide brief citations and a comprehensive “Image Sources” slide, you provide clear, accessible attribution for all images in your presentation, meeting academic and professional standards for proper citation.
Step 3: Format Citations According to Style Guides (APA, MLA, Chicago)
The specific format of your image citations will depend on the style guide you are required to follow. The most common style guides are APA, MLA, and Chicago. Each has slightly different rules for citing images.
1. APA Format for Image Citation
APA (American Psychological Association) style is frequently used in social sciences, education, and business. For citing images in APA format, include the following elements:
- Figure Number: Begin with “Figure #” in italics (e.g., Figure 1.).
- Image Description: Provide a concise description of the image content.
- Adapted from/Retrieved from: Use “Adapted from” if you modified the image; otherwise, use “Retrieved from.”
- Title of Image: Include the title of the image in quotation marks, if available.
- Creator Information: Provide the creator’s initials and last name.
- Year of Publication: Include the year the image was published.
- Source: Specify the source, such as the website name or publication.
- URL: Include the full URL where the image was found.
- Date of Retrieval: Add the date you accessed the image (e.g., “Retrieved on [Date]”).
- Copyright Information: Include copyright details if available.
APA Citation Example:
Figure 1. A detailed photograph of a monarch butterfly on a flower. Adapted from “Monarch Butterfly” by J. Smith, 2023, Nature Images Online. Retrieved from https://www.natureimagesonline.com/monarch-butterfly on July 28, 2024. Copyright 2023 by J. Smith Photography.
2. MLA Format for Image Citation
MLA (Modern Language Association) style is commonly used in humanities disciplines, such as literature and languages. MLA citation for images varies slightly depending on whether you are directly discussing the image in your presentation.
For Images Not Directly Discussed:
Use a full citation on your “Works Cited” slide and a brief label on the slide itself.
Full MLA Citation Example (Works Cited):
Figure 1: Nguyen, Linh. Sunset over Ha Long Bay. Wikimedia Commons, 15 Mar. 2020, commons.wikimedia.org/wiki/File:Ha_Long_Bay_Vietnam.jpg. Accessed 20 July 2024.
On-Slide Label (if needed):
(Fig. 1)
For Images Directly Discussed:
Include a caption directly below the image with a shortened citation and a full citation on the “Works Cited” slide.
Caption Example:
Figure 2: Unstable wooden fence (Nguyen).
Full MLA Citation Example (Works Cited):
Nguyen, Linh. Unstable wooden fence. Flickr, 22 June 2018, www.flickr.com/photos/linhnguyen/42689753210. Accessed 20 July 2024.
3. Chicago Manual of Style (CMS) for Image Citation
The Chicago Manual of Style is widely used in history and other humanities, as well as some social sciences. CMS citations for images typically follow this format:
- Creator’s Name: Last name, First name.
- Image Title: Title of Image (italicized).
- Year of Creation/Publication: Year.
- Source Website/Publication: Website Name (italicized).
- Access Date and URL: (Accessed Date). URL.
Chicago Style Citation Example:
Douglas, Addison. Maine Marigolds, 1999. xyz.com (May 9, 2021). https://www.xyz.com/maine-marigolds.
Choose the style guide appropriate for your field or institution and consistently apply its rules for image citations throughout your PowerPoint presentation.
Step 4: Group Image and Citation for Easy Management
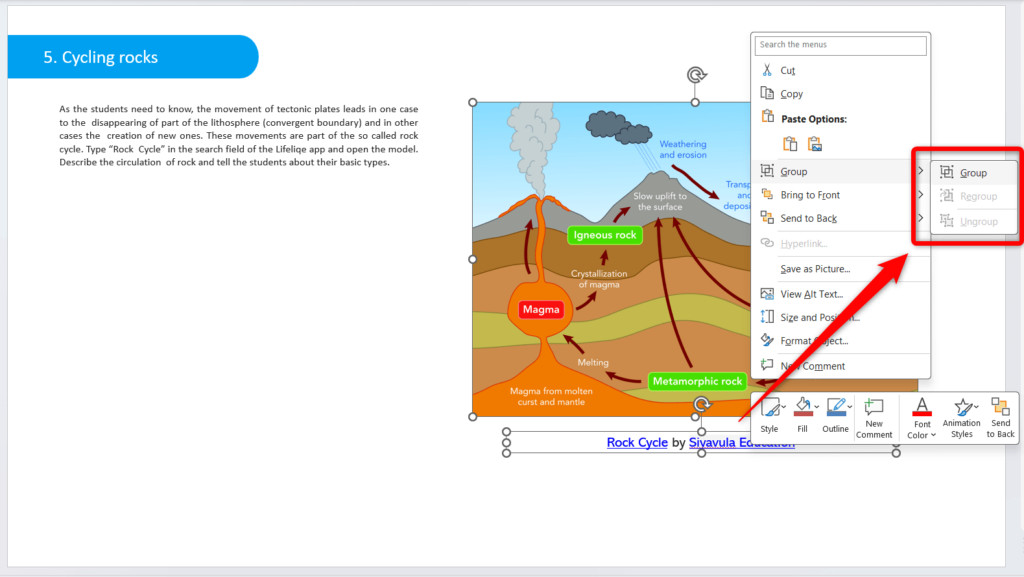 group text box and image
To ensure that your image and its citation remain together when you move elements around on your slide, grouping them is a useful technique. This prevents accidental separation and maintains the visual association between the image and its attribution.
-
Select Image and Citation: Click on the image and then, while holding down the “Shift” key, click on the text box containing your citation. Both elements should now be selected.
-
Group the Elements: Right-click on the selected area. In the context menu that appears, hover over “Group” and then select “Group” again. This will bind the image and the citation text box into a single movable unit.
Now, when you click and drag either the image or the citation, both will move together, simplifying slide layout adjustments and ensuring your citations stay correctly positioned with their corresponding images.
Step 5: Final Review and Updates
Before delivering your presentation, a final review of your image citations is essential. This step helps catch errors and ensures everything is accurate and properly formatted.
- Proofread Citations: Carefully check each citation for spelling errors, punctuation mistakes, and adherence to your chosen style guide. Pay close attention to creator names, dates, and URLs.
- Verify Style Guide Compliance: Double-check that your citations consistently follow the rules of APA, MLA, Chicago, or whichever style guide you are using. Refer back to style guide resources if needed.
- Confirm Image Sources: Revisit the original sources of your images to ensure the information in your citations is correct and complete. Check that URLs are still active and lead to the intended source.
- Update as Needed: If you make any changes to your presentation or image selection, remember to update your citations accordingly.
By conducting a thorough review, you ensure the accuracy and integrity of your image citations, reinforcing the professionalism and ethical standards of your presentation.
Frequently Asked Questions About Image Citations in PowerPoint
What Key Information Must Be Included in an Image Citation?
A comprehensive image citation should, at a minimum, include the creator’s name, the image title (if available), the source (website, publication, etc.), the publication or creation date (if available), and relevant copyright or licensing information. For online images, the URL and access date are also crucial.
Is it Necessary to Cite Clip Art from PowerPoint?
Built-in clip art from PowerPoint itself generally does not require a formal citation. However, if you are using a specific style guide like APA, it is recommended to briefly mention PowerPoint as the source in an in-text citation or a general note. If you use PowerPoint’s online image search feature and select an image with an external creator, a full citation is definitely required for those images.
How Should I Cite a Scanned Image from a Physical Book in PowerPoint?
Cite scanned images from books similarly to digital images. In your citation, replace website details with information about the book, including the book title, author, publication year, and the page number where the image appears. Consult your chosen style guide for specific formatting of book citations.
Is a General Image Credit Slide Sufficient for All Sources?
While a general “Image Credits” slide is better than no citation at all, providing specific citations for each image is considered best practice, especially in academic and professional contexts. Specific citations offer greater clarity, allow for easier verification of sources, and demonstrate a higher level of attention to detail and ethical attribution.
Do Creative Commons or “Free-to-Use” Images Need Citations?
Yes, even images licensed under Creative Commons or labeled “free-to-use” often require citation, depending on the specific license terms. Many Creative Commons licenses stipulate attribution. Citing free-to-use images is good ethical practice as it still acknowledges the creator’s work and helps others find the original source. Always check the licensing terms associated with “free” images and provide attribution accordingly.
How Do I Cite a Screenshot Taken for a PowerPoint Presentation?
When citing a screenshot you’ve taken yourself, you can treat it as a figure. In the citation, instead of an artist’s name or image title, you can describe it as “Screenshot” or “Screen capture.” Provide context about what the screenshot depicts and the source of the screen if relevant (e.g., “Screenshot of website homepage”).
Conclusion: Ethical and Effective Image Use in Presentations
Properly citing images in PowerPoint presentations is a cornerstone of ethical communication and professional presentation practice. It not only respects copyright and intellectual property but also enhances the credibility and scholarly rigor of your work. By following the outlined steps, understanding different citation styles, and diligently reviewing your citations, you can confidently incorporate visuals into your presentations while upholding the highest standards of attribution. Remember, consistent and accurate citation demonstrates your commitment to both effective communication and ethical conduct.