Have you ever wished you could customize the background color when viewing your photos in Windows Photo Viewer? While Microsoft doesn’t offer a straightforward, built-in option to change the background with a simple click, there’s a hidden way to personalize your photo viewing experience. This guide will walk you through the steps to change the background color in Windows Photo Viewer by making a simple adjustment in the Windows Registry. This tweak can significantly enhance how you view your images, especially for specific types of photos or personal preferences.
To change the background color, you’ll need to dive into the Windows Registry. Don’t worry, it’s simpler than it sounds, and we’ll guide you through each step carefully.
Step-by-Step Guide to Changing the Background Color
Here’s how to modify the registry to change the background color in Windows Photo Viewer:
-
Open the Run dialog: Press the Windows key + R simultaneously. This will open the Run window, where you can type commands to execute.
-
Launch Registry Editor: In the Run dialog box, type
regeditand press Enter. Windows will likely ask for confirmation to allow Registry Editor to make changes to your device. Click Yes to proceed. -
Navigate to the correct key: In the Registry Editor window, you need to navigate to the specific location for Windows Photo Viewer settings. Use the sidebar on the left to navigate through the folders. Go to
HKEY_CURRENT_USER, then expandSoftware, thenMicrosoft, thenWindows Photo Viewer, and finally selectViewer. The path should look like this:HKEY_CURRENT_USERSoftwareMicrosoftWindows Photo ViewerViewer -
Create a new DWORD Value: Once you’ve selected the
Viewerfolder, you need to create a new entry. Right-click in the empty space on the right-hand side panel, select New, and then click on DWORD (32-bit) Value. -
Name the new value: Rename the newly created DWORD value to
BackgroundColor. Make sure to spell it exactly as shown, with no spaces. -
Modify the BackgroundColor value: Double-click on the
BackgroundColorvalue you just created. This will open the Edit DWORD (32-bit) Value window. -
Enter the color code: In the “Value data” field, you need to enter a hexadecimal color code. Start with
fffollowed by the hexadecimal code for your desired color. For example, to set the background to black, enterff000000. Here are a few common color codes:- Black:
ff000000 - White:
ffffffff - Grey:
ff808080 - Green:
ff008000
- Black:
-
Apply changes and close: Click OK to save the color code. Then, close the Registry Editor window.
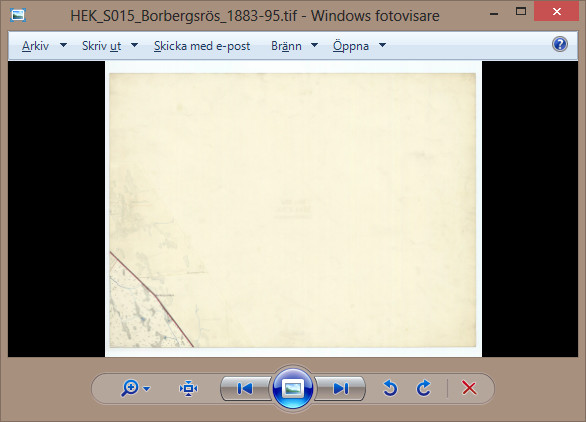
 Black background in Windows Photo Viewer after registry edit
Understanding the Benefits of Changing the Background Color
Changing the background color in Windows Photo Viewer isn’t just about aesthetics; it can actually be quite practical depending on the type of images you are viewing.
For photos with white borders or transparent backgrounds, a darker background like black or grey can make the edges of the image much more distinct. This is particularly useful for photographers or designers who need to closely examine the composition and borders of their images. By contrasting against a dark backdrop, the finer details and boundaries of a photo become more apparent.
Moreover, a darker background can enhance the perceived vibrancy and contrast of your photos. Many users find that a black background makes colors appear richer and more pronounced, leading to a more immersive viewing experience. This can be especially pleasing when viewing vibrant photographs or when culling through a series of images to select the best ones. A neutral grey background is often considered a balanced option, offering a softer contrast than black while still providing better definition than the default white.
Experimenting with different background colors can help you find what works best for your workflow and the types of images you frequently view.
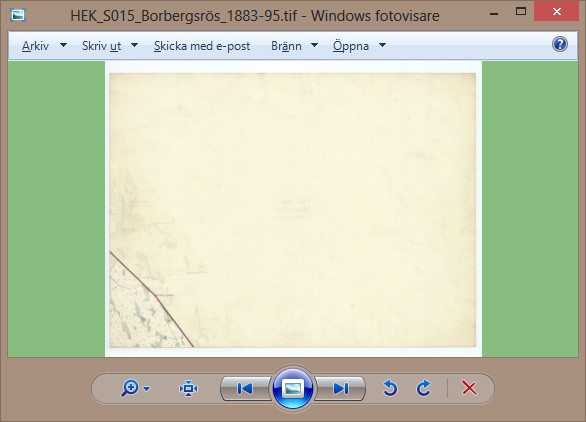
 Green background example in Windows Photo Viewer after registry change
Important Note: This method is known to work on Windows 8.0 and should be compatible with older versions like Windows XP and Windows 7, as Windows Photo Viewer was a standard application in these operating systems. For Windows Vista users, or those using Windows Photo Gallery or newer Photos apps in Windows 10 and 11, the registry key and process might differ.
By following these steps, you can easily customize the background color in Windows Photo Viewer to better suit your viewing needs and preferences. Enjoy your personalized photo viewing experience!

