Changing the order of photos on Facebook is a simple process that can significantly enhance how your images are viewed, whether on your personal profile or a Facebook Page. At dfphoto.net, we’ll walk you through each step to ensure your photos tell the best story, focusing on optimizing your posts for visual appeal and engagement. From rearranging to editing, master the art of photo presentation on Facebook, improving your visual content. Let’s explore photo management, social media marketing, and visual storytelling.
1. Why Rearrange the Order of Photos on Facebook?
You absolutely can! Here’s why you might want to change the order of photos on your Facebook posts, pages, or groups:
- First Impressions Matter: Make sure your best photo appears first to grab attention.
- Tell a Story: Put your photos in a sequence that makes sense and flows visually.
- Highlight Key Subjects: Ensure the most important people or things are shown upfront.
- Add Context: A different order can help the photos make more sense together, providing better context.
- Fix Mistakes: Sometimes the upload order isn’t ideal, and rearranging can fix that.
2. How to Rearrange Photos on a Facebook Post (2024)
Rearranging photos on a Facebook post is a straightforward process. Here’s how to do it:
- Go to Facebook: Head to Facebook.com and log in.
- Create a New Post: Click on the “Photo/Video” option where you create a new post.
- Upload Your Photos: Upload all the images you want to include.
- Enter Edit Mode: Once the images are uploaded, click on the “Edit All” section. This action opens the post in edit mode, displaying all your photos in the order they were initially added.
- Drag and Drop: To reorder, click and drag each photo to its desired position.
- Save Changes: After arranging the photos in the sequence you want, click “Save” at the bottom.
Once saved, the photos will display in the new order whenever the post appears on Facebook.
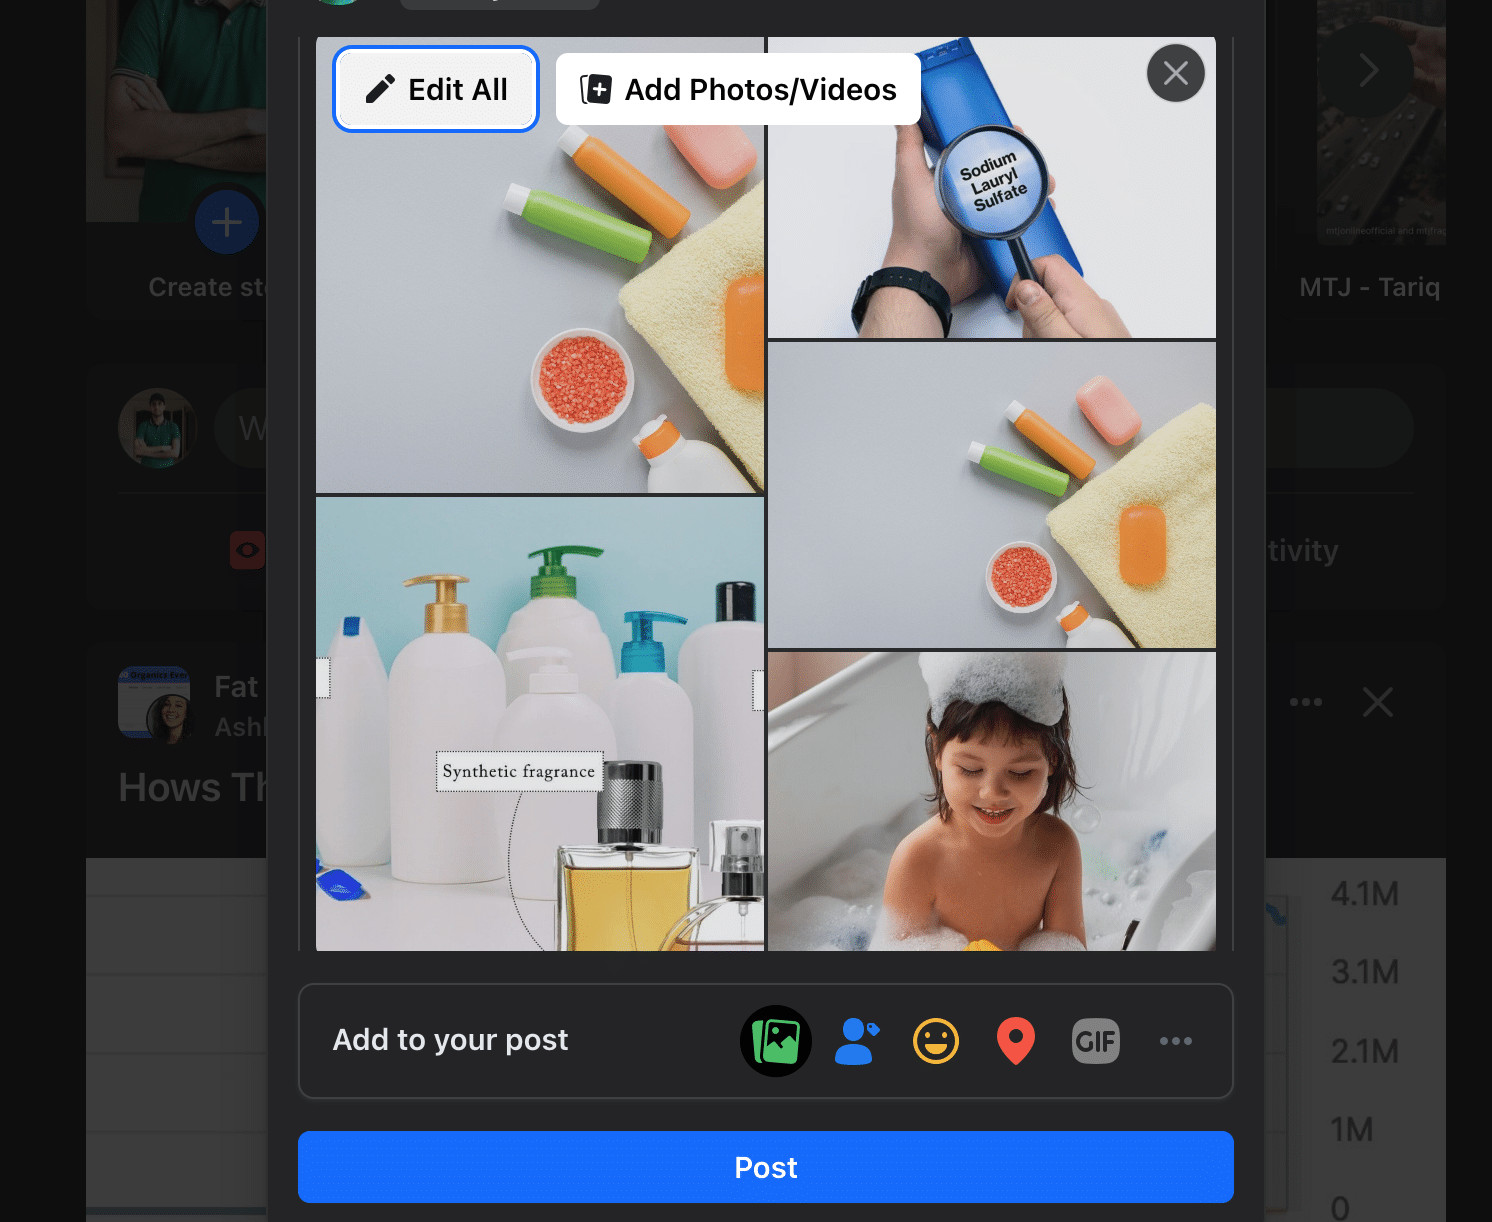 Facebook Edit All Section
3. Rearranging Photos While Posting on Facebook
For the most streamlined approach, consider arranging photos as you create your post:
- Upload Photos: As you add photos to a new post, they populate in the order they’re added.
- Drag to Arrange: Before clicking “Post,” drag and drop the photos to arrange them as desired.
- Post: Once you’re satisfied with the sequence, click “Post” to share the photos in that order.
Doing it this way saves time and ensures your photos are displayed exactly as you intend from the start.
4. Considerations When Rearranging Photos on Facebook
Before you start rearranging photos, keep these points in mind:
- Original Photos Only: You can only reorder photos originally included in the post. Adding new photos during the reordering process isn’t possible.
- Editing Limits: Be mindful of how often you edit a post. Excessive rearranging might cause issues.
- Viewer Awareness: Not everyone might notice the photo order changed after you edit a published post.
- No Reordering on Ads: Photos on active Facebook ads cannot be rearranged. The sequence is fixed for the duration of the ad.
- Videos Excluded: Only photos can be rearranged. Videos included in the post cannot be reordered.
5. Rearranging Photo Order on Facebook Pages
The process is similar for Facebook Pages if you’re an admin or editor.
- Go to the Facebook Page.
- Find the post.
- Click the three dots at the top-right.
- Choose “Edit Post.”
- Reorder the photos.
- Click “Save.”
Whether it’s your personal post or a Page post, the method is the same.
6. Rearranging Photo Orders on Facebook Groups
If you have permission, you can also edit photo orders in Facebook Groups.
- Go to the group.
- Find the post.
- Click the three dots.
- Select “Edit Post.”
- Drag and drop photos.
- Click “Save.”
The process remains consistent across profiles, Pages, and Groups.
7. What Are the Search Intentions for “How To Change Order Of Photos On Facebook?”
Understanding the search intent behind “how to change order of photos on Facebook” helps in tailoring content that directly addresses user needs. Here are five key search intentions:
- Step-by-Step Instructions: Users want a clear, simple guide on how to reorder photos in their Facebook posts.
- Troubleshooting: Users seek solutions for common issues encountered while trying to rearrange photos.
- Features and Limitations: Users need to know the scope of the reordering feature, such as whether they can add new photos or if there are limitations on the number of edits.
- Platform Differences: Users are interested in whether the process varies across different Facebook platforms like personal profiles, Pages, or Groups.
- Best Practices: Users want to understand the reasons for reordering photos, such as improving visual storytelling or highlighting key images.
8. Troubleshooting Common Rearranging Issues on Facebook
Sometimes, things don’t go as planned. Here are some troubleshooting tips:
- No Editing Menu: If you can’t edit, you probably didn’t create the post. Only the original poster can make changes.
- No Reorder Option: Some posts don’t allow editing. Videos and slideshows can’t be rearranged.
- Changes Not Saving: Refresh the page. If that doesn’t work, close and reopen the editing window.
- Photos Resetting: Repeated editing might cause this. Limit how often you change the order.
- Missing Photos: Too many photos might cause some to disappear. Try deleting and re-adding them.
If problems persist, consider deleting and reposting the photos in the correct order. Contact Facebook support if needed.
9. How Can You Improve Photo Engagement on Facebook?
Improving photo engagement on Facebook involves optimizing how your photos are presented and shared. Here are some key strategies:
- Use High-Quality Images: High-resolution photos are more visually appealing and grab attention.
- Tell a Story: Arrange photos in a sequence that tells a compelling story or highlights key moments.
- Optimize for Mobile: Ensure your photos look good on mobile devices, as most users browse Facebook on their phones.
- Write Engaging Captions: Captions should add context, spark interest, and encourage interaction.
- Tag People and Places: Tagging relevant people and locations can increase visibility and reach.
- Post at Optimal Times: Share your photos when your audience is most active to maximize engagement.
- Use Facebook Insights: Analyze your posts’ performance to understand what resonates with your audience.
- Encourage Interaction: Ask questions, run polls, or host contests related to your photos to boost engagement.
- Utilize Facebook Features: Use features like albums, carousels, and 360 photos to create dynamic visual experiences.
- Maintain Consistency: Regularly posting high-quality photos keeps your audience engaged and coming back for more.
10. How to Manage Your Facebook Photo Albums
Managing your Facebook photo albums effectively ensures that your photos are well-organized and easily accessible. Here’s how to do it:
- Create Descriptive Albums: Name your albums with clear, descriptive titles that reflect the content, such as “Summer Vacation 2024” or “Family Reunion.”
- Add Captions and Descriptions: Write detailed captions for each photo and include an album description to provide context and tell a story.
- Organize Photos Logically: Arrange photos within albums in a logical order, such as chronological or by theme, to enhance the viewing experience.
- Set Privacy Settings: Adjust the privacy settings of each album to control who can view your photos, such as friends, public, or specific groups.
- Use Tags: Tag people and locations in your photos to make them more discoverable and to notify friends.
- Regularly Update Albums: Keep your albums current by adding new photos and removing outdated or irrelevant ones.
- Utilize Album Features: Use Facebook’s built-in features, such as cover photos and featured albums, to highlight important collections.
- Back Up Your Photos: Regularly back up your Facebook photos to prevent data loss and ensure you have a copy in case of account issues.
- Review and Edit: Periodically review your albums to edit captions, tags, and descriptions, ensuring accuracy and relevance.
- Engage with Comments: Respond to comments and questions on your photos to foster interaction and build community.
By following these strategies, you can keep your Facebook photo albums organized, engaging, and accessible, providing a better experience for both you and your audience.
11. How Do I Edit Privacy Settings For Facebook Photos?
Managing the privacy of your Facebook photos is essential to control who can see your content. Here’s how to edit privacy settings for your photos:
-
Individual Photos:
- Go to the photo you want to adjust.
- Click the three dots in the top right corner of the photo.
- Select “Edit Privacy.”
- Choose the audience you want to share the photo with (Public, Friends, Only Me, or Custom).
-
Albums:
- Go to your profile and click on “Photos.”
- Click on “Albums.”
- Select the album you want to edit.
- Click the three dots in the top right corner of the album.
- Choose “Edit.”
- Adjust the privacy setting using the audience selector (Public, Friends, Only Me, or Custom).
-
Existing Posts:
- Find the post containing the photos you want to adjust.
- Click the three dots in the top right corner of the post.
- Select “Edit Audience.”
- Choose the audience you want to share the post with (Public, Friends, Only Me, or Custom).
-
Default Audience for New Posts:
- Go to “Settings & Privacy” in the top right corner of Facebook.
- Click on “Privacy.”
- Find “Your Activity” and click “Edit” next to “Who can see your future posts?”
- Choose your default audience (Public, Friends, or Only Me).
- Click “Close.”
By regularly reviewing and adjusting your privacy settings, you can ensure that your photos are shared only with the people you trust.
12. Can I Change the Date on Facebook Photos?
Yes, you can change the date on Facebook photos, which can be useful for organizing your albums or correcting any errors in the original upload. Here’s how to do it:
- Navigate to the Photo: Go to your profile, then click on “Photos” and find the photo you want to edit.
- Open the Photo: Click on the photo to open it.
- Edit the Date:
- Look for the date displayed with the photo.
- Click on the date. This should open an editing interface.
- If you don’t see an option to click on the date, look for an “Edit” or “Pencil” icon associated with the photo details.
- Modify the Date:
- Change the year, month, and day as needed.
- Ensure the date is accurate.
- Save Changes:
- After making the necessary changes, click “Save” or a similar button to confirm the new date.
Note: You can only change the date of photos you have uploaded. You cannot change the date of photos uploaded by others, even if you are tagged in them.
By following these steps, you can easily update the dates on your Facebook photos, helping you keep your albums organized and your memories accurate.
13. Why Is Facebook Photo Quality So Bad?
Facebook’s image compression algorithms are the primary culprit. When you upload a photo to Facebook, it automatically reduces the file size to save storage space and bandwidth, which can significantly degrade image quality. Several factors contribute to this issue:
- Compression Algorithms: Facebook uses aggressive compression techniques that reduce file size while often sacrificing detail and sharpness.
- File Size Limits: Facebook has limits on the file size of uploaded images. Large files are automatically compressed to meet these limits.
- Resolution Limits: Facebook also limits the maximum resolution of displayed images. High-resolution images are resized, which can lead to loss of detail.
- Mobile Viewing: Most Facebook users view content on mobile devices with smaller screens, so high-resolution images are often unnecessary and further compressed for mobile delivery.
- Web Optimization: Facebook optimizes images for web viewing, which prioritizes faster loading times over maintaining the highest possible quality.
14. How Can I Upload High Quality Photos to Facebook?
To maintain the best possible photo quality when uploading to Facebook, follow these steps:
- Enable High-Quality Uploads:
- On Mobile:
- Open the Facebook app.
- Go to “Settings & Privacy” > “Settings.”
- Scroll down to “Media and Contacts” and tap “Videos and Photos.”
- Enable “Upload HD Photos” and “Upload HD Videos.”
- On Desktop: There is no specific setting on the desktop version to enable high-quality uploads, but following the other steps will help.
- On Mobile:
- Resize Your Photos:
- Before uploading, resize your photos to Facebook’s recommended dimensions:
- Standard Photos: 2048 pixels on the longest edge.
- Cover Photos: 851 x 315 pixels.
- Before uploading, resize your photos to Facebook’s recommended dimensions:
- Save as JPEG with High Quality:
- When saving your photos, use the JPEG format with the highest quality setting (e.g., quality 90-100 in Adobe Photoshop).
- Remove Metadata:
- Remove unnecessary metadata from your photos before uploading. This can reduce file size without affecting image quality.
- Use a Web Browser for Uploading:
- Upload photos through a web browser (like Chrome, Firefox, or Safari) on your computer rather than the mobile app, as the desktop uploader sometimes handles images better.
- Avoid Re-uploading and Editing on Facebook:
- Each time you upload or edit a photo on Facebook, it undergoes further compression. Avoid making multiple edits or re-uploading the same photo.
- Check Your Internet Connection:
- A stable and fast internet connection can help ensure that your photos are uploaded without interruption, which can sometimes affect quality.
By following these steps, you can minimize the impact of Facebook’s compression and maintain the best possible quality for your uploaded photos.
15. How Can I Download Photos from Facebook?
Downloading photos from Facebook is straightforward, whether you want to save a single image or a whole album. Here’s how to do it:
-
Downloading a Single Photo:
- Open the Photo: Navigate to the photo you want to download and click on it to open.
- Access Options:
- Click on the three dots (options menu) usually located in the top right or bottom right corner of the photo.
- Download:
- Select “Download” from the menu. The photo will be downloaded to your device.
-
Downloading an Entire Album:
- Go to the Album:
- Navigate to your profile, then click on “Photos” and select “Albums.”
- Choose the album you want to download.
- Access Album Options:
- Click on the three dots (options menu) typically located in the top right corner of the album page.
- Download Album:
- Select “Download Album.” Facebook will create a ZIP file containing all the photos in the album.
- You may be prompted to enter your password for security reasons.
- Extract the ZIP File:
- Once the ZIP file is downloaded, extract its contents to access the photos.
- Go to the Album:
16. FAQ About Changing Photo Order on Facebook
- Can I add new photos while rearranging? No, you can only reorder existing photos.
- Is there a limit to how many times I can edit a post? Yes, excessive edits may cause issues.
- Will my friends know I changed the photo order? Not necessarily, edits may not notify all viewers.
- Can I rearrange photos in a Facebook ad? No, the photo sequence is fixed for active ads.
- What about videos? Can I rearrange them? No, only photos can be rearranged.
- Why can’t I see the “Edit Post” option? You likely didn’t create the post.
- What if my changes don’t save? Try refreshing the page or reopening the editing window.
- Can I change the order of photos on my mobile device? Yes, the process is the same on mobile.
- Is it possible to rearrange photos in a shared album? If you have editing permissions, yes.
- What should I do if photos keep resetting to the original order? Limit how often you change the order to avoid this issue.
Conclusion
Rearranging photos on Facebook gives you creative control over how your images are displayed, enhancing visual storytelling and engagement. Whether you’re posting on your profile, a Page, or a Group, the ability to reorder photos ensures your content looks its best. Optimize your photo flow and make a lasting impression by using these simple editing options.
Visit dfphoto.net for more tips, tutorials, and inspiration to elevate your photography skills and social media presence. Join our community of passionate photographers and take your visual storytelling to the next level. For more assistance, contact us at Address: 1600 St Michael’s Dr, Santa Fe, NM 87505, United States, Phone: +1 (505) 471-6001, or visit our website dfphoto.net.