Live Photos capture the moments before and after you snap a picture, adding life and movement to your memories. But what if you want to adjust the key photo, add effects, or even edit the Live Photo itself? This guide will show you How To Change Live Photos on your iPhone, iPad, and Mac, covering everything from selecting the perfect keyframe to applying captivating effects.
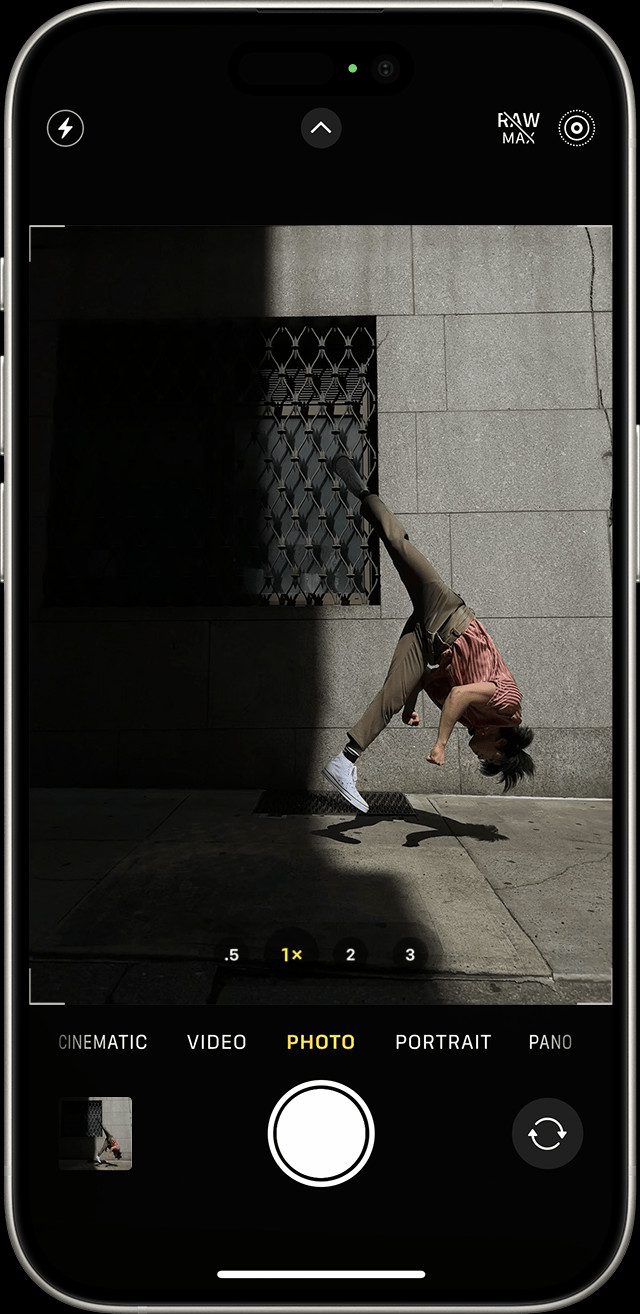 Woman taking a Live Photo with her iPhone.
Finding and Playing Your Live Photos
Before diving into editing, let’s quickly cover how to locate and view your Live Photos:
- Open the Photos app.
- Navigate to Albums, then scroll down to Media Types.
- Tap Live Photos.
 Navigating to the Live Photos album in the Photos app.
- Tap a Live Photo to open it.
- Press and hold the screen to play the animation.
Changing the Key Photo: Selecting the Perfect Moment
The key photo is the still image that represents your Live Photo in your library. Here’s how to change it:
-
Open the Live Photo.
-
Tap Edit.
-
Tap the Live Photos icon (three concentric circles).
-
Drag the slider at the bottom to scrub through the frames.
-
Position the slider on your desired frame and tap Make Key Photo.
-
Tap Done.
Adding Effects: Loop, Bounce, and Long Exposure
Live Photos offer three built-in effects to enhance your moving pictures:
- Open the Live Photo.
- Tap the Live Photos icon.
- Choose Loop, Bounce, or Long Exposure.
- Loop: Creates a continuously repeating video.
- Bounce: Plays the animation forward and then in reverse.
- Long Exposure: Simulates the effect of a long shutter speed, creating motion blur. This is ideal for capturing light trails or moving water.
Editing Live Photos: Adjustments and Enhancements
You can apply standard photo edits to your Live Photos:
-
Open the Live Photo.
-
Tap Edit.
-
Use the editing tools (crop, filters, adjustments) as needed.
-
Tap Done.
Note: Editing in third-party apps might remove applied Live Photo effects.
Sharing Live Photos: Spreading the Animation
Share your Live Photos with others who can experience the full animation:
- Open the Live Photo.
- Tap the Share icon.
- Choose your sharing method (iMessage, AirDrop, etc.).
Note: Sharing via email often sends a still image instead of the Live Photo. To ensure the recipient receives the Live Photo, use a compatible platform like iMessage.
Turning Off Live Photos: Conserving Space
If you want to disable Live Photos to save storage space:
- Open the Camera app.
- Tap the Live Photos icon to toggle it off (a slash through the icon indicates it’s off).
Conclusion
Mastering how to change Live Photos allows you to curate and enhance your visual memories. Whether you’re selecting the perfect keyframe, applying dynamic effects, or making subtle edits, these techniques empower you to transform your Live Photos into captivating mini-movies. Remember to experiment with different options to discover creative ways to showcase your favorite moments.