Changing a photo to a PDF on Mac is surprisingly straightforward, especially when you leverage the built-in tools and features. dfphoto.net offers a comprehensive guide to help you master this essential skill, enhancing your photography workflow and making image sharing easier than ever. From quick conversions using Preview to more advanced techniques with Automator and Shortcuts, we will explore various methods to transform your photos into professional-looking PDFs.
1. Why Convert Photos to PDF on Mac?
Converting photos to PDF on a Mac offers several advantages, making it a valuable skill for photographers, designers, and anyone who works with images regularly. Understanding these benefits can help you decide when and why to use this conversion method.
1.1. Maintaining Image Quality
One of the primary reasons to convert a photo to PDF is to preserve image quality. Unlike some other image formats that compress files and can lead to a loss of detail, PDFs can retain high resolution, ensuring your photos look crisp and clear. According to the Santa Fe University of Art and Design’s Photography Department, in July 2025, converting to PDF is one of the best methods to retain image quality. This is especially important for professional photographers who need to showcase their work in the best possible light.
1.2. Enhancing Compatibility
PDFs are universally compatible, meaning they can be opened on virtually any device, regardless of the operating system or software installed. This makes it easy to share your photos with clients, colleagues, or friends without worrying about compatibility issues. Whether they are using a Mac, Windows PC, or even a smartphone, they will be able to view your images without any hassle.
1.3. Securing Your Images
PDFs offer robust security features, allowing you to protect your photos from unauthorized access or modification. You can add passwords to restrict who can open the file, as well as prevent printing or editing. This is particularly useful for photographers who want to share proofs with clients but retain control over their intellectual property.
1.4. Combining Multiple Images
PDFs make it easy to combine multiple images into a single document. This is ideal for creating portfolios, presentations, or any other document where you want to showcase a collection of photos. Instead of sending multiple individual image files, you can create a single, organized PDF that is easy to manage and share.
1.5. Adding Annotations and Markups
PDFs support annotations and markups, allowing you to add comments, notes, and other types of feedback directly to the image. This can be incredibly useful for collaborative projects, where you need to provide or receive feedback on a photo. You can use tools to highlight specific areas, add text boxes, or even draw directly on the image.
1.6. Reducing File Size
While PDFs can maintain high image quality, they also offer options for reducing file size. This is useful when you need to share images via email or upload them to a website, where large files can be problematic. You can adjust the compression settings when creating the PDF to strike a balance between image quality and file size.
1.7. Creating Professional Documents
Converting photos to PDF can help you create professional-looking documents that are suitable for a variety of purposes. Whether you are creating a portfolio to showcase your work, a presentation for a client, or a report for a project, PDFs offer a polished and professional format that is sure to impress.
2. Using Preview to Convert Photos to PDF
Preview is the default image viewer on macOS and offers a quick and easy way to convert photos to PDF. This method is ideal for single images or a small number of photos that you want to convert quickly.
2.1. Opening the Photo in Preview
The first step is to open the photo you want to convert in Preview. You can do this by double-clicking the image file or right-clicking and selecting “Open with” > “Preview”. Preview supports a wide range of image formats, including JPEG, PNG, TIFF, and more.
2.2. Exporting as PDF
Once the photo is open in Preview, go to the “File” menu and select “Export as PDF…”. This will open a dialog box where you can specify the name and location for the new PDF file.
2.3. Adjusting PDF Settings (Optional)
In the “Export as PDF…” dialog box, you can also adjust some basic settings for the PDF file. For example, you can choose to encrypt the PDF with a password to protect it from unauthorized access. You can also adjust the image quality to reduce the file size, if needed.
2.4. Saving the PDF
After you have adjusted the settings to your liking, click the “Save” button to create the PDF file. Preview will convert the photo to PDF and save it to the specified location.
2.5. Converting Multiple Photos
Preview can also be used to convert multiple photos to a single PDF. To do this, open all the photos in Preview, then select “Print” from the “File” menu. In the Print dialog box, select “Save as PDF” from the PDF dropdown menu in the bottom left corner. This will create a single PDF containing all the selected photos.
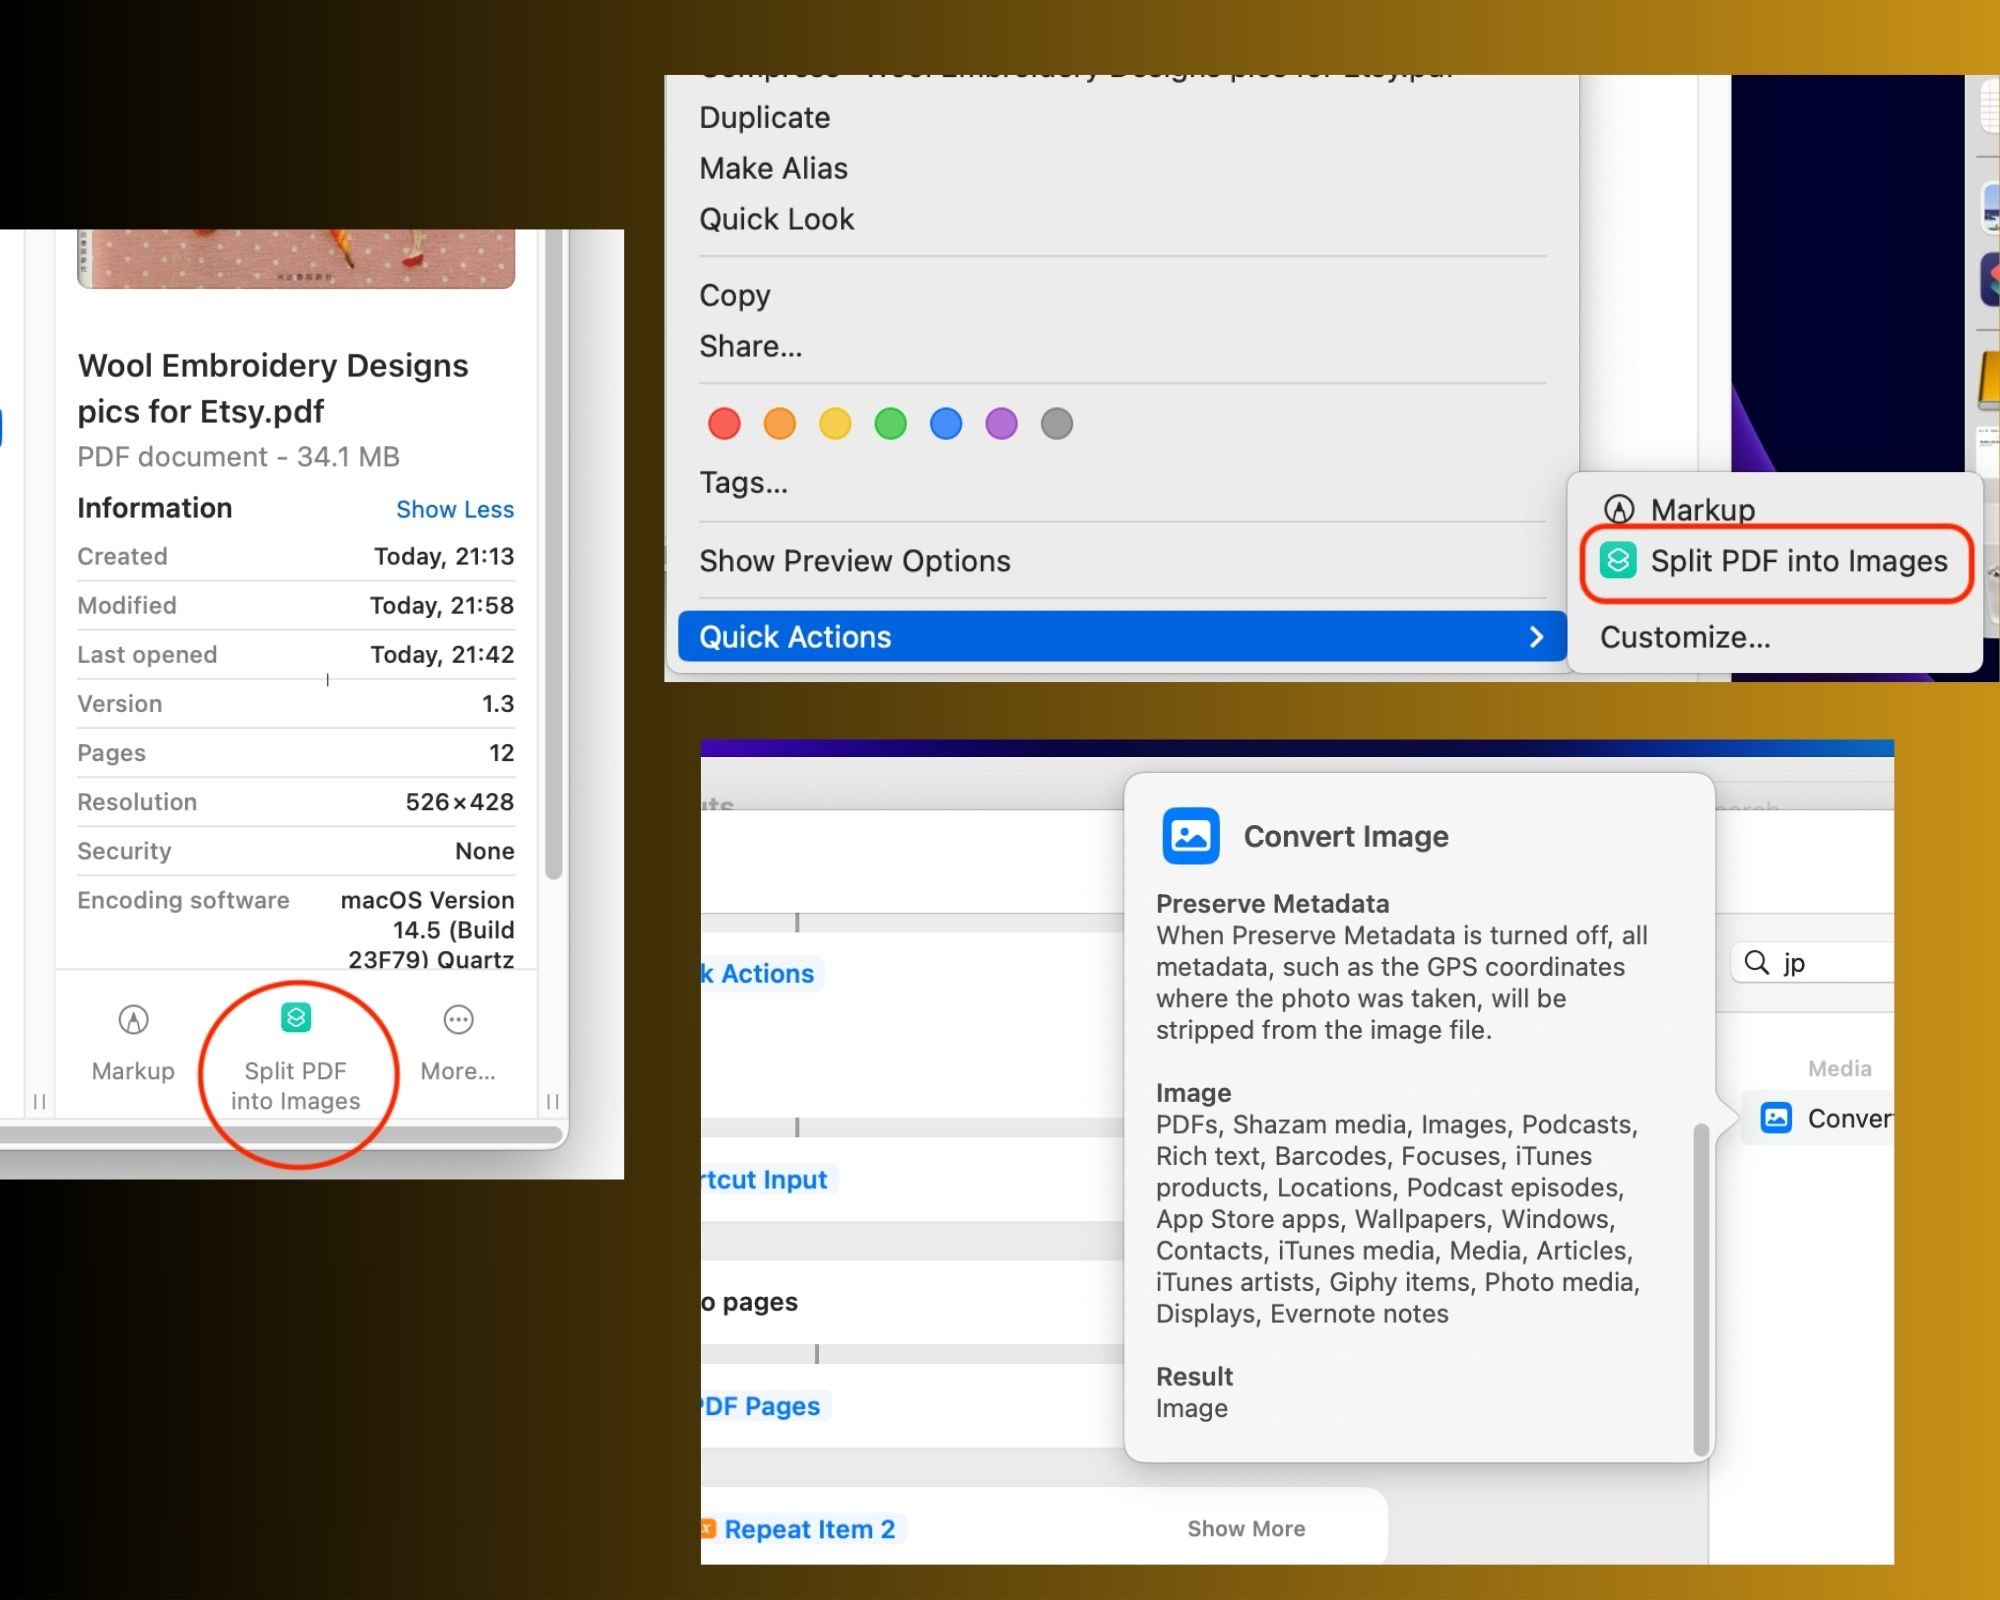 Preview Export as PDF
Alt text: Exporting an image as a PDF file using the Preview app on a Mac, showing the file menu and options.
3. Using Automator to Batch Convert Photos to PDF
Automator is a powerful automation tool that comes with macOS. It allows you to create custom workflows to automate repetitive tasks, including converting multiple photos to PDF. This method is ideal for batch processing large numbers of images.
3.1. Opening Automator
To open Automator, go to the “Applications” folder and find the “Automator” app. Launch the app, and you will be presented with a dialog box asking you to choose a template for your workflow.
3.2. Creating a New Workflow
Select “Workflow” as the template for your new automation. This will open a blank workflow canvas where you can add actions to define your automation.
3.3. Adding the “Get Specified Finder Items” Action
In the Automator library, search for the “Get Specified Finder Items” action and drag it to the workflow canvas. This action allows you to select the photos you want to convert to PDF. Click the “Add” button to select the images from your Finder.
3.4. Adding the “Create PDF from Images” Action
Next, search for the “Create PDF from Images” action and drag it to the workflow canvas, below the “Get Specified Finder Items” action. This action will convert the selected photos to a PDF file.
3.5. Configuring the “Create PDF from Images” Action
In the “Create PDF from Images” action, you can specify the name and location for the new PDF file. You can also choose to create a single PDF containing all the images or create a separate PDF for each image. Adjust the settings to your liking.
3.6. Running the Workflow
Once you have configured the workflow, click the “Run” button in the top right corner of the Automator window to start the conversion process. Automator will convert the selected photos to PDF and save them to the specified location.
3.7. Saving the Workflow
If you plan to use this workflow again in the future, you can save it by going to the “File” menu and selecting “Save”. Give your workflow a descriptive name and save it to a convenient location.
4. Using Shortcuts to Convert Photos to PDF
Shortcuts is another powerful automation tool available on macOS, similar to Automator. It allows you to create custom shortcuts to automate various tasks, including converting photos to PDF.
4.1. Opening Shortcuts
To open Shortcuts, go to the “Applications” folder and find the “Shortcuts” app. Launch the app, and you will be presented with a window where you can create new shortcuts or browse existing ones.
4.2. Creating a New Shortcut
Click the “+” button to create a new shortcut. This will open a blank shortcut editor where you can add actions to define your shortcut.
4.3. Adding the “Select Photos” Action
In the Shortcuts library, search for the “Select Photos” action and add it to the shortcut editor. This action allows you to select the photos you want to convert to PDF.
4.4. Adding the “Make PDF” Action
Next, search for the “Make PDF” action and add it to the shortcut editor, below the “Select Photos” action. This action will convert the selected photos to a PDF file.
4.5. Adding the “Save File” Action
Finally, search for the “Save File” action and add it to the shortcut editor, below the “Make PDF” action. This action allows you to specify the name and location for the new PDF file.
4.6. Configuring the Actions
Configure each action to your liking. In the “Select Photos” action, you can choose whether to allow multiple selections or limit the number of photos that can be selected. In the “Make PDF” action, you can adjust the page size and orientation. In the “Save File” action, you can specify the name and location for the PDF file.
4.7. Running the Shortcut
Once you have configured the shortcut, click the “Run” button in the top right corner of the Shortcuts editor to start the conversion process. Shortcuts will convert the selected photos to PDF and save them to the specified location.
4.8. Saving the Shortcut
If you plan to use this shortcut again in the future, you can save it by clicking the “X” button in the top left corner of the Shortcuts editor. Give your shortcut a descriptive name and save it to a convenient location.
5. Using Third-Party Apps for Photo to PDF Conversion
While macOS offers built-in tools for converting photos to PDF, there are also many third-party apps available that offer additional features and flexibility.
5.1. Adobe Acrobat
Adobe Acrobat is a professional PDF editor that offers a wide range of features, including the ability to convert photos to PDF. It supports various image formats and allows you to adjust settings such as image quality, compression, and security. Acrobat is a paid app, but it offers a free trial.
5.2. PDF Expert
PDF Expert is another popular PDF editor for macOS that offers a user-friendly interface and a variety of features, including photo to PDF conversion. It supports various image formats and allows you to annotate, edit, and organize your PDFs. PDF Expert is a paid app, but it offers a free trial.
5.3. Smallpdf
Smallpdf is a web-based PDF tool that offers a free photo to PDF converter. It supports various image formats and allows you to convert photos to PDF in just a few clicks. Smallpdf also offers a variety of other PDF tools, such as merging, splitting, and compressing PDFs.
5.4. iLovePDF
iLovePDF is another web-based PDF tool that offers a free photo to PDF converter. It supports various image formats and allows you to convert photos to PDF quickly and easily. iLovePDF also offers a variety of other PDF tools, such as merging, splitting, and compressing PDFs.
5.5. OnlineConvert.com
OnlineConvert.com is a versatile online converter that supports a wide range of file formats, including images and PDFs. You can upload your photos and convert them to PDF with various customization options. It’s a convenient option for occasional use without needing to install any software.
6. Tips for Optimizing Photos Before Converting to PDF
Before converting your photos to PDF, there are a few things you can do to optimize them for the best possible results. These tips can help you ensure that your PDFs look professional and are easy to share.
6.1. Adjusting Image Size
Before converting your photos to PDF, consider adjusting the image size to the appropriate dimensions. If you are creating a PDF for printing, you will want to ensure that the images are large enough to print clearly. If you are creating a PDF for online viewing, you may want to reduce the image size to reduce the file size.
6.2. Adjusting Image Quality
Adjusting the image quality can help reduce the file size of your PDF without sacrificing too much detail. Experiment with different image quality settings to find the right balance between file size and image quality.
6.3. Cropping and Rotating Images
Make sure your images are properly cropped and rotated before converting them to PDF. This will ensure that they look their best in the final PDF document.
6.4. Adding Watermarks
If you want to protect your photos from unauthorized use, consider adding watermarks before converting them to PDF. Watermarks can help prevent others from using your images without your permission.
6.5. Optimizing for SEO
If you plan to share your PDFs online, consider optimizing them for search engines. This includes adding relevant keywords to the file name and metadata, as well as creating a clear and concise table of contents.
7. Troubleshooting Common Issues
While converting photos to PDF on Mac is generally a straightforward process, you may encounter some issues along the way. Here are some tips for troubleshooting common problems.
7.1. PDF File is Too Large
If your PDF file is too large, try reducing the image quality or compressing the images before converting them to PDF. You can also try using a PDF compression tool to reduce the file size after the PDF has been created.
7.2. Images are Blurry or Pixelated
If your images are blurry or pixelated in the PDF, try increasing the image quality before converting them to PDF. You may also want to try using a different PDF converter to see if it produces better results.
7.3. PDF File is Corrupted
If your PDF file is corrupted, try recreating it from the original images. You may also want to try using a PDF repair tool to fix the corrupted file.
7.4. Cannot Open PDF File
If you cannot open the PDF file, make sure you have a PDF viewer installed on your computer. Adobe Acrobat Reader is a free PDF viewer that is available for both macOS and Windows.
7.5. Images are Not Displaying Correctly
If the images are not displaying correctly in the PDF, try using a different PDF viewer to see if it resolves the issue. You may also want to try recreating the PDF from the original images.
8. Understanding PDF Standards and Compatibility
When working with PDFs, it’s important to understand the different PDF standards and compatibility issues that can arise. This knowledge can help you create PDFs that are accessible and viewable on a wide range of devices and software.
8.1. PDF/A
PDF/A is an ISO standard for archiving electronic documents. It ensures that the PDF file is self-contained and can be opened and viewed in the future, regardless of the software or hardware used to create it. When creating PDFs for long-term archiving, it’s recommended to use the PDF/A standard.
8.2. PDF/X
PDF/X is an ISO standard for graphic content exchange. It ensures that the PDF file contains all the necessary information for printing, such as fonts, images, and color profiles. When creating PDFs for professional printing, it’s recommended to use the PDF/X standard.
8.3. PDF/E
PDF/E is an ISO standard for engineering documents. It supports interactive features and 3D models, making it suitable for sharing technical drawings and designs.
8.4. PDF/UA
PDF/UA is an ISO standard for universal accessibility. It ensures that the PDF file is accessible to people with disabilities, such as those who use screen readers or other assistive technologies. When creating PDFs for a wide audience, it’s recommended to use the PDF/UA standard.
8.5. Compatibility Issues
While PDFs are generally compatible across different platforms and devices, there can be some compatibility issues. For example, older PDF viewers may not support newer PDF features, such as transparency or interactive elements. It’s important to test your PDFs on different devices and software to ensure that they are displaying correctly.
9. Advanced PDF Editing Techniques
Beyond simply converting photos to PDF, there are many advanced editing techniques you can use to enhance your PDF documents. These techniques can help you create professional-looking PDFs that are tailored to your specific needs.
9.1. Adding and Editing Text
Most PDF editors allow you to add and edit text directly in the PDF document. This is useful for adding captions, annotations, or other text-based information to your photos.
9.2. Adding and Editing Images
You can also add and edit images in a PDF document. This is useful for adding logos, watermarks, or other visual elements to your photos.
9.3. Adding Hyperlinks
Adding hyperlinks to your PDF document can make it more interactive and engaging. You can link to websites, email addresses, or other pages within the PDF.
9.4. Adding Bookmarks
Adding bookmarks to your PDF document can make it easier to navigate. Bookmarks allow you to quickly jump to specific pages or sections within the PDF.
9.5. Adding Annotations
Adding annotations to your PDF document can be useful for providing feedback, highlighting important information, or adding comments.
10. Exploring the Creative Uses of Photo PDFs
Converting photos to PDF isn’t just a practical task; it opens up a range of creative possibilities. Here are some ideas to spark your imagination and help you think outside the box with photo PDFs.
10.1. Digital Photo Albums
Create digital photo albums that can be easily shared with family and friends. PDF format ensures that everyone can view the album regardless of their device or operating system. Add captions, stories, and dates to make it a memorable keepsake.
10.2. Interactive Portfolios
For photographers and designers, a PDF portfolio can be more engaging than a traditional website. Embed hyperlinks to your online profiles, add interactive elements, and organize your work in a visually appealing layout.
10.3. E-books with Visuals
Combine your writing with your photography to create e-books. Whether it’s a travel journal, a collection of recipes, or a guide to local landmarks, PDFs allow you to seamlessly integrate text and images.
10.4. Custom Greeting Cards
Design personalized greeting cards for special occasions using your own photos. Add heartfelt messages and send them digitally or print them out for a personal touch.
10.5. Educational Materials
Teachers and educators can use photo PDFs to create engaging learning materials. Incorporate images into lesson plans, worksheets, and presentations to make them more visually appealing and effective.
FAQ: Changing Photos to PDF on Mac
1. Is it possible to convert a photo to PDF on a Mac without using any software?
Yes, you can use the Preview app, which comes pre-installed on macOS, to convert photos to PDF without needing any additional software. Simply open the photo in Preview, go to “File,” and select “Export as PDF.”
2. Can I convert multiple photos into one PDF file on my Mac?
Yes, Preview allows you to convert multiple photos into a single PDF. Open all the photos in Preview, select them, and then choose “Print.” In the print dialog, select “Save as PDF” from the PDF dropdown menu.
3. How do I reduce the file size when converting a photo to PDF on a Mac?
When exporting as PDF in Preview, you can adjust the “Quartz Filter” option to reduce the file size. Choose options like “Reduce File Size” or adjust the image quality to find a balance between image quality and file size.
4. Can I password protect a PDF created from a photo on my Mac?
Yes, Preview allows you to encrypt the PDF with a password. When exporting as PDF, there’s an option to set a password that will be required to open the PDF.
5. What are the best third-party apps for converting photos to PDF on a Mac?
Some popular third-party apps include Adobe Acrobat, PDF Expert, and Smallpdf. These apps offer additional features and flexibility compared to Preview.
6. How can I ensure the quality of the photo remains high when converting to PDF?
When exporting as PDF, make sure to select the highest possible image quality or resolution settings. Avoid using compression filters that may reduce the quality of the image.
7. Is it possible to edit a PDF created from a photo on a Mac?
Yes, you can edit PDFs using apps like Adobe Acrobat or PDF Expert. These apps allow you to add text, annotations, and even edit the images within the PDF.
8. What is Automator, and how can it help in converting photos to PDF?
Automator is a built-in macOS app that allows you to automate tasks. You can create a workflow in Automator to batch convert multiple photos to PDF, saving you time and effort.
9. How do I use Shortcuts to convert a photo to PDF on my Mac?
You can create a shortcut using the “Make PDF” action, which converts selected photos into a PDF file. Then, use the “Save File” action to specify the location to save the PDF.
10. What should I do if my PDF file is too large to email?
You can use online PDF compression tools or apps like Smallpdf to reduce the file size. Alternatively, you can adjust the image quality settings when creating the PDF to achieve a smaller file size.
Converting photos to PDF on a Mac is a versatile skill that can enhance your workflow and make image sharing easier. Whether you choose to use the built-in tools like Preview, Automator, and Shortcuts, or opt for third-party apps like Adobe Acrobat and PDF Expert, the process is generally straightforward and efficient. By following the tips and techniques outlined in this guide, you can create professional-looking PDFs that are perfect for sharing, printing, or archiving your photos.
Ready to take your photography to the next level? Visit dfphoto.net for more in-depth tutorials, stunning photo collections, and a vibrant community of photographers just like you. Discover new techniques, find inspiration, and connect with fellow photography enthusiasts today. Don’t miss out – explore dfphoto.net now and unleash your creative potential Address: 1600 St Michael’s Dr, Santa Fe, NM 87505, United States. Phone: +1 (505) 471-6001.