Adding blur to a photo can dramatically enhance its visual appeal, creating a sense of motion, depth, or simply softening the image. Photoshop offers powerful tools for achieving various blur effects, and this guide will focus on how to effectively blur a photo in Photoshop using several techniques.
Understanding Blur in Photography
Blur isn’t just a visual effect; it’s a powerful tool for storytelling. It can highlight movement, guide the viewer’s eye, and even evoke specific emotions. Whether you’re aiming for a subtle softening or a dramatic motion trail, understanding the different types of blur is key. This includes motion blur, where moving objects appear streaked, and Gaussian blur, which creates a soft, overall blur.
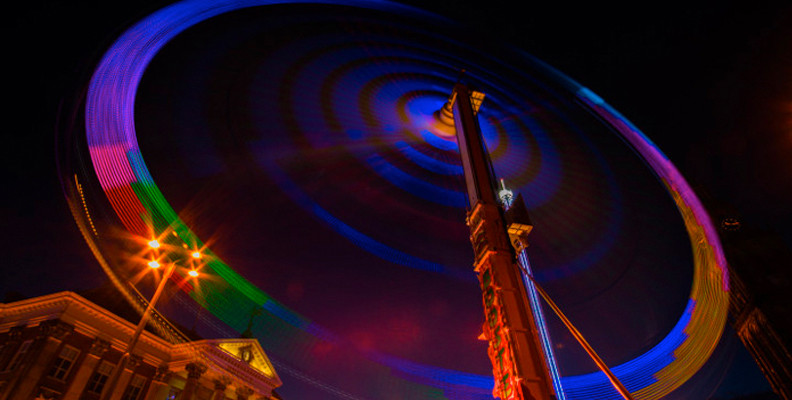 Ferris Wheel Lights – Slow Shutter Speed
Adding Motion Blur in Photoshop
Motion blur simulates the effect of a moving object captured with a slow shutter speed. Here’s how to achieve this effect in Photoshop:
-
Open Your Image: Launch Photoshop and open the image you want to blur (File > Open).
-
Convert to Smart Object (Recommended): Right-click on the image layer in the Layers panel and select “Convert to Smart Object.” This allows you to apply blur non-destructively, preserving the original image. Alternatively, duplicate the layer (Ctrl+J or Cmd+J) to work on a copy.
-
Apply the Motion Blur Filter: Go to Filter > Blur > Motion Blur.
-
Adjust Settings: The Motion Blur dialog box allows you to control two key parameters:
- Angle: Specifies the direction of the blur. Align this with the direction of the intended movement.
- Distance: Controls the intensity of the blur. Higher values create a more pronounced blur effect.
 Adding motion blur to an image in Photoshop
 -
Fine-tune and Refine: Experiment with different angle and distance values until you achieve the desired effect. Since you’re working with a Smart Object, you can always go back and adjust these settings later.
Using Boris FX Optics for Advanced Blur Effects
For more advanced blur options and greater control, consider using plugins like Boris FX Optics.
-
Install and Access Optics: Install the Boris FX Optics plugin. In Photoshop, go to Filter > Boris FX > Optics.
-
Select the Blur Effect: Use the search bar within Optics to find “S_BlurMotion.” Choose a preset or customize the settings manually.
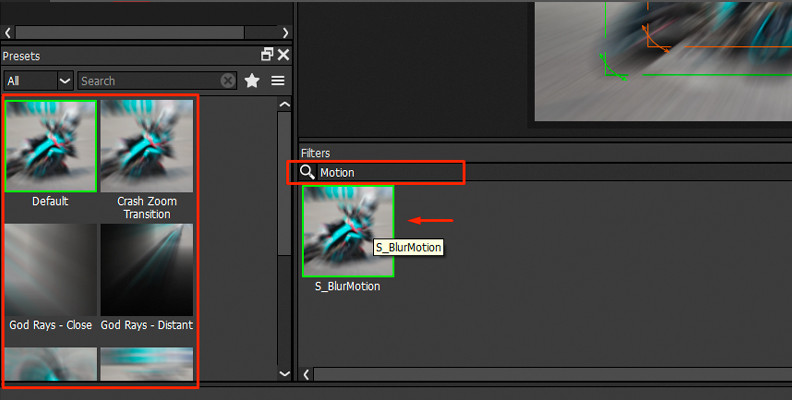 Finding one of the many motion blur effects in Optics for Photoshop
 -
Customize Parameters: Optics offers a wide range of parameters for fine-tuning the blur, allowing for more nuanced and complex effects.
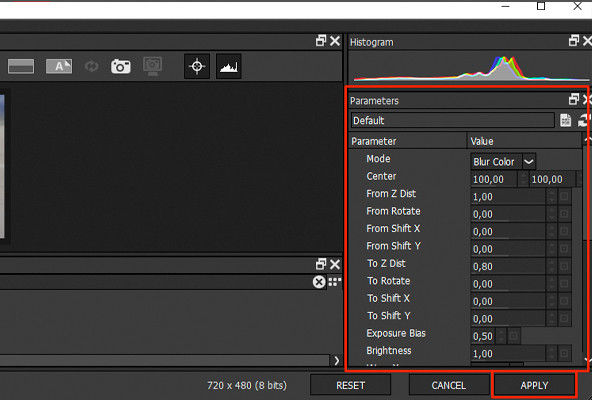 Fine-tune blur parameters in Boris FX Optics for precise control over the effect.
 -
Apply and Refine: Click “Apply” to apply the blur to your image. You can further refine the effect using layer masks to selectively apply the blur to specific areas of the image.
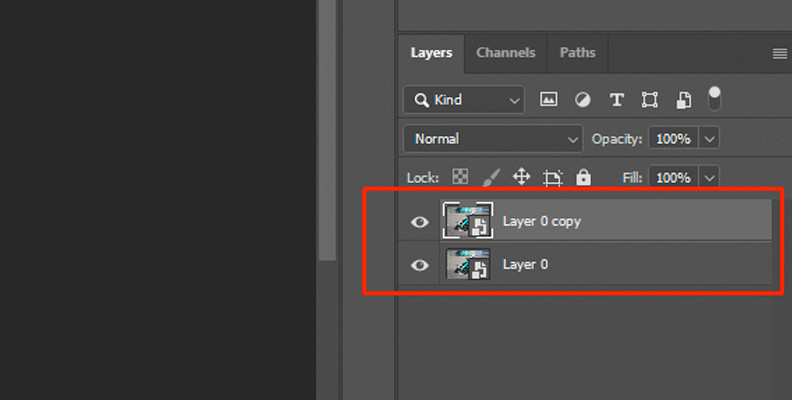 Duplicating a layer in Photoshop
Conclusion
Mastering the art of blurring in Photoshop opens up a world of creative possibilities. Whether you’re adding a subtle touch of softness or creating dynamic motion trails, understanding the tools and techniques at your disposal is essential. From the basic Motion Blur filter to the advanced capabilities of plugins like Boris FX Optics, Photoshop offers a comprehensive suite for achieving any blur effect you desire.
