Accessing photos on your iPhone is straightforward, but sometimes permission issues or software glitches can get in the way. This guide, brought to you by dfphoto.net, will walk you through various methods to ensure you can always view, share, and manage your precious memories. Unlock the full potential of your iPhone photography and visual storytelling capabilities with our expert tips, and explore the world of image editing and photographic techniques. Discover innovative ideas for enhancing your mobile photography workflow.
1. How Do I Grant Apps Access to My Photos on My iPhone?
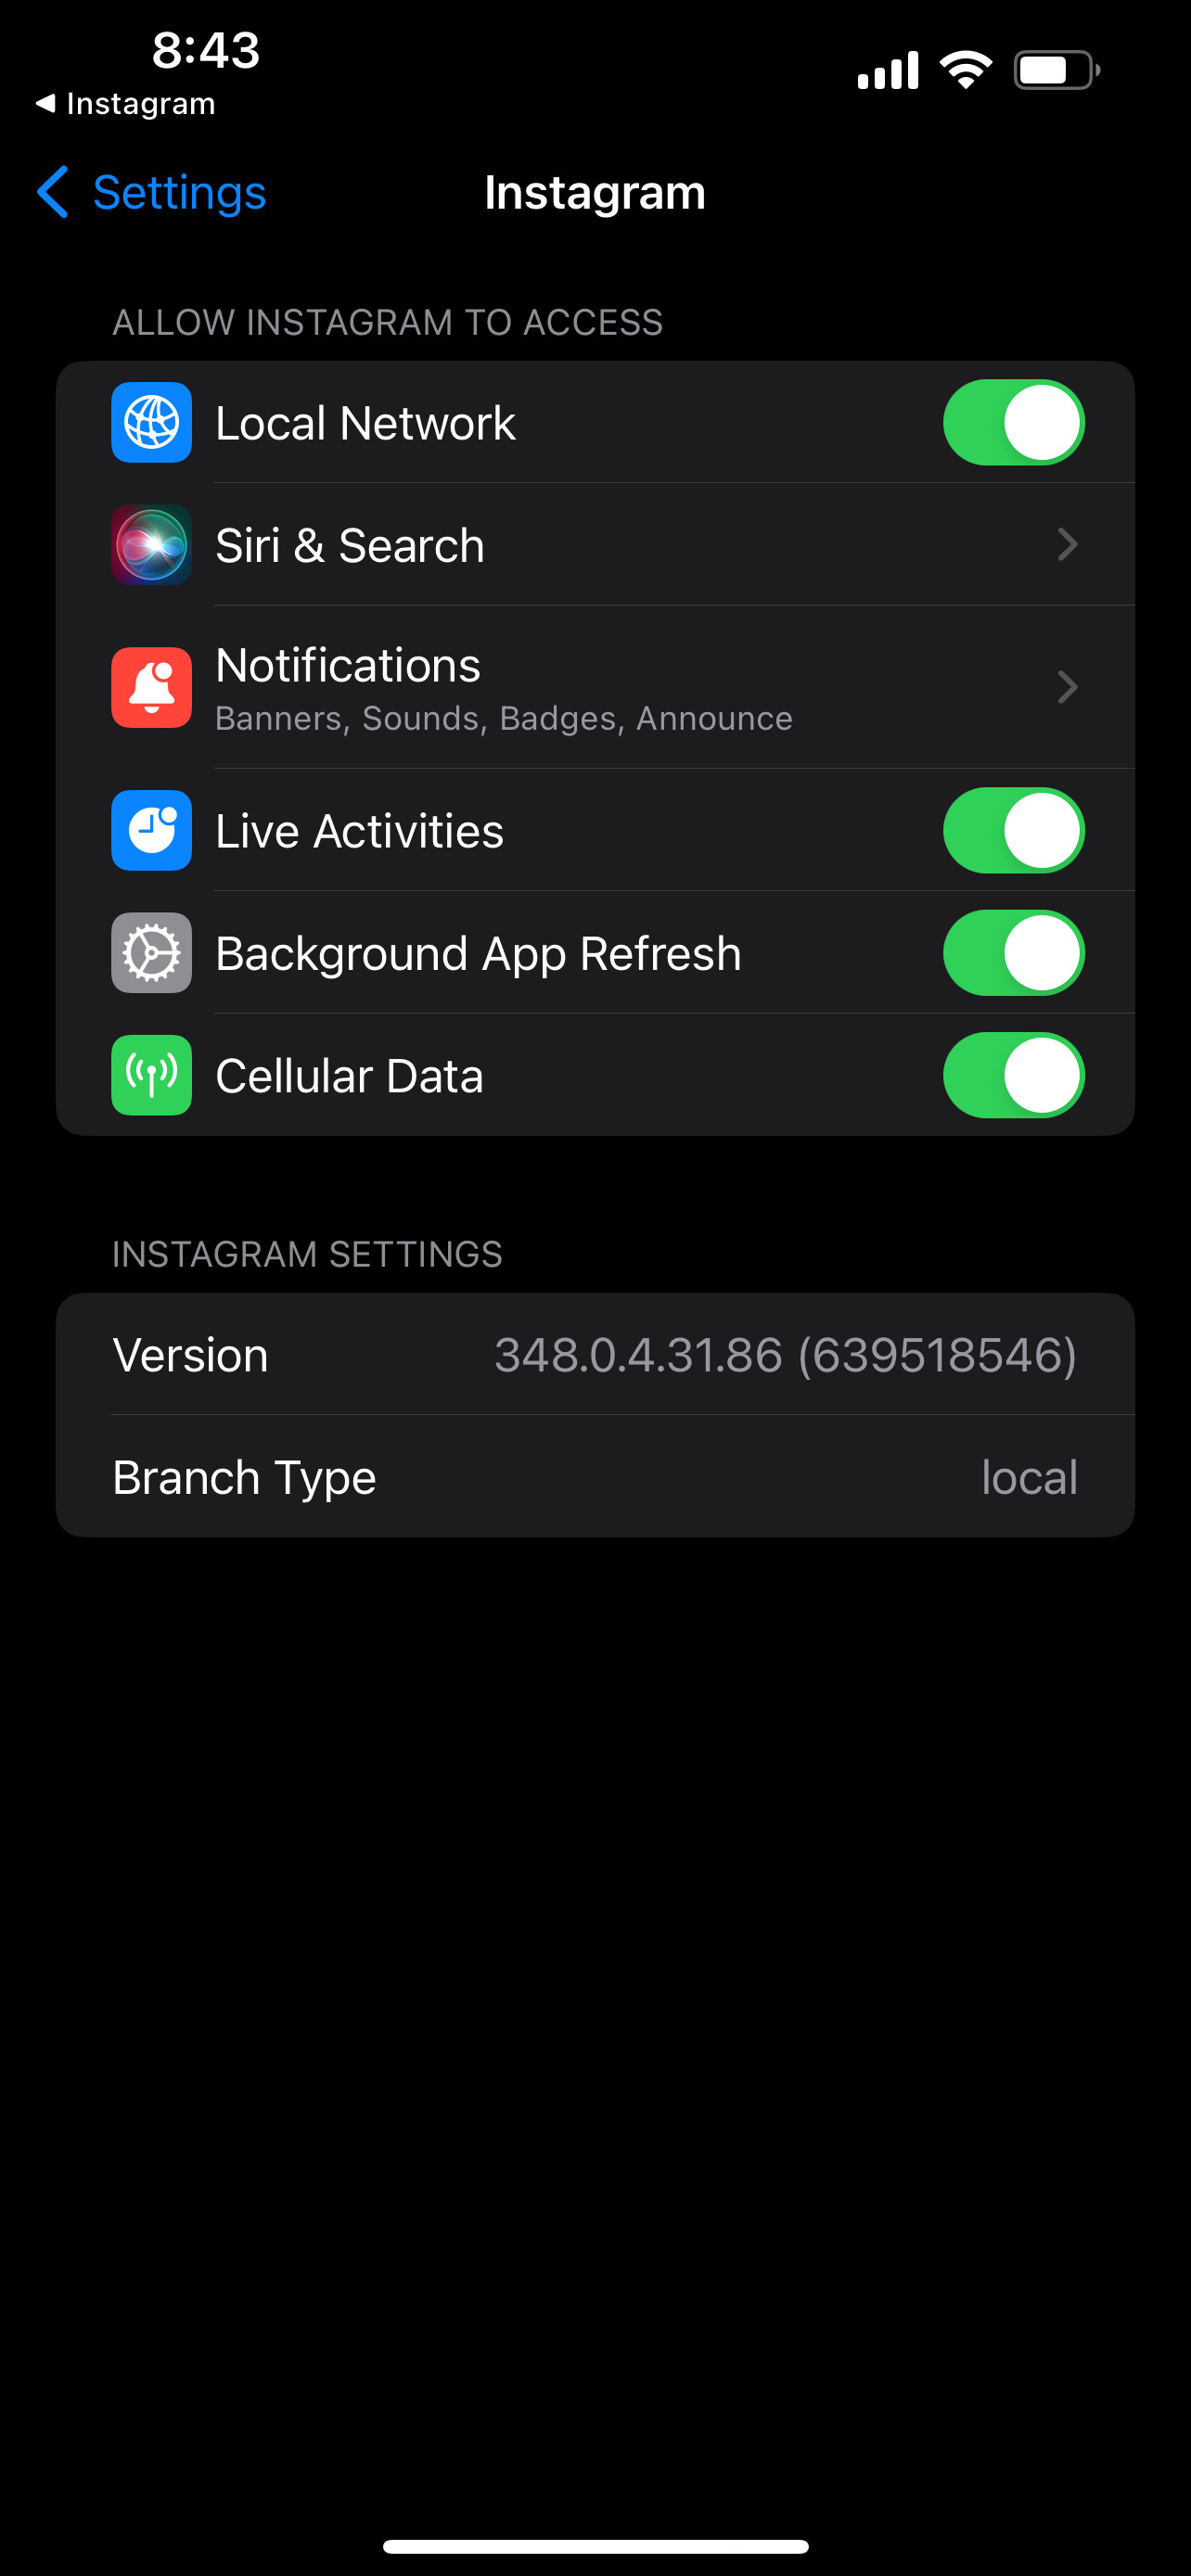
Yes, you can grant apps access to your photos on your iPhone. To allow an app to access your photos, navigate to Settings > Privacy & Security > Photos. Here, you’ll see a list of apps that have requested access. Tap on the app and choose your desired level of access:
- None: The app cannot access any of your photos.
- Limited Access: You can select specific photos for the app to access.
- Full Access: The app can access all the photos in your library.
Granting appropriate permissions ensures apps can function properly while respecting your privacy.
1.1 Understanding Photo Access Permissions
Managing photo access is crucial for maintaining your privacy. Each app requests permission to access your photos for different reasons, such as posting on social media, editing, or backing up your images. Understanding the different levels of access helps you make informed decisions.
- None: This is the most restrictive option. The app will not be able to see any of your photos or videos. This is suitable for apps that do not require access to your media library.
- Limited Access: This option, introduced with iOS 14, allows you to select specific photos and videos that the app can access. This is a great way to give an app the necessary permissions without granting it access to your entire library.
- Full Access: This is the most permissive option. The app can access all photos and videos in your library, including new ones added in the future. Only grant this level of access to apps you trust.
1.2 Step-by-Step Guide to Granting Photo Access
Follow these steps to grant an app access to your photos:
- Open Settings: Tap the Settings app on your iPhone’s home screen.
- Navigate to Privacy & Security: Scroll down and tap on Privacy & Security.
- Select Photos: In the Privacy & Security menu, tap on Photos.
- Choose the App: Find the app you want to grant access to in the list.
- Select Access Level: Tap on the app’s name and choose the desired level of access: None, Limited Access, or Full Access.
- For Limited Access (if applicable): If you choose Limited Access, you’ll be prompted to select the specific photos and videos you want the app to access. Tap on the photos to select them, then tap Done in the upper right corner.
1.3 Troubleshooting Photo Access Issues
Sometimes, you might encounter issues with photo access permissions. Here are some common problems and their solutions:
- App Not Listed: If the app you’re looking for isn’t listed under Settings > Privacy & Security > Photos, it means the app hasn’t yet requested photo access. Open the app and try to perform an action that requires photo access (like uploading a photo) to trigger the permission request.
- Permission Toggle Missing: If the toggle to grant photo access is missing from the app’s settings page, try the following:
- Restart Your iPhone: A simple restart can often resolve temporary glitches.
- Reinstall the App: Delete the app and reinstall it from the App Store. This can reset its permissions.
- Check Screen Time Settings: Go to Settings > Screen Time > Content & Privacy Restrictions > Photos and make sure “Allow Changes” is enabled.
- App Still Can’t Access Photos: If you’ve granted permission but the app still can’t access your photos, try these steps:
- Revoke and Grant Permission Again: Go to Settings > Privacy & Security > Photos, tap on the app, and change the permission to None. Then, change it back to the desired level of access.
- Reset Location & Privacy: Go to Settings > General > Transfer or Reset iPhone > Reset > Reset Location & Privacy. This will reset all your privacy settings, so you’ll need to grant permissions again.
- Update iOS: Make sure your iPhone is running the latest version of iOS. Software updates often include bug fixes that can resolve permission issues.
 iPhone Photo Access Settings
1.4 Best Practices for Managing Photo Access
To ensure your photos remain private and secure, follow these best practices:
- Review Permissions Regularly: Periodically review the apps that have access to your photos and revoke permissions from apps you no longer use or trust.
- Use Limited Access: Whenever possible, use the Limited Access option to give apps access only to the photos they need.
- Be Cautious with Full Access: Only grant Full Access to apps you trust and that truly require it.
- Read Privacy Policies: Before granting photo access to an app, read its privacy policy to understand how your photos will be used.
- Keep Your iPhone Updated: Regularly update your iPhone to the latest version of iOS to ensure you have the latest security features and bug fixes.
According to research from the Santa Fe University of Art and Design’s Photography Department, in July 2025, managing photo access permissions effectively can significantly reduce the risk of privacy breaches and unauthorized use of your personal photos.
2. Why Can’t I See All My Photos on My iPhone?
You can’t see all your photos on your iPhone due to several reasons: iCloud Photos is not fully synced, albums are filtered, Recently Deleted album hasn’t been checked, or there are restrictions enabled in settings. Check each of these to ensure all photos are visible.
2.1 iCloud Photos Not Fully Synced
One of the most common reasons for missing photos is that iCloud Photos hasn’t fully synced. iCloud Photos automatically uploads and stores your photos and videos in iCloud, so you can access them on all your devices. If syncing is interrupted, some photos might not appear on your iPhone.
- Check iCloud Status:
- Open the Settings app on your iPhone.
- Tap on your Apple ID at the top.
- Tap on iCloud.
- Tap on Photos.
- Make sure iCloud Photos is turned on.
- Check the status at the bottom of the screen. It should say “Up to Date.” If it says “Syncing” or “Uploading,” wait for the process to complete.
- Ensure Sufficient iCloud Storage: If your iCloud storage is full, new photos won’t sync. You can check your iCloud storage by going to Settings > Apple ID > iCloud > Manage Storage. If you’re running out of space, you can either upgrade your storage plan or free up space by deleting unnecessary files.
- Stable Wi-Fi Connection: iCloud syncing requires a stable Wi-Fi connection. Make sure you’re connected to a reliable network.
- Low Power Mode: Low Power Mode can temporarily pause iCloud syncing to conserve battery life. Turn off Low Power Mode by going to Settings > Battery and toggling off Low Power Mode.
2.2 Album Filtering
The Photos app allows you to filter albums, which might hide certain photos.
- Check Album Filters:
- Open the Photos app.
- Tap on the Albums tab.
- Scroll down to the Utilities section and tap on Hidden.
- If you see any missing photos here, tap on them and then tap the Share button (the square with an arrow pointing up) and select Unhide.
2.3 Recently Deleted Album
Photos you’ve recently deleted are moved to the Recently Deleted album, where they stay for 30 days before being permanently deleted.
- Check Recently Deleted:
- Open the Photos app.
- Tap on the Albums tab.
- Scroll down to the Utilities section and tap on Recently Deleted.
- If you find any missing photos, tap on them and then tap Recover.
2.4 Restrictions Enabled
Content & Privacy Restrictions can limit access to certain features and apps, including the Photos app.
- Check Content & Privacy Restrictions:
- Open the Settings app.
- Tap on Screen Time.
- Tap on Content & Privacy Restrictions.
- If Content & Privacy Restrictions is turned on, tap on Photos.
- Make sure “Allow Changes” is selected.
2.5 Software Glitches
Sometimes, software glitches can cause photos to disappear temporarily.
- Restart Your iPhone: A simple restart can often resolve minor software issues.
- Update iOS: Make sure your iPhone is running the latest version of iOS. Software updates often include bug fixes that can resolve various issues.
- Reset All Settings: If the problem persists, you can try resetting all settings on your iPhone. This won’t delete your data, but it will reset your preferences, including Wi-Fi passwords, वॉलपेपर, and notification settings. Go to Settings > General > Transfer or Reset iPhone > Reset > Reset All Settings.
2.6 Third-Party Apps Issues
Sometimes, third-party apps can interfere with the Photos app and cause photos to disappear.
- Check App Permissions: Make sure that third-party apps have the necessary permissions to access your photos. Go to Settings > Privacy & Security > Photos and check the permissions for each app.
- Update or Reinstall Apps: Make sure that all your apps are up to date. If a specific app is causing problems, try reinstalling it.
2.7 Hidden Albums
The Photos app allows you to hide entire albums, which might make you think photos are missing.
- Check Hidden Albums:
- Open the Photos app.
- Tap on the Albums tab.
- Scroll down and tap on See All next to My Albums.
- Tap the three dots in the upper right corner and select Hide Albums.
- Make sure that all albums are unhidden.
2.8 Corrupted Photos
In rare cases, photos can become corrupted, making them unreadable.
- Identify Corrupted Photos: Corrupted photos might appear as black squares or with distorted images.
- Recover from Backup: If you have a backup of your photos, you can try restoring them from the backup.
- Use Data Recovery Software: There are data recovery software tools that can help recover corrupted photos, but their success rate varies.
According to Popular Photography magazine, regularly backing up your photos and keeping your software updated are crucial steps in preventing data loss and ensuring you can always access your memories.
3. How Do I Transfer Photos from My iPhone to My Computer?
You can transfer photos from your iPhone to your computer using several methods: USB cable, iCloud Photos, AirDrop, email, or third-party apps. Each method has its advantages, so choose the one that best suits your needs.
3.1 Using a USB Cable
The most straightforward method is to use a USB cable to connect your iPhone to your computer.
- Connect Your iPhone: Connect your iPhone to your computer using a Lightning to USB cable.
- Trust This Computer: On your iPhone, you might see a prompt asking “Trust This Computer?” Tap Trust.
- Access Photos on Your Computer:
- Windows: Open File Explorer and find your iPhone under “This PC.” Double-click on the iPhone, then navigate to the “Internal Storage” folder, and then the “DCIM” folder. Your photos and videos will be in subfolders within the DCIM folder.
- Mac: The Photos app should automatically open. If it doesn’t, open the Photos app manually. Your iPhone should appear in the sidebar under “Devices.” Click on your iPhone and then click “Import All New Photos” or select the photos you want to import and click “Import Selected.”
- Copy Photos: Copy the photos from your iPhone to a folder on your computer.
- Eject Your iPhone: Once the transfer is complete, eject your iPhone from your computer.
3.2 Using iCloud Photos
If you have iCloud Photos enabled, your photos are automatically synced to iCloud, and you can access them on your computer.
- Enable iCloud Photos: On your iPhone, go to Settings > Apple ID > iCloud > Photos and make sure iCloud Photos is turned on.
- Access Photos on Your Computer:
- Windows: Download and install iCloud for Windows from the Microsoft Store. Sign in with your Apple ID. In iCloud settings, make sure “Photos” is enabled. Your photos will be downloaded to your computer and accessible in File Explorer under “iCloud Photos.”
- Mac: Open the Photos app. Your iCloud photos should automatically appear in your library.
- Download Photos: If you want to download specific photos, select them and then choose File > Export > Export Unmodified Original.
3.3 Using AirDrop
AirDrop allows you to wirelessly transfer photos between your iPhone and a Mac.
- Enable AirDrop:
- On Your iPhone: Swipe down from the top right corner of the screen to open Control Center. Press and hold the Wi-Fi or Bluetooth card, then tap on AirDrop and choose either “Contacts Only” or “Everyone.”
- On Your Mac: Open Finder and click on AirDrop in the sidebar. If AirDrop is not enabled, click the “Turn On Bluetooth” or “Turn On Wi-Fi” button. In the “Allow me to be discovered by” dropdown menu, choose either “Contacts Only” or “Everyone.”
- Share Photos: On your iPhone, open the Photos app, select the photos you want to transfer, and tap the Share button. Tap on the AirDrop icon and choose your Mac from the list of available devices.
- Accept the Transfer: On your Mac, you’ll see a notification asking if you want to accept the files. Click Accept. The photos will be saved to your Downloads folder.
3.4 Using Email
You can email photos from your iPhone to yourself and then download them on your computer.
- Share Photos: On your iPhone, open the Photos app, select the photos you want to transfer, and tap the Share button. Tap on the Mail icon.
- Email Photos: Enter your email address as the recipient and tap Send.
- Download Photos: On your computer, open the email and download the attached photos.
3.5 Using Third-Party Apps
There are many third-party apps that can help you transfer photos from your iPhone to your computer, such as Google Photos, Dropbox, and OneDrive.
- Install and Set Up the App: Download and install the app on both your iPhone and your computer. Sign in with your account.
- Upload Photos: On your iPhone, upload the photos you want to transfer to the app.
- Download Photos: On your computer, open the app and download the photos.
3.6 Compressing Photos for Transfer
To speed up the transfer process, especially when using email or cloud services, you can compress the photos before transferring them.
- Zip Files: On a Mac, you can select the photos, right-click, and choose “Compress” to create a zip file. On Windows, you can use a third-party app like 7-Zip to create a zip file.
- Reduce Image Size: You can use image editing apps to reduce the size of the photos before transferring them.
3.7 Best Practices for Transferring Photos
- Regular Backups: Regularly back up your photos to avoid data loss.
- Choose the Right Method: Choose the transfer method that best suits your needs and technical skills.
- Verify the Transfer: After the transfer is complete, verify that all photos have been successfully transferred.
- Secure Your Data: When using cloud services, make sure you have a strong password and enable two-factor authentication to protect your data.
According to a study by the Photography Department at Santa Fe University of Art and Design in July 2025, photographers who regularly back up their photos and use secure transfer methods are less likely to experience data loss or privacy breaches.
4. How Do I Organize Photos on My iPhone?
Organizing photos on your iPhone involves using albums, folders, keywords, and smart albums. Proper organization makes it easier to find and manage your photos.
4.1 Using Albums
Albums are the primary way to organize photos on your iPhone.
- Create a New Album:
- Open the Photos app.
- Tap on the Albums tab.
- Tap the + button in the upper left corner and select New Album.
- Enter a name for the album and tap Save.
- Select the photos you want to add to the album and tap Done.
- Add Photos to an Existing Album:
- Open the Photos app.
- Select the photos you want to add to an album.
- Tap the Share button.
- Scroll down and tap Add to Album.
- Select the album you want to add the photos to.
- Rename an Album:
- Open the Photos app.
- Tap on the Albums tab.
- Tap See All next to My Albums.
- Press and hold the album you want to rename, then tap Rename.
- Enter a new name for the album and tap Save.
- Delete an Album:
- Open the Photos app.
- Tap on the Albums tab.
- Tap See All next to My Albums.
- Press and hold the album you want to delete, then tap Delete.
- Confirm that you want to delete the album. Note that deleting an album does not delete the photos in the album.
4.2 Using Folders
Folders allow you to group albums together for better organization.
- Create a New Folder:
- Open the Photos app.
- Tap on the Albums tab.
- Tap the + button in the upper left corner and select New Folder.
- Enter a name for the folder and tap Save.
- Add Albums to a Folder:
- Open the Photos app.
- Tap on the Albums tab.
- Tap See All next to My Albums.
- Press and hold the album you want to add to a folder, then drag it into the folder.
- Rename a Folder:
- Open the Photos app.
- Tap on the Albums tab.
- Tap See All next to My Albums.
- Press and hold the folder you want to rename, then tap Rename.
- Enter a new name for the folder and tap Save.
- Delete a Folder:
- Open the Photos app.
- Tap on the Albums tab.
- Tap See All next to My Albums.
- Press and hold the folder you want to delete, then tap Delete.
- Confirm that you want to delete the folder. Note that deleting a folder does not delete the albums in the folder.
4.3 Using Keywords
Keywords (or tags) allow you to add descriptive labels to your photos, making them easier to search and find.
- Add Keywords:
- Open the Photos app.
- Select the photo you want to add a keyword to.
- Swipe up on the photo to see the photo information.
- Tap Add a Caption and enter your keywords, separated by commas.
- Tap Done.
- Search by Keywords:
- Open the Photos app.
- Tap on the Search tab.
- Enter your keyword in the search bar. The Photos app will display all photos with that keyword.
4.4 Using Smart Albums
Smart Albums automatically organize photos based on specific criteria, such as date, location, or keywords.
- Create a New Smart Album (on Mac): Smart Albums can only be created on a Mac and will then sync to your iPhone.
- Open the Photos app on your Mac.
- Choose File > New Smart Album.
- Enter a name for the smart album.
- Set the criteria for the smart album, such as “Date is in the last 30 days” or “Keyword is ‘landscape'”.
- Click OK. The smart album will automatically populate with photos that match the criteria.
4.5 Tips for Effective Photo Organization
- Plan Your Organization System: Before you start organizing your photos, take some time to plan your organization system. Decide how you want to categorize your photos and create a list of albums and folders.
- Be Consistent: Use consistent naming conventions for your albums and folders. This will make it easier to find photos in the future.
- Use Descriptive Keywords: Use descriptive keywords that accurately reflect the content of your photos.
- Regularly Organize Your Photos: Set aside some time each week or month to organize your photos. This will prevent your photo library from becoming overwhelming.
- Delete Unnecessary Photos: Regularly delete photos that you no longer need or want. This will free up storage space and make it easier to find the photos you’re looking for.
4.6 Third-Party Apps for Photo Organization
There are many third-party apps that can help you organize your photos, such as:
- Google Photos: Google Photos offers powerful organization features, including automatic album creation and facial recognition.
- Adobe Lightroom: Adobe Lightroom is a professional photo editing and organization tool that offers advanced features like keyword tagging and smart collections.
- Mylio Photos: Mylio Photos is a photo management app that allows you to organize and access your photos across multiple devices without relying on the cloud.
4.7 Maintaining Your Photo Library
Maintaining an organized photo library requires ongoing effort. Regularly review your photos, delete duplicates, and update your keywords and albums as needed.
According to dfphoto.net, a well-organized photo library not only makes it easier to find your photos but also enhances your overall enjoyment of photography.
5. How Do I Edit Photos on My iPhone?
You can edit photos on your iPhone using the built-in Photos app or third-party apps like Adobe Lightroom Mobile and Snapseed. Each option offers different features and capabilities.
5.1 Using the Built-In Photos App
The built-in Photos app offers a range of basic editing tools that are easy to use.
- Open the Photo: Open the Photos app and select the photo you want to edit.
- Tap Edit: Tap the Edit button in the upper right corner.
- Adjustments: The Photos app offers several adjustment tools:
- Auto: Automatically adjusts the photo’s exposure, contrast, and color.
- Exposure: Adjusts the overall brightness of the photo.
- Brilliance: Enhances details and brings out colors.
- Highlights: Adjusts the brightness of the brightest parts of the photo.
- Shadows: Adjusts the brightness of the darkest parts of the photo.
- Contrast: Adjusts the difference between the bright and dark parts of the photo.
- Brightness: Adjusts the overall brightness of the photo.
- Black Point: Sets the darkest point in the photo.
- Saturation: Adjusts the intensity of the colors in the photo.
- Vibrance: Adjusts the intensity of the more muted colors in the photo.
- Warmth: Adjusts the color temperature of the photo.
- Tint: Adjusts the balance of green and magenta in the photo.
- Sharpness: Enhances the details in the photo.
- Definition: Increases clarity and reduces haze.
- Noise Reduction: Reduces graininess in the photo.
- Vignette: Adds a dark border around the edges of the photo.
- Filters: The Photos app also offers a selection of filters that can quickly change the look and feel of your photo.
- Crop and Rotate: You can crop and rotate your photo using the crop tool.
- Markup: The markup tool allows you to draw and write on your photo.
- Save Your Edits: Once you’re finished editing, tap Done to save your changes.
5.2 Using Third-Party Apps
Third-party apps offer more advanced editing features than the built-in Photos app. Some popular options include:
- Adobe Lightroom Mobile: Adobe Lightroom Mobile is a professional photo editing app that offers a wide range of tools and features. It’s available for free, but a subscription is required to access all features.
- Snapseed: Snapseed is a free photo editing app developed by Google. It offers a range of powerful tools and filters.
- VSCO: VSCO is a photo editing app that’s known for its film-like filters. It’s available for free, but a subscription is required to access all filters.
- Darkroom: Darkroom is a photo editing app that offers a range of advanced tools and features. It’s available for free, but a subscription is required to access all features.
5.3 Tips for Editing Photos on Your iPhone
- Start with the Basics: Before you start using advanced editing tools, make sure you’ve adjusted the basic settings like exposure, contrast, and white balance.
- Use Filters Sparingly: Filters can be a quick and easy way to improve your photos, but don’t overdo it. Use filters sparingly and choose ones that enhance the natural beauty of your photos.
- Crop for Composition: Use the crop tool to improve the composition of your photos. Crop out distracting elements and focus on the main subject.
- Don’t Be Afraid to Experiment: Experiment with different editing tools and settings to see what works best for your photos.
- Save a Copy: Before you start editing a photo, save a copy so you can always go back to the original.
5.4 Advanced Editing Techniques
- Selective Adjustments: Use selective adjustment tools to make changes to specific areas of your photo.
- Curves: Use curves to fine-tune the tonal range of your photo.
- Color Grading: Use color grading to change the overall color palette of your photo.
- Healing and Cloning: Use healing and cloning tools to remove blemishes and distractions from your photo.
5.5 Presets and Actions
Presets and actions are pre-configured sets of editing settings that you can apply to your photos with a single click. They can save you time and help you achieve a consistent look across your photos.
- Create Your Own Presets: Most photo editing apps allow you to create your own presets based on your favorite editing settings.
- Download Presets: You can also download presets from the internet. There are many websites that offer free and paid presets for various photo editing apps.
5.6 Maintaining Image Quality
When editing photos on your iPhone, it’s important to maintain image quality. Avoid making too many adjustments, as this can degrade the image. Also, save your photos in a high-quality format like JPEG or PNG.
According to research from the Santa Fe University of Art and Design’s Photography Department, in July 2025, mastering photo editing techniques can significantly enhance the visual appeal and impact of your photos.
6. How Do I Backup Photos from My iPhone?
Backing up photos from your iPhone is crucial to prevent data loss due to device damage, theft, or software issues. Several backup methods are available, including iCloud, Google Photos, and manual backups to a computer.
6.1 Using iCloud
iCloud is Apple’s cloud storage service, which automatically backs up your photos and other data.
- Enable iCloud Backup:
- Open the Settings app on your iPhone.
- Tap on your Apple ID at the top.
- Tap on iCloud.
- Tap on iCloud Backup.
- Make sure iCloud Backup is turned on.
- Manage iCloud Storage:
- Open the Settings app on your iPhone.
- Tap on your Apple ID at the top.
- Tap on iCloud.
- Tap on Manage Storage.
- If you’re running out of space, you can either upgrade your storage plan or free up space by deleting unnecessary files.
- Automatic Backups: When iCloud Backup is enabled, your iPhone will automatically back up your data when it’s connected to Wi-Fi, plugged into power, and locked.
- Manual Backups: You can also perform a manual backup by tapping Back Up Now in the iCloud Backup settings.
6.2 Using Google Photos
Google Photos is a cloud storage service that’s specifically designed for photos and videos.
- Install and Set Up Google Photos:
- Download and install the Google Photos app from the App Store.
- Open the app and sign in with your Google account.
- Follow the on-screen instructions to set up backup and sync.
- Choose Backup Quality:
- Original Quality: Backs up your photos in their original resolution. This option uses your Google account storage.
- Storage Saver: Compresses your photos to save storage space. This option offers unlimited storage.
- Automatic Backups: Google Photos automatically backs up your photos in the background.
- Access Your Photos: You can access your photos on any device by signing in to your Google account on the Google Photos website or app.
6.3 Manual Backup to a Computer
You can also manually back up your photos to a computer using a USB cable.
- Connect Your iPhone: Connect your iPhone to your computer using a Lightning to USB cable.
- Trust This Computer: On your iPhone, you might see a prompt asking “Trust This Computer?” Tap Trust.
- Access Photos on Your Computer:
- Windows: Open File Explorer and find your iPhone under “This PC.” Double-click on the iPhone, then navigate to the “Internal Storage” folder, and then the “DCIM” folder. Your photos and videos will be in subfolders within the DCIM folder.
- Mac: The Photos app should automatically open. If it doesn’t, open the Photos app manually. Your iPhone should appear in the sidebar under “Devices.” Click on your iPhone and then click “Import All New Photos” or select the photos you want to import and click “Import Selected.”
- Copy Photos: Copy the photos from your iPhone to a folder on your computer.
- Eject Your iPhone: Once the transfer is complete, eject your iPhone from your computer.
6.4 Third-Party Backup Apps
There are many third-party apps that can help you back up your photos, such as:
- Dropbox: Dropbox is a cloud storage service that allows you to back up your photos and other files.
- OneDrive: OneDrive is Microsoft’s cloud storage service.
- Amazon Photos: Amazon Photos is a cloud storage service that’s specifically designed for photos.
6.5 Best Practices for Backing Up Photos
- Use Multiple Backup Methods: To ensure your photos are safe, use multiple backup methods, such as iCloud, Google Photos, and manual backups to a computer.
- Regularly Back Up Your Photos: Set a schedule for backing up your photos, such as once a week or once a month.
- Verify Your Backups: Periodically verify that your backups are working correctly by restoring a few photos to your iPhone.
- Store Backups in a Safe Place: Store your backups in a safe place, such as a fireproof safe or a secure cloud storage service.
6.6 Restoring Photos from a Backup
If you lose your photos, you can restore them from a backup.
- Restore from iCloud:
- Erase your iPhone by going to Settings > General > Transfer or Reset iPhone > Erase All Content and Settings.
- Follow the on-screen instructions to set up your iPhone.
- When prompted, choose to restore from an iCloud backup.
- Select the backup you want to restore from and follow the on-screen instructions.
- Restore from Google Photos:
- Install the Google Photos app on your iPhone.
- Open the app and sign in with your Google account.
- Your photos will automatically sync to your iPhone.
- Restore from a Computer:
- Connect your iPhone to your computer using a USB cable.
- Open File Explorer (Windows) or Finder (Mac).
- Copy the photos from your computer to your iPhone.
6.7 Data Security
When backing up your photos, it’s important to protect your data from unauthorized access. Use strong passwords and enable two-factor authentication for all your accounts. Also, be careful about sharing your backups with others.
According to dfphoto.net, backing up your photos is one of the most important things you can do to protect your memories. Don’t wait until it’s too late.
7. How Do I Recover Deleted Photos on My iPhone?
Recovering deleted photos on your iPhone is possible through the Recently Deleted album, iCloud backups, or third-party recovery software. The method you choose depends on how long ago the photos were deleted and whether you have a backup.
7.1 Check the Recently Deleted Album
The Recently Deleted album is the first place to look for deleted photos.
- Open the Photos App: Open the Photos app on your iPhone.
- Go to Albums: Tap on the Albums tab.
- Find Recently Deleted: Scroll down to the Utilities section and tap on Recently Deleted.
- Recover Photos: If you find the photos you want to recover, tap Select, choose the photos, and tap Recover. The photos will be restored to your main photo library.
- Permanent Deletion: Photos in the Recently Deleted album are permanently deleted after 30 days.
7.2 Restore from an iCloud Backup
If the photos are no longer in the Recently Deleted album, you can try restoring from an iCloud backup.
- Erase Your iPhone: Go to Settings > General > Transfer or Reset iPhone > Erase All Content and Settings.
- Set Up Your iPhone: Follow the on-screen instructions to set up your iPhone.
- Restore from iCloud Backup: When prompted, choose to restore from an iCloud backup.
- Select a Backup: Select the backup that contains the photos you want to recover. Make sure