iCloud, Apple’s cloud storage service, provides a seamless way to keep your photos, videos, files, and backups accessible across all your Apple devices. When you set up iCloud, you automatically receive 5GB of free storage. For many users, especially those who capture a lot of photos and videos, this free storage can quickly fill up. Running out of iCloud storage can prevent your devices from backing up, stop new photos and videos from uploading, and disrupt the syncing of your iCloud Drive and other iCloud apps.
If you’re looking to free up space, one of the most effective ways is to manage your iCloud Photos. This guide will focus specifically on How Do You Remove Photos From Icloud to reclaim valuable storage space and ensure your digital life stays organized and accessible.
Before you start deleting, it’s crucial to understand that removing photos from iCloud Photos will delete them across all devices signed in with the same Apple ID. Therefore, it’s highly recommended to archive or create copies of any photos and videos you want to keep before proceeding with deletion.
Removing Photos from iCloud Photos
iCloud Photos is a powerful feature that automatically syncs your photo library across all your devices. Deleting photos from iCloud Photos means they will be removed everywhere. Here’s how to do it on different devices:
On iPhone, iPad, or Apple Vision Pro
-
Open the Photos app: Locate and tap the Photos app icon on your home screen.
-
Navigate to your Photos: Tap “All Photos” or “Library” at the bottom to view your entire photo library.
-
Select Photos to Delete: Tap “Select” in the top right corner. Then, tap on each photo or video you wish to remove from iCloud. A blue checkmark will appear on selected items.
-
Delete Selected Items: Once you’ve selected all the photos and videos, tap the trash can icon at the bottom right corner.
-
Confirm Deletion: Tap “Delete Photos” or “Delete Videos” to confirm your action.
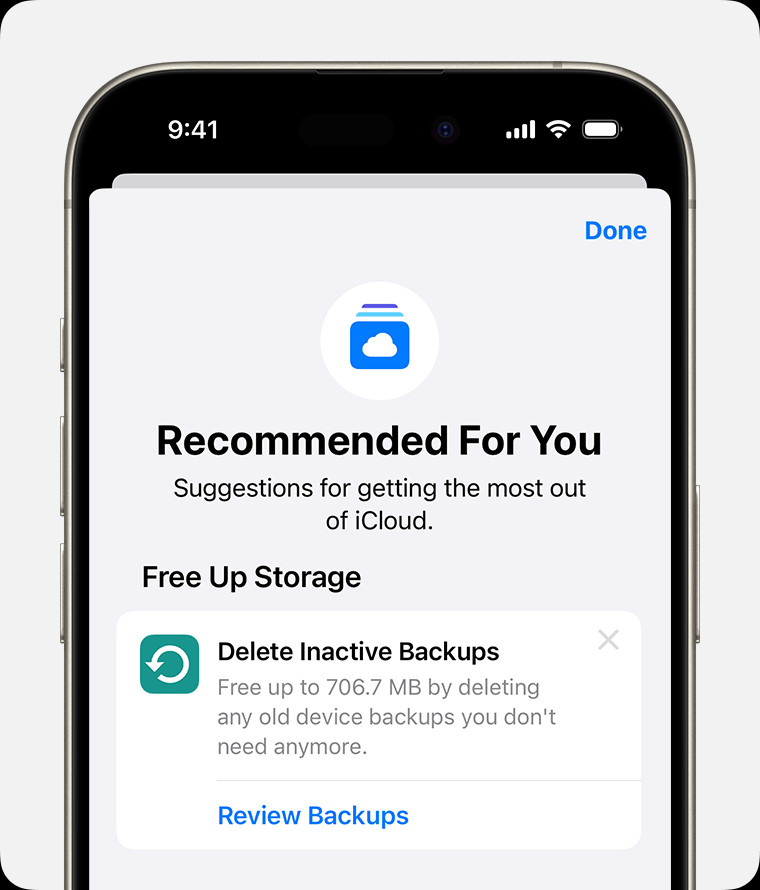 iPhone screen showing the Recommended For You suggestions within iCloud settings.
This action will remove the selected photos and videos from iCloud Photos and all your connected devices.
On Mac
-
Open the Photos app: Find the Photos app in your Applications folder or Launchpad and open it.
-
Select Photos to Delete: Browse your photo library and select the photos or videos you want to delete. You can select multiple items by holding down the Command key while clicking.
-
Delete Selected Items: Press the Delete key on your keyboard.
-
Confirm Deletion: Click “Delete” in the confirmation dialog to move the selected items to the Recently Deleted album.
On iCloud.com
-
Go to iCloud.com and Sign In: Open a web browser and go to iCloud.com. Sign in with your Apple ID and password.
-
Open the Photos App: Click on the “Photos” app icon on the iCloud.com homepage.
-
Select Photos to Delete:
- To select multiple photos or videos, click “Select” at the top, then click on each item.
- To select a range of photos, click the first photo, hold down the Shift key, and click the last photo in the range.
- To select all photos, use the keyboard shortcut Command-A (on Mac) or Control-A (on Windows).
-
Delete Selected Items: Click the trash can icon at the top right corner of the iCloud Photos interface.
-
Confirm Deletion: Click “Delete” to confirm and move the selected items to the Recently Deleted album.
Recovering Deleted Photos from the “Recently Deleted” Album
When you delete photos and videos from iCloud Photos, they are not immediately and permanently removed. Instead, they are moved to the “Recently Deleted” album, where they remain for 30 days. This gives you a grace period to recover any photos you might have accidentally deleted.
To permanently remove photos and free up iCloud storage immediately, you need to empty the “Recently Deleted” album:
On iPhone, iPad, or Apple Vision Pro
-
Open the Photos app: Launch the Photos app.
-
Go to Albums: Tap “Albums” at the bottom.
-
Open Recently Deleted: Scroll down to “Utilities” and tap “Recently Deleted”.
-
Permanently Delete Photos:
- To delete specific photos, tap “Select”, choose the photos, and tap “Delete” then “Delete from This iPhone”.
- To delete all photos in Recently Deleted, tap “Delete All” at the bottom left and confirm.
On Mac
-
Open the Photos app: Open the Photos app on your Mac.
-
Go to Recently Deleted: In the sidebar, click “Recently Deleted”.
-
Permanently Delete Photos:
- To delete specific photos, select them and click “Delete” then “OK” in the dialog.
- To delete all photos in Recently Deleted, click “Delete All” at the top right and confirm.
On iCloud.com
-
Go to iCloud.com and Sign In: Access iCloud.com and sign in.
-
Open the Photos App: Open the Photos app on iCloud.com.
-
Go to Recently Deleted: Click “Recently Deleted” in the sidebar.
-
Permanently Delete Photos:
- To delete specific photos, select them and click “Delete” then “Delete”.
- To delete all photos in Recently Deleted, click “Delete All” at the top right and confirm.
It’s important to note that if you exceed your iCloud storage limit, any photos and videos you delete will be immediately and permanently removed, bypassing the “Recently Deleted” album and preventing recovery.
What if You Don’t Use iCloud Photos?
If you are not using iCloud Photos, your Photo Library is likely being backed up as part of your iCloud Backup. In this case, deleting photos from your device might not directly free up iCloud storage immediately. To check how much storage your Photo Library is using in iCloud Backup:
-
Open Settings: Go to the Settings app on your iPhone or iPad.
-
Tap your Name: Tap on your name at the top.
-
Tap iCloud: Select “iCloud”.
-
Tap Manage Account Storage or Storage: Choose the storage option.
-
Tap Backups: Select “Backups”.
-
Tap your Device Name: Choose the name of your device.
-
Look for Photo Library: You will see the size of your Photo Library backup.
To reduce the size of your Photos backup in this scenario, you have a few options:
- Save Photos to Your Computer: Transfer your photos and videos to your computer for safe keeping.
- Manually Backup Your Device: After saving photos externally, perform a manual backup of your device to iCloud.
- Turn Off Photos in Backup: You can choose to exclude Photos from your iCloud Backup. This means your photos will not be backed up to iCloud, but you’ll free up storage space. To do this, follow steps 1-6 above, then toggle off “Photos” under “Choose data to Backup”.
- Upgrade to iCloud+: If you want to keep your photos backed up in iCloud and need more space, consider upgrading to iCloud+. iCloud+ offers various storage tiers to suit your needs.
Other Ways to Free Up iCloud Storage
While removing photos is often the most significant way to free up iCloud storage, there are other types of data you can manage:
- Reduce iCloud Backup Size: Delete old backups or choose which apps to back up.
- Delete Files in iCloud Drive: Remove unnecessary documents and files from iCloud Drive.
- Delete Texts and Attachments in Messages: Clear out old messages, especially those with large attachments.
- Manage and Delete Mail: Delete emails, especially those with large attachments, and empty your Trash folder.
- Delete Voice Memos: Remove voice recordings you no longer need.
- Delete FaceTime Data: Remove FaceTime call history and data.
- Delete Apple Invites Data: If you use Apple Invites, deleting old events can free up space.
For detailed instructions on managing these other types of data, please refer to the original Apple Support article Manage your iCloud storage.
Conclusion
Managing your iCloud storage is essential for ensuring your Apple devices function smoothly and your important data is securely backed up. By understanding how do you remove photos from iCloud and implementing these steps, you can effectively free up space, keep your iCloud organized, and continue enjoying the benefits of Apple’s ecosystem. Remember to always back up important photos and videos before deleting them and regularly review your iCloud storage to prevent running out of space in the future.
