Transferring images onto fabric can open up a world of creative possibilities, from personalized home décor to unique fashion pieces. Traditionally, this process could be time-consuming, often involving lengthy drying times that test your patience. However, what if you could achieve stunning image transfers onto fabric in just a matter of minutes? This guide will show you exactly how to print photos on fabric rapidly, using a simple technique that dramatically cuts down the waiting time. Forget about long, drawn-out projects; with this method, you can complete a fabric image transfer in just about 10 minutes using a heat gun!
Here’s a step-by-step approach to quickly bring your photos to life on fabric:
-
Print Your Image: Begin by printing your chosen image. For best results, use a high-contrast image and print it using either a laser or inkjet printer. The type of printer isn’t crucial, but image clarity is key for a crisp transfer.
-
Prepare the Image: Carefully cut out your printed image, removing any excess paper from the edges. This ensures a cleaner transfer and prevents unwanted paper residue on your fabric.
-
Set Up Your Workspace: Place your cutout image on a non-stick surface. Plastic or silicone mats work perfectly for this, preventing your image from sticking to your work area.
-
Apply Matte Medium: Apply a thin, even layer of matte medium to the front side of your printed image. Matte medium acts as the adhesive and transfer agent in this process.
-
Adhere to Fabric: Take your fabric and place it face down onto the wet, matte medium-covered image. Ensure the fabric makes good contact with the entire image surface for a complete transfer.
-
Smooth and Secure: Gently but firmly smooth the fabric onto the image. You can use a bone folder or simply your fingers to smooth out any air bubbles and ensure even adhesion across the image area. Smoothing from both sides can enhance the bond.
-
Speed Dry with Heat Gun: This is where the magic happens! Use a heat gun to dry the matte medium. Apply heat for several minutes, moving the heat gun evenly across the fabric surface. This significantly speeds up the drying process compared to air drying, getting you to the next step quickly.
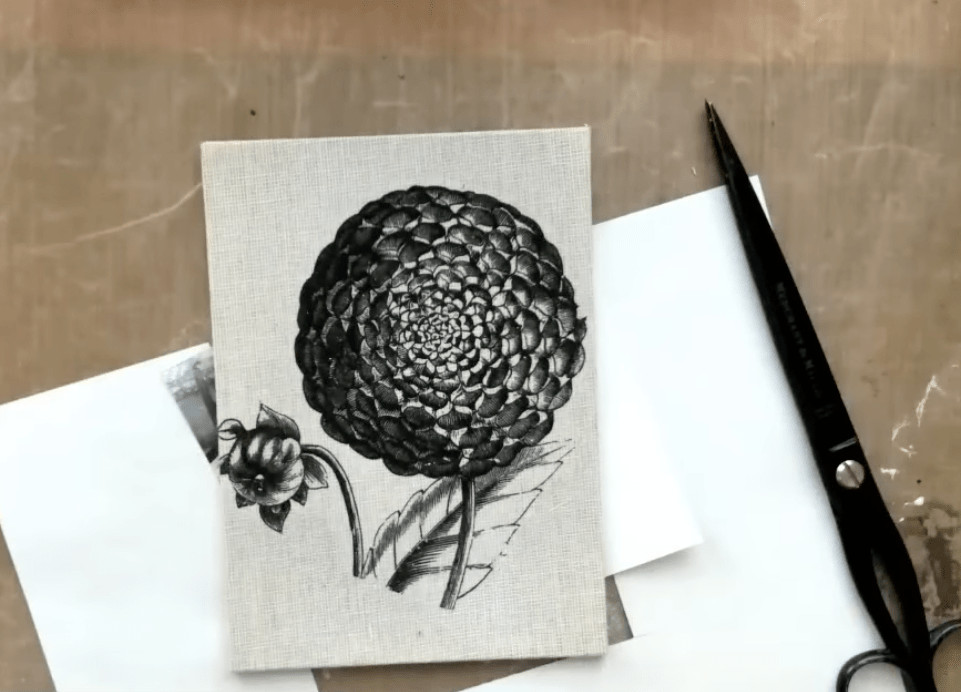 Materials needed for a 10-minute photo transfer onto fabric: matte medium, heat gun, fabric, and a printed image.
-
Soak in Water: Once the matte medium is dry, soak the fabric and image in water for about 3 minutes. This step helps to loosen the paper from the fabric, making it easier to remove while leaving the transferred image intact.
-
Rub Away the Paper: After soaking, gently rub the top layer of paper off with your finger. Start lightly to avoid damaging the transferred image.
-
Remove Remaining Paper: Use a rag to carefully remove the remaining paper. Work from the center outwards to prevent accidentally lifting the image. As the paper pieces become smaller and more stubborn, use the heat gun again to dry the area intermittently. This helps in peeling away the last bits of paper more effectively.
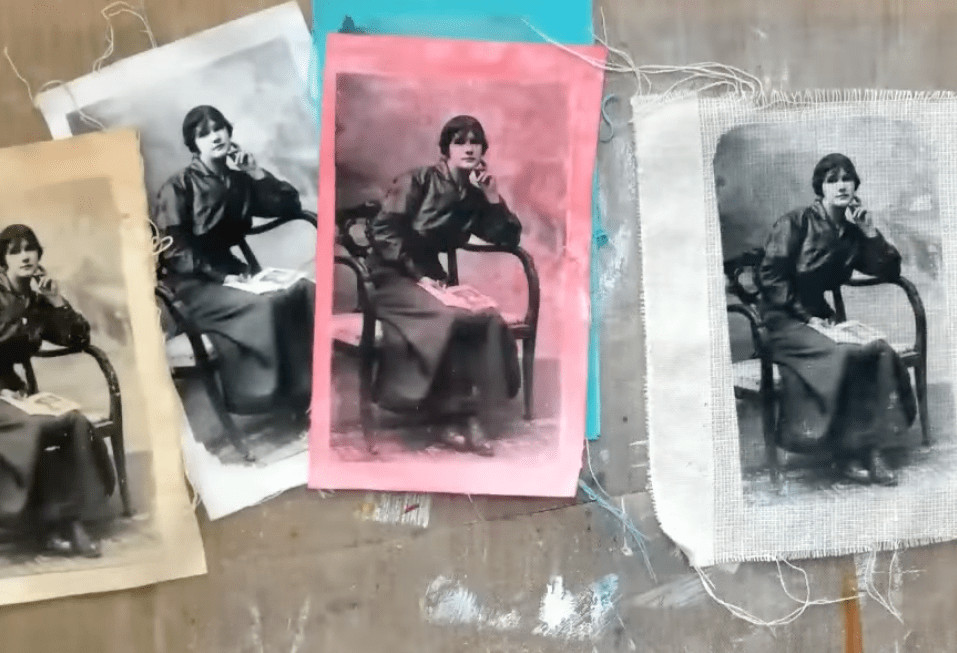 Using a heat gun to quickly dry matte medium for fast photo transfer onto fabric, reducing drying time to just 10 minutes.
- Final Clean Up: If there’s any remaining haze or paper residue after drying, a magic eraser product can be used to gently clean the surface and reveal your clear, transferred image.
Have you tried transferring images onto fabric before? With this rapid heat gun method, learning How Do You Print Photos On Fabric becomes a fast and rewarding creative endeavor. Experiment with different images and fabrics, and explore the possibilities of quick fabric photo transfers in your crafting projects!