Have you ever encountered a situation where you have a fantastic photo, but it’s just too low resolution for your intended use? Whether you want to print it in a larger size, use it as a website background, or simply want a clearer digital version, increasing the resolution of a photo is a common need. While you can’t magically add detail that wasn’t originally there, there are techniques to effectively increase the resolution of your images. This guide will walk you through the process, explain the concepts, and discuss what to expect in terms of image quality.
Understanding Image Resolution
Before we dive into how to increase resolution, it’s crucial to understand what image resolution actually means. In digital photography, resolution is essentially the detail an image holds. It’s often measured in pixels, which are the tiny building blocks that make up a digital image. A higher resolution image has more pixels, meaning it can display more detail and generally look sharper, especially when enlarged.
Think of it like this: if you have a mosaic made of large tiles (low resolution), you can see the overall picture, but the details are blocky and less defined. If you use smaller tiles (high resolution), the same mosaic will appear much smoother and more detailed.
Resolution is also sometimes described in DPI (dots per inch), especially when discussing printing. DPI refers to the number of ink dots per inch of printed image. While DPI is important for print quality, when we talk about digital image resolution for screens and editing, we primarily focus on pixel dimensions.
Upscaling Photos: Can You Really Increase Resolution?
Technically, you can’t truly increase the original resolution of a photo in the sense of adding more detail that wasn’t captured when the photo was taken. When you “increase resolution,” what you’re actually doing is upscaling or resizing the image to have more pixels. Software algorithms achieve this by adding new pixels based on the existing ones, a process called interpolation.
 Screenshot of Preview's Adjust Size dialog with "Fit into" field highlighted
The debate arises whether this upscaling process improves or degrades image quality. Some argue that it inevitably leads to quality loss because you’re essentially inventing pixel data. Others, especially with advancements in upscaling algorithms, contend that it can effectively smooth out pixelation and make low-resolution images more usable, particularly for viewing on larger screens or for minor enlargements.
The perceived quality change after upscaling depends heavily on the original image quality, the amount of upscaling, and the algorithm used. A small upscale might be barely noticeable or even appear to improve the image by smoothing out harsh pixel edges. However, drastically upscaling a very low-resolution image will likely result in a softer, potentially blurry image, as the software is forced to guess a lot of missing information.
How to Increase Photo Resolution Using Preview (macOS)
For users on macOS, the built-in “Preview” application offers a simple way to resize and upscale images. Here’s how you can do it:
-
Open your photo in Preview: Drag and drop your image file onto the Preview icon in your Dock or Applications folder, or right-click on the image file and select “Open With” > “Preview”.
-
Access the “Adjust Size” tool: In the Preview menu bar at the top of your screen, click on “Tools” and then select “Adjust Size…”. This will open the “Adjust Size” dialog box.
 Screenshot of Preview's "Tools" menu with "Adjust Size" highlighted
 -
Enter your desired dimensions: In the “Adjust Size” dialog, you’ll see options to “Fit into” specific dimensions. You can choose from preset sizes or enter custom pixel dimensions in the width and height fields. To increase resolution, you’ll want to enter larger values than the current dimensions.
-
Ensure “Scale proportionally” and “Resample image” are checked: “Scale proportionally” will maintain the aspect ratio of your image, preventing distortion. “Resample image” is the crucial setting that tells Preview to actually add new pixels and perform the upscaling. Make sure both of these boxes are checked.
-
Choose a “Fit into” preset or enter custom dimensions: For example, if you want to upscale your image to a common screen resolution, you could select “1024 x 768” from the “Fit into” dropdown menu, or type in your desired width and height.
-
Click “OK”: Once you’ve entered your desired dimensions and confirmed the settings, click the “OK” button. Preview will upscale your image.
-
Save the upscaled image: To save the newly upscaled image without overwriting your original, go to “File” in the menu bar and select “Save As…”. In the save dialog:
- Rename the file: Add a letter or suffix to the filename (e.g., “image_upscaled.jpg”) to distinguish it from the original.
- Choose a destination: Select where you want to save the new file, such as your Desktop for easy access.
- Format: Ensure “Format” is set to “JPEG” (or your desired format).
- Quality: Set the “Quality” slider to “Best” to maintain the highest possible quality for the upscaled image.
- Click “Save”.
Now you have a new, upscaled version of your photo with increased pixel dimensions.
Comparing Original and Upscaled Images
To visually understand the effect of upscaling, let’s look at an example. Consider this old scanned genealogy photo, originally at 634 x 982 pixels:
 Original low-resolution genealogy photo
Here’s a detail from the original image, showing pixelation:
 Detail of original low-resolution photo showing pixelation
After upscaling this image by 200% to 1300 x 2000 pixels, and looking at the same detail area, you can observe a smoothing effect:
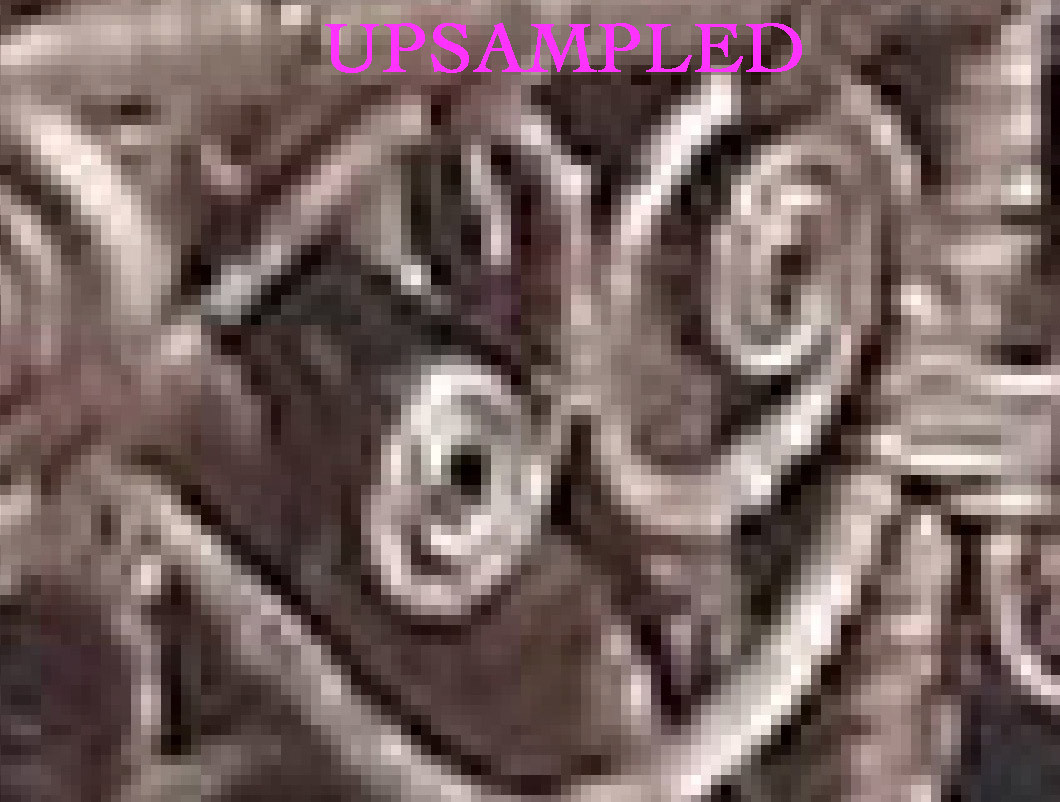 Detail of upscaled photo showing smoothing effect
While the upscaled image might not gain any true detail, it often appears smoother and less pixelated, which can be a desirable outcome depending on your needs.
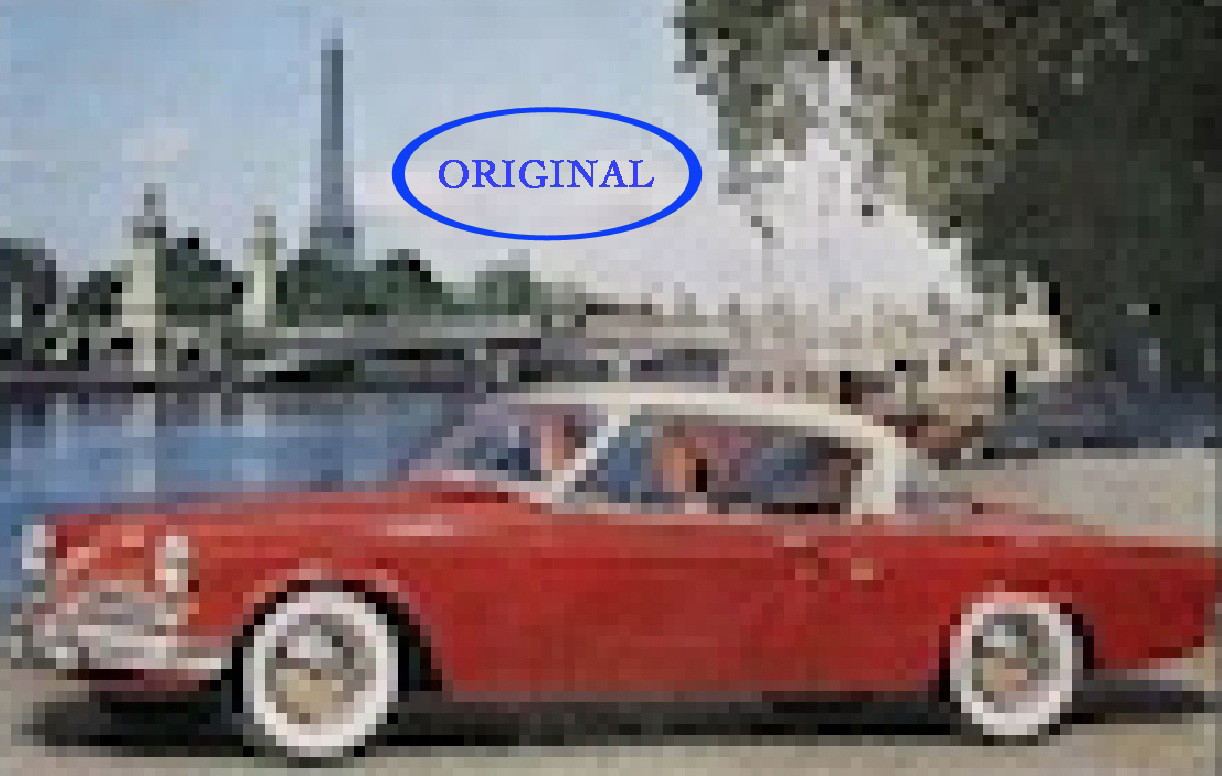
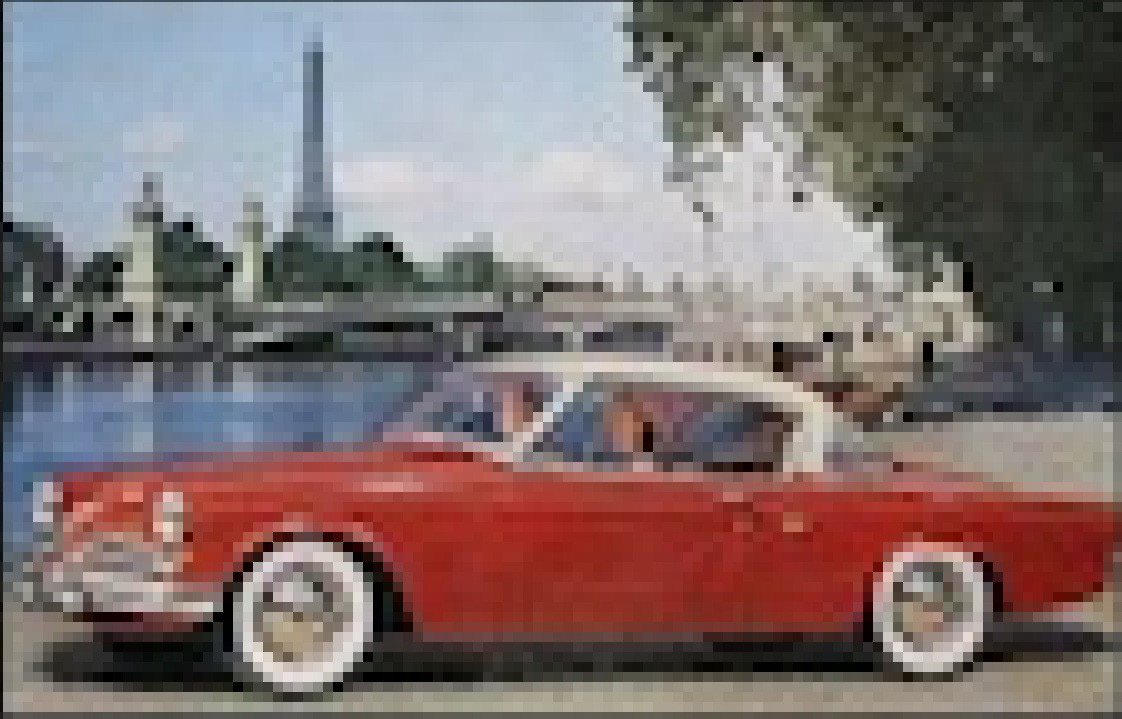
Another example highlights upscaling a very small web image. This Studebaker ad is only 214 pixels wide:
 Original small Studebaker ad image
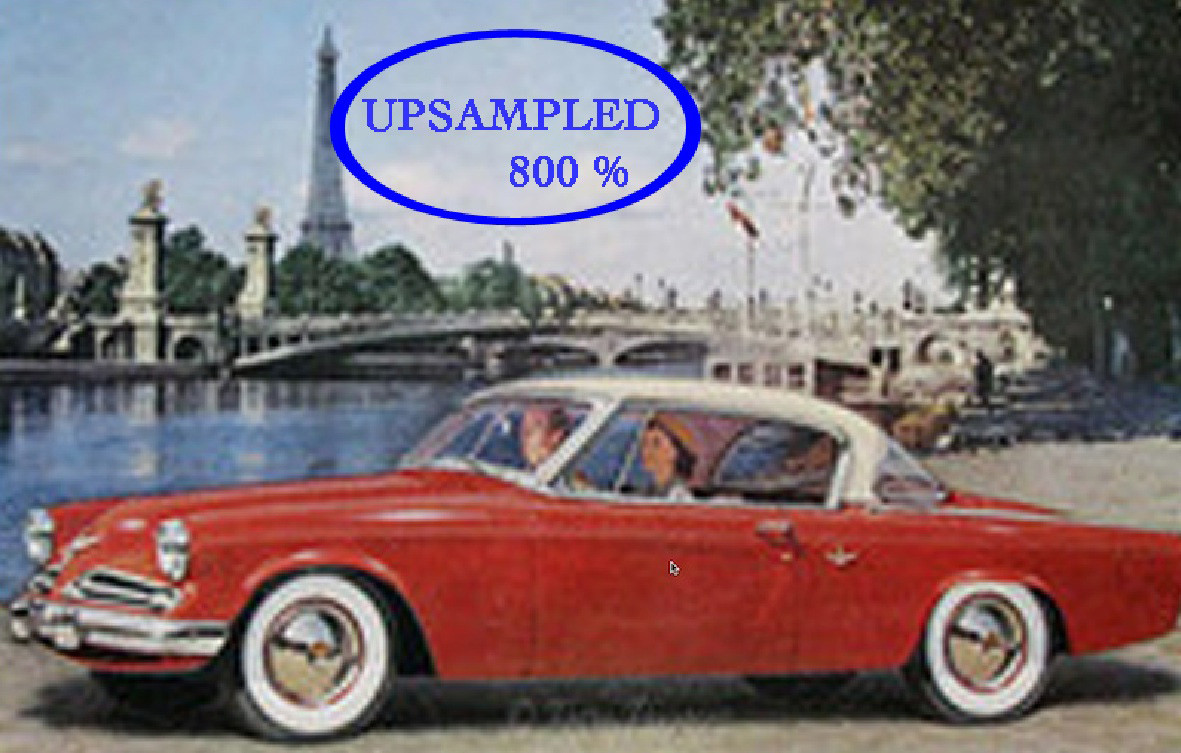
Upscaling it by 800% results in a much larger image:
 Upscaled Studebaker ad image (800%)
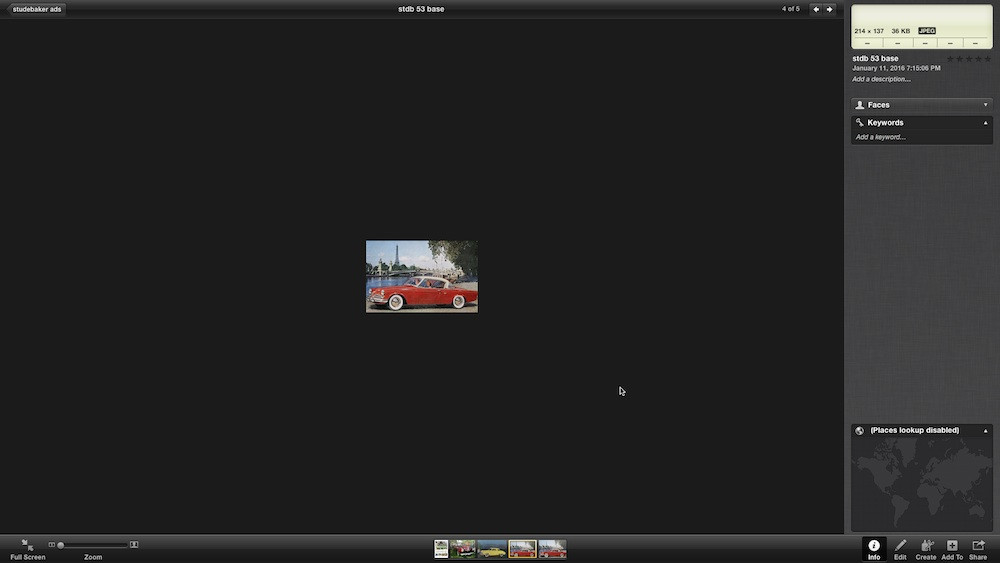
Comparing this to simply zooming in on the original small image to fit the screen demonstrates the benefit of upscaling for smoother viewing:
 Zoomed (not upscaled) Studebaker ad image for comparison
Alternative Methods and Software for Upscaling
While Preview offers a basic upscaling function, numerous other software options provide more advanced algorithms and features for increasing photo resolution. These include:
- Adobe Photoshop: Offers various resampling methods (like Bicubic Smoother) that can produce higher quality upscaling results compared to basic methods.
- Photoshop Elements: A more affordable alternative to Photoshop with robust image resizing capabilities.
- Dedicated Upscaling Software: Software specifically designed for upscaling, often utilizing AI-powered algorithms to intelligently add detail and minimize artifacts. Examples include Topaz Gigapixel AI, ON1 Resize AI, and others.
- Online Upscaling Tools: Numerous websites offer free or paid online image upscaling services, often using AI algorithms for enhanced results.
These alternative tools often provide more control over the upscaling process and can yield better results, especially when dealing with significant resolution increases or when aiming for the highest possible quality.
Conclusion
Increasing the resolution of a photo is essentially about upscaling it to have more pixels. While you can’t add true detail that wasn’t originally there, upscaling can be a useful technique to make low-resolution images more suitable for various purposes. Using tools like Preview on macOS, or more advanced software, you can effectively increase the resolution of your photos and improve their visual appearance, especially when viewing them on larger screens or making minor enlargements. Remember to experiment with different methods and software to find what works best for your specific images and desired outcomes.
