Live Photos bring your still images to life by capturing a few seconds of motion and sound before and after you press the shutter button. This fantastic feature, available on iPhones and iPads, transforms your photos from static memories into dynamic moments you can relive. If you’re wondering, “How Do I Turn Live Photos On?”, you’ve come to the right place. This comprehensive guide will walk you through enabling and using Live Photos, ensuring you never miss capturing those fleeting moments in motion.
Understanding Live Photos: More Than Just a Photo
Before we dive into the “how-to”, let’s quickly understand what makes Live Photos so special. Imagine a photo capturing not just a smile, but the giggle that followed, or the wind gently blowing through hair in a portrait. That’s the essence of Live Photos. When activated, your iPhone camera records a brief video clip alongside your photo, creating a richer, more immersive memory. This feature is perfect for capturing:
- Candid moments: The subtle shifts in expression, the spontaneous laughter.
- Action shots: The whoosh of a skateboard trick, the splash of a jump into a pool.
- Atmospheric scenes: The gentle sway of trees, the murmur of a crowd.
Live Photos are more engaging and evocative than standard photos, adding a layer of depth and emotion to your visual storytelling.
Turning Live Photos On and Off: Step-by-Step
Now, let’s get to the core question: how do I turn live photos on? It’s incredibly simple and can be done directly within the Camera app.
How to Turn On Live Photos:
-
Launch the Camera App: Find and tap the Camera app icon on your iPhone or iPad home screen.
-
Ensure Photo Mode is Active: At the bottom of the camera interface, make sure “Photo” mode is selected. Swipe left or right to switch between modes if needed.
-
Locate the Live Photos Button: Look for a circular icon resembling concentric circles at the top right (in portrait mode) or top center (in landscape mode) of your screen. This is the Live Photos button.
-
Activate Live Photos: If the Live Photos button is not crossed out, it means Live Photos is already turned on. If it has a slash through it ( ), tap the button once to enable Live Photos. The slash will disappear, indicating that Live Photos is now active and ready to capture motion.
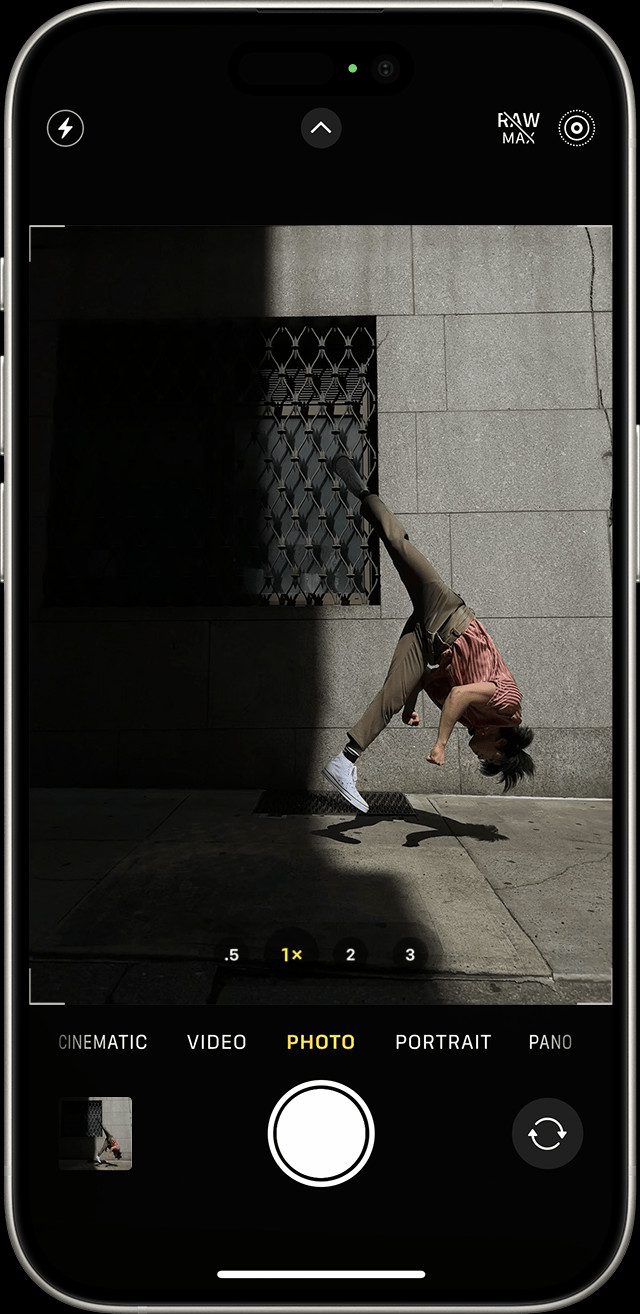 An iPhone with Live Photos turned on in the Camera app.
With Live Photos turned on, every photo you take will now be a Live Photo, capturing those precious moments before and after the shutter click.
Turning Off Live Photos Temporarily:
If you want to take standard still photos without the Live Photo effect for a particular session, you can easily turn it off temporarily. Simply tap the Live Photos button in the Camera app again. The slash will reappear through the icon ( ), indicating that Live Photos is now deactivated. This is useful when you want to save storage space or prefer static images for certain subjects.
Turning Off Live Photos Permanently (Preserve Settings):
By default, the Camera app will automatically turn Live Photos back on the next time you open it. If you prefer to keep Live Photos consistently turned off, you can adjust your iPhone settings to preserve your last Live Photos setting. Here’s how:
- Open the Settings App: Find and tap the Settings app icon (gear icon) on your home screen.
- Scroll Down and Tap “Camera”: Locate and select “Camera” from the list of settings options.
- Tap “Preserve Settings”: In the Camera settings menu, tap on “Preserve Settings”.
- Toggle “Live Photo” On: Find the “Live Photo” option and toggle the switch to the green “on” position.
By enabling “Live Photo” under “Preserve Settings,” your iPhone will remember your last Live Photos setting. If you turned it off, it will remain off the next time you open the Camera app, until you manually turn it back on.
Exploring the World of Live Photos: Features and Effects
Now that you know how to turn live photos on, let’s explore what you can do with them beyond simply taking them.
Finding and Playing Your Live Photos:
All your Live Photos are easily accessible within the Photos app.
-
Open the Photos App: Tap the Photos app icon on your home screen.
-
Navigate to “Albums”: At the bottom of the Photos app, tap the “Albums” tab.
-
Scroll Down to “Media Types” and Tap “Live Photos”: You’ll find a section called “Media Types.” Tap on “Live Photos” to view all the Live Photos you’ve captured.
 To find your Live Photos album, go to Photos > Albums, then scroll to Media Types and tap Live Photos.
 -
Play a Live Photo: To play a Live Photo, simply tap on a photo to open it in full screen, then press and hold anywhere on the photo. You’ll see the photo come to life with motion and sound!
Enhancing Your Live Photos: Key Photo, Effects, and Editing
Live Photos offer even more creative possibilities with built-in editing features.
-
Changing the Key Photo: The “key photo” is the still image that represents your Live Photo. You can change this to a different frame within the motion clip:
- Open a Live Photo and tap “Edit”.
- Tap the Live Photos button ( ) at the bottom.
- Drag the slider to choose a new frame.
- Release your finger and tap “Make Key Photo”.
- Tap “Done”.
-
Adding Fun Live Photo Effects: Transform your Live Photos with creative effects:
- Open a Live Photo.
- Swipe up on the photo to reveal effects, or tap “Live” at the top.
- Choose from “Loop,” “Bounce,” or “Long Exposure”:
- Loop: Plays your Live Photo in a continuous video loop.
- Bounce: Plays your Live Photo forward and then in reverse repeatedly.
- Long Exposure: Creates a blurred motion effect, simulating long exposure photography – great for waterfalls or light trails.
-
Editing Live Photos Like Regular Photos: You can edit Live Photos just like standard photos, adjusting brightness, contrast, color, and more using the Photos app’s editing tools. Tap “Edit” and use the familiar editing sliders.
Sharing Your Dynamic Memories:
Sharing Live Photos is easy, but keep in mind that recipients will only see the motion if they are viewing it on a compatible device (iPhone, iPad, Mac, or through certain online platforms).
- Open the Live Photo you want to share.
- Tap the Share button (upward arrow in a box).
- Choose your sharing method (Messages, Mail, social media, etc.).
- If you want to share only the still photo, tap “Live” in the top left corner before sharing to convert it to a static image.
Conclusion: Embrace the Motion
Live Photos are a fantastic way to capture more than just a still image, preserving fleeting moments with motion and sound. Now that you know how do I turn live photos on and how to use their features, you can start capturing and sharing your memories in a whole new dynamic way. Experiment with different effects, find the perfect key photo, and bring your photo library to life!