Want to personalize your home décor or create unique, personalized gifts? Transferring photos to fabric opens up a world of creative possibilities. Whether you envision custom throw pillows, bespoke dinner napkins adorned with cherished memories, or even one-of-a-kind fabric postcards, mastering the art of photo transfer is easier than you might think. This guide will walk you through three simple yet effective methods to transfer your favorite photos onto fabric, ensuring your projects are not only beautiful but also long-lasting.
Method 1: The Iron-On Magic of Photo Transfer Paper
Using photo transfer paper is often the first technique people think of, and for good reason. It’s readily accessible and provides a straightforward way to move images from your printer to fabric using just an iron. This method is ideal for projects like t-shirts, tote bags, and other items where you want a direct, ironed-on image.
1. Choosing the Right Photo Transfer Paper
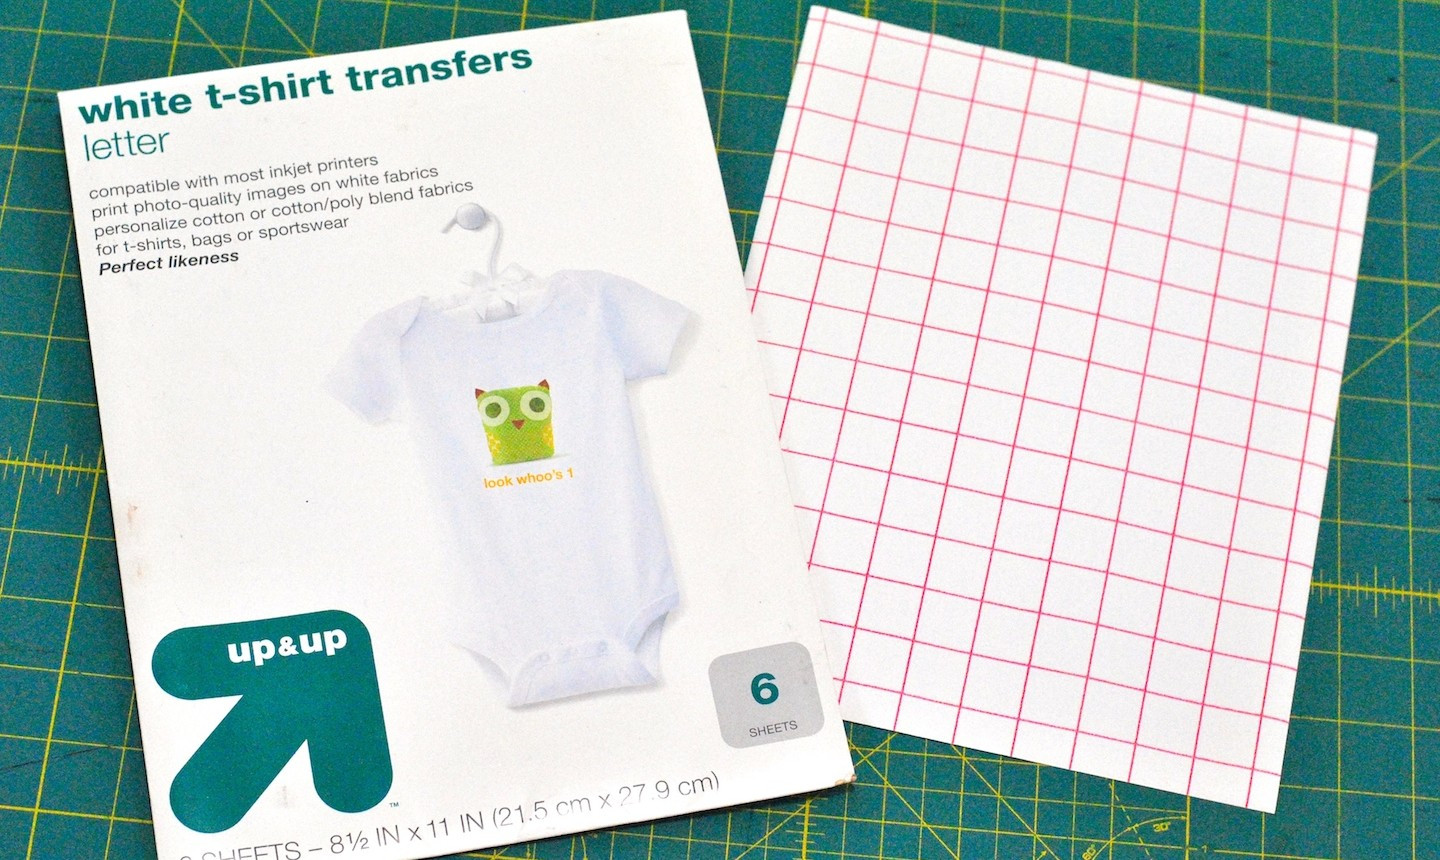 Selection of photo transfer papers
The first step is selecting the appropriate photo transfer paper. It’s crucial to ensure the paper is compatible with your printer type – inkjet or laser. Additionally, consider the color of your fabric. Transfer papers are typically designed for either light or dark fabrics. Using the wrong paper can lead to poor image quality or difficulty in transferring the image effectively. Always read the manufacturer’s instructions before purchasing to confirm it suits your fabric type and project needs. Some papers are also better suited for different fabric weaves, so if you’re working with a particularly delicate or textured fabric, look for paper that specifies compatibility.
2. Printing and Precision Trimming Your Image
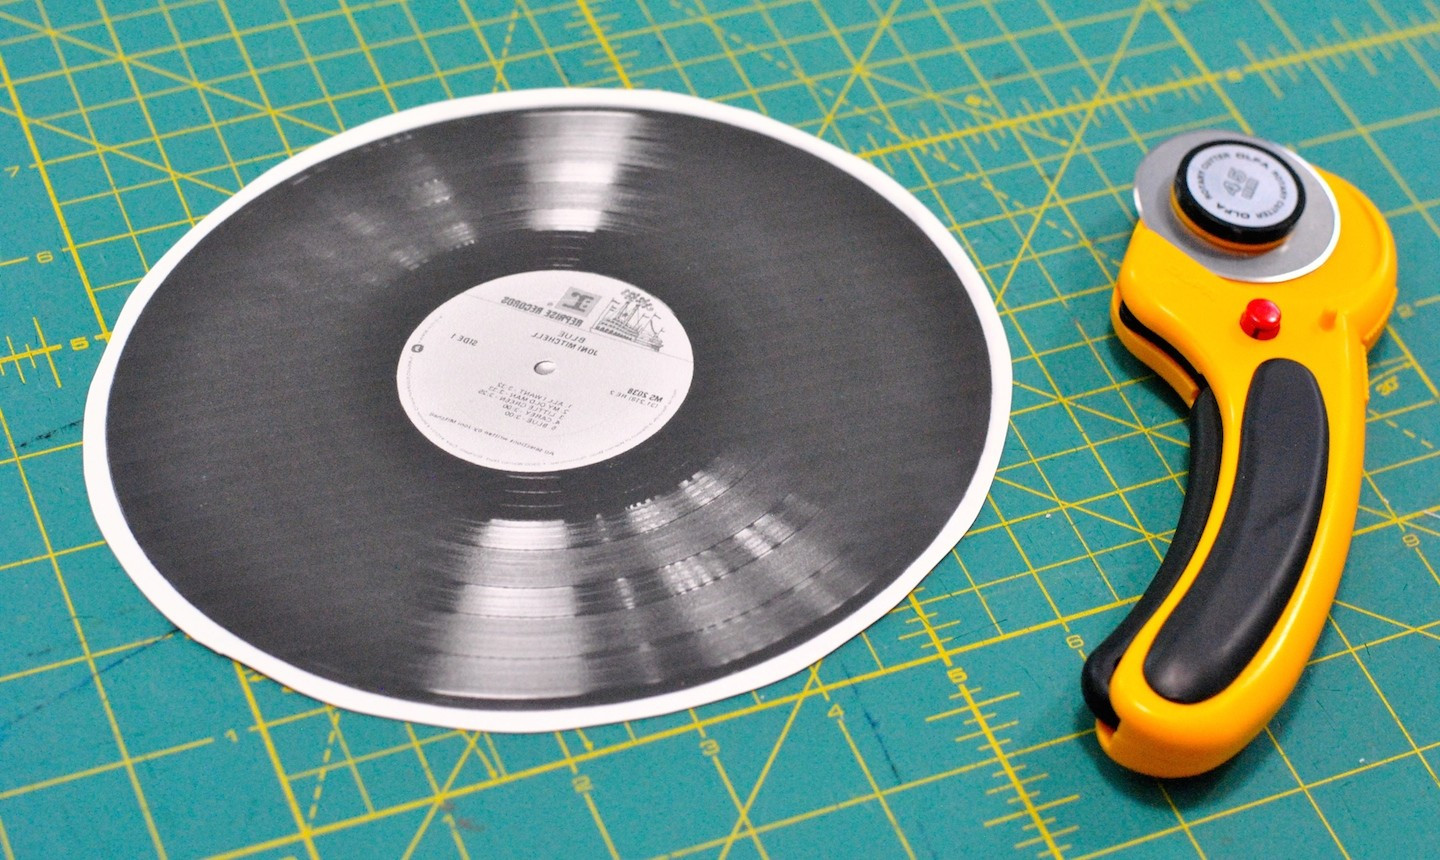 Scissors trimming printed image
Before printing, you might need to reverse your image if it includes text or directional elements. Most photo editing software offers a “mirror image” or “flip horizontal” option for this purpose. This reversal is essential because the image transfers in reverse onto the fabric. Print your image onto the designated side of the transfer paper. It’s wise to do a test print on regular paper first to determine the correct paper orientation in your printer – whether it should be placed face-up or face-down. After printing, carefully trim around your image using scissors or a rotary cutter, leaving about a ¼ inch (0.6 cm) border. This border helps prevent unwanted transfer of adhesive to your fabric.
3. Ironing for a Lasting Bond
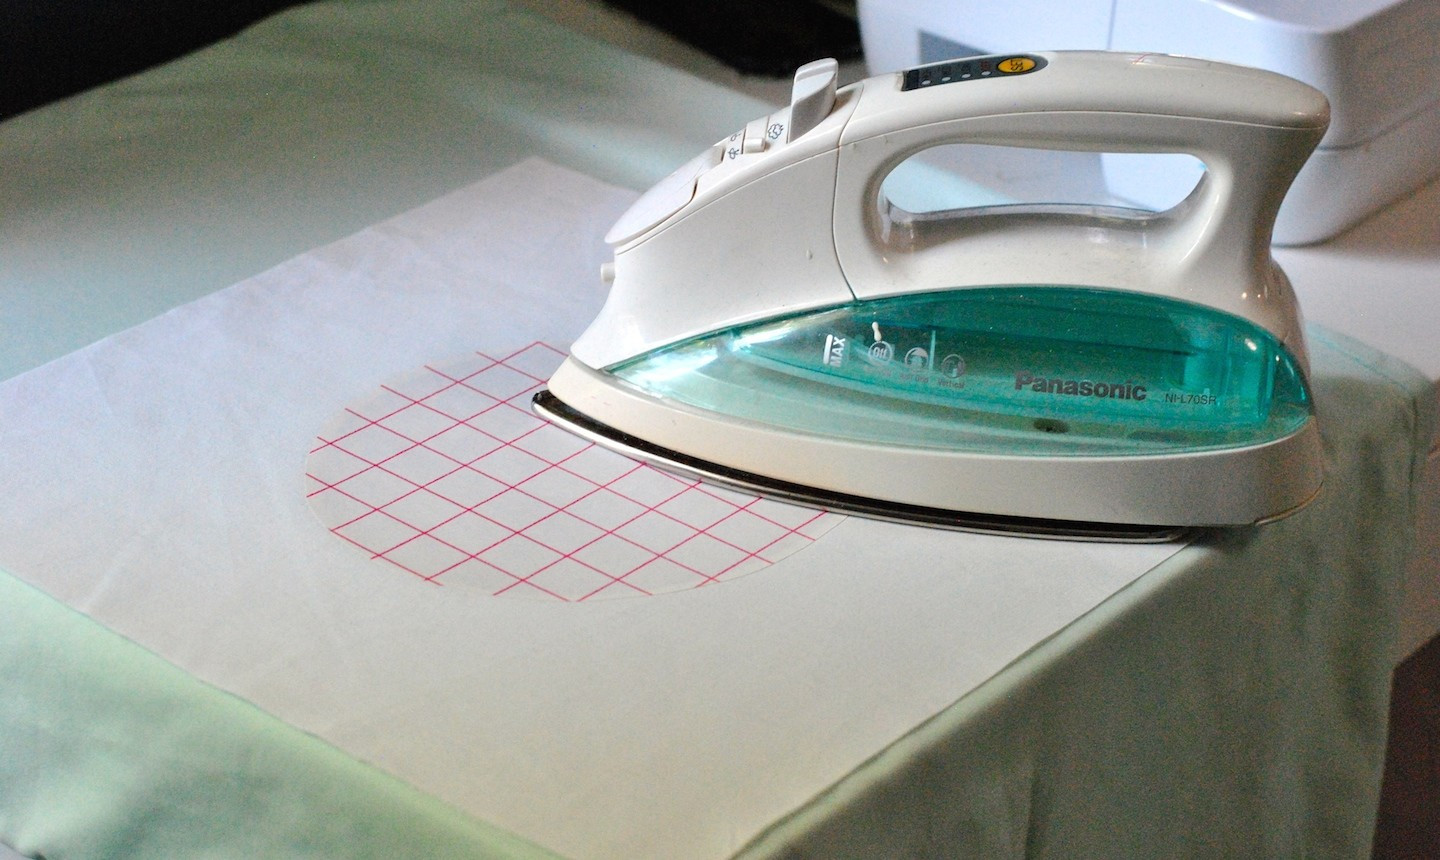 Hot iron pressing transfer paper onto fabric
For best results during ironing, set up on a firm, heat-resistant surface rather than a traditional ironing board, which can be too soft. A wooden table protected with a thick pillowcase or cotton cloth works well. First, iron your fabric to remove any wrinkles, ensuring a smooth surface for transfer. Place your fabric right-side up, and position the transfer paper image-side down on top of it. Using a hot, dry iron (no steam!), apply firm, even pressure. The heat setting and ironing time will depend on the specific transfer paper, so always refer to the manufacturer’s instructions included with your paper. Consistent heat and pressure are key to a successful transfer, ensuring the image adheres properly to the fabric fibers.
4. The Reveal: Peeling Away the Paper
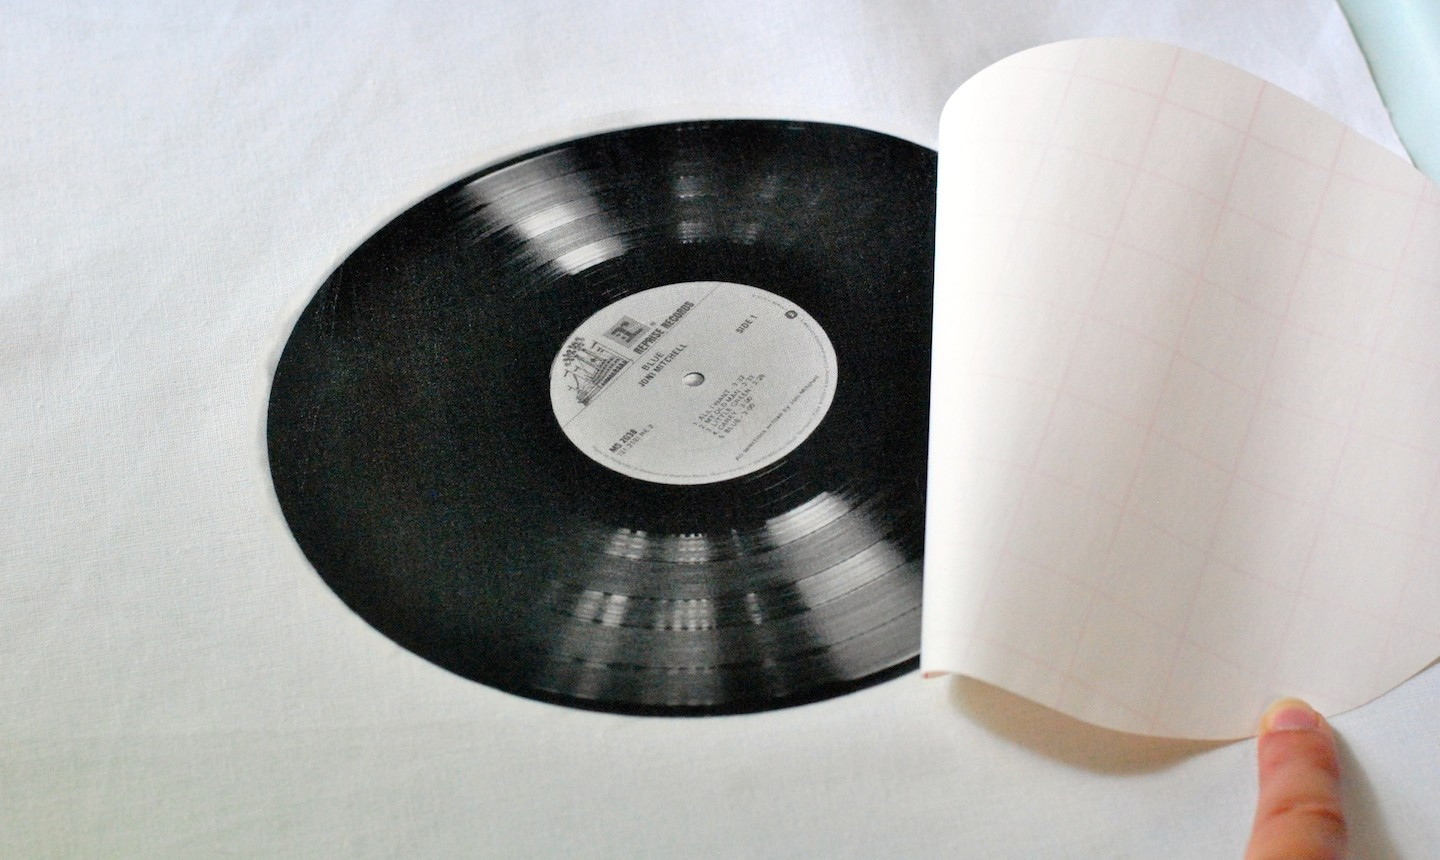 Hand peeling backing paper from fabric transfer
Once the ironing is complete and the transfer has cooled slightly (check paper instructions for cool or hot peel), gently begin to peel away the backing paper in a smooth, consistent motion. Start at a corner and peel diagonally across the image. If any part of the image seems to be sticking to the paper, stop peeling and re-iron that area for a few more seconds before trying again. Peeling too quickly or forcefully can distort or damage the transferred image. After peeling, your photo should be beautifully transferred onto the fabric, ready to be incorporated into your project.
Method 2: Direct Fabric Printing with Freezer Paper
For a more direct approach, using freezer paper allows you to print directly onto fabric using your home printer. This method is particularly effective for creating crisp, detailed images on fabric and is a favorite among crafters for its versatility and the unique, slightly textured finish it gives to printed images.
1. Preparing Your Fabric and Freezer Paper
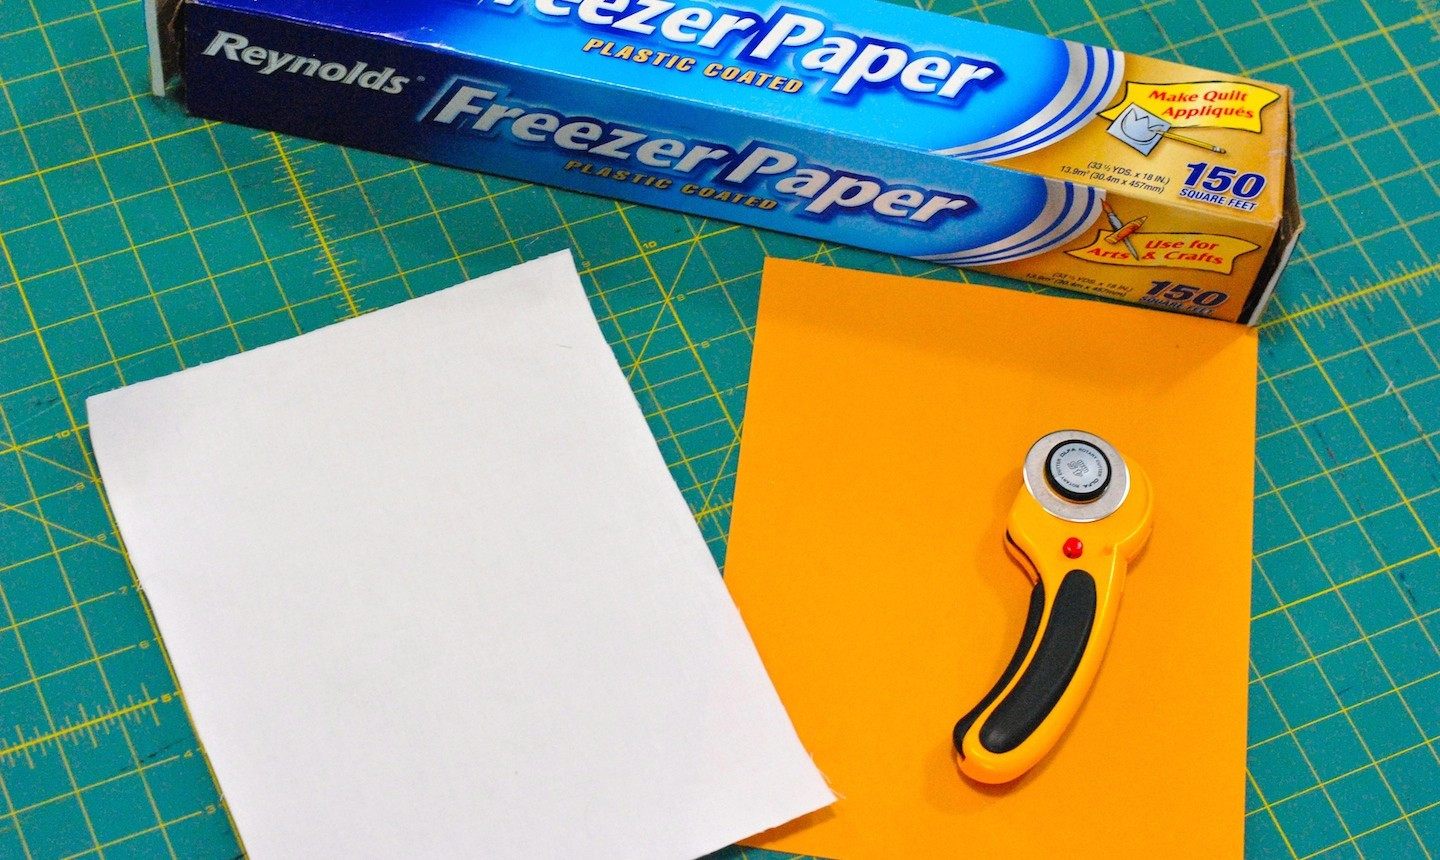 Roll of freezer paper and fabric swatches
Start by thoroughly ironing your chosen fabric to eliminate any wrinkles or creases. Cut a piece of freezer paper slightly larger than a standard 8.5″ x 11″ printer paper. (Crucially, remember not to use wax paper, as freezer paper has a waxy coating on only one side, which is essential for this technique). Use a piece of cardstock as a template to precisely trim both the freezer paper and the fabric to the standard paper size. Accuracy in cutting ensures smooth passage through your printer.
2. Ironing Fabric to Freezer Paper
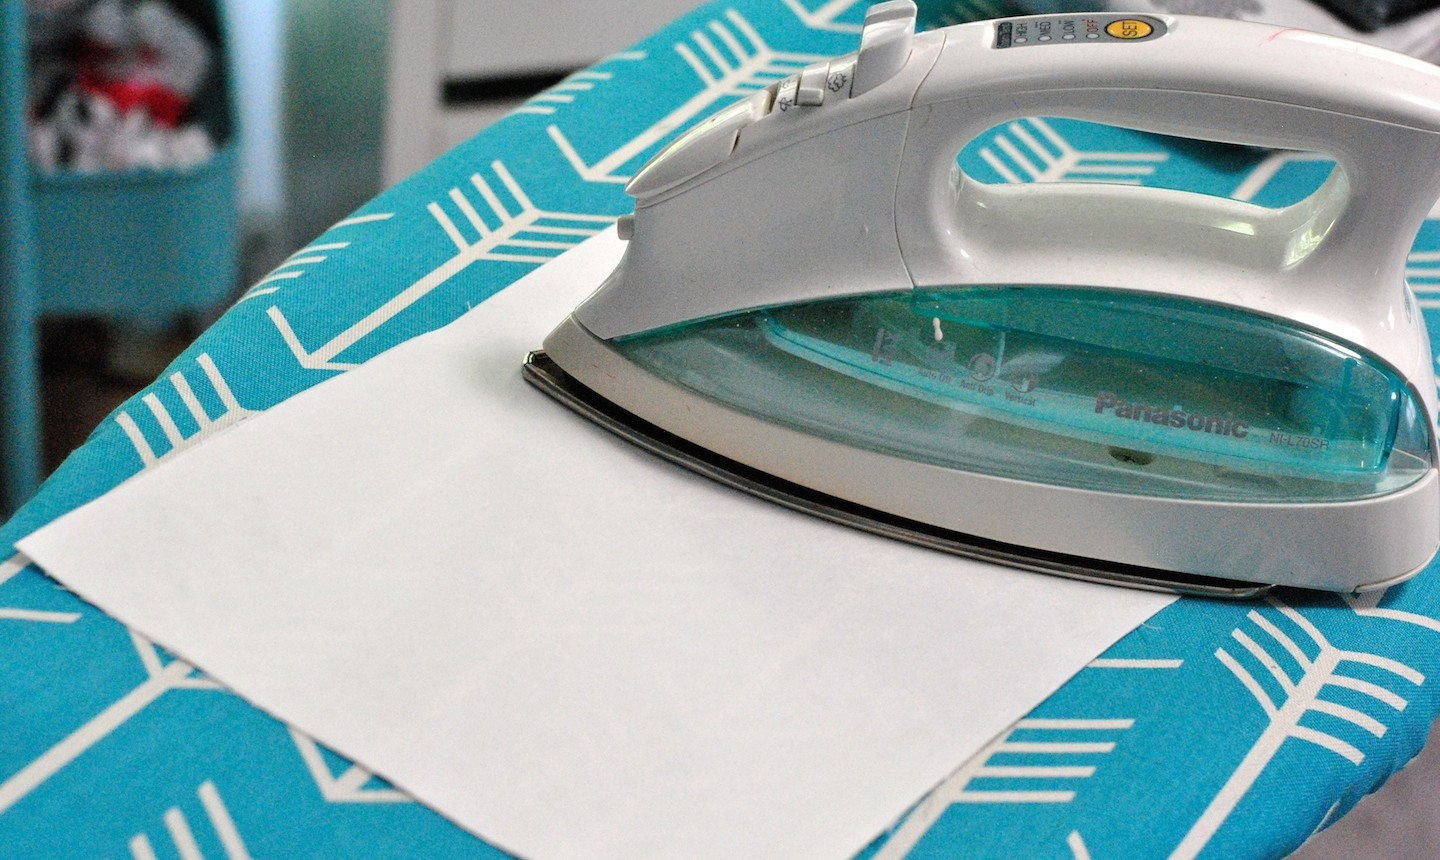 Iron fusing freezer paper to fabric
Place the waxy side of the freezer paper against the back side of your fabric. Iron the freezer paper onto the fabric using a medium heat setting. The wax will temporarily adhere the fabric to the paper, providing the necessary stiffness for printing. Ensure a strong bond by ironing evenly across the entire surface, paying special attention to the edges to prevent fabric from peeling away during printing. This step is critical for preventing jams and ensuring clean prints.
3. Printing Directly on Fabric
 Printer printing photo onto fabric backed with freezer paper
Adjust your printer settings to “photo” or “best quality” for optimal image reproduction on fabric. Before feeding your fabric-backed freezer paper, run a test print on regular paper to confirm the correct feeding orientation and image placement. Then, carefully feed the freezer paper-backed fabric into your printer, ensuring the fabric side is facing up for printing. Laser printers generally yield the best and most durable results with this method. If using an inkjet printer, it’s advisable to set the ink by either lightly spraying the printed image with a vinegar solution (a mix of equal parts white vinegar and water) or using a commercially treated fabric designed for inkjet printing to prevent ink bleeding and fading when washed. Always test your ink setting method on a scrap piece first to ensure desired washability.
Method 3: The Gel Medium Magic for Image Transfers
The gel medium method offers a unique, almost magical way to transfer images, especially for achieving a vintage or artistic look. This technique is perfect for transferring images from magazines, postcards, or laser prints onto fabric and results in a slightly textured, paint-like finish.
Supplies You’ll Need:
- Liquitex Gel Medium (or similar brand)
- Paintbrush
- Solid linen, cotton-blend, or canvas fabric (non-stretch)
- Dry-toner printed image (laser print or photocopy, reversed if text is present)
- Spray bottle with water
- Optional: Mod Podge Photo Transfer (alternative medium)
Note: When using Mod Podge Photo Transfer, it’s essential to test with a small sample of your printed image to ensure compatibility, as results can vary slightly depending on the toner or ink.
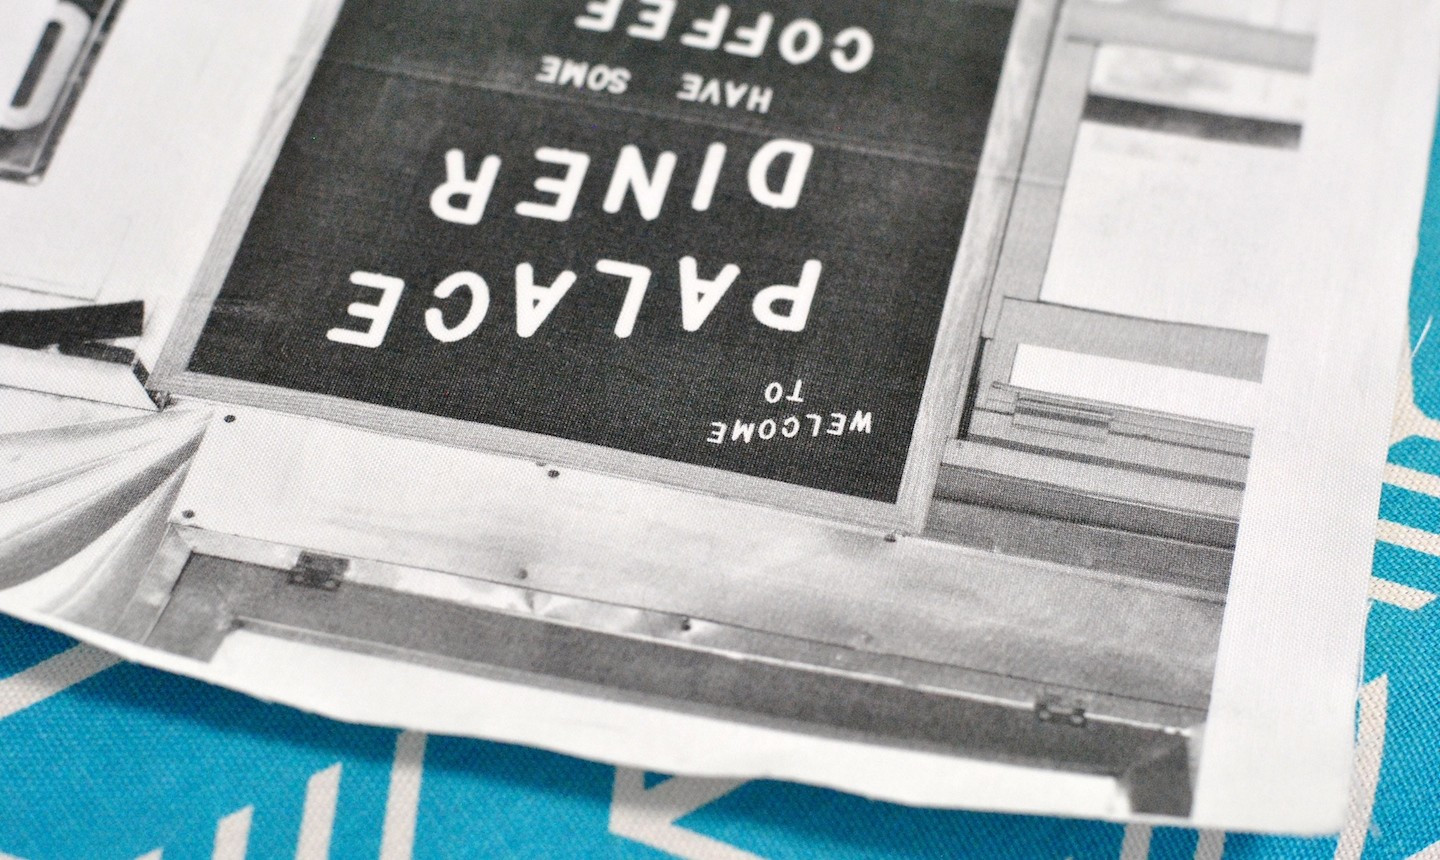
1. Copying Your Image for Transfer
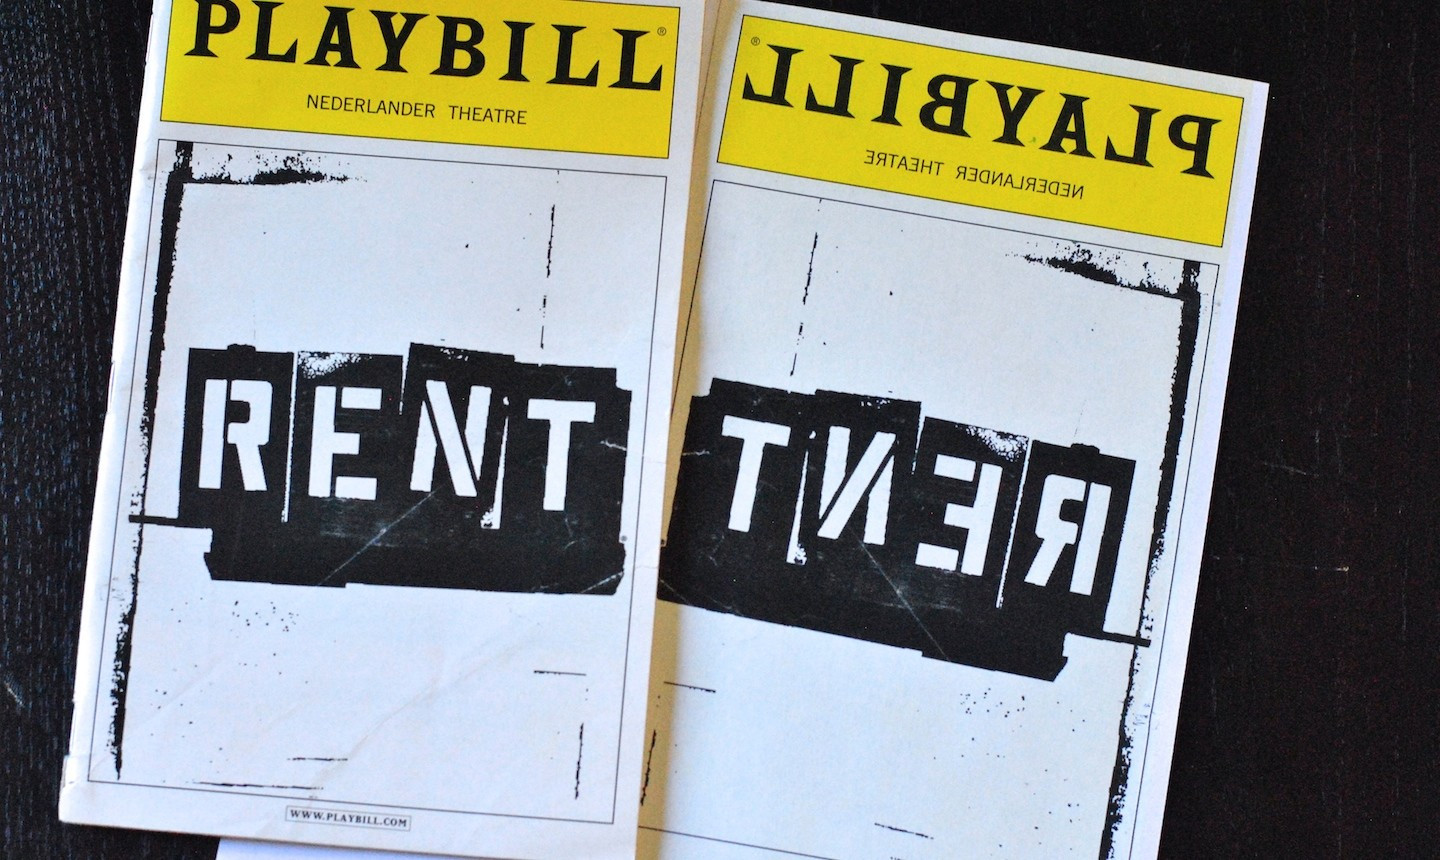 Photocopied playbill ready for gel medium transfer
Begin by photocopying your chosen image using a laser printer or a copy shop’s laser copier. Inkjet prints will not work with this method because the ink will bleed when wet. If your image includes text, remember to reverse it before copying, just as you would for iron-on transfers. Magazine images and postcards can also be used directly, provided they are printed with dry toner.
2. Coating the Image with Gel Medium
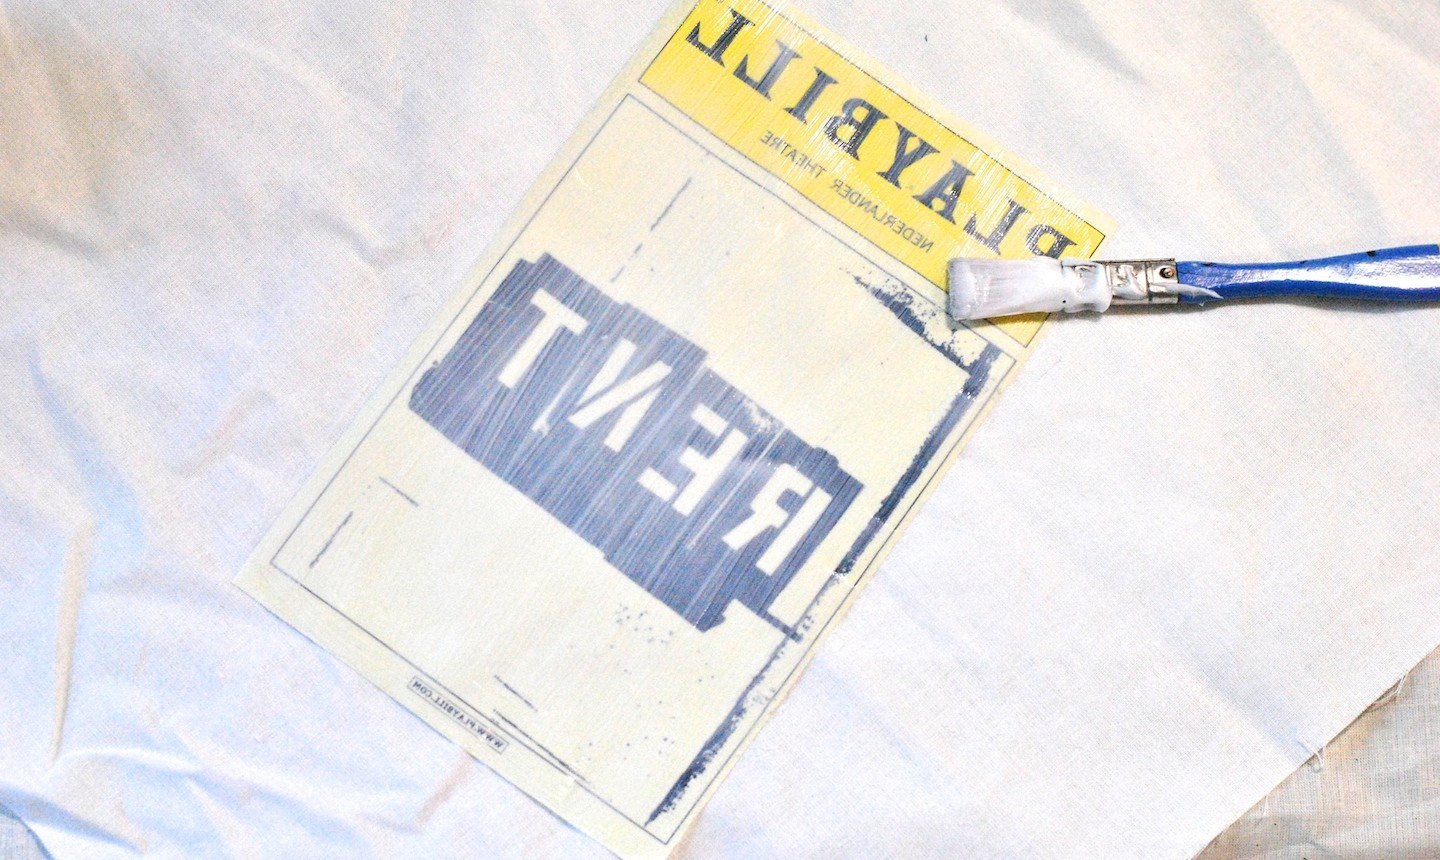 Playbill coated with gel medium
Apply a generous, even coat of gel medium to the printed side of your image using a paintbrush. Ensure you cover the entire image area, extending slightly beyond the edges. The coat should be thick enough to fully encapsulate the toner but not so thick that it becomes overly opaque and obscures the image details.
3. Pressing Image to Fabric and Drying
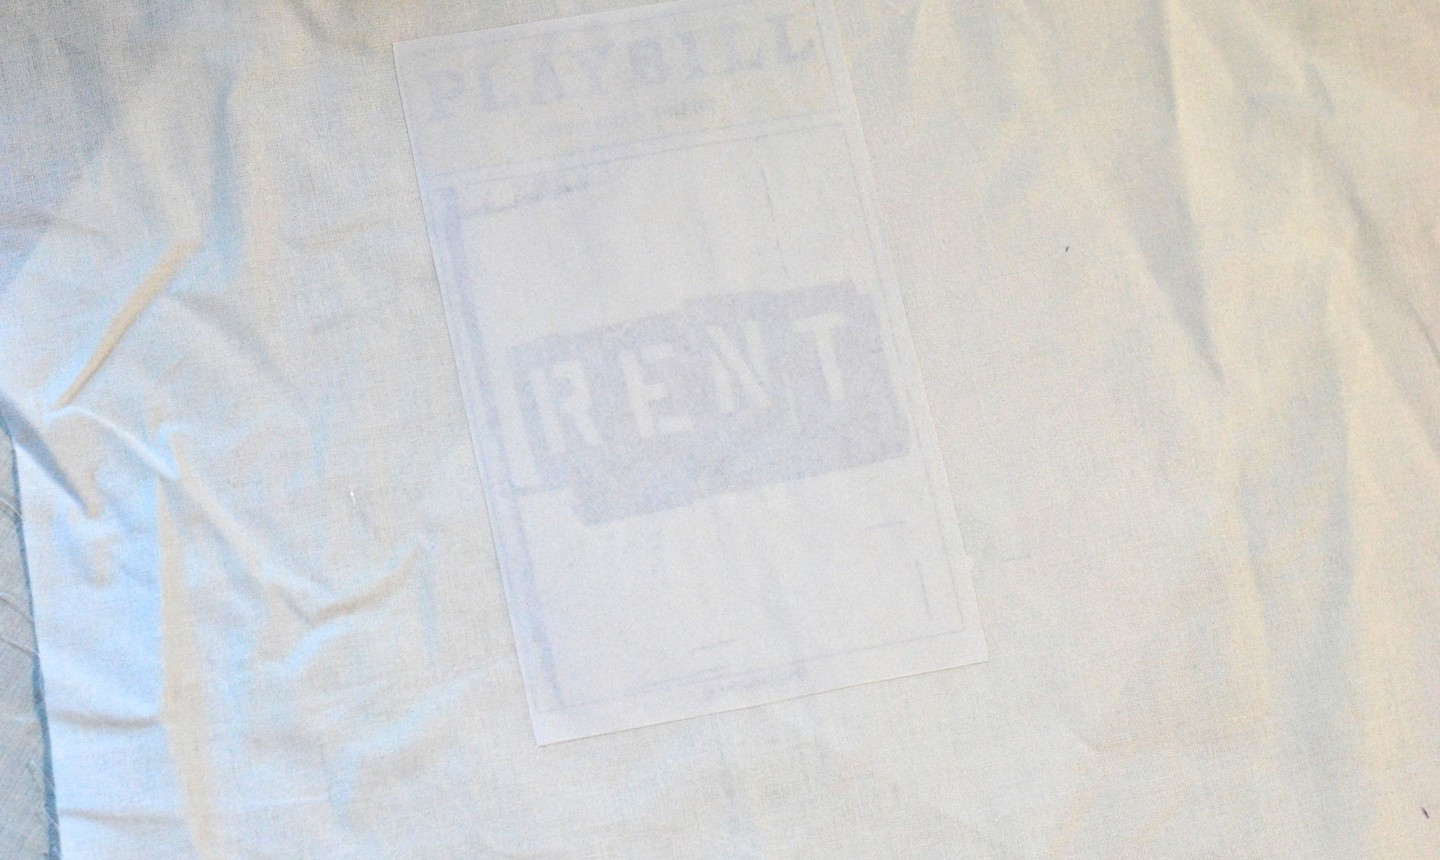 Gel medium coated playbill pressed onto fabric
Immediately after coating, carefully place the image face-down onto your fabric. Smooth out any wrinkles or air bubbles using your fingers or a brayer. Ensure good contact between the image and the fabric across the entire surface. For optimal adhesion, place a heavy book or weight on top of the image to apply even pressure while it dries completely. Allow it to dry for at least overnight, or even 24 hours, to ensure the gel medium is fully cured.
4. Soaking and Gently Rubbing Away Paper – First Pass
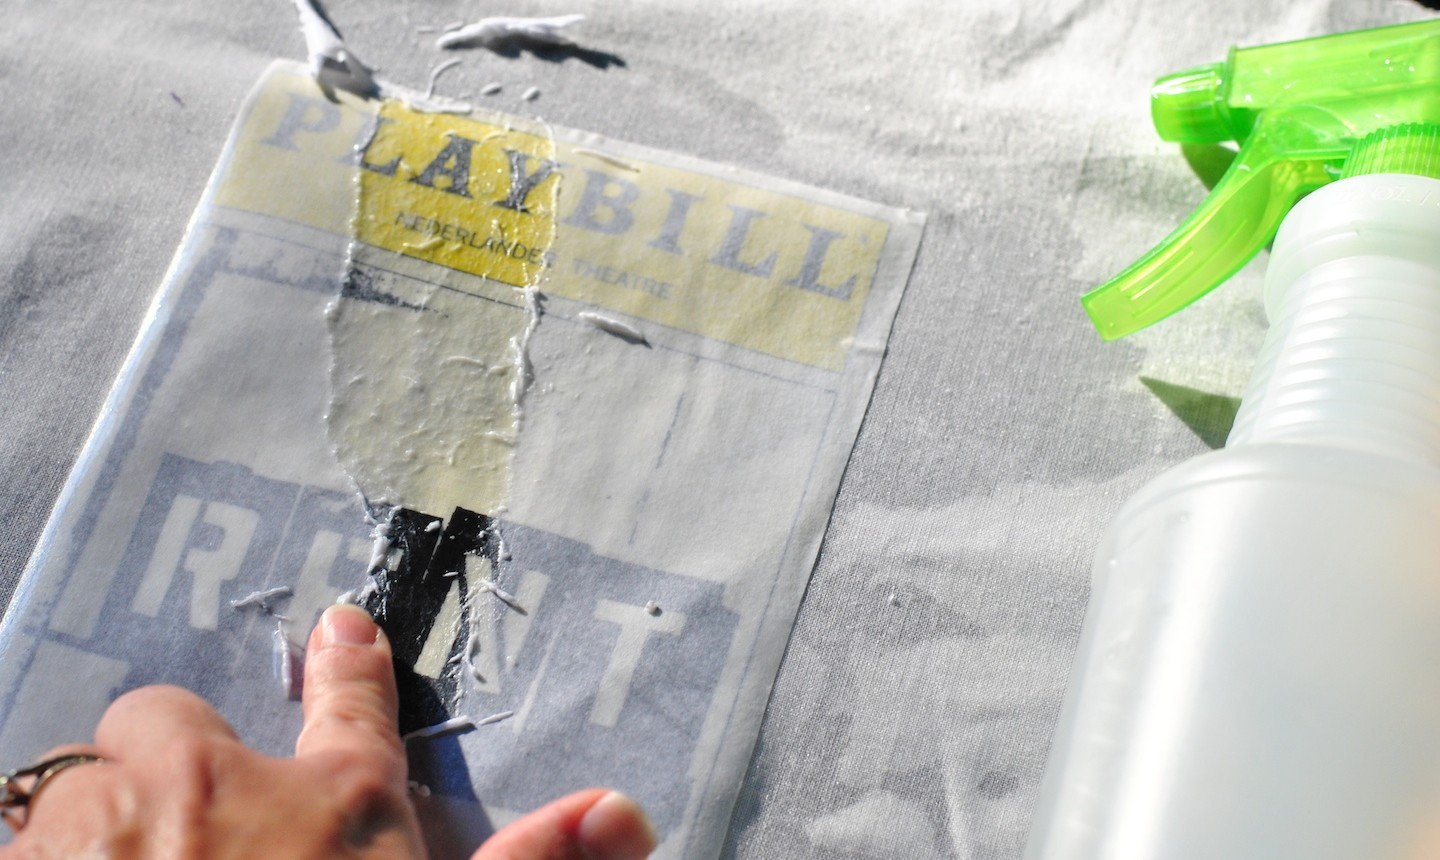 Sprayed playbill with water for paper removal
Once completely dry, use a spray bottle to thoroughly wet the back of the paper image, or gently dampen it with a wet cloth. Let the water soak in for a minute or two to soften the paper. Starting from the center of the image, gently begin to rub away the paper fibers using your fingertips or a soft sponge. Patience is key here. Rub gently in circular motions to avoid damaging the transferred image.
5. Repeat Soaking and Rubbing – Second Pass
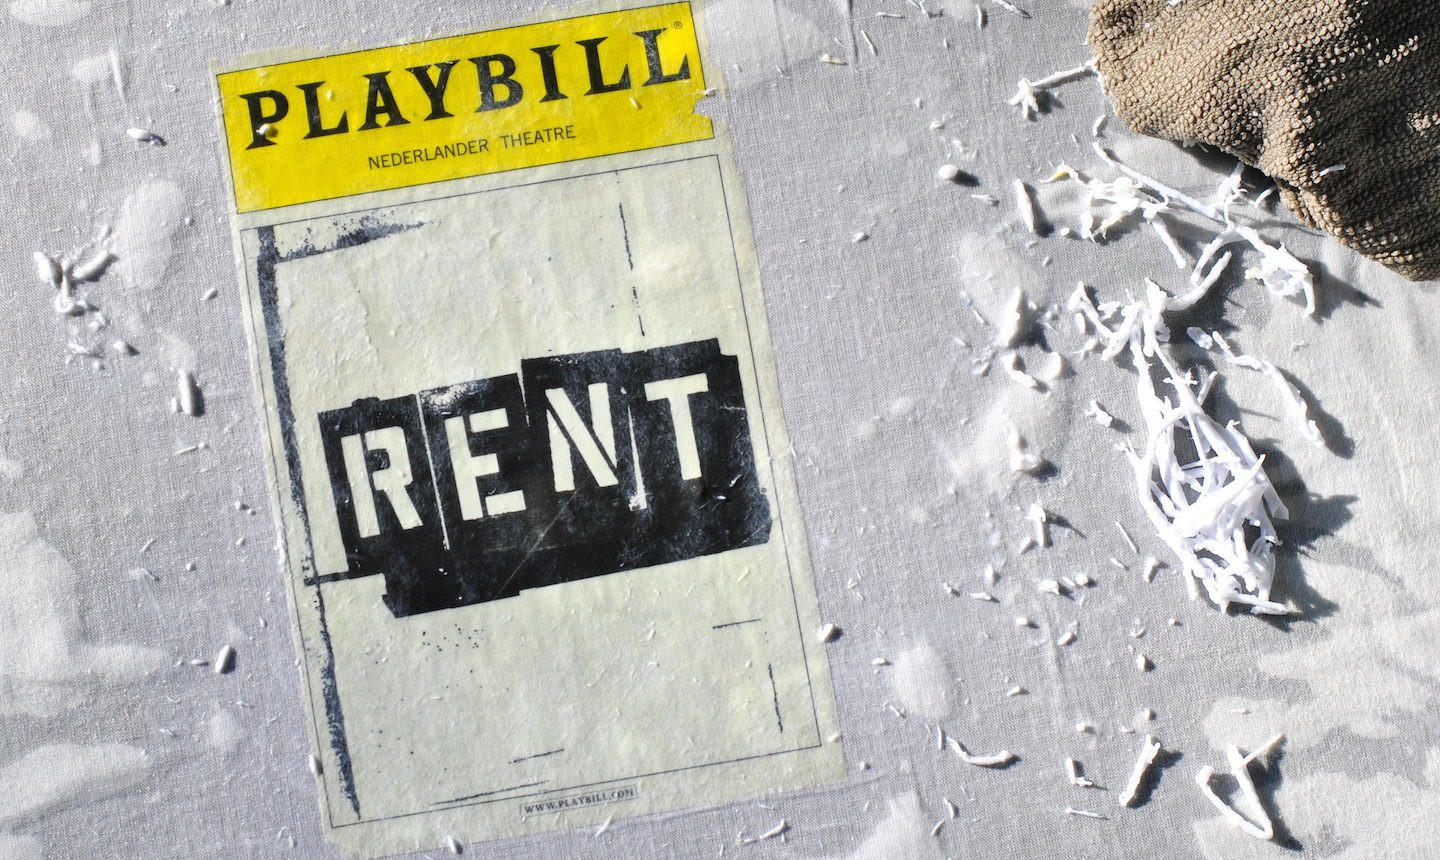 Partially removed paper revealing transferred image on fabric
As you remove layers of paper, you’ll see your image gradually appearing on the fabric. Once you’ve removed most of the paper pulp, re-wet the image generously. Continue to gently rub, focusing on removing the last bits of paper, especially in areas with darker print. Be particularly careful during this stage to avoid rubbing too aggressively, which could lift the transferred image along with the paper.
6. Thoroughly Rinsing the Transferred Image
Take your fabric to a sink and rinse the transferred image under cool running water. Gently rub away any remaining paper residue. This rinsing step is crucial for removing all paper crumbs and ensuring a clean, clear image transfer.
7. Drying and Sealing for Durability
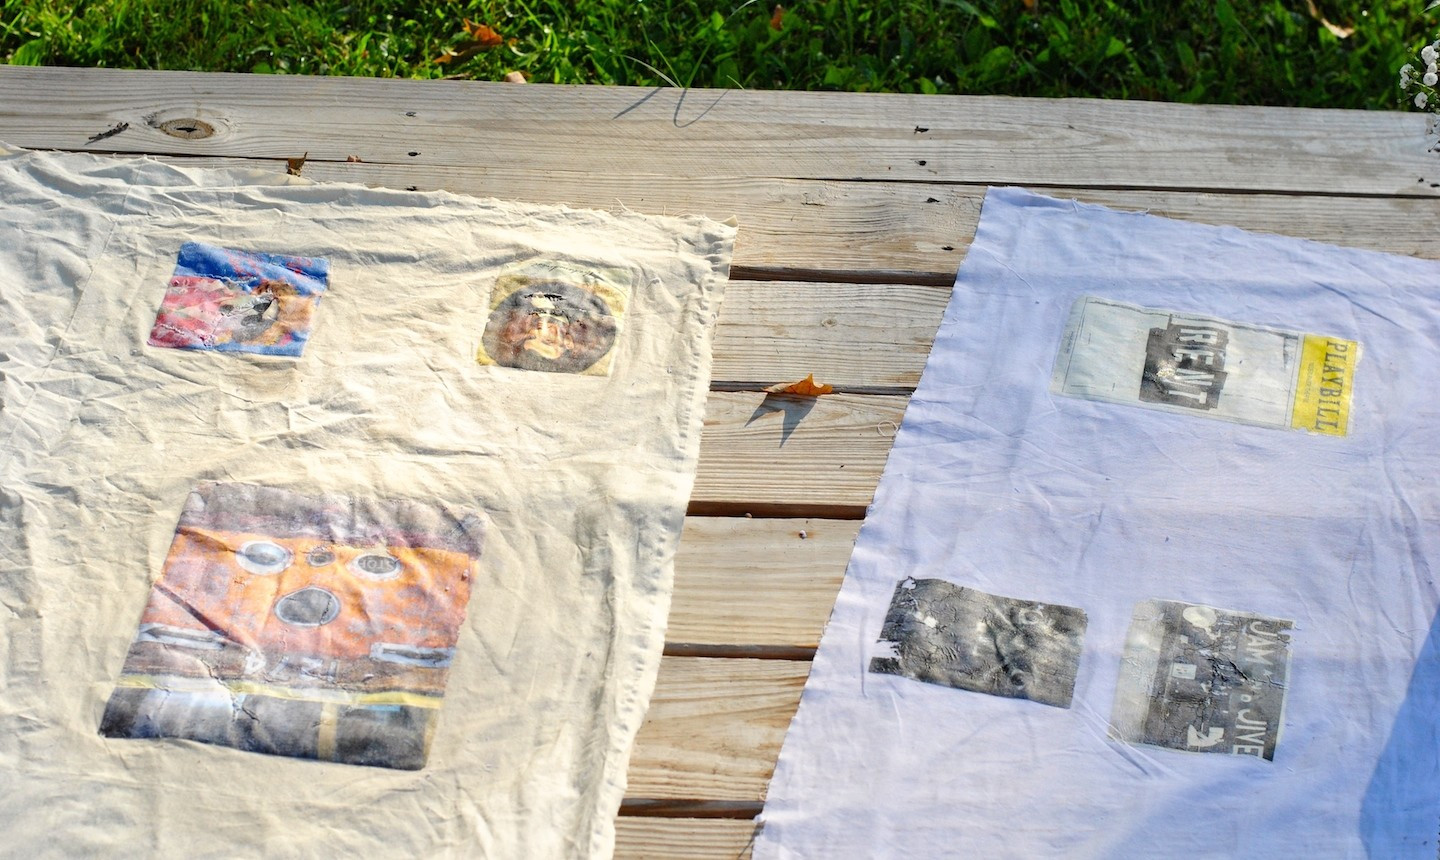 Drying transferred images on fabric
Lay the fabric flat to air dry or hang it to dry away from direct heat. Once completely dry, the transferred image is ready. If you intend to wash the fabric in the future, consider applying a final thin coat of gel medium over the transferred image to seal and protect it, enhancing its durability and wash-resistance. This final coat acts as a sealant, helping to preserve the image through washes and wear.
With these three methods, you’re well-equipped to start transferring photos to fabric and bring your creative visions to life. Each technique offers unique advantages, allowing you to choose the best approach for your specific project and desired outcome. Enjoy the process of transforming ordinary fabric into personalized keepsakes and artistic creations!