In the digital age, image resolution is king. Whether you’re looking to print your favorite photo, use it as a website banner, or simply want to zoom in without losing clarity, having a high-resolution image is crucial. You might find yourself asking, “How Do I Make A Photo Higher Resolution?” especially when dealing with older photos or images downloaded from the web. While you can’t magically create detail that wasn’t originally there, there are techniques to increase the pixel dimensions of your photos, effectively making them higher resolution for many practical purposes.
This guide from dfphoto.net will walk you through a straightforward method to increase the resolution of your photos using a common tool available on macOS: Preview. We’ll explain the process step-by-step and discuss what you can realistically expect when you upscale an image.
Understanding Image Resolution and Upsizing
Before we dive into the “how-to,” let’s briefly understand what image resolution means. Resolution refers to the number of pixels in an image, typically measured in width and height (e.g., 1920×1080 pixels). More pixels generally mean more detail and a sharper image, especially when viewed on larger screens or printed. A low-resolution image will appear blurry or “pixelated” when enlarged because there isn’t enough pixel information to maintain clarity.
Upsizing, also known as upsampling or resizing, is the process of increasing the pixel dimensions of an image. When you upscale a photo, image editing software essentially adds new pixels to fill in the gaps. These new pixels are algorithmically generated based on the existing pixels in the original image. It’s important to understand that upscaling cannot add detail that was never captured in the original photo. Instead, it intelligently stretches the existing information to create a larger image.
Step-by-Step Guide to Increasing Photo Resolution with Preview
For Mac users, Preview is a readily available application that can handle basic image editing tasks, including resizing. Here’s how to use Preview to increase the resolution of your photo:
-
Open your photo in Preview: Locate the image file on your Mac and double-click to open it in Preview. Alternatively, you can drag and drop the image file onto the Preview icon in your Dock or Applications folder.
-
Access the “Adjust Size” tool: Once your image is open in Preview, navigate to the menu bar at the top of your screen. Click on “Tools” and then select “Adjust Size…” from the dropdown menu.
-
Enter your desired dimensions: The “Adjust Size” dialog box will appear. Here, you’ll see options to modify the dimensions of your image.
-
“Fit into”: You can choose from preset sizes or enter custom dimensions in pixels. To increase resolution, you’ll want to increase these values. For example, if your original image is 640×480 pixels and you want to double the size, you might aim for around 1280×960 pixels or larger depending on your needs.
-
“Width” and “Height”: Directly input your desired width and height in pixels.
-
“Scale proportionally”: Ensure this box is checked. This maintains the original aspect ratio of your image, preventing distortion. If you uncheck this, you can change the width and height independently, which can stretch or compress your image.
-
“Resample image”: This is a crucial checkbox. Make sure “Resample image” is checked. This tells Preview to add new pixels to increase the resolution. If this is unchecked, only the DPI (dots per inch) might change without actually increasing the pixel dimensions, which won’t effectively increase the image resolution for display purposes.
-
-
Choose a new size and click “OK”: Experiment with different dimensions to find a size that meets your needs. Keep in mind that excessively increasing the size can lead to noticeable quality degradation. For moderate increases, Preview does a decent job.
-
Save the upsized photo: After clicking “OK” in the “Adjust Size” dialog, and before closing Preview, go to “File” in the menu bar and select “Save As…” (or “Duplicate…” in newer versions of Preview, which serves the same purpose). It is crucial to use “Save As…” or “Duplicate…” to create a new file and avoid overwriting your original, lower-resolution image.
-
Rename your file: In the “Save As” dialog, give your upsized image a new name. Adding a letter or suffix to the original filename (e.g., “image_upsized.jpg”) is a good practice to distinguish it from the original.
-
Choose a destination: Select where you want to save the new, higher-resolution image. The Desktop is often convenient for easy access.
-
Format and Quality: Ensure “Format” is set to “JPEG” (or your desired format) and “Quality” is set to “Best” to preserve as much image quality as possible.
-
-
Review your new image: Open the newly saved image and compare it to the original. You should see that it is larger in pixel dimensions. Zoom in to check the quality and ensure it meets your expectations.
 Adjust Size Dialog in Preview
Managing Expectations: Upsizing and Image Quality
It’s essential to have realistic expectations when upscaling photos. While the process described above can effectively increase the resolution and make images more usable for various purposes, it’s not a magic bullet for restoring lost detail.
As some users in online discussions point out, and as shown in the example below, upsampling can smooth out pixelation and make low-resolution images appear smoother, especially when viewed at larger sizes. However, it’s also true that excessively upscaling an image can introduce artifacts and blurriness, particularly if you enlarge it too much.
The key is to find a balance. Moderate upscaling can be beneficial, especially for web images or older photos that you want to use in larger formats. Experiment with different resizing percentages to see what works best for your specific image and intended use.
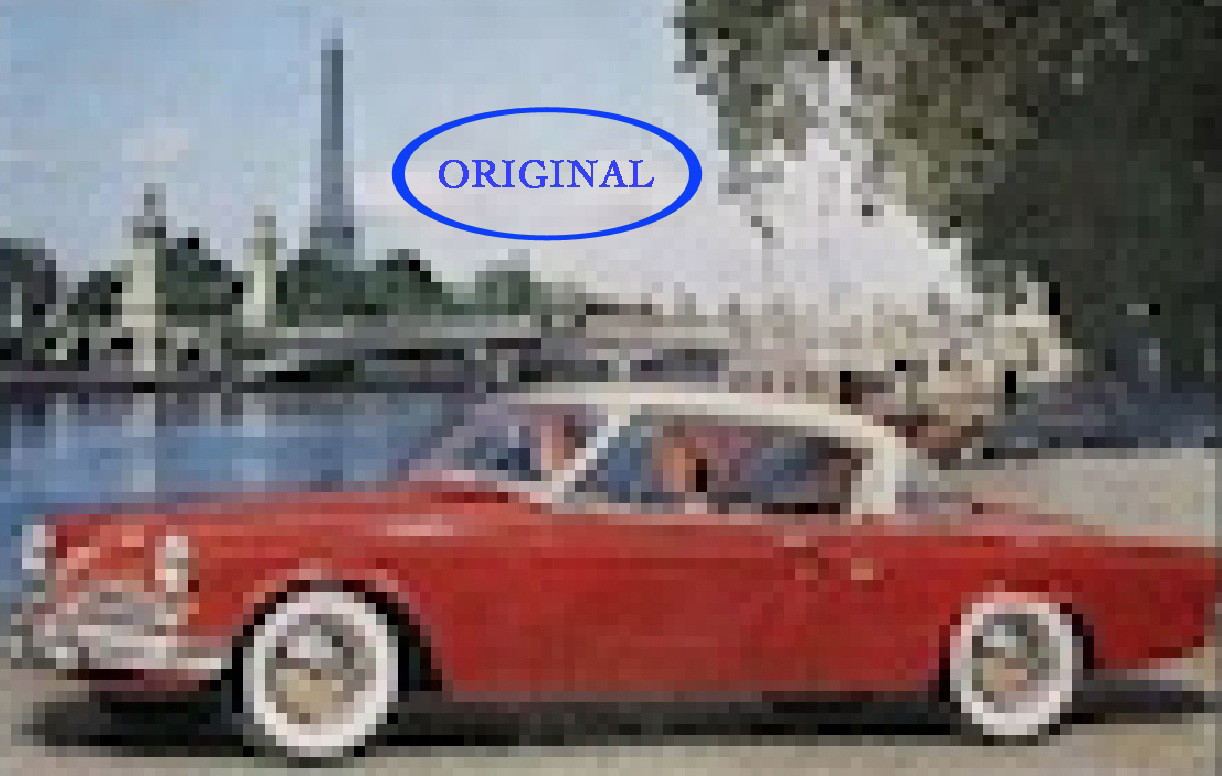
 Detail of Original Photo
 Detail of Upsampled Photo
Beyond Preview: Other Software Options
While Preview is a convenient tool for basic upscaling, more advanced image editing software like Adobe Photoshop, GIMP (free), and specialized AI-powered upscaling tools offer more sophisticated algorithms and control over the resizing process. These tools often provide different resampling methods (like bicubic, bilinear, nearest neighbor, and AI-driven algorithms) that can produce better results, especially when significantly increasing the resolution.
If you frequently need to upscale images or require the highest possible quality, exploring these alternative software options might be worthwhile. Many offer trial versions so you can test their capabilities and see if they meet your needs.
Conclusion
Increasing the resolution of a photo is a common task, and using Preview on macOS provides a quick and easy way to achieve this. By understanding the process of upscaling and managing your expectations regarding image quality, you can effectively enhance your photos for various uses. Remember to always save a copy of your upsized image to preserve the original, and consider experimenting with different software if you need more advanced upscaling capabilities.
For more photo editing tips and techniques, visit dfphoto.net and explore our other articles and tutorials.