A blurry or pixelated photo can ruin a project. Understanding high resolution images is crucial for both print and web use. This guide explains what constitutes a high-resolution image, the difference between DPI and PPI, and how to optimize your images for various applications.
![]()
Zooming in reveals the building blocks of an image: pixels.
Understanding High Resolution: DPI and PPI
A high-resolution image typically boasts at least 300 DPI (dots per inch). DPI refers to the number of ink dots a printer uses per inch of the printed image. For screens, we use PPI (pixels per inch), indicating the number of illuminated pixels per inch displayed. A higher DPI/PPI translates to a sharper, more detailed image. For optimal print quality, the image’s PPI should match the printer’s DPI.
Print vs. Web Images: A Key Distinction
Printers require significantly more pixels than screens. A 300 DPI printer uses 300 pixels per inch, while a standard screen might use only 72 PPI. This difference impacts image size: a 2400 x 3000 pixel image perfect for an 8×10 inch print would appear massive on a 72 PPI screen.
Modern screens vary greatly in PPI, from 96 PPI on standard PCs to over 220 PPI on Retina displays. This variation makes optimizing images for the web more complex.
Optimizing Images for the Web: Size Matters
Website layout often dictates image dimensions. Blog posts might use images around 600 pixels wide, while full-width headers could be 1200 pixels or more, relying on the browser to adjust for larger screens.
Overly large images slow down website loading times. Aim for the smallest file size that meets your needs. A general guideline for high-resolution web images is around 1200 to 1600 pixels wide. Balance quality with file size for optimal performance.
Creating 300 DPI Images for Print
Most printers operate at 300 DPI. To determine the necessary pixel dimensions for your print, multiply 300 by the desired print dimensions in inches. For a 4×6 inch print, you’ll need a 1200 x 1800 pixel image.
Pixel to Inches Conversion Chart: A Quick Guide
![]()
Pre-sized canvases simplify the process.
| Size in Inches | Size in Pixels |
|---|---|
| 3 x 5 | 900 x 1500 |
| 4 x 6 | 1200 x 1800 |
| 5 x 7 | 1500 x 2100 |
| 8 x 8 | 2400 x 2400 |
| 8 x 10 | 2400 x 3000 |
| 8.5 x 11 | 2550 x 3300 |
Achieving High Resolution with PicMonkey: A Step-by-Step Guide
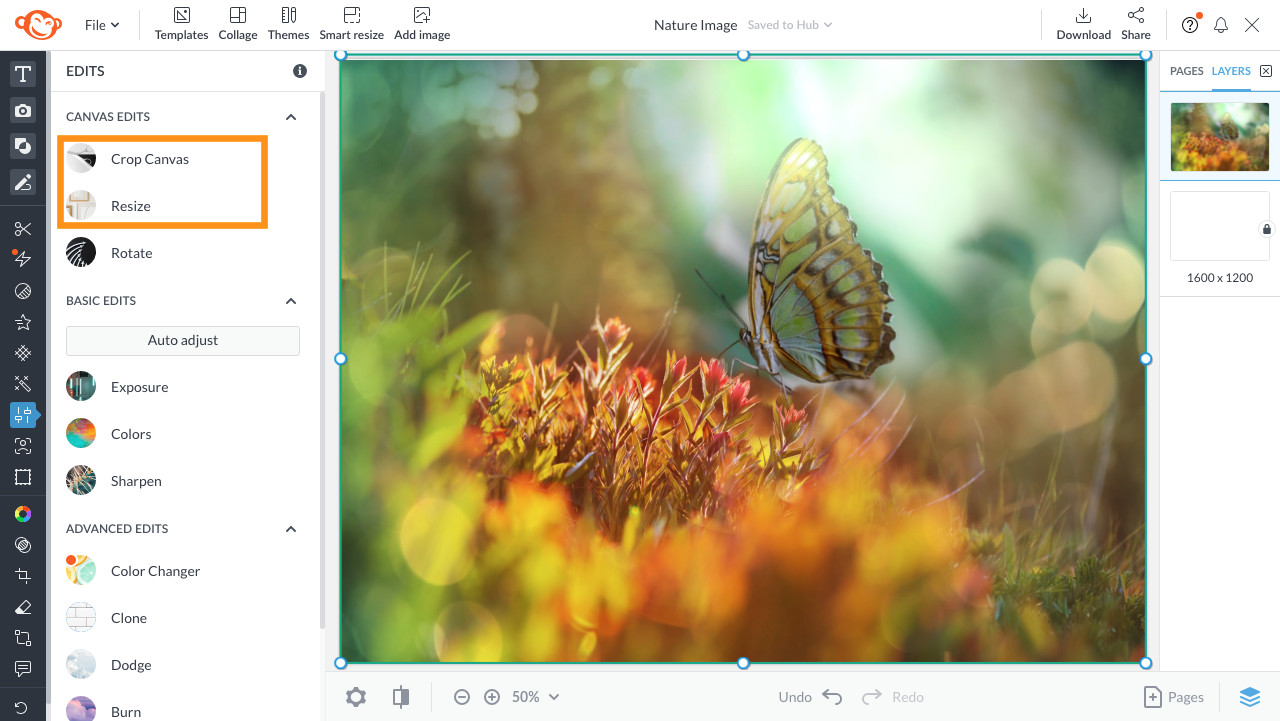
PicMonkey’s Crop Canvas tool ensures correct aspect ratios.
-
Start with a blank canvas pre-sized for your desired print dimensions.
-
Upload your image or choose from a stock photo library.
-
Use the Resize tool for images already in the correct aspect ratio, or the Crop Canvas tool to adjust the shape. Customize your image with editing tools.
-
Download your image optimized for web or print. Choose PNG or JPG for web, and ensure 300 DPI for print.
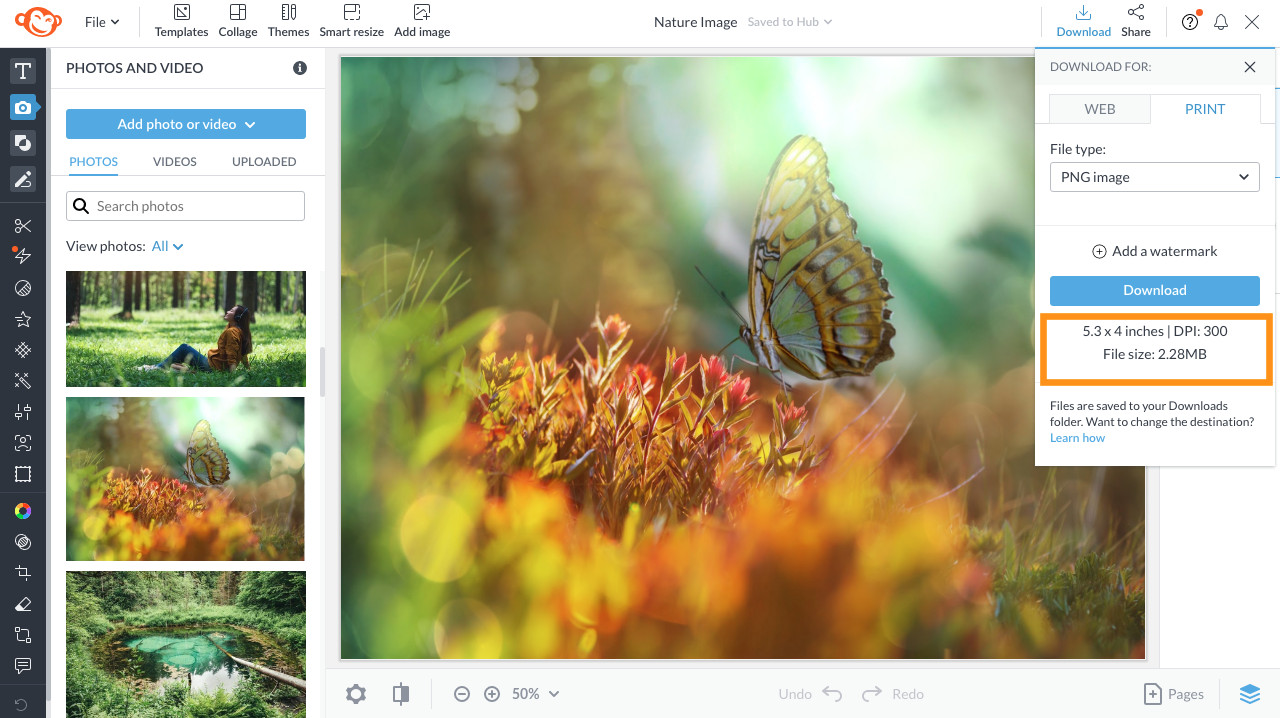
PicMonkey clearly displays DPI and file size for print downloads.
Conclusion: Mastering High Resolution for Stunning Results
Understanding resolution is essential for achieving high-quality images. By considering DPI, PPI, and the differences between print and web requirements, you can ensure your photos look their best, regardless of the medium. Utilize tools like PicMonkey to simplify the process and achieve professional results.