Editing photos on Instagram is crucial for creating a visually appealing feed. Whether you’re a casual user or aspiring influencer, mastering a few simple techniques can significantly enhance your images. This guide provides a comprehensive walkthrough of how to edit photos directly within the Instagram app, covering everything from basic adjustments to creative enhancements.
Mastering Instagram Photo Editing Tools
Instagram offers a robust suite of editing tools directly within the app, allowing you to transform your photos without needing third-party software. Let’s explore the key features:
Basic Adjustments: Brightness, Contrast, and More
Start with the fundamentals. Instagram’s basic adjustment tools allow you to fine-tune your image’s overall appearance:
- Brightness: Adjust the overall lightness or darkness of your photo.
- Contrast: Enhance the difference between the light and dark areas, adding depth.
- Saturation: Control the intensity of colors.
- Warmth: Shift the color temperature, making your photo cooler (bluer) or warmer (more yellow).
- Highlights: Fine-tune the brightest parts of your image.
- Shadows: Adjust the darkest areas, recovering detail in underexposed shots.
- Sharpness: Enhance clarity and detail.
 Adjusting brightness and contrast on Instagram
Creative Enhancements: Filters and Effects
Instagram’s filters offer a quick way to apply pre-set styles to your photos. Experiment with different filters to find ones that complement your aesthetic.
Beyond filters, explore creative tools like:
- Lux: This tool automatically adjusts contrast and saturation, often enhancing the overall vibrancy of your image.
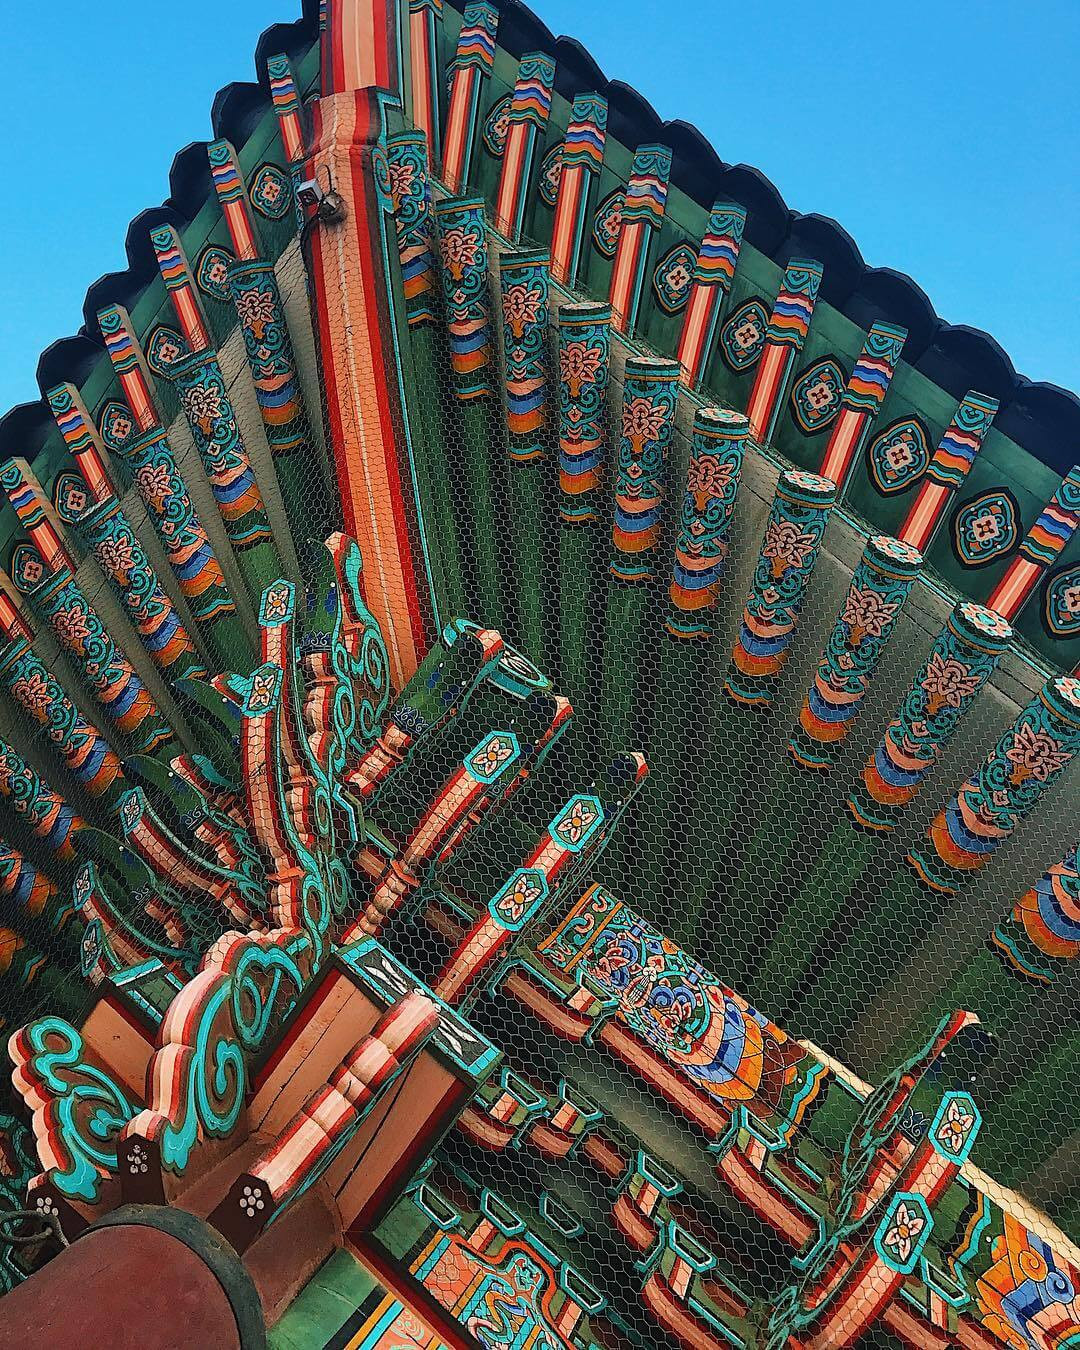
- Tilt/Straighten: Correct crooked lines and ensure your horizons are level. Skew tools (X and Y) further refine perspective, especially useful for architectural shots.
- Vignette: Add a subtle darkening around the edges of your photo, drawing attention to the center.
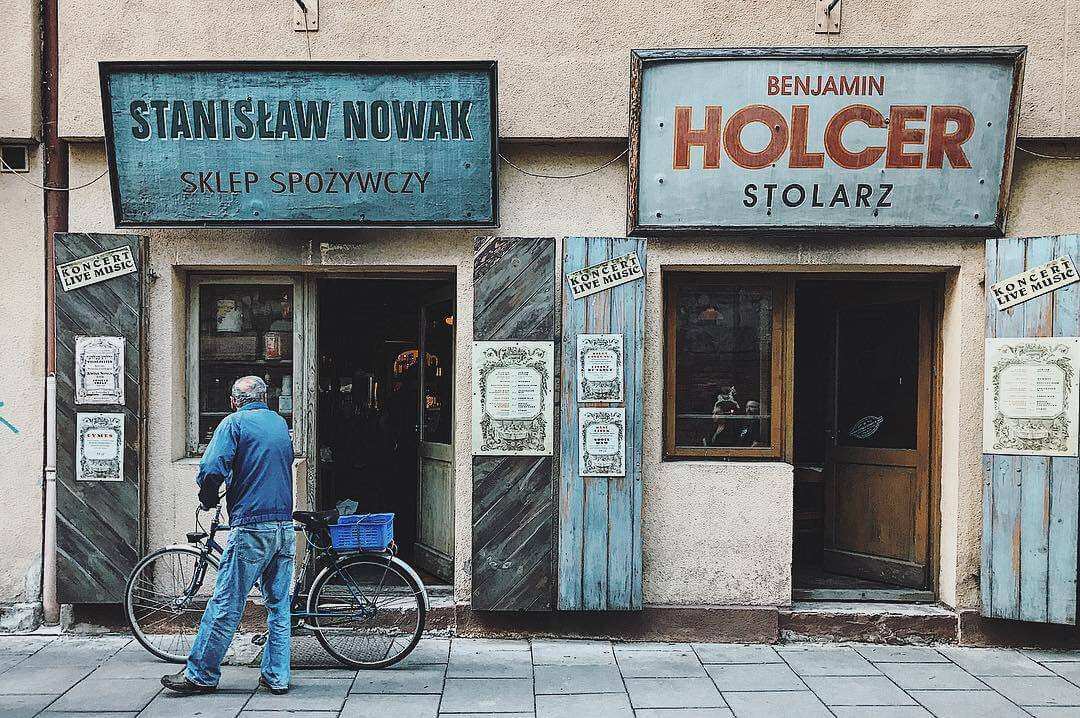 Applying a filter and Lux effect on Instagram
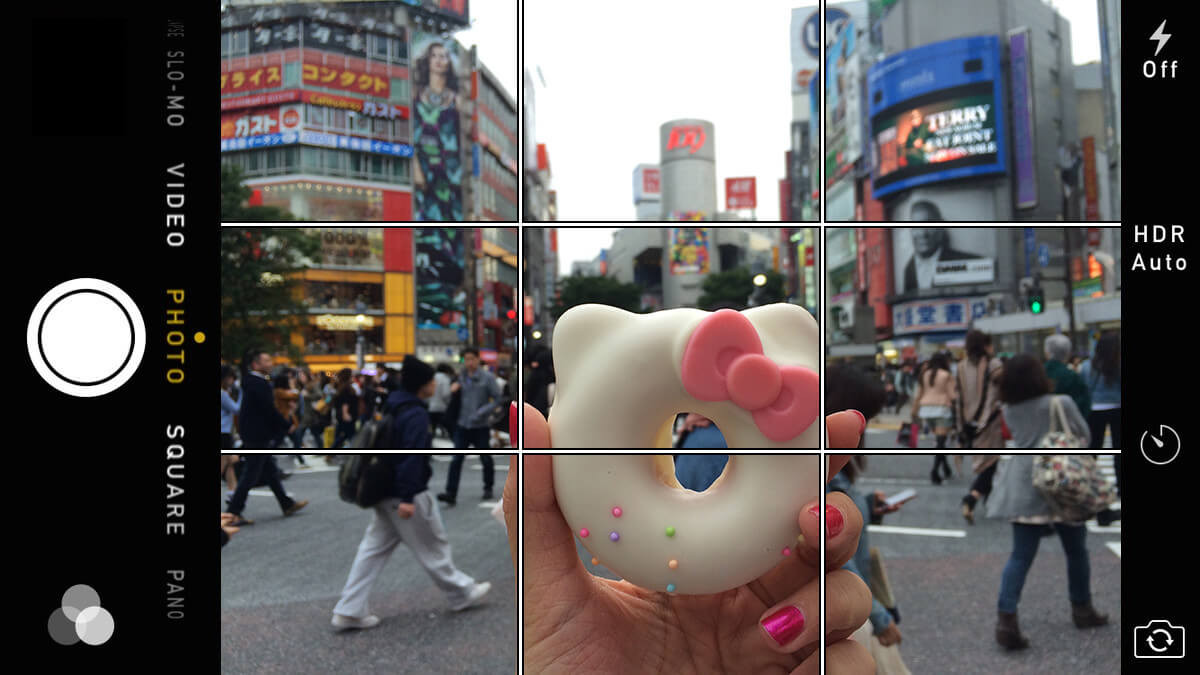
Cropping and Resizing: Perfecting Composition
Instagram allows you to crop and resize your photos to fit the platform’s various aspect ratios. Use cropping to:
- Improve Composition: Reframe your subject and eliminate distracting elements.
- Highlight Details: Zoom in on specific areas of interest.
- Change Orientation: Switch between landscape, portrait, and square formats.
 Cropping a photo on Instagram to improve composition
Advanced Editing Techniques on Instagram
Once you’ve mastered the basics, consider these more advanced techniques:
Selective Editing: Fine-Tuning Specific Areas
Instagram allows you to apply edits to specific portions of your image using the brush tool. This enables you to:
- Brighten a Subject’s Face: Add light to a face without affecting the entire image.
- Enhance Colors in a Specific Area: Make a particular object or detail stand out.
- Reduce Distractions: Dim or desaturate unwanted elements.
Color Correction: Achieving Accurate Hues
Use color correction tools to fine-tune individual color channels:
- Adjust Hue: Shift the overall color tone.
- Modify Saturation: Control the intensity of individual colors.
- Adjust Luminance: Change the brightness of specific colors.
Finalizing Your Edit: Sharing Your Masterpiece
Once you’re satisfied with your edits, tap “Next” to add a caption, hashtags, and location information. Then, share your enhanced photo with your followers. Remember to experiment and develop your own unique editing style. Practice makes perfect!