Creating images with a crisp white background is a popular technique for showcasing products, portraits, or any subject you want to isolate and highlight. Whether you’re preparing images for an online store, a portfolio, or just for fun, achieving that clean, white backdrop can dramatically improve your photos. If you’re a Mac user, you might be surprised to learn just how easily you can add a white background to your photos using the built-in tools already available on your system – no need for expensive or complicated third-party software right away!
Let’s dive into a straightforward method using your Mac’s Photos app and Preview to transform your images and give them a professional white background.
Step-by-Step: Adding a White Background Using Mac’s Built-in Tools
This method leverages the “Copy Subject” feature available on macOS 13 (Ventura) or later, and the Preview application. It’s remarkably efficient for images where the subject has clear edges.
1. Copy the Subject from Photos
Start by opening the image you want to edit in the Photos app on your Mac. The magic begins with a simple control-click (or right-click) on the image. From the context menu that appears, select “Copy Subject”.
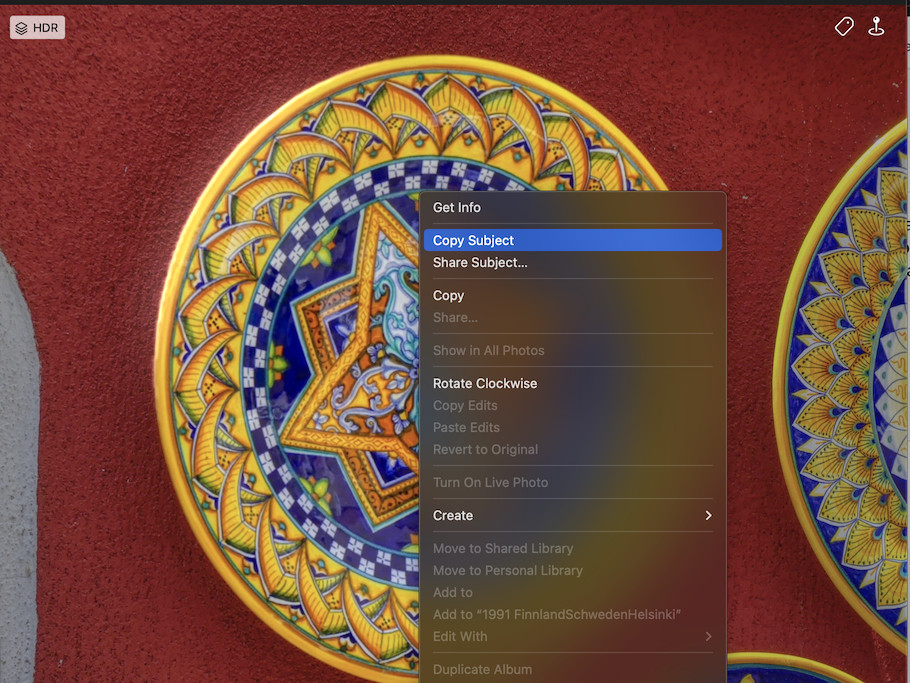 Context menu in Photos app with "Copy Subject" highlighted
This command intelligently isolates the main subject of your photo, effectively removing the original background and copying the subject to your clipboard as a transparent image. This feature is particularly effective when there’s good contrast between the subject and its background, allowing the software to accurately detect the edges.
2. Create a New Image from Clipboard in Preview
Next, launch the Preview application. If Preview prompts you to open a file, ignore it. Instead, navigate to the menu bar at the top of your screen and click on “File”. From the dropdown menu, choose “New from Clipboard”.
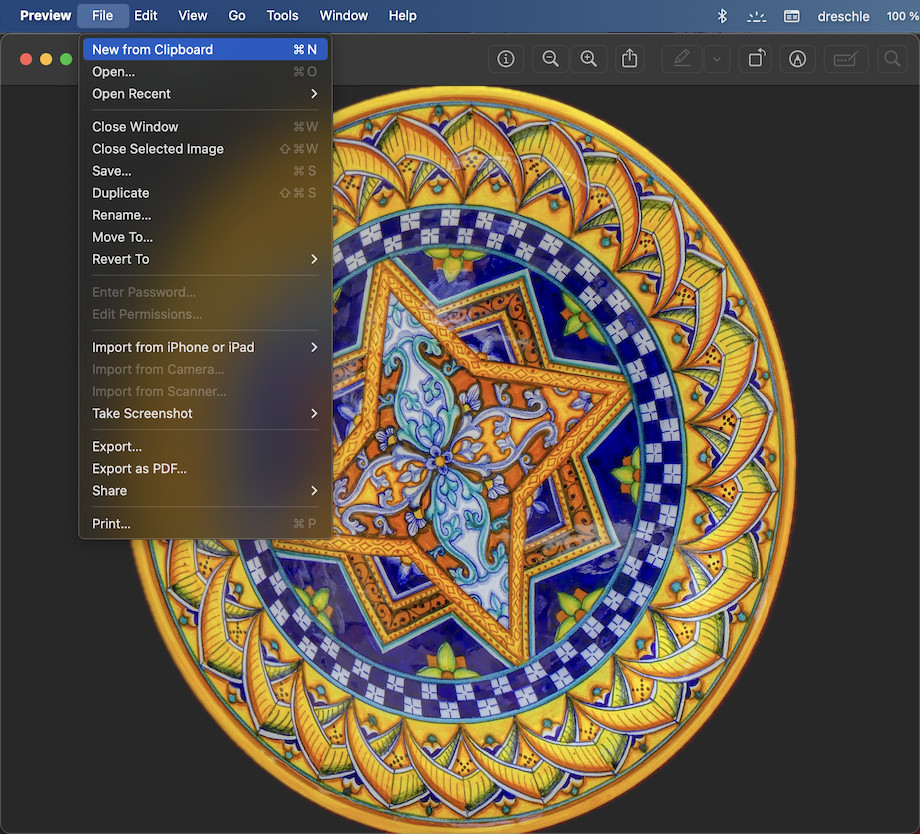 Preview app menu showing "File" and "New from Clipboard" options
This action will create a new image in Preview using the subject you copied to the clipboard. You’ll notice that the background is transparent, indicated by a grid pattern. This transparency is key to placing your subject against a white background.
3. Export from Preview with a White Background
Now that you have your subject with a transparent background in Preview, you need to export it in a format that will render a white background. When exporting, Preview gives you options to include or exclude the alpha channel (transparency). To achieve a white background, you need to ensure the alpha channel is not enabled during export.
Go to “File” in the menu bar again, and this time select “Export…”. In the export dialog box, you’ll see various format options. The key is to choose a format like JPEG which does not support transparency, or if you choose PNG, make sure to uncheck any options related to “Alpha” or “Transparency”. By default, exporting as JPEG will automatically flatten the image against a white background.
 Export dialog box in Preview showing the exported image with a white background
Choose your desired export settings and click “Save”. When you open the exported image, you’ll see your subject beautifully isolated against a solid white background!
Why Add a White Background?
Using a white background in photography offers several advantages:
- Clean and Professional Look: White backgrounds create a sense of cleanliness and professionalism, making your subject the absolute focus.
- Versatility: White backgrounds are incredibly versatile and work well for a wide range of subjects, from product photography to portraits.
- Consistency: If you’re creating a series of images, especially for e-commerce, a white background ensures visual consistency across your product line.
- Easy to Edit Further: A white background provides a neutral base, making further edits like color adjustments or adding shadows much easier.
Beyond Built-in Tools: Exploring Other Options
While the Mac’s Photos and Preview apps offer a quick and convenient way to add a white background, especially with the “Copy Subject” feature, there are other software options if you need more advanced control or are working with more complex images. Software like Pixelmator, Adobe Photoshop Elements, and GIMP offer more sophisticated selection and background removal tools, allowing for finer adjustments and more complex edits. These tools can be particularly useful when dealing with subjects that have intricate details or backgrounds that are not easily separated.
However, for many users, the built-in Mac tools are more than sufficient for creating stunning images with white backgrounds, offering a seamless and efficient workflow right at your fingertips. Give it a try and see how easily you can transform your photos!