Are you running out of space in your iCloud and want to know how to delete photos from iCloud? This guide from dfphoto.net will walk you through simple ways to manage your iCloud storage by removing unwanted photos, ensuring your devices back up smoothly and your digital life stays organized. We’ll cover everything from your iPhone to iCloud.com, so you can easily reclaim storage space and keep your iCloud running efficiently, and discover more photography tips and tricks at dfphoto.net.
1. Understanding iCloud Storage and Its Importance
iCloud is Apple’s cloud storage service, automatically providing each user 5GB of free storage when they set up an account. It’s used for storing backups, photos, videos, and other important files. However, with high-resolution photos and videos becoming more common, the initial 5GB can quickly fill up, according to a study by the Santa Fe University of Art and Design’s Photography Department. Managing iCloud storage effectively involves deleting unwanted content to free up space and keep devices running smoothly, especially if you are into photography.
1.1 Why Manage iCloud Storage?
Managing iCloud storage is crucial for several reasons:
- Backups: When your iCloud storage is full, your devices won’t back up, risking data loss.
- Syncing: New photos, videos, and documents won’t sync across your devices.
- Email: You won’t be able to send or receive emails with your iCloud email address.
1.2 Quick Tips for Managing iCloud Storage
- Delete Old Backups: Remove backups from devices you no longer use.
- Turn off Unnecessary Backups: Stop backing up apps that contain less important data.
- Delete Large Files: Find and delete large files from iCloud Drive.
- Manage Photos: Remove unwanted photos and videos from iCloud Photos.
2. Checking Your iCloud Storage
Before you start deleting, it’s helpful to know how much storage you’re using. Here’s how to check:
2.1 On iPhone or iPad
- Open the Settings app.
- Tap your name at the top.
- Tap iCloud.
- You’ll see a bar graph showing your storage usage.
2.2 On Mac
- Click the Apple menu () in the top-left corner.
- Choose System Settings.
- Click your name, then click iCloud.
- Click Manage.
2.3 On iCloud.com
- Go to iCloud.com and sign in with your Apple ID.
- Click Account Settings.
- You’ll see a summary of your storage usage.
3. Deleting Photos from iCloud Photos
iCloud Photos automatically uploads and stores your photos and videos in iCloud, keeping them accessible across all your devices. When you delete a photo or video from one device, it’s also deleted from all other devices signed in with the same Apple ID. So, here’s how to remove photos and videos to free up space:
3.1 From iPhone, iPad, or Apple Vision Pro
- Open the Photos app.
- Tap All Photos.
- Tap Select in the upper-right corner.
- Choose the photos and videos you want to delete.
- Tap the Delete button (trash can icon), then tap Delete Photo or Delete Video.
 iPhone showing All Photos, highlighting the Select option for photo deletion.
3.2 From Mac
- Open the Photos app.
- Select the photos and videos you want to delete.
- Press the Delete key on your keyboard.
- Click Delete to confirm.
3.3 From iCloud.com
- Go to iCloud.com and sign in.
- Open the Photos app.
- Select the photos and videos you want to delete.
- To select multiple items, press and hold Command (on Mac) or Control (on Windows) while selecting.
- To select all, press Command-A (on Mac) or Control-A (on Windows).
- Click the Delete button (trash can icon), then click Delete.
3.4 Recovering Deleted Photos
Deleted photos and videos are moved to the Recently Deleted album, where they stay for 30 days before being permanently removed. To recover them:
- Open the Photos app.
- Go to the Albums tab.
- Scroll down and tap Recently Deleted.
- Select the photos and videos you want to recover.
- Tap Recover.
To permanently delete photos immediately:
- Open the Recently Deleted album.
- Tap Select.
- Choose the items you want to permanently delete.
- Tap Delete, then tap Delete From This iPhone.
4. Managing iCloud Backups
iCloud backups can take up significant storage space. Reducing the size of your backups can free up iCloud storage.
4.1 Choosing Which Apps to Back Up
- Open the Settings app.
- Tap your name, then tap iCloud.
- Tap Manage Account Storage, then tap Backups.
- Tap the name of your device.
- Turn off the toggle for apps you don’t want to back up.
- Tap Turn Off & Delete to confirm.
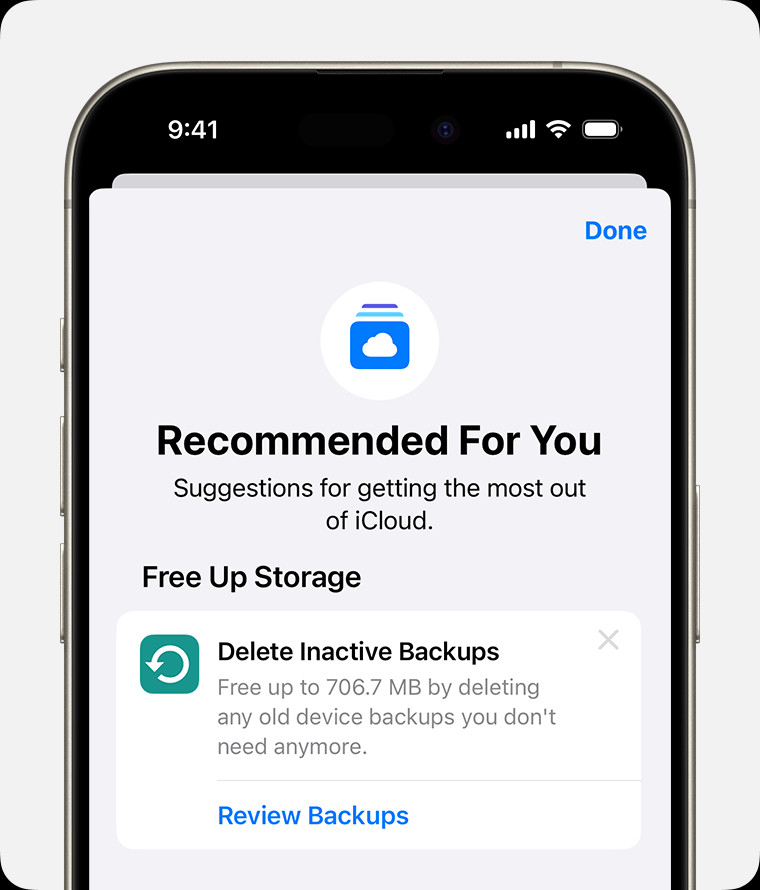
4.2 Deleting Old Backups
- Open the Settings app.
- Tap your name, then tap iCloud.
- Tap Manage Account Storage, then tap Backups.
- Tap the name of the device whose backup you want to delete.
- Tap Delete Backup.
4.3 Backing Up Photos to a Computer
- Connect your iPhone or iPad to your computer.
- Open Finder on Mac or File Explorer on Windows.
- Locate your device.
- Copy the photos and videos to a folder on your computer.
5. Deleting Files from iCloud Drive
iCloud Drive allows you to store and sync files across devices. Removing unnecessary files can free up storage.
5.1 From iPhone, iPad, or Apple Vision Pro
- Open the Files app.
- Tap Browse.
- Under Locations, tap iCloud Drive.
- Tap Select.
- Choose the files or folders you want to delete.
- Tap the Delete button (trash can icon).
5.2 From Mac
- Open Finder and go to the iCloud Drive folder.
- Drag the files or folders to the Trash.
- Empty the Trash to permanently delete the files.
5.3 From iCloud.com
- Go to iCloud.com and sign in.
- Open iCloud Drive.
- Select the files you want to delete.
- Click the Delete button (trash can icon).
6. Managing Messages and Attachments
Messages, especially those with attachments, can consume a significant amount of iCloud storage.
6.1 Deleting Messages and Attachments on iPhone, iPad, or Apple Vision Pro
- Open the Messages app.
- In a conversation, touch and hold the message bubble or attachment.
- Tap More.
- Tap the Delete button, then tap Delete Message.
To delete multiple attachments:
- In a conversation, tap the contact’s name at the top.
- Tap info
- In the Photos section, tap See All.
- Tap Select, then choose the images you want to delete.
- Tap Delete, then tap Delete Attachment to confirm.
To delete an entire conversation, swipe left on the conversation and tap the Delete button.
6.2 Deleting Messages and Attachments on Mac
- Open the Messages app.
- Control-click the message bubble.
- Choose Delete, then click Delete to confirm.
To delete multiple attachments:
- Open a conversation.
- Click the info button, then scroll to the Photos section.
- Click on an attachment, then hold the Command key to select multiple attachments.
- Control-click or right-click, then choose Delete.
- Click Delete Attachment to confirm.
To delete an entire conversation, Control-click a conversation, choose Delete Conversation, and click Delete to confirm.
7. Managing Mail
Email messages, especially those with large attachments, also take up iCloud storage.
7.1 Deleting Emails on iPhone, iPad, or Apple Vision Pro
- Open the Mail app.
- Swipe left on any message to delete it.
- Go to your Mailboxes and choose your Trash folder.
- To delete messages one at a time, swipe left on each message. To delete everything, tap Edit, tap Select All, and then tap Delete. Tap Delete All to confirm.
7.2 Deleting Emails on Mac
- Open the Mail app.
- Delete the messages you no longer want.
- Choose Mailbox > Erase Deleted Items and select your iCloud email account from the menu.
- Click Erase to confirm.
7.3 Deleting Emails on iCloud.com
- Go to iCloud.com and sign in.
- Open Mail and choose your Trash folder.
- To delete messages one at a time, select the message and click the Trash button. To delete multiple messages, select the messages and click Delete.
8. Managing Voice Memos
Voice memos stored in iCloud can also take up space.
8.1 Deleting Voice Memos on iPhone, iPad, or Apple Vision Pro
- Open the Voice Memos app, then tap All Recordings.
- Select the voice memos you want to delete, then tap the Delete button.
- Tap Recently Deleted, tap Edit, select the voice memo, then tap Delete.
- Tap Delete Forever to confirm.
8.2 Deleting Voice Memos on Mac
- Select the voice memos you want to delete.
- Click the Delete button.
- Open Recently Deleted, then click Delete All or Delete.
- Click Delete Forever to confirm.
9. Deleting FaceTime Data
Deleting FaceTime data from iCloud removes all your data from the app, including voicemails and video messages.
9.1 Deleting FaceTime Data on iPhone, iPad, or Apple Vision Pro
- Open the Settings app, tap your name, then tap iCloud.
- Tap Storage or Manage Account Storage.
- Tap FaceTime, then tap Delete Data from iCloud.
9.2 Deleting FaceTime Data on Mac
- Choose Apple menu > System Settings.
- Click your name, then click iCloud.
- Click Manage > FaceTime, then click Delete from iCloud.
10. Managing Apple Invites Data
Apple Invites allows you to create events, and the background images and other images added by guests count towards your iCloud storage.
10.1 Deleting Events on iPhone or iPad
- Open the Apple Invites app, then select the event.
- Tap the More button in the upper-right corner, then tap Event Settings.
- Tap Delete Event, then tap again to confirm.
11. Optimizing Your Photo Storage
Beyond deleting photos, there are ways to optimize how photos are stored to save space.
11.1 Using “Optimize iPhone Storage”
This feature in iCloud Photos replaces full-resolution photos with smaller, device-optimized versions. The full-resolution versions are still stored in iCloud and can be downloaded when needed.
- Open the Settings app.
- Tap your name, then tap iCloud.
- Tap Photos.
- Choose Optimize iPhone Storage.
11.2 Compressing Photos
Before uploading photos to iCloud, consider compressing them using a photo editing app. This reduces file size without significant loss of quality.
12. Archiving Your Photos
Before deleting, it’s always wise to archive your photos.
12.1 Downloading Photos to a Computer
- Go to iCloud.com and sign in.
- Open Photos.
- Select the photos you want to download.
- Click the Download button (cloud icon).
12.2 Using External Hard Drives
Transfer your photos to an external hard drive for safekeeping. This frees up iCloud space and provides a secure backup.
13. Upgrading to iCloud+
If managing storage becomes too cumbersome, consider upgrading to iCloud+.
13.1 iCloud+ Plans and Pricing
iCloud+ offers more storage and additional features like Private Relay and Hide My Email. Plans vary by region, but common options include:
- 50GB
- 200GB
- 2TB
13.2 How to Upgrade
- Open the Settings app.
- Tap your name, then tap iCloud.
- Tap Manage Storage or iCloud Storage.
- Tap Upgrade or Change Storage Plan.
- Choose a plan and follow the on-screen instructions.
14. Using Third-Party Storage Solutions
Consider using alternative cloud storage providers like Google Photos, Dropbox, or Amazon Photos. These services offer competitive storage plans and features.
15. Troubleshooting Common Issues
15.1 Photos Not Deleting
- Check iCloud Status: Ensure iCloud Photos is enabled and syncing correctly in Settings > [Your Name] > iCloud > Photos.
- Restart Device: Sometimes, a simple restart can resolve syncing issues.
- Check Internet Connection: A stable internet connection is required for changes to sync with iCloud.
15.2 Storage Not Updating
- Wait: It may take some time for iCloud storage to reflect the changes, especially after deleting large amounts of data.
- Sign Out and Back In: Try signing out of your Apple ID and signing back in on your devices.
- Contact Apple Support: If the issue persists, contact Apple Support for assistance.
16. SEO Optimization Tips for Photo Management
- Use Descriptive File Names: Name your photos with descriptive keywords before uploading them.
- Add Alt Text to Images: Use descriptive alt text for images on your website or blog.
- Optimize Image Size: Compress images to reduce file size without sacrificing quality.
- Use Relevant Keywords: Incorporate relevant keywords in your photo descriptions and captions.
17. Staying Updated on Photography Trends and Techniques with dfphoto.net
At dfphoto.net, we offer a wide range of articles and tutorials to help you improve your photography skills, stay up-to-date with the latest trends, and explore new creative avenues. Whether you’re a beginner or a professional, our resources can inspire and guide you on your photographic journey. Check out our website at dfphoto.net for more information. For inquiries, you can reach us at Address: 1600 St Michael’s Dr, Santa Fe, NM 87505, United States. Phone: +1 (505) 471-6001.
18. The Future of iCloud Storage
As technology evolves, cloud storage solutions will continue to advance. Future trends may include:
- AI-Powered Storage Management: Automated tools to identify and remove unnecessary files.
- More Affordable Storage: As storage technology improves, costs may decrease.
- Enhanced Security: Improved encryption and security measures to protect your data.
- Integration with AR/VR: Seamless integration with augmented and virtual reality applications.
19. Conclusion
Managing your iCloud storage, especially when it comes to photos, is essential for maintaining a smooth and efficient digital life. By following the steps outlined in this guide, you can easily delete unwanted photos, optimize your storage, and keep your devices running smoothly. For more photography tips, tricks, and inspiration, visit dfphoto.net. Explore our comprehensive resources, connect with a vibrant community of photographers, and take your skills to the next level. Don’t miss out – start your journey with dfphoto.net today!
20. Frequently Asked Questions (FAQ)
20.1 Can I recover permanently deleted photos from iCloud?
No, photos permanently deleted from the Recently Deleted album cannot be recovered.
20.2 Does deleting photos from iCloud delete them from my device?
Yes, if you are using iCloud Photos, deleting a photo from one device deletes it from all devices connected to the same Apple ID.
20.3 How long do photos stay in the Recently Deleted album?
Photos remain in the Recently Deleted album for 30 days.
20.4 What happens when my iCloud storage is full?
Your devices will not back up, new photos and videos will not upload, and iCloud Drive and other iCloud apps will not stay up to date.
20.5 How do I turn off iCloud Photos?
Go to Settings > [Your Name] > iCloud > Photos and toggle iCloud Photos off.
20.6 How do I back up my photos to my computer instead of iCloud?
Connect your device to your computer, open Finder (on Mac) or File Explorer (on Windows), and copy the photos to a folder on your computer.
20.7 What is “Optimize iPhone Storage”?
It replaces full-resolution photos on your device with smaller versions, storing the original versions in iCloud.
20.8 How do I upgrade to iCloud+?
Go to Settings > [Your Name] > iCloud > Manage Storage > Change Storage Plan.
20.9 Can I share iCloud storage with my family?
Yes, with iCloud+, you can share your storage with up to five family members.
20.10 Is iCloud the only option for storing my photos?
No, there are other cloud storage services like Google Photos, Dropbox, and Amazon Photos.
By mastering these techniques, you’ll ensure your digital memories are well-managed, your devices run efficiently, and you can continue capturing life’s beautiful moments without storage concerns. Head over to dfphoto.net to discover even more ways to elevate your photography and make the most of your creative passion.