Switching from an Android device to a Mac can be exciting, but it also brings up the question of how to move all your precious data across platforms. One of the most common concerns for new Mac users is transferring photos from their Android phone. If you’re wondering how to seamlessly move your photo library from your Android device to your Mac, you’ve come to the right place. This guide will walk you through the steps to manually transfer your photos and videos, ensuring none of your memories are left behind. While there are apps designed to simplify this process, understanding the manual method provides a reliable and straightforward solution.
Transferring Photos and Videos from Android to Mac Using a USB Cable
The most direct and reliable method to transfer your photos and videos from an Android device to a Mac is by using a USB cable. This method gives you full control over the files you transfer and ensures a secure connection between your devices. Here’s how to do it:
- Connect Your Android Device to Your Mac: Using your USB cable, connect your Android phone or tablet to your Mac. Once connected, your Android device might display a notification asking about USB connection options. Select “Transfer files” or “File Transfer (MTP)”. The exact wording may vary depending on your Android device model.
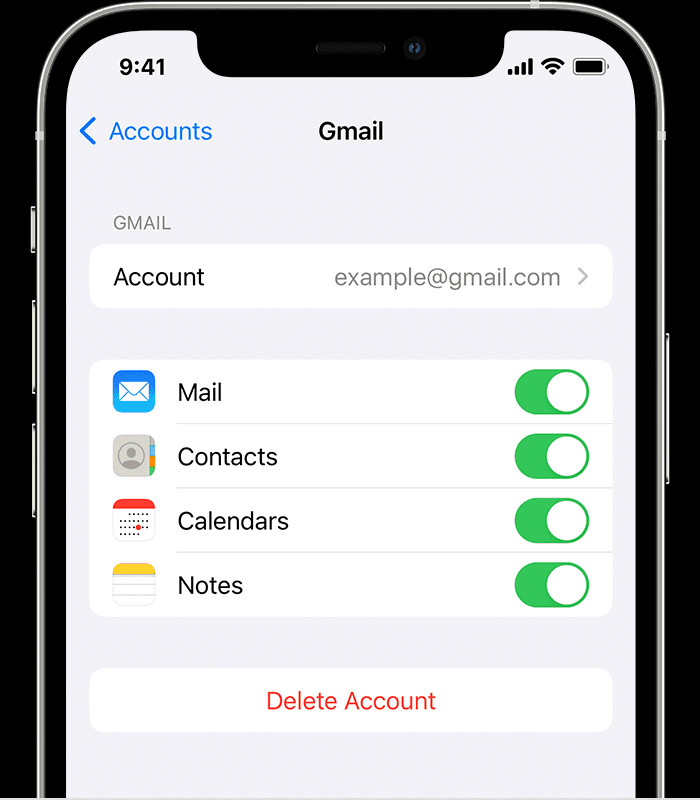
 An iPhone showing the settings for a connected Gmail account at Settings > Apps > Mail > Accounts > Gmail.
-
Locate Your Photos and Videos on Your Android Device: Once your Android device is connected in file transfer mode, it should appear as a drive on your Mac. Open Finder, and you should see your Android device listed in the sidebar under “Locations”. Click on your device name to browse its internal storage. Navigate to the folder where your photos and videos are stored. Typically, this folder is named “DCIM” (Digital Camera Images) and within it, you’ll find a “Camera” folder.
-
Copy Photos and Videos to Your Mac: Select the photos and videos you wish to transfer. You can either drag and drop these files directly to a folder on your Mac’s desktop or any other location you prefer, or you can copy and paste them. Creating a new folder on your Mac specifically for these transferred photos is a good way to keep things organized.
-
Import Photos into the Photos App on Mac (Optional but Recommended): While simply copying files to a folder works, importing them into the Photos app on your Mac offers better organization and integration with the Apple ecosystem. To do this, open the Photos app. In the menu bar, click on “File” and then select “Import”. Navigate to the folder where you copied your photos from your Android device, select the photos, and click “Review for Import”. You can then choose to import all new photos.
-
Disconnect Your Android Device: Once the transfer is complete, safely eject your Android device from your Mac by clicking the eject icon next to its name in the Finder sidebar. You can then disconnect the USB cable.
Alternative Methods for Transferring Photos (Less Direct)
While the USB cable method is generally the most reliable for transferring photos and videos, there are other approaches you could consider, although they might be less direct or require internet access.
- Cloud Storage Services: Services like Google Photos, Dropbox, or Google Drive can be used as intermediaries. You can upload photos from your Android to these services and then access and download them on your Mac. However, this method depends on internet speed and storage limits.
- Email or Messaging Apps: For transferring a small number of photos, emailing them to yourself or using messaging apps like Telegram or WhatsApp (web version on Mac) can be a quick workaround. This is not practical for large photo libraries.
Tips for a Smooth Photo Transfer
- Check Storage Space: Ensure you have enough free storage space on your Mac to accommodate all the photos and videos you are transferring.
- Organize as You Go: Consider organizing your photos into folders on your Mac as you transfer them, perhaps by date or event, to make them easier to manage later.
- Preview Before Deleting: Before deleting photos from your Android device after transfer, double-check on your Mac to ensure all files have been copied correctly and are viewable.
- Consider iCloud Photos for Future Syncing: If you plan to take more photos with your iPhone (if you switched completely to Apple ecosystem), consider using iCloud Photos to keep your photo library synced across all your Apple devices automatically in the future.
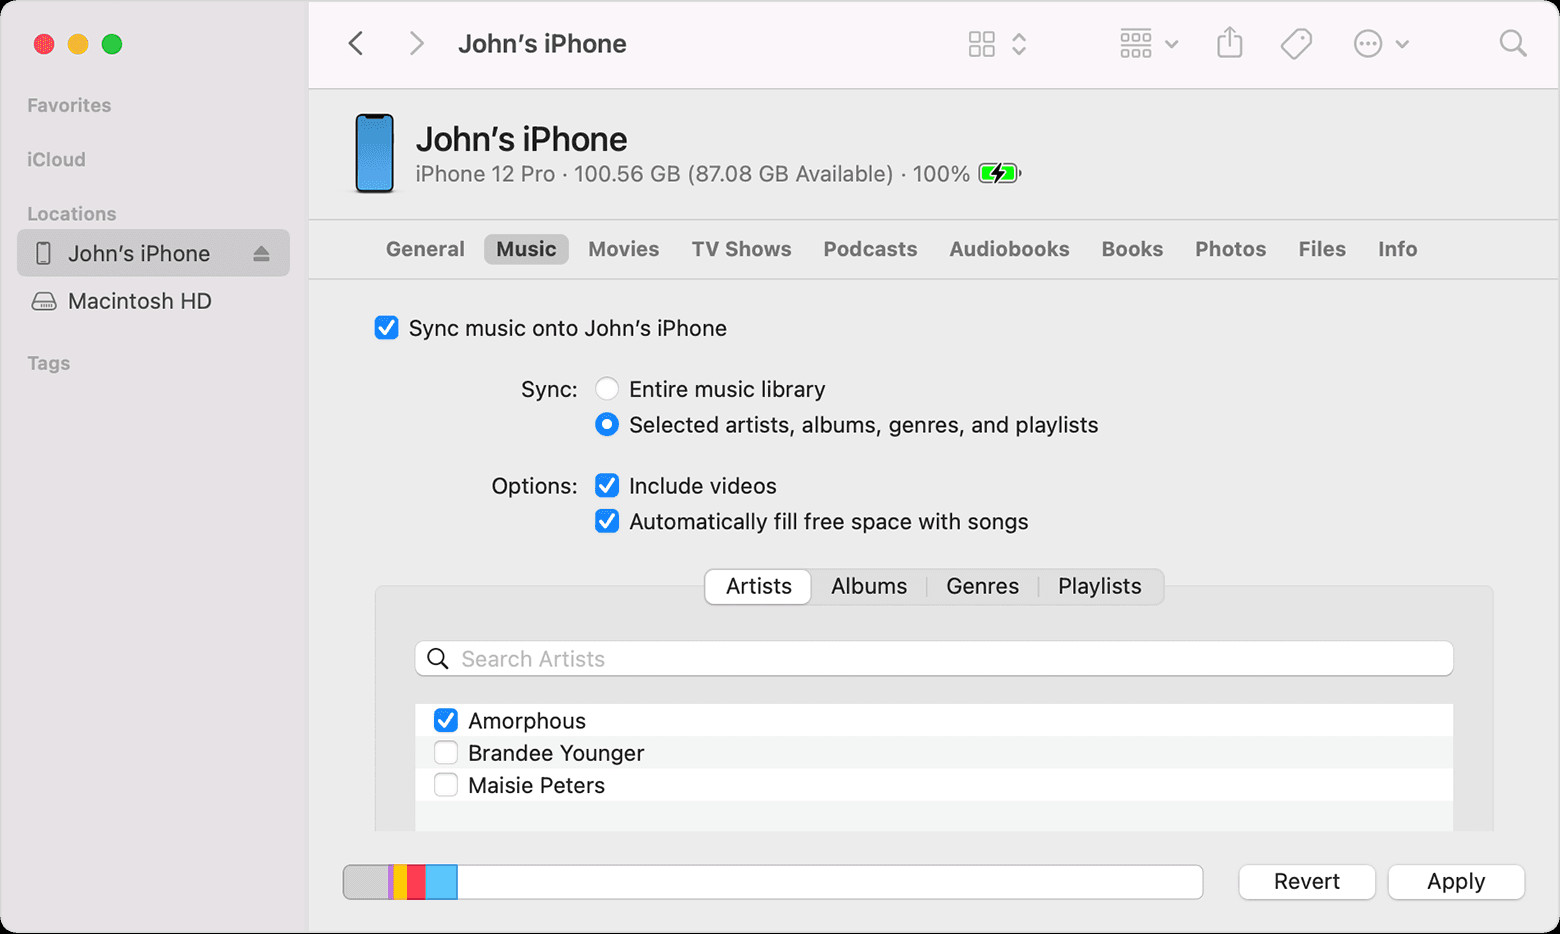
 With the Finder on macOS Monterey, you can sync your music from your phone to your computer.
Conclusion
Transferring photos from your Android to your Mac doesn’t have to be a daunting task. By using a USB cable and following these simple steps, you can efficiently move your entire photo and video library. While cloud services and other methods exist, the direct USB connection remains a dependable and straightforward way to ensure your precious memories are safely transferred to your new Mac. Once your photos are on your Mac, you can enjoy them on a larger screen, edit them, and back them up as part of your overall data management strategy. If you encounter any issues during the process, Apple Support is always available to provide further assistance.