Have you ever found yourself with a photo that looks blurry or pixelated when you try to view it on a larger screen or print it? This is often due to low resolution. Increasing the resolution of a photo is a common need, whether you want to improve old family pictures, prepare images for web display, or simply get a clearer view of your snapshots. While it’s important to understand the limitations of increasing resolution, there are methods to enhance your images. This guide will walk you through a simple way to increase photo resolution using readily available tools, and discuss what you can realistically expect from this process.
Understanding Resolution and Why Upsize?
Digital photo resolution refers to the amount of detail an image holds. It’s measured in pixels – those tiny squares that make up your digital image. A photo with higher resolution has more pixels, resulting in finer detail and sharpness. Low-resolution photos, on the other hand, appear blurry, especially when enlarged.
There are several reasons why you might want to increase the resolution of a photo:
- Enlarging for Viewing or Printing: Low-resolution images can look poor when displayed on large monitors or printed in larger sizes. Upsizing can make them more presentable.
- Improving Web Display: While websites often optimize images for faster loading, sometimes you need a slightly larger version of a small web image.
- Recovering Detail in Old Photos: Digitized old photos might be low resolution. Upsizing can help smooth out pixelation and make them more visually appealing.
It’s crucial to understand that you cannot magically add detail that wasn’t originally captured. Increasing resolution essentially involves “upsampling” or “interpolation,” where software algorithms guess and create new pixels based on the existing ones. This process can smooth out pixelation and make an image look better at a larger size, but it doesn’t create true detail.
Simple Method: Upsizing with Preview on Mac
For Mac users, the built-in Preview application offers a quick and easy way to increase photo resolution. Here’s how:
-
Open Your Photo in Preview: Locate the photo you want to enhance and drag it to the Preview icon in your Dock, or right-click on the image file, select “Open With,” and choose “Preview.”
 Drag and drop photo into Preview app
 -
Access the Adjust Size Tool: Once your photo is open in Preview, navigate to the menu bar at the top of your screen. Click on “Tools” and then select “Adjust Size…” from the dropdown menu.
 Access Adjust Size tool in Preview menu
 -
Adjust the Pixel Dimensions: In the “Adjust Size” dialog box, you’ll see options to change the dimensions of your photo.
- Fit into: You can choose a preset size from the dropdown menu or enter custom dimensions in pixels. For increasing resolution, you’ll want to increase these numbers.
- Scale proportionally: Ensure this box is checked to maintain the original aspect ratio of your image, preventing distortion.
- Resample image: This is the crucial setting for increasing resolution. Make sure “Resample image” is checked. This tells Preview to create new pixels to enlarge the image.
For example, if you want to fit your image into a 1024 x 768 pixel frame, select “1024 x 768” from the “Fit into” dropdown.
-
Save a New Copy: After adjusting the size, click “OK.” It’s important to save the upsized image as a new file to avoid overwriting your original photo. Go to “File” in the menu bar, and select “Save As…”
-
Choose Save Options: In the “Save As” dialog:
- Rename the file: Add a letter or suffix to the filename (e.g., “photo_upsized.jpg”) to differentiate it from the original.
- Select Destination: Choose where to save the new file. “Desktop” is convenient for easy access.
- Format: “JPEG” is a common format for photos.
- Quality: Set the “Quality” slider to “Best” to maintain the highest possible quality in the upsized image.
Click “Save” to save your upsized photo.
Upsizing in Action: Seeing the Results
Let’s look at an example of how upsampling can affect an image. Consider a scanned genealogy photo, which might be low resolution and appear pixelated even at normal viewing sizes.
Here’s a detail of the original, low-resolution photo:
 Detail of original low-resolution genealogy photo showing pixelated edges
Now, let’s see the same detail after being upsampled using the Preview method described above:
 Detail of upsampled genealogy photo demonstrating smoother lines and improved appearance
As you can see, the upsampled detail appears smoother. While it hasn’t added any missing information, it has reduced the harsh pixelation, making the image more visually pleasing, especially when viewed at a larger size.
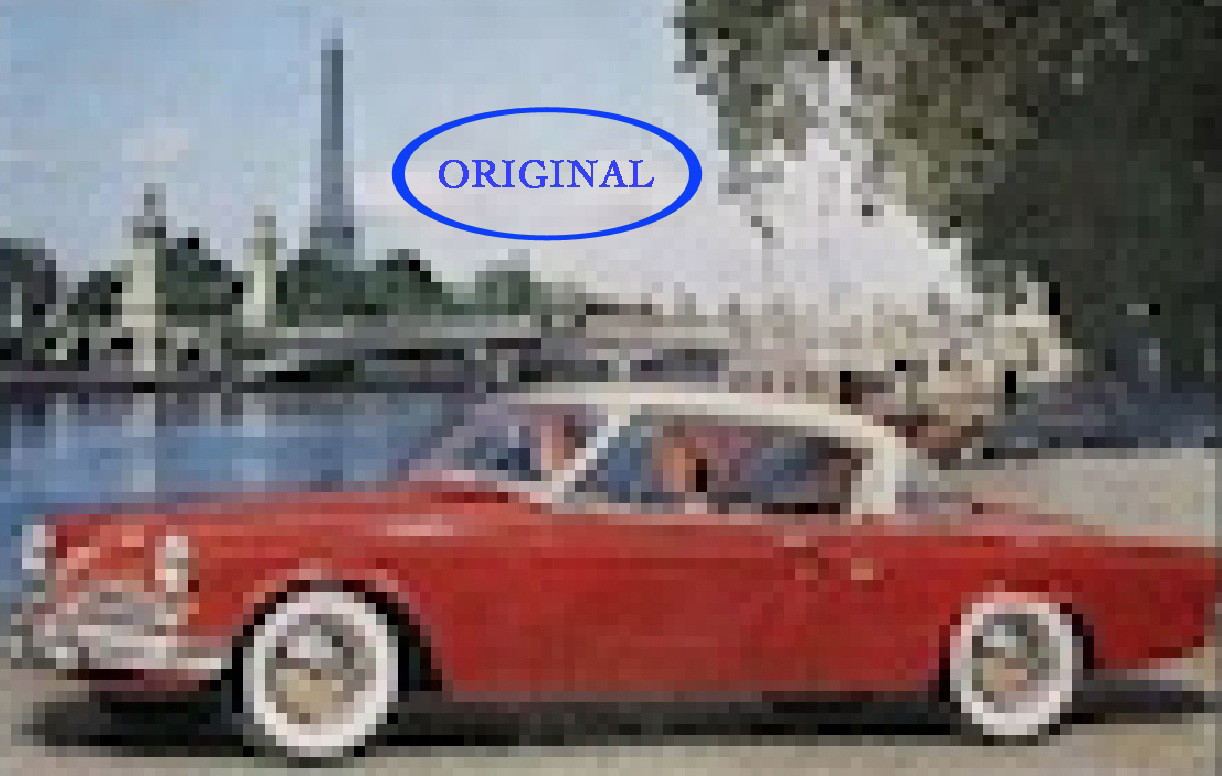
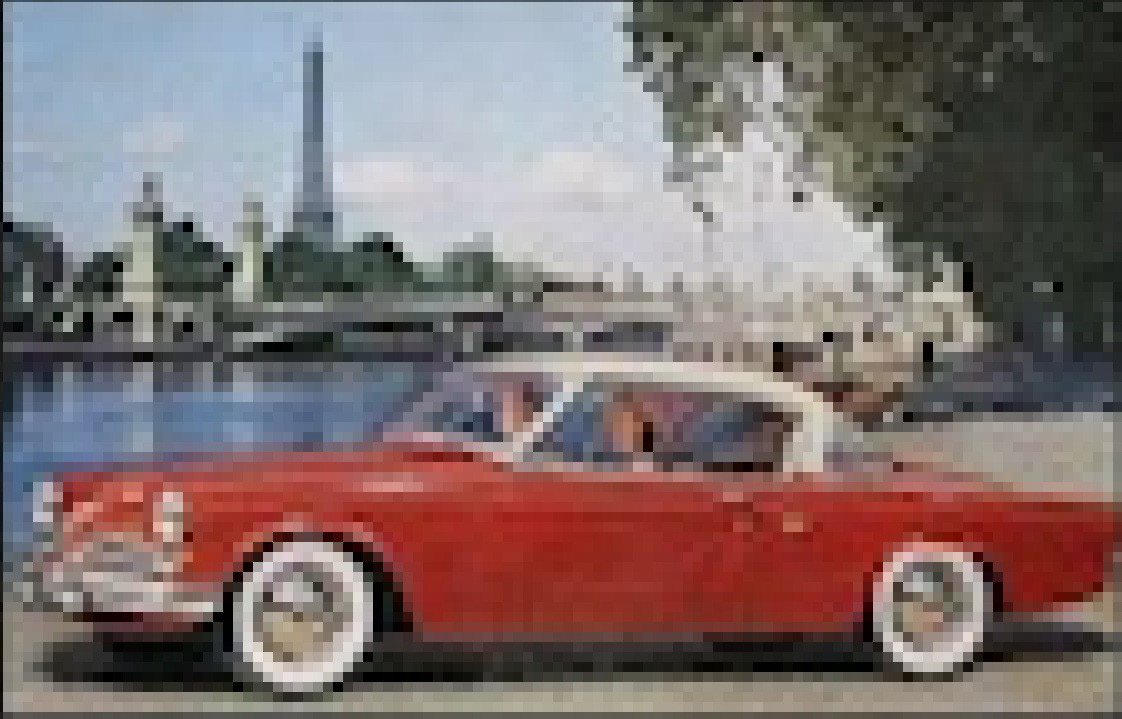
Here’s another example using a small web advertisement image. This original Studebaker ad image is quite small:
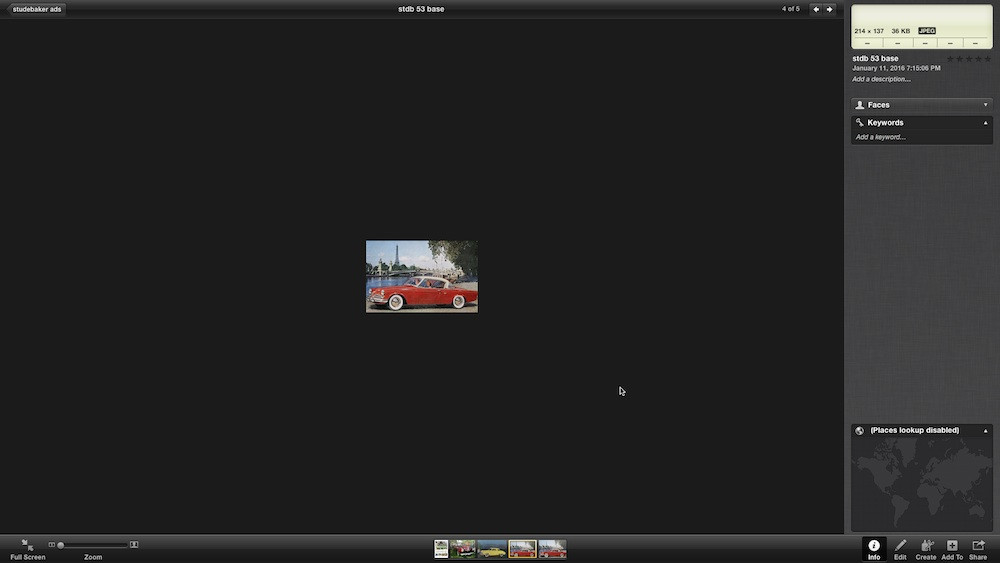 Small, low-resolution Studebaker ad image before upscaling
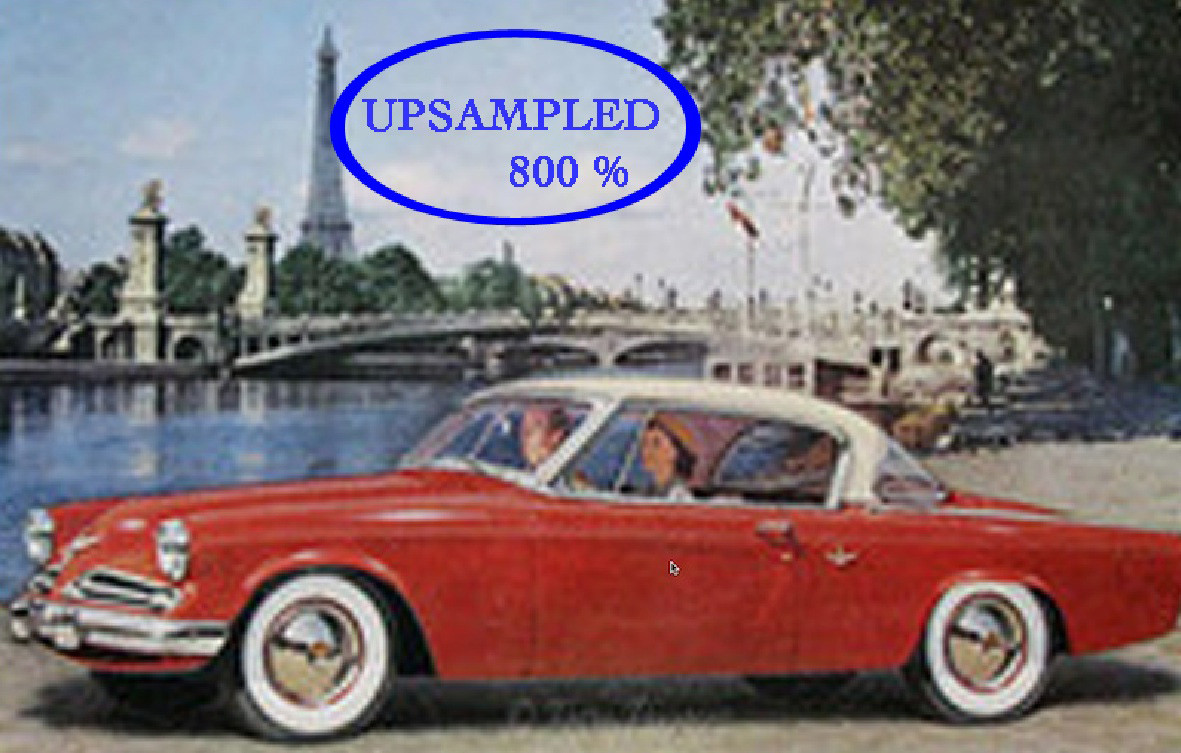
After upscaling it significantly, we get a larger image:
 Upscaled Studebaker ad image, enlarged to improve visibility
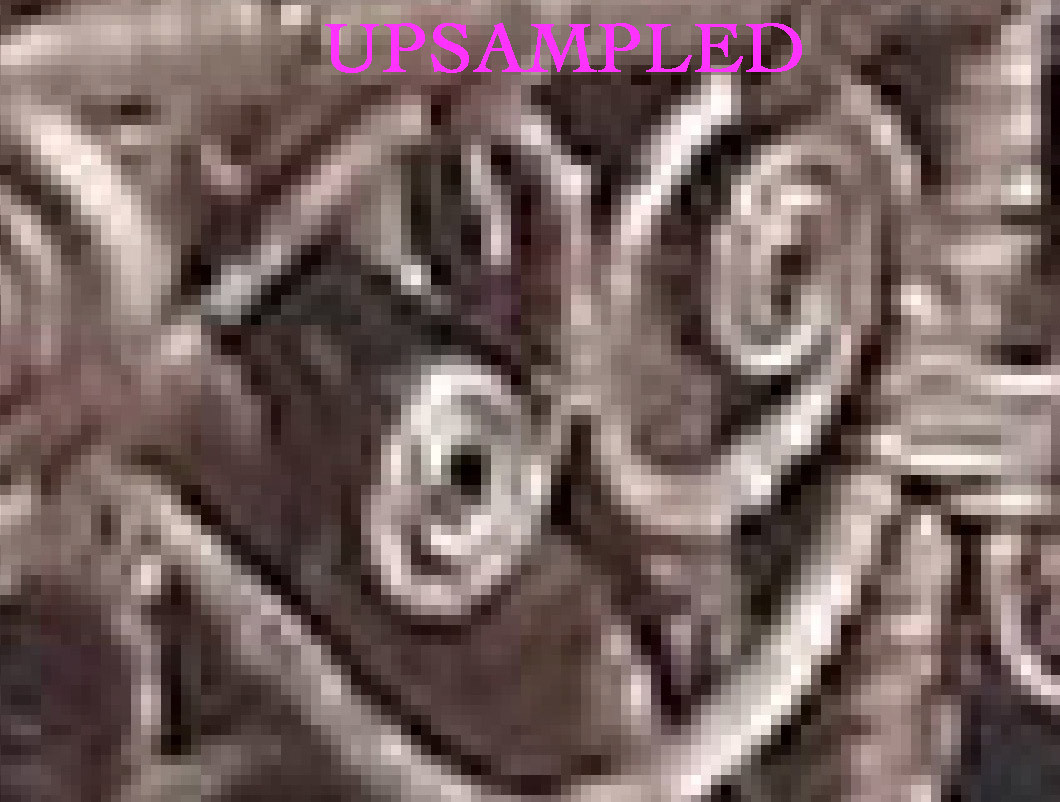
Comparing this to simply zooming in on the original small image:
 Original Studebaker ad image zoomed in, showing pixelation compared to upscaled version
The upscaled version, while not perfect, is arguably more viewable than the pixelated, zoomed-in original.
Quality Considerations and Limitations
While upscaling can be helpful in certain situations, it’s essential to be aware of its limitations:
- No New Detail: Upsampling algorithms create new pixels by estimating, they don’t invent detail. An extremely low-resolution and blurry photo cannot be turned into a high-definition masterpiece.
- Potential for Softness or Artifacts: Aggressive upscaling can sometimes lead to unwanted softness or introduce artifacts (unnatural-looking patterns).
- Better to Start with High Resolution: The best way to have high-resolution photos is to capture them that way initially. Always aim for the highest resolution possible when taking photos if you anticipate needing large prints or detailed views.
When is Upscaling Acceptable?
Upscaling is most useful for:
- Minor Enlargements: Increasing resolution by a small percentage (e.g., 10-20%) for web display or slightly larger prints can often be done without significant quality loss.
- Smoothing Pixelation: For old, low-resolution images, upscaling can improve visual appeal by reducing pixelation, even if it doesn’t add detail.
- Specific Use Cases: In situations where having a slightly larger image is more important than perfect sharpness (e.g., a small web image needing to be a bit bigger for layout purposes).
For Critical Upscaling Needs:
For professional photographers or situations requiring the highest possible quality when upscaling, dedicated image editing software like Adobe Photoshop or specialized AI-powered upscaling tools offer more advanced algorithms and control. These tools often produce better results than basic upscaling methods, but they also come with a learning curve and potential cost.
Conclusion
Increasing the resolution of a photo is possible, and tools like Preview on Mac make it easily accessible. While upscaling cannot magically restore lost detail, it can be a useful technique for making low-resolution images more usable for various purposes. By understanding the process and its limitations, you can effectively use upscaling to enhance your photos when needed, especially for simple tasks and older images. Remember to always save a copy of your original photo and experiment to find the best balance between size and quality for your specific needs.