Creating personalized Christmas ornaments is a wonderful way to add a heartfelt touch to your holiday decorations. If you’re looking for an easy and meaningful DIY project, look no further than these Do It Yourself Photo Ornaments. These charming wood slice ornaments are not only simple to make but also serve as beautiful keepsakes, perfect for displaying cherished memories on your Christmas tree or gifting to loved ones. You’ll be amazed at how quickly this delightful Christmas craft comes together, transforming your favorite photos into treasured holiday décor.
The inspiration for this project came from a friend who admired my Napkin Ornaments and wanted a similar personalized ornament using photos. Initially, I was unsure how to adapt the napkin technique for photographs. However, after some experimentation, I discovered a fantastic method that is not only simple and affordable but also yields excellent results for transferring photos onto wood slices.
Easy Steps to Craft Your Own Photo Ornaments
These DIY photo ornaments are incredibly quick to make, and I’m excited to guide you through each step. If you enjoy this technique, you might also be interested in my Napkin Pumpkins, a charming DIY fall home decor idea! Additionally, I’ve used these same wood slices to create adorable Snowman Ornaments, proving the versatility of this simple craft.
Step 1: Gather Your Supplies
Before you begin, make sure you have all the necessary materials ready. Having everything at hand will streamline the crafting process and make it even more enjoyable.
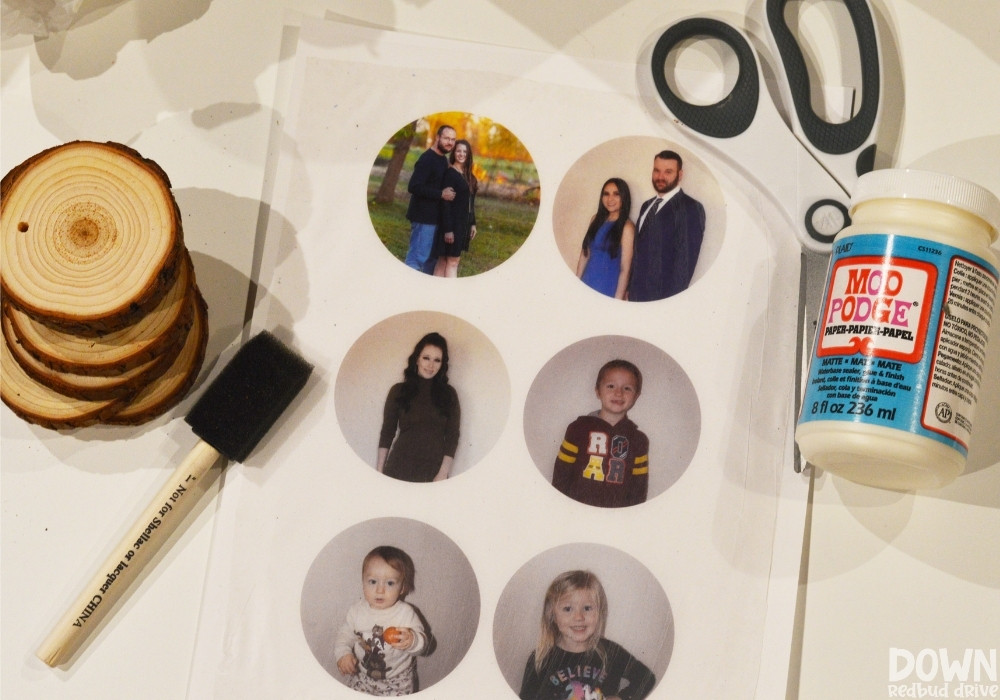 Overhead shot of the supplies for the DIY Wood Photo Ornaments, including wood slices, Mod Podge, foam brush, tissue paper, cardstock, tape, scissors, twine, and hot glue gun with embellishments.
Here’s what you will need:
- Wood slices: Pre-drilled wood slices are ideal for ornaments.
- Photos: Choose your favorite photos to personalize your ornaments.
- Tissue paper: White tissue paper is needed for printing the photos.
- Cardstock paper: Provides support for printing on tissue paper.
- Scotch tape: To attach tissue paper to cardstock.
- Mod Podge: A decoupage medium to adhere and seal the photos.
- Foam brush: For applying Mod Podge smoothly.
- Scissors: For cutting out your photos.
- Twine or ribbon: For hanging your ornaments.
- Optional decorations: Small embellishments like berries, greenery, or ribbons to decorate your ornaments.
- Hot glue gun (optional): To attach decorations.
Step 2: Format Your Photos for Printing
To ensure your photos fit perfectly on the wood slices, you’ll need to format them to approximately a 2.75″ circle. The easiest way to achieve this is by using a template in Canva.
Here’s a link to the Canva template I created. Simply click the link and then click edit design to start customizing.
If you don’t already have a Canva account, you can easily create a free one. Once logged in, the design will open, allowing you to edit the text and, most importantly, upload your chosen photos.
Drag and drop your pictures into the designated circles on the template. Once you’ve placed all your photos, SAVE your document to your computer as a PDF FOR PRINT. This ensures that the sizing you’ve formatted is preserved during printing.
Step 3: Print Your Pictures onto Tissue Paper
Printing on tissue paper requires a little preparation to ensure successful photo transfer for your DIY wood photo ornaments.
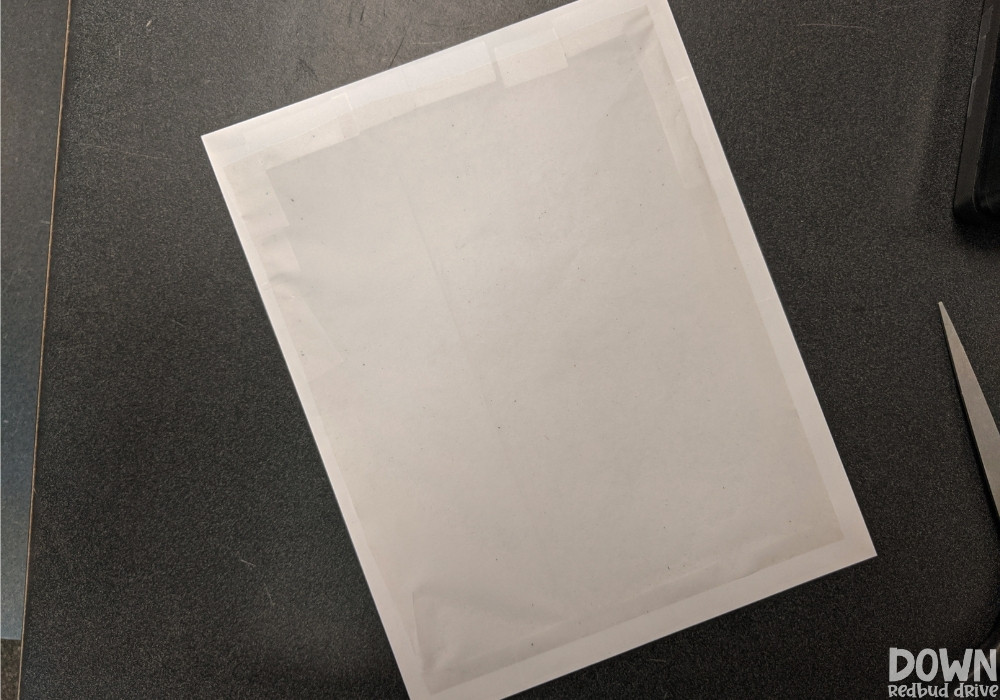 Close-up of white tissue paper carefully taped to a sheet of white cardstock paper, ready for printing photos.
Cut a piece of WHITE tissue paper slightly smaller than a standard 8.5″x11″ sheet of cardstock paper. Make sure the tissue paper is completely smooth (iron it lightly if needed). Then, using scotch tape, tape the tissue paper securely to the sheet of cardstock.
Cardstock is readily available at any office supply store or even at Walmart. It’s an inexpensive and essential supply for this project.
Tape the tissue paper to the cardstock with the matte side of the tissue paper facing up. This will ensure the best transfer onto your wood slice ornament blanks.
Pro Tip: Securely tape all the way around the edges of the tissue paper. This prevents the printer from catching and tearing the delicate tissue paper during the printing process.
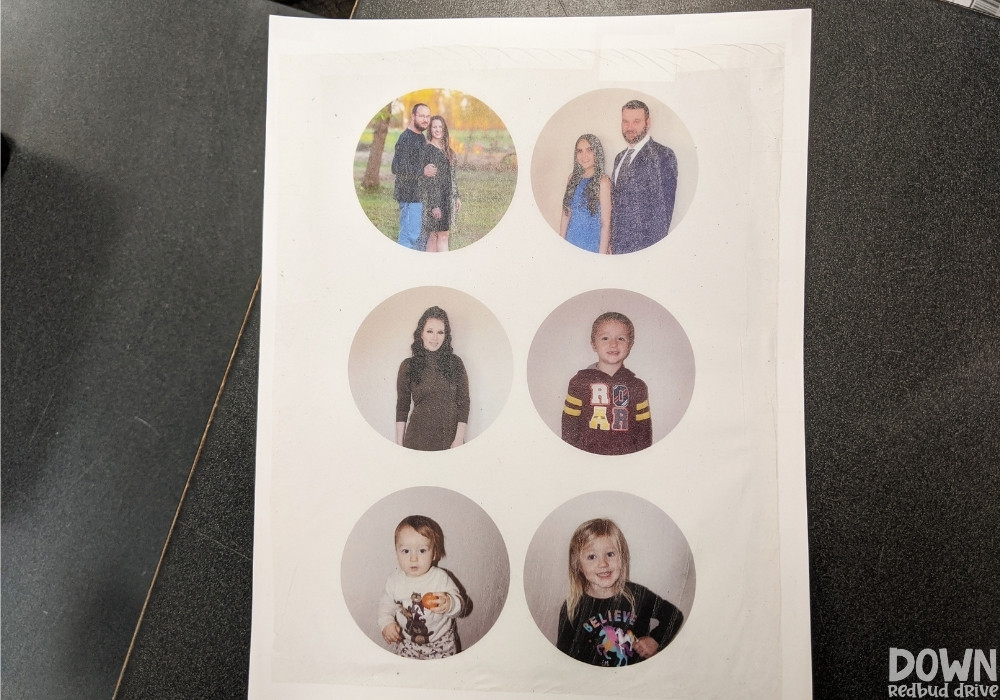 Sheet of tissue paper printed with circular photos, still taped to the cardstock backing, showcasing how the images appear after printing.
Load the cardstock into your printer with the tissue paper side facing up, so the photos print directly onto the tissue paper. Print your saved PDF document.
After printing, your photos on tissue paper will look similar to the image above. Whether you use a laser jet or inkjet printer doesn’t matter; both types should work effectively for this project.
Step 4: Carefully Cut Out Your Photos
For easier handling and precise cutting, leave your photos taped to the cardstock while you cut them out.
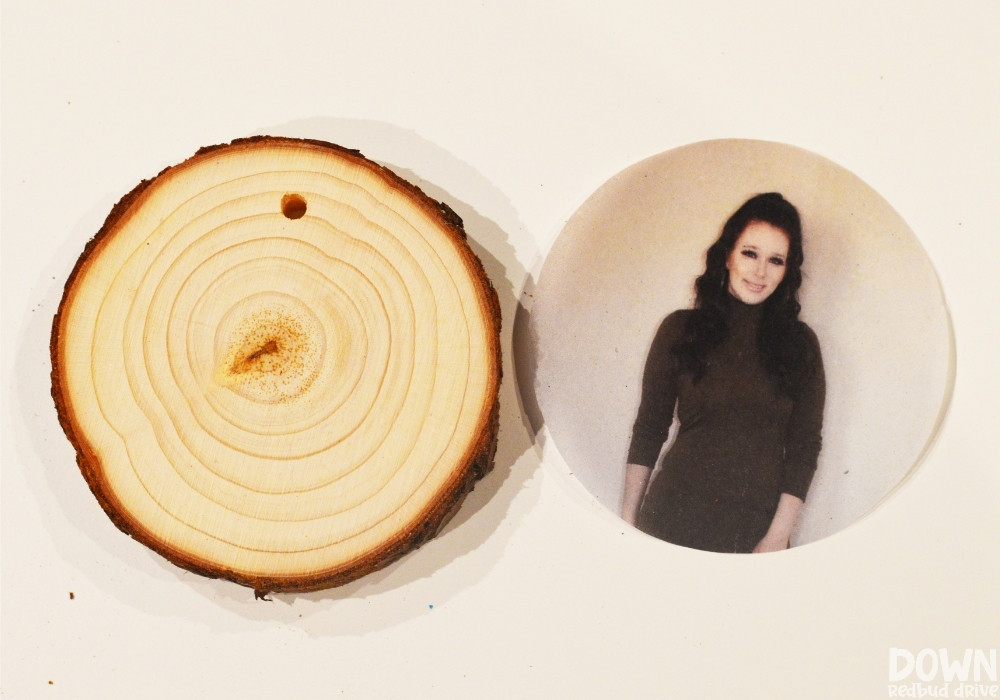 Close-up of a hand cutting out a circular photo printed on tissue paper, with a blank wood slice ornament and other cut-out photos visible on the crafting surface.
Take your time and use sharp scissors for clean cuts, carefully cutting out each photo circle. Slow and steady wins the race when cutting tissue paper!
Step 5: Apply Mod Podge to the Wood Slice
Now it’s time to prepare the wood slices for photo transfer.
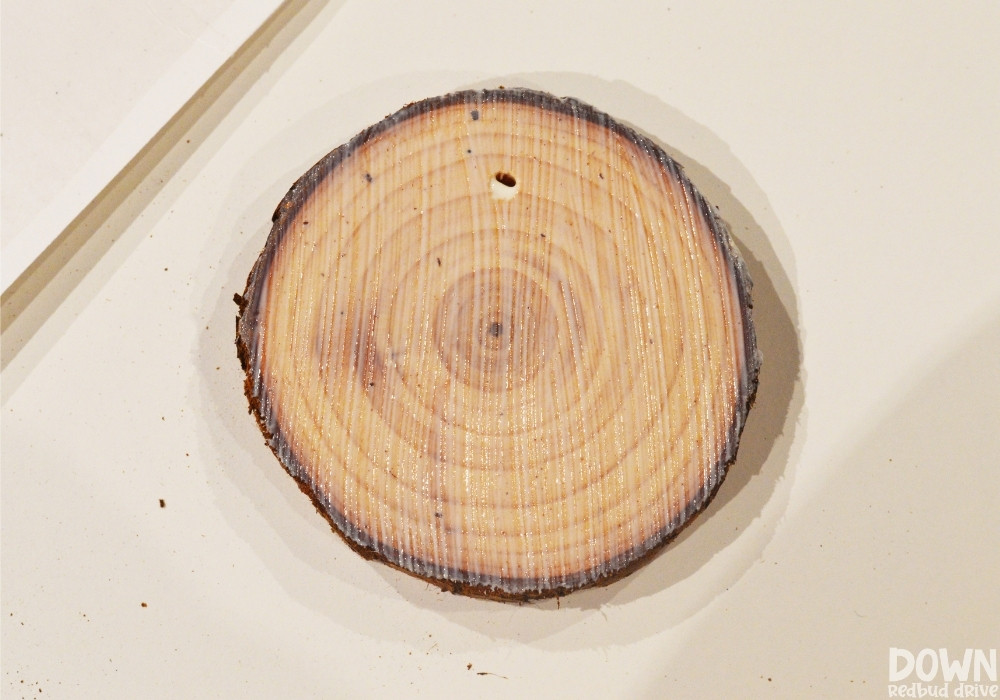 Image showing Mod Podge being applied to a blank wood slice ornament with a foam brush, creating a smooth and even layer.
Using a foam brush, apply an even coat of Mod Podge to the surface of your wood slice ornament, covering the entire top surface as shown.
Step 6: Carefully Place Your Photo onto the Wood Slice
With the Mod Podge applied, you’re ready to adhere your photo.
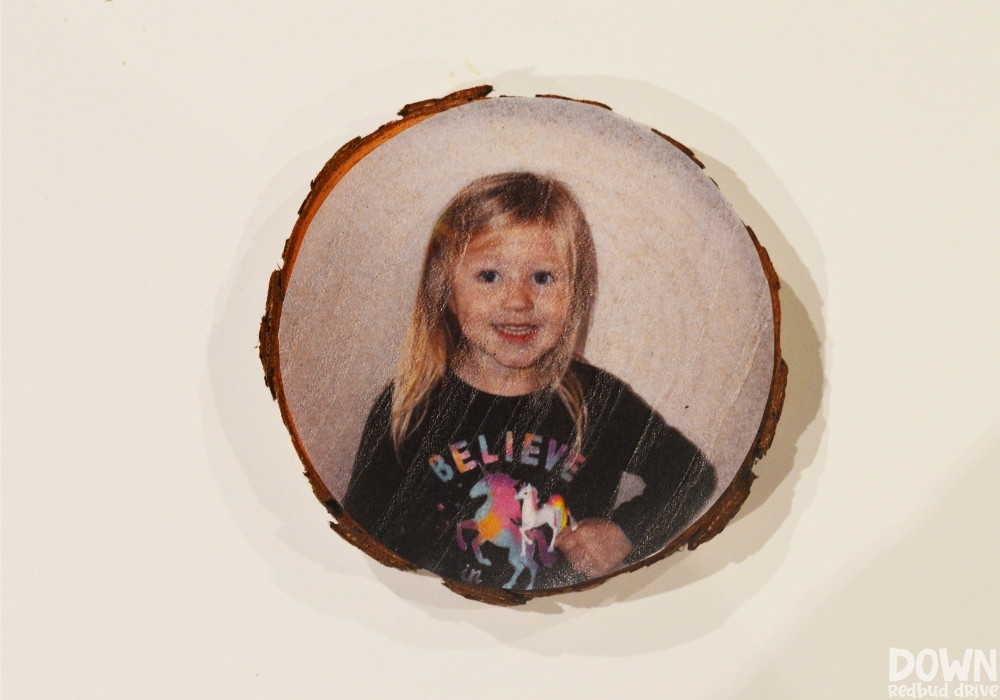 Image showing a tissue paper photo being carefully placed onto a Mod Podge-covered wood slice ornament, aligning it centrally.
Gently place your tissue paper photo, printed side down, onto the Mod Podge coated wood slice ornament.
Consider the placement of the pre-drilled hole at the top of the ornament as you position your photo. You’ll want the hole to be at the top center so the ornament hangs correctly on your tree.
Use your fingers to gently smooth the photo down onto the Mod Podge, working from the center outwards to minimize any wrinkles in the tissue paper photo.
Step 7: Seal with Another Layer of Mod Podge
To protect your photo and ensure it adheres well, you’ll add another layer of Mod Podge.
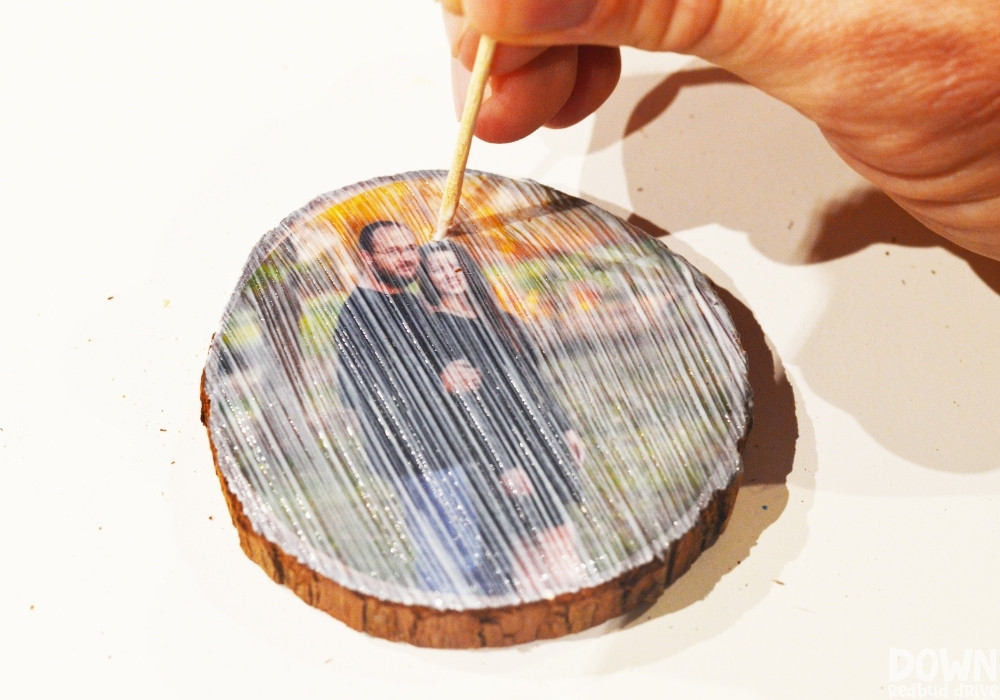 Close-up showing a toothpick being used to poke through the tissue paper to reveal the pre-drilled hole in the wood slice ornament, with a hand applying Mod Podge in the background.
Use your foam brush to apply another even coat of Mod Podge over the top of the photo, sealing your DIY photo ornament.
While the Mod Podge is still wet, use a toothpick or a pin to gently poke through the tissue paper and re-establish the ornament hole at the top.
Then, use your thumb to carefully press around the edges of the wood slice to gently remove any excess tissue paper that may be overlapping the edge.
Using your thumb rather than scissors creates a natural, slightly feathered edge that helps the photo blend seamlessly into the wood.
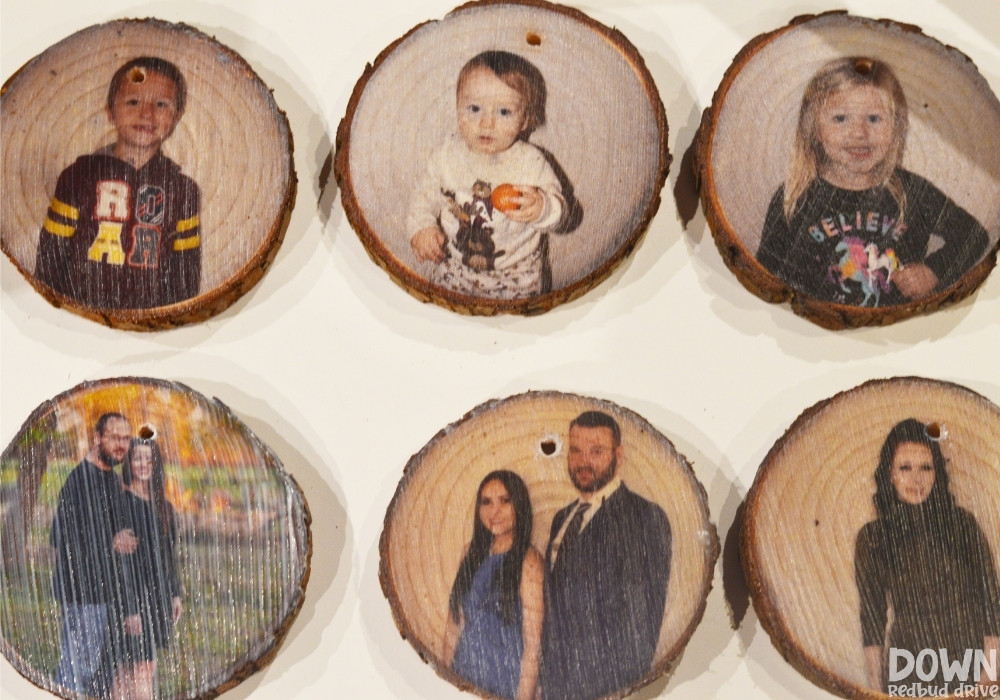 Overhead view of several DIY Wood Photo Ornaments laid out to dry after the photos have been applied, showing the drying Mod Podge layer.
This is how your ornaments will look as they dry.
Allow approximately one hour for the Mod Podge to dry completely before proceeding to the next step.
Step 8: Attach the Ornament Hanger
Once the Mod Podge is fully dry, you can add the hanger so your ornaments are ready for display.
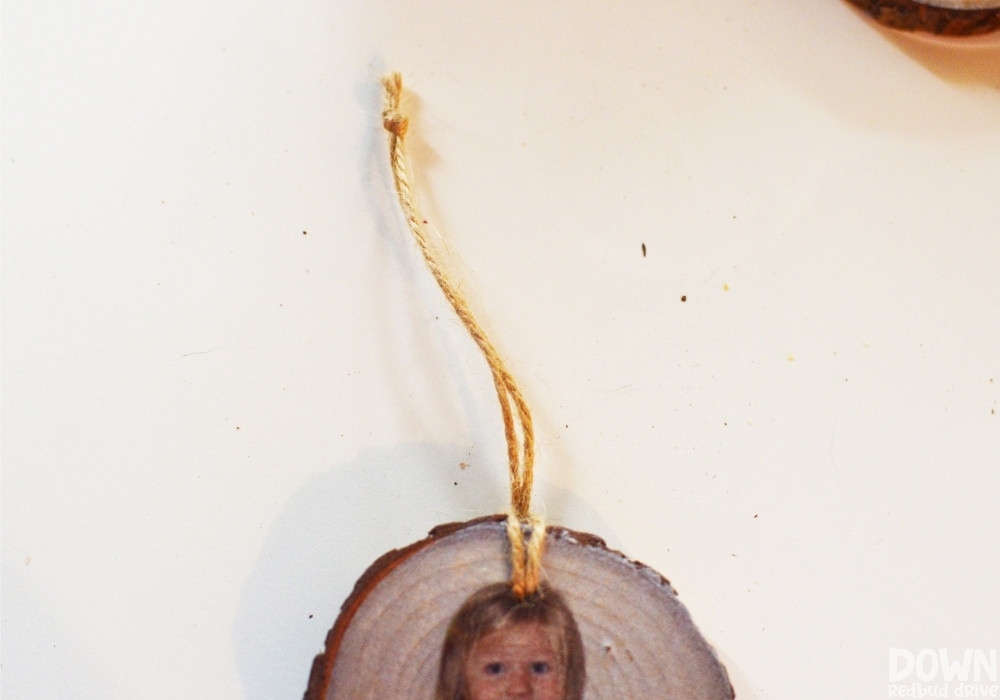 Close-up of twine being threaded through the hole of a DIY Wood Photo Ornament and tied in a loop to create a hanger.
The wood slices I purchased from Amazon came with charming twine, which I used to create the hangers as shown. You can use twine, ribbon, or any other decorative string you prefer. Simply thread it through the hole and tie a loop.
Step 9: Add Festive Decorations (Optional)
For an extra touch of Christmas cheer, consider adding small decorations to the tops of your DIY wood photo ornaments.
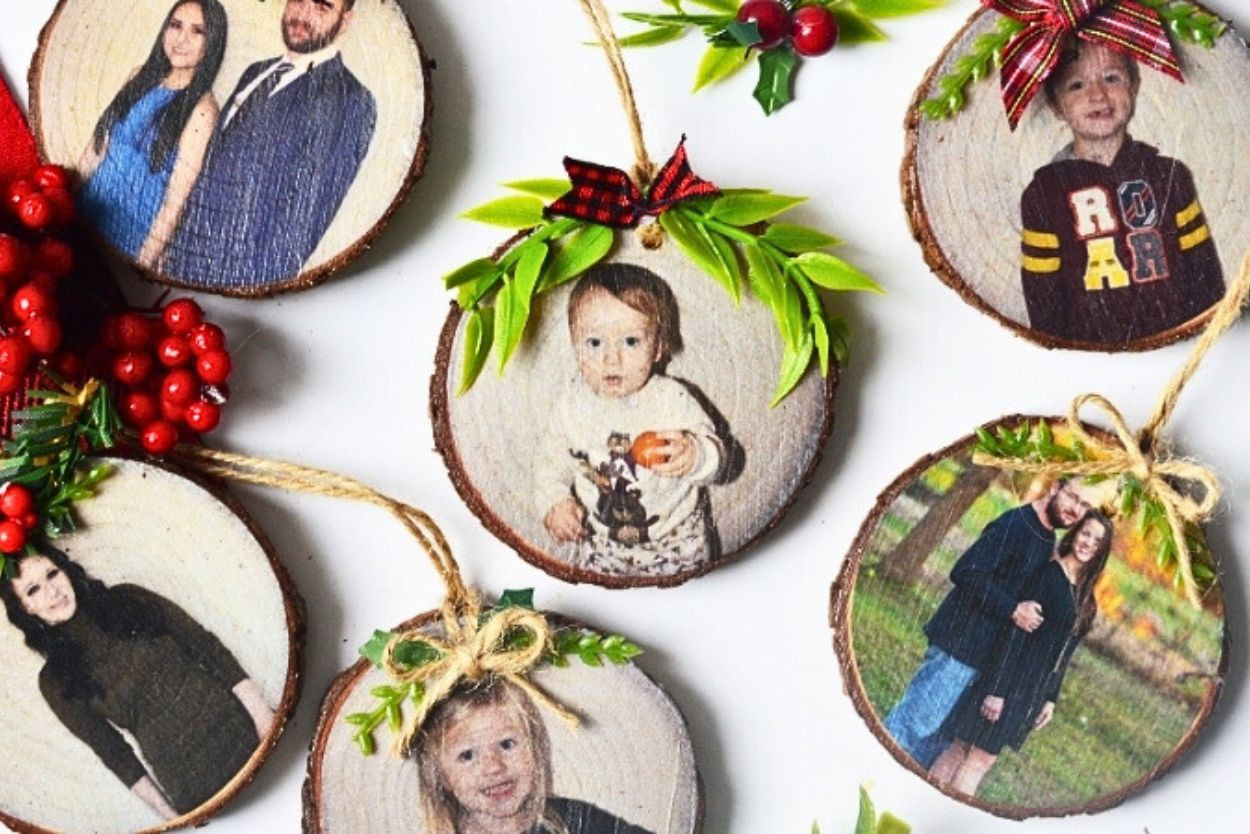 Wide overhead shot of the finished DIY Wood Photo Ornaments, each adorned with different small festive embellishments like berries and greenery, showcasing the completed craft.
Using a hot glue gun, I added little embellishments to the tops of each ornament. This step is completely optional, so if you prefer a minimalist look, you can certainly leave them plain. However, adding a few festive touches can enhance the overall charm of your handmade ornaments.
Looking for More DIY Christmas Ornament Ideas?
If you enjoyed making these photo ornaments, you might also love these other DIY ornament tutorials:
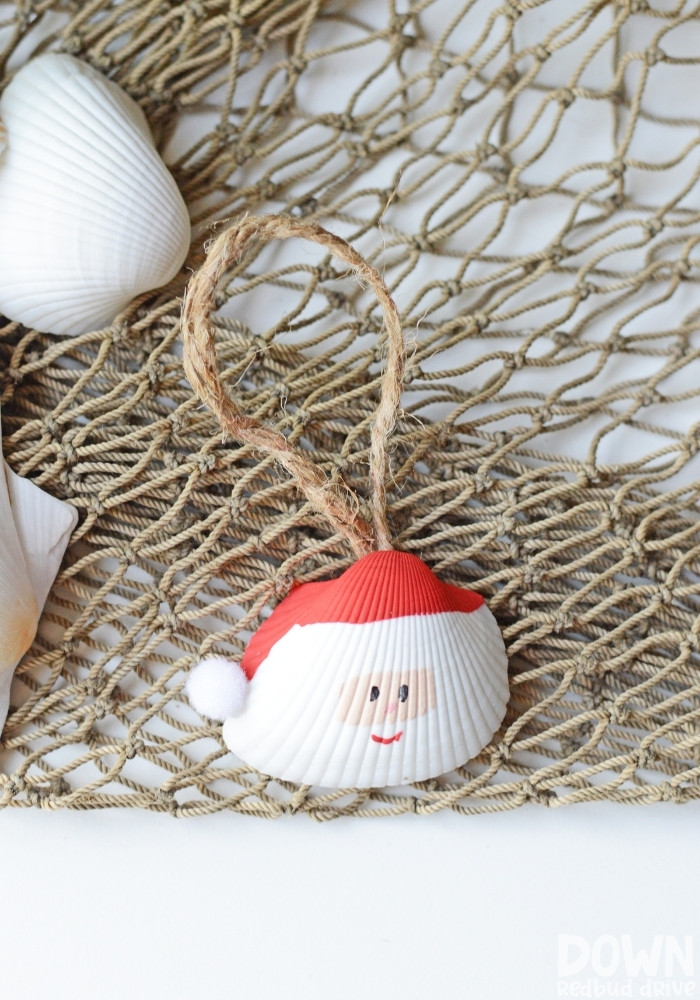 SANTA SEASHELL ORNAMENTS
Pin This for Later
Don’t forget to save this tutorial for future crafting sessions! You can easily come back to these instructions when you’re ready to make more DIY photo ornaments or share this heartwarming craft idea with friends and family.

