Taking your own Christmas photos can feel like a daunting task, especially when you’re juggling tricky indoor lighting and energetic kids. The thought of capturing those perfect holiday moments might even seem overwhelming. But don’t worry! With a few simple tricks, you can absolutely nail beautiful Do It Yourself Christmas Photos right in the comfort of your home. Here are some essential tips to ensure you capture wonderful Christmas memories around your tree this year.
Harness the Power of Natural Light
One of the biggest secrets to amazing indoor photos, especially when you’re aiming for do it yourself christmas photos, is to maximize natural light. Forget waiting until evening when the tree lights are twinkling – actually, the best time to decorate and photograph is during the daytime. It might seem counterintuitive for capturing the cozy Christmas ambiance, but trust me, natural light is your best friend when photographing children indoors, particularly if you’re using your phone. A brightly lit room makes a world of difference, especially on those darker winter days.
 A young boy is holding red Christmas baubles, standing in front of a Christmas tree, bathed in natural light from a nearby window.
To amplify this natural light, position your Christmas tree strategically near a window. I understand this isn’t always possible depending on your home layout, but prioritizing a good light source is crucial for photography. Think of it like improvising to get the best shot. Just as wedding photographers often position a bride near a window for beautiful, naturally lit getting-ready photos, you can adapt your setup at home. You’re still aiming for a natural, homey feel for your do it yourself christmas photos, but making smart choices about light will make the process much easier and the results far better.
Plan Your Shots, Don’t Rush the Fun
Before you even think about getting the kids involved, take a moment to plan. Having a little pre-thought will make your do it yourself christmas photos session smoother and more successful. Think about where the best light is in your space and envision the kinds of shots you want to capture. When I started, I initially positioned myself with the window behind my subject, but the lighting wasn’t quite right. By simply shifting my position to have the light fall more directly on the face, the images improved dramatically.
 A child in a festive setting, looking at Christmas decorations, highlighting the importance of taking time to find the best angle and lighting for DIY Christmas photos.
Take your time to experiment with angles and settings. Review your test shots to see what’s working and what isn’t. If you’re not happy with the initial results, don’t be afraid to move around and try different perspectives until you find that sweet spot. Rushing will only lead to frustration, especially when little ones are involved. Patience and a little planning are key components to great do it yourself christmas photos.
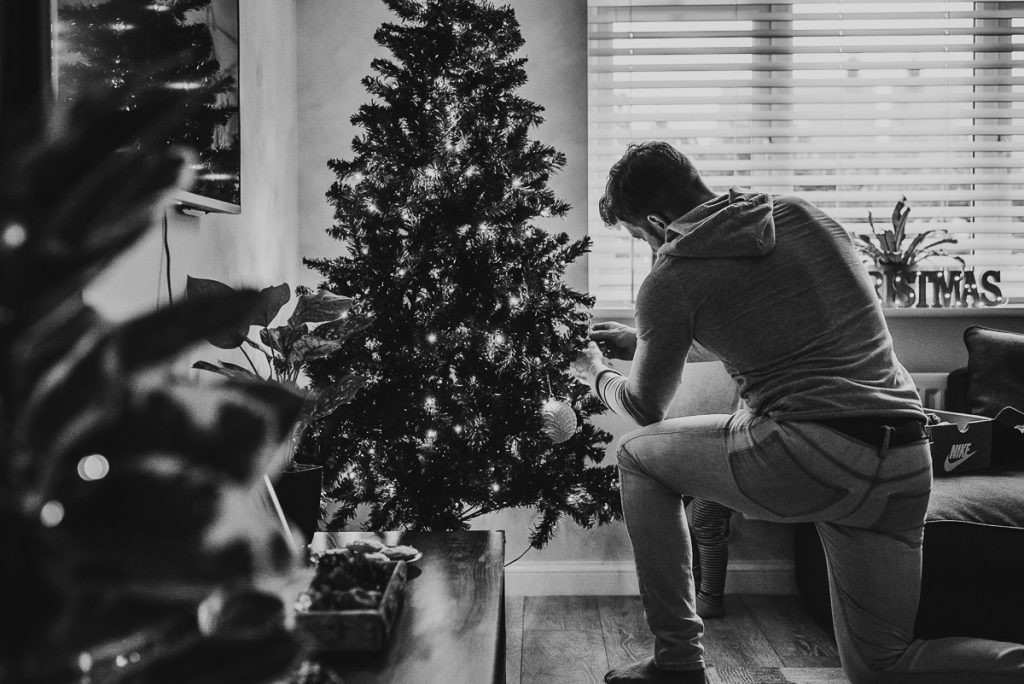
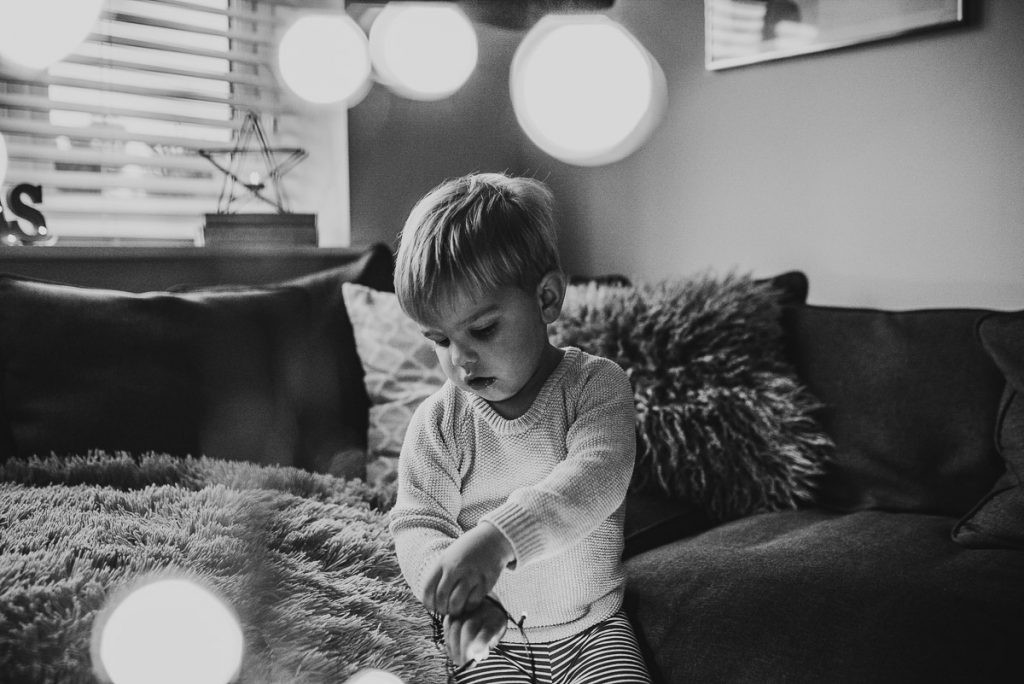
Get on Their Level for Engaging Portraits
One common mistake I often see when people take photos of their children is shooting from above. This often results in awkward angles and can distort your child’s features. For more engaging and flattering do it yourself christmas photos, get down to their level! This might mean kneeling, sitting, or even lying on the floor – whatever it takes to be eye-level with your little subject. Good angles can completely transform your photographs for the better, making your kids the center of attention in the most charming way. In the photo below, you can see how being at the same level creates a much more intimate and natural portrait.
 A child is sitting on a sofa, eye level with the camera, showcasing the ideal perspective for DIY Christmas photos of children.
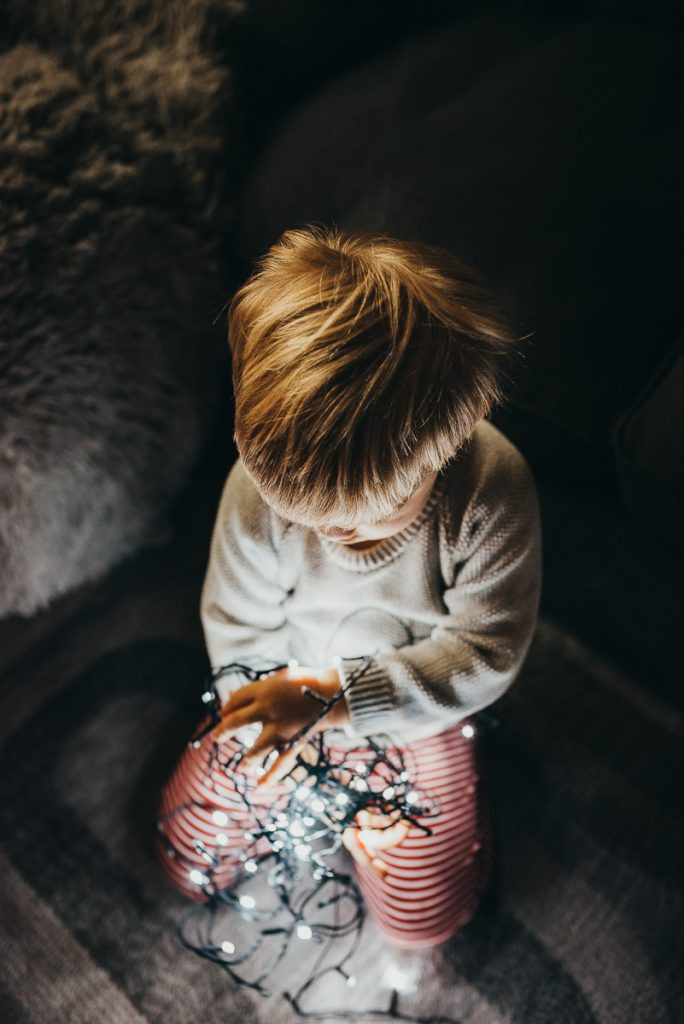
Christmas Lights as Props and Entertainment
Kids are naturally drawn to the magic of Christmas lights, and incorporating them into your do it yourself christmas photos can add a beautiful, festive touch. Plus, they can serve as a fantastic distraction and prop for your little models! It can be a bit tricky to capture, as children might be moving and playing, but don’t be discouraged. The key is to turn it into a fun activity. If you find your child is too wiggly to hold still, try having them lie down and play with the lights above them. This works especially well for babies who aren’t walking yet, and even older toddlers can enjoy this playful setup. Just be mindful of safety and ensure they’re handling the lights responsibly.
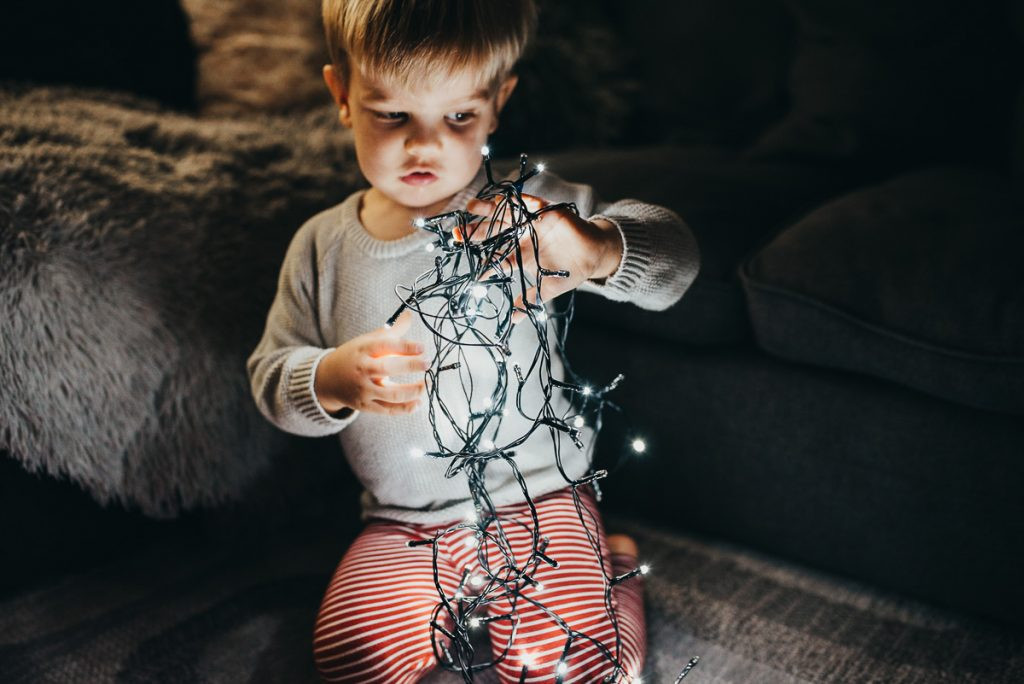 A child is playfully holding Christmas lights, demonstrating how lights can be used as props in DIY Christmas photos.
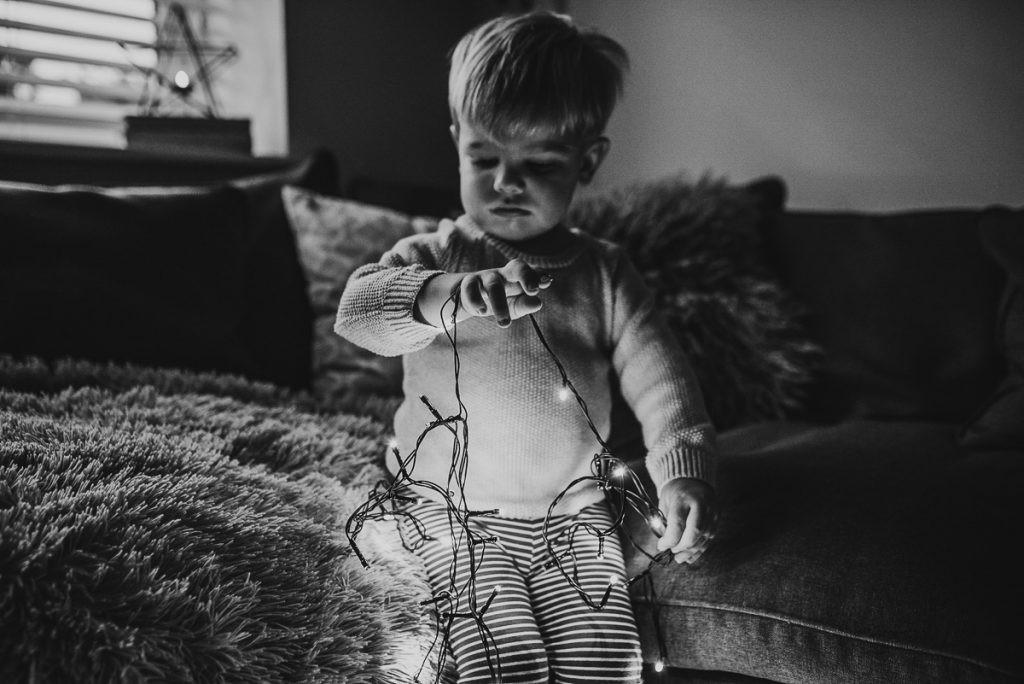 Two images showing a child interacting with Christmas lights in different poses, highlighting the versatility of using lights in DIY Christmas photos.
Landscape Mode: Capture the Whole Christmas Scene
We’re so accustomed to portrait mode for social media, it can feel like the default setting on our phones. But for do it yourself christmas photos around the tree, remember to switch to landscape mode. Shooting in landscape orientation allows you to capture more of the scene – the tree, the decorations, and even multiple children together in one frame. It might seem obvious, but you’d be surprised how many photos end up being portrait when landscape would have been much more effective for capturing the Christmas setting. Landscape mode helps you tell a fuller story within your do it yourself christmas photos.
 A family scene in landscape orientation, capturing the Christmas tree and decorations, showing the benefit of landscape mode for DIY Christmas photos.
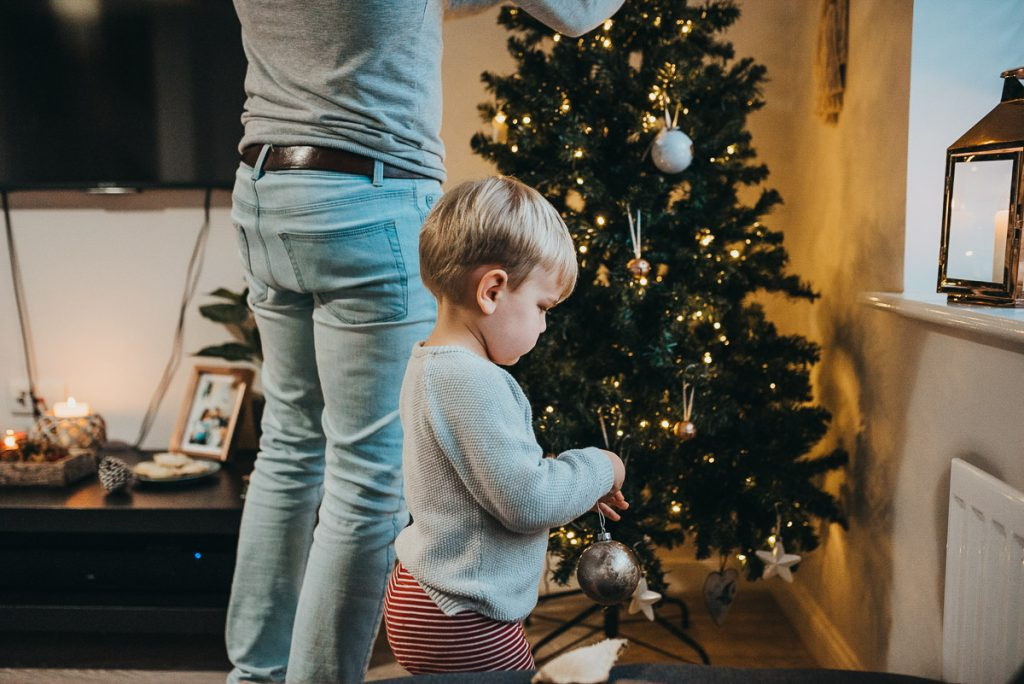
Get Creative with Angles and Perspectives
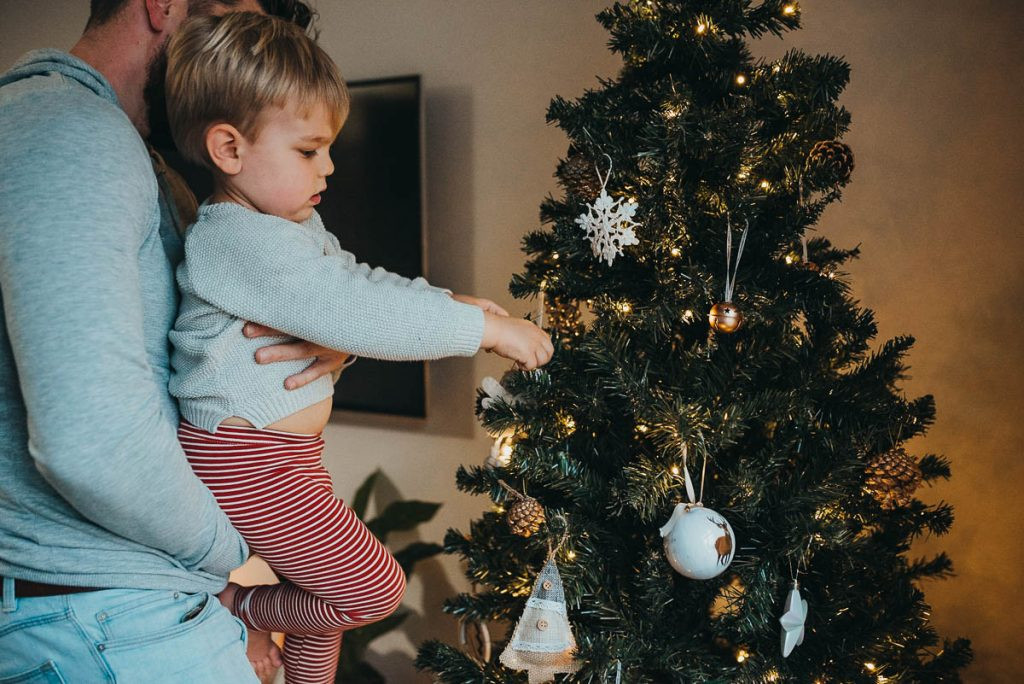
While getting down to eye-level is generally great advice, don’t be afraid to experiment with other creative angles for your do it yourself christmas photos. Think outside the box! Try shooting from above while your child is hanging an ornament on the tree, focusing on the details of their hands and the decoration. Stand on a chair or sofa to get a unique perspective. Or, try holding Christmas lights in front of your lens and shooting through them to create a soft, sparkly foreground blur. Different angles add visual interest and storytelling to your do it yourself christmas photos.
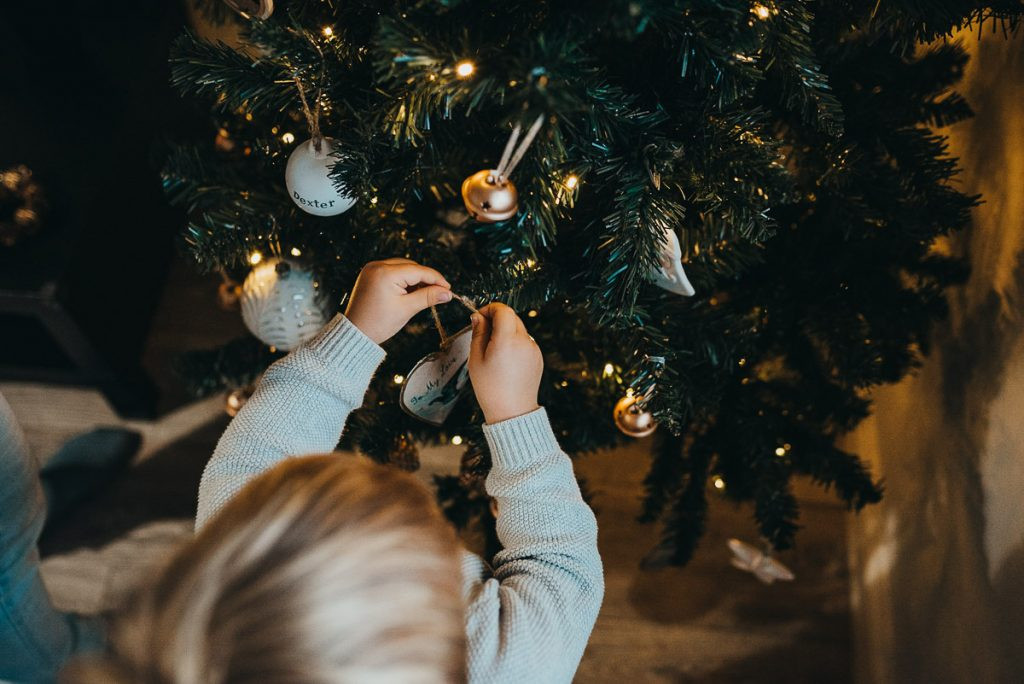 A photo taken from above, showing a child decorating a Christmas tree, illustrating creative angles for DIY Christmas photos.
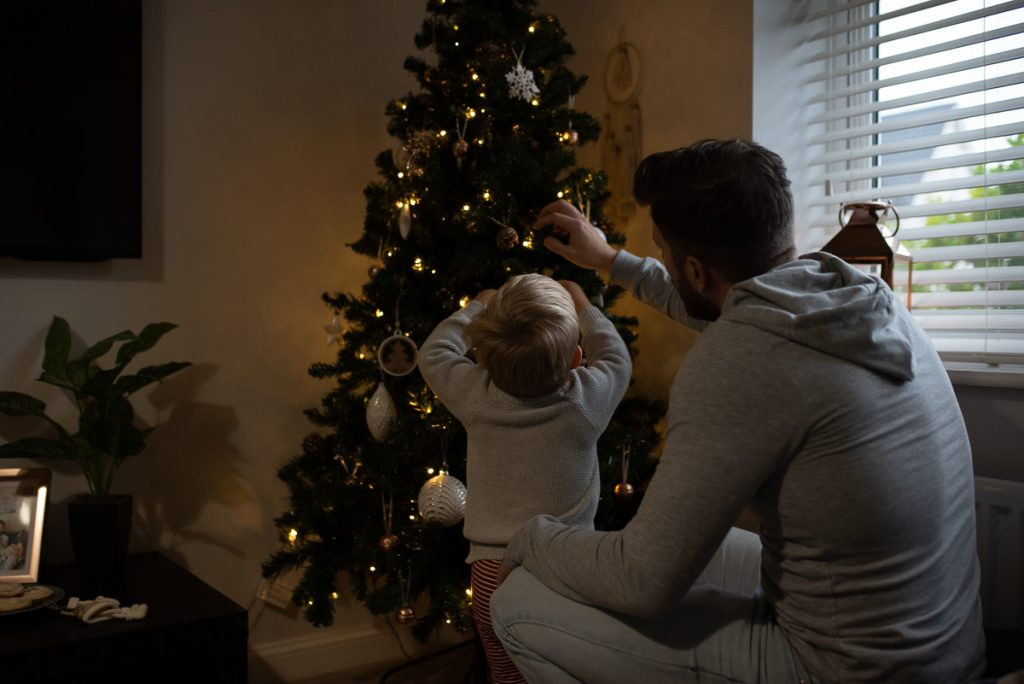
 Two vertical images showcasing different perspectives and compositions for DIY Christmas photos, encouraging creative experimentation.
 A child is pictured in a festive Christmas setting, emphasizing the importance of creative and varied shots for DIY Christmas photos.
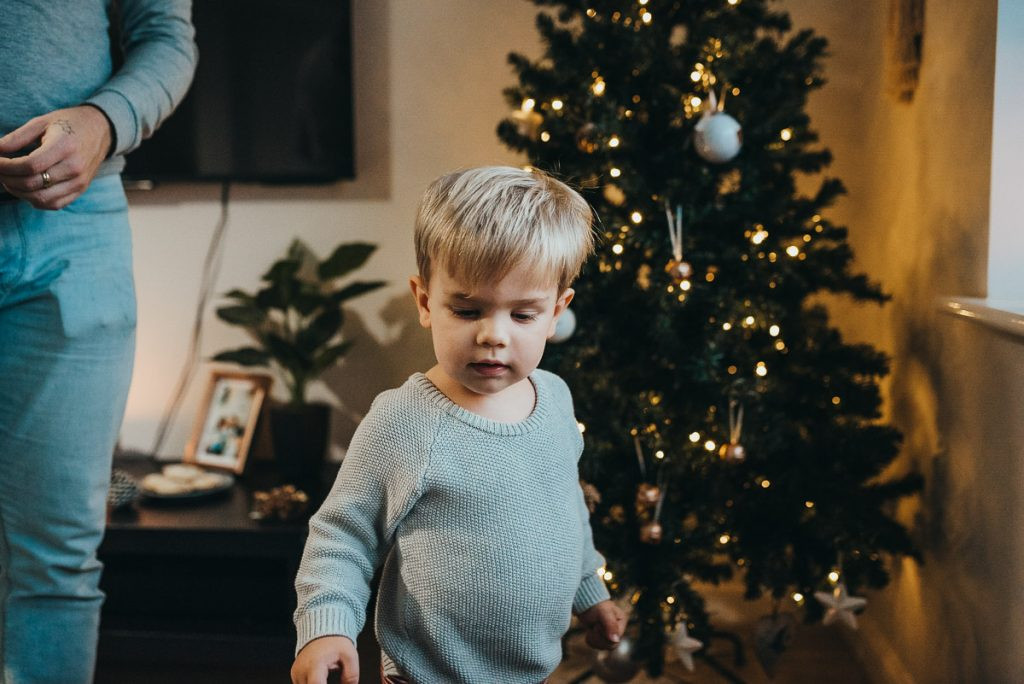
Embrace Candid Moments, Ditch the Posing
Forget stiff, forced smiles for your do it yourself christmas photos. Candid shots are where the real magic happens! Instead of asking your child to pose and smile directly at the camera, focus on capturing them naturally interacting with the Christmas tree, decorations, or lights. Trying to get a perfectly posed, cheesy “look at the camera and smile” photo can be stressful for everyone and often doesn’t reflect the true joy of the moment. Instead, aim to capture genuine expressions of curiosity, concentration, and happiness.
 A candid shot of a child naturally interacting with Christmas decorations, highlighting the beauty of unposed DIY Christmas photos.
The secret to great photos of kids is capturing them naturally. Anticipate moments, be ready to snap quickly, and let them be themselves. If you know something will make them laugh or keep them engaged, use that to your advantage to capture those authentic, fleeting expressions in your do it yourself christmas photos.
Polish Your Photos with Simple Edits
Just like professional photographers, you too can enhance your do it yourself christmas photos with a little editing. Don’t be intimidated – even simple adjustments can make a big difference! For mobile editing, apps like Lightroom Mobile are fantastic and user-friendly. You can even find affordable presets online to give your photos a consistent style. However, remember that presets are just starting points. Most photos will need some tweaking to look their best. Experiment with exposure, contrast, and white balance to refine your images. You might even need to subtly edit out any unwanted color casts from artificial lighting, as was necessary in some of these example photos.
 Two side-by-side images showing before and after editing of DIY Christmas photos, demonstrating the impact of post-processing.
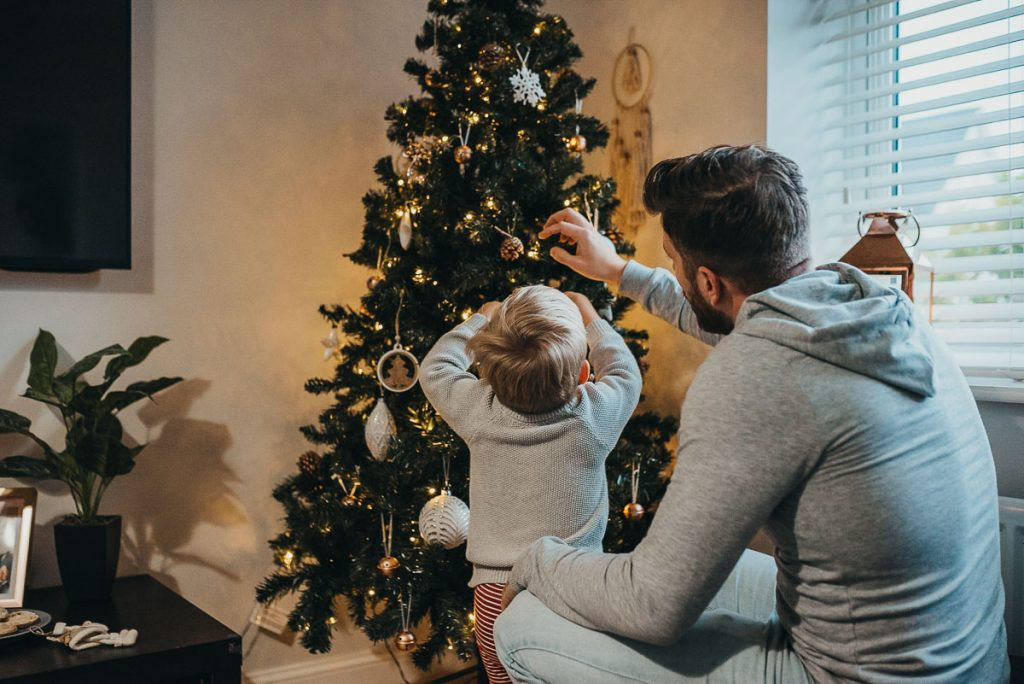 Two side-by-side images showing before and after editing of DIY Christmas photos, demonstrating the impact of post-processing.
Explore Portrait Mode for Professional-Looking Blur
If you’re using an iPhone or a similar smartphone with portrait mode, take advantage of it for your do it yourself christmas photos. Portrait mode creates that beautiful background blur (bokeh) that makes your subject pop, giving your photos a more professional look. You can even adjust the aperture (f-number) to control the amount of blur – a lower f-number creates more blur, while a higher f-number keeps more of the background in focus. While portrait mode can sometimes require a little more effort to get the focus just right, the results are often worth it, adding a touch of magic to your festive snapshots.
So there you have it – your guide to capturing beautiful do it yourself christmas photos at home. The most important thing to remember is to relax, have fun, and don’t put too much pressure on yourself. Taking photos of kids is inherently unpredictable, and that’s part of the charm. Embrace the chaos, let them enjoy the Christmas spirit, and you’re sure to capture some truly precious memories worth sharing and cherishing for years to come.
