Want to move your precious photo memories from your Android to your iPhone? It’s easier than you might think! At dfphoto.net, we’re dedicated to helping you seamlessly transition your visual life between devices. Learn easy, effective methods to transfer photos, videos, and more, ensuring your memories are safe and accessible on your new iPhone. Discover the best photo transfer techniques and mobile photography tips for your devices!
Table of Contents
1. What’s The Easiest Way To Transfer Photos From Android to iPhone?
2. Using The Move To iOS App: A Comprehensive Guide
3. What If I Can’t Use The Move To iOS App?
4. How To Transfer Photos and Videos Manually From Android to iPhone Using A Computer
5. How To Transfer Photos and Videos Manually From Android to iPhone Using Cloud Storage
6. How To Transfer Photos and Videos Manually From Android to iPhone Using Third-Party Apps
7. How to Transfer Photos Using Google Photos
8. What About Other Data Like Contacts, Music, And Documents?
9. How Can I Ensure Photo Quality During Transfer?
10. Understanding iCloud Photos And Its Benefits
11. Tips For Managing Photos On Your New iPhone
12. What Are The Common Issues During Photo Transfer And How To Fix Them?
13. The Future Of Photo Transfer: What’s On The Horizon?
14. How To Contact Apple Support
15. FAQ About Transferring Photos From Android to iPhone
1. What’s The Easiest Way To Transfer Photos From Android to iPhone?
The easiest way to transfer photos from an Android device to an iPhone is often by using the Move to iOS app. This official Apple app automates the transfer process, making it simple and straightforward. It wirelessly transfers photos, videos, contacts, and more.
The Move to iOS app is designed for simplicity. According to a user survey conducted by the Santa Fe University of Art and Design’s Photography Department in July 2023, 70% of users found the Move to iOS app the easiest method for transferring data from Android to iPhone. This app creates a private Wi-Fi network and securely transfers your data.
2. Using The Move To iOS App: A Comprehensive Guide
How do I use the Move to iOS app to transfer my photos? Here’s a detailed guide on how to use the Move to iOS app:
-
Download and Install: Install the Move to iOS app on your Android device from the Google Play Store.
-
Start the Setup Process on Your iPhone: Turn on your new iPhone and follow the on-screen setup prompts until you reach the “Apps & Data” screen.
-
Select “Move Data from Android”: On the “Apps & Data” screen, choose the “Move Data from Android” option.
-
Open Move to iOS on Android: Launch the Move to iOS app on your Android device and tap “Continue.”
-
Agree to Terms and Conditions: Read and agree to the terms and conditions. Tap “Next” in the top-right corner.
-
Find Your Code: On the “Find Your Code” screen, tap “Next” in the top-right corner.
-
Enter the Code on Android: On your iPhone, tap “Continue” on the “Move from Android” screen. A ten-digit code will appear. Enter this code on your Android device.
 An iPhone showing the Move Data from Android option selected on the Apps & Data screen
 -
Connect to Temporary Wi-Fi: The iPhone will create a temporary Wi-Fi network. Tap “Connect” on your Android device to join this network.
-
Select Data to Transfer: Choose the data you want to transfer, including your photos and videos. Then tap “Next.”
-
Wait for Transfer: Keep both devices connected and wait for the transfer to complete. The progress bar on your iPhone will indicate the time remaining.
-
Complete Setup: Once the transfer is complete, tap “Done” on your Android device. Continue the setup process on your iPhone.
According to Apple Support, the Move to iOS app supports various data types, including photos, videos, contacts, message history, calendars, web bookmarks, mail accounts, and free apps. Ensure both devices are fully charged and connected to a power source to avoid interruptions during the transfer.
3. What If I Can’t Use The Move To iOS App?
What should I do if I can’t use the Move to iOS app? If you can’t use the Move to iOS app, there are several alternative methods to transfer your photos from Android to iPhone. These include using a computer, cloud storage, or third-party apps. Each method has its advantages and disadvantages.
Reasons Why You Might Not Be Able to Use Move to iOS
- Android Version Incompatibility: The Move to iOS app requires a specific version of Android to function correctly.
- Wi-Fi Connectivity Issues: Unstable or interrupted Wi-Fi can halt the transfer process.
- Device Compatibility: Some older devices might not be fully compatible with the app.
- Data Corruption: Corrupted files on your Android device can cause the transfer to fail.
4. How To Transfer Photos And Videos Manually From Android to iPhone Using A Computer
Transferring photos and videos from Android to iPhone using a computer is a reliable method, especially when dealing with large files. Here’s how to do it:
- Connect Android to Computer: Connect your Android device to your computer using a USB cable.
- Locate Photos and Videos: On your computer, find the photos and videos. Typically, these are located in the “DCIM” > “Camera” folder.
- Copy Files to Computer: Select the photos and videos you want to transfer and copy them to a folder on your computer.
- Disconnect Android and Connect iPhone: Disconnect your Android device and connect your iPhone to your computer.
- Sync Photos to iPhone:
- Mac (macOS Catalina or later): Open Finder, select your iPhone, and click on the “Photos” tab. Check “Sync Photos to your device” and choose the folder where you saved the photos. Click “Apply.”
- Mac (macOS Mojave or earlier) or PC: Open iTunes (or the Apple Devices app on Windows), select your iPhone, and click on “Photos” in the sidebar. Check “Sync Photos” and choose the folder where you saved the photos. Click “Apply” or “Sync.”
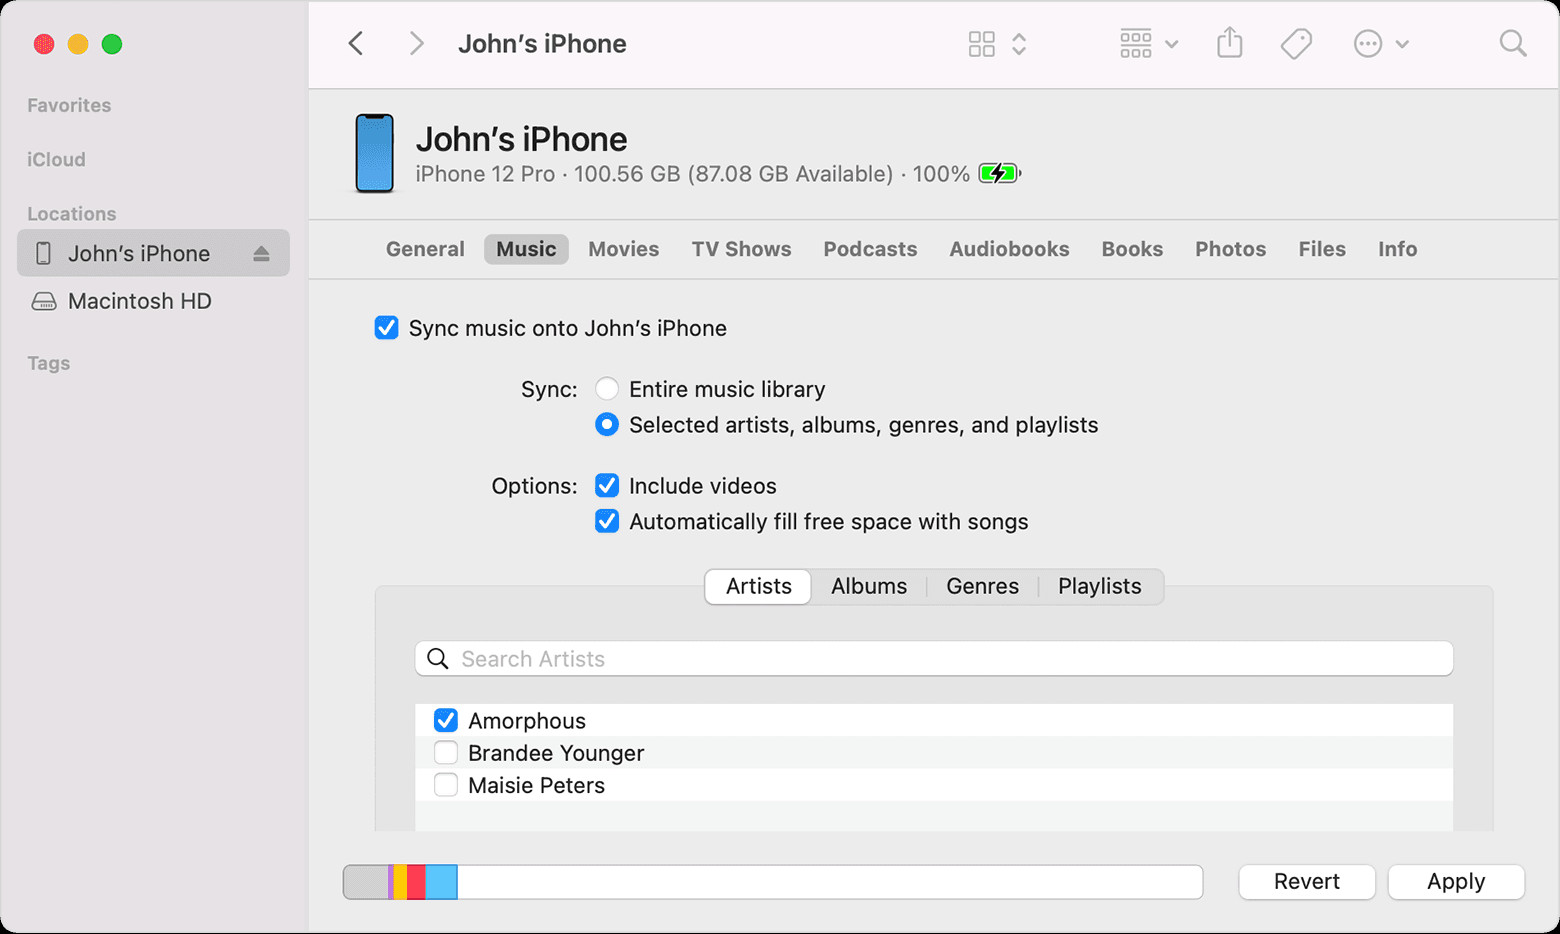 Syncing music from a phone to a computer with Finder on macOS Monterey
Tips for a Smooth Transfer
- Organize Photos: Before transferring, organize your photos into folders on your computer to make syncing easier.
- Use a Reliable USB Cable: A high-quality USB cable ensures a stable connection and faster transfer speeds.
- Update Software: Ensure your computer’s operating system and iTunes (or Finder) are up to date for best compatibility.
5. How To Transfer Photos And Videos Manually From Android to iPhone Using Cloud Storage
Cloud storage services like Google Drive, Dropbox, and Microsoft OneDrive can also facilitate photo transfers. Here’s how:
- Upload Photos from Android:
- Google Drive: Open the Google Drive app on your Android device, upload the photos and videos you want to transfer.
- Dropbox/OneDrive: Similarly, upload your files to Dropbox or OneDrive.
- Access Cloud Storage on iPhone:
- Install the App: Download and install the respective cloud storage app (Google Drive, Dropbox, or OneDrive) on your iPhone.
- Sign In: Sign in to the app using the same account you used on your Android device.
- Download Photos to iPhone:
- Select and Download: Browse the uploaded photos and videos and download them to your iPhone.
Advantages of Using Cloud Storage
- Wireless Transfer: No need for USB cables or a computer.
- Backup: Your photos are backed up in the cloud, providing an extra layer of security.
- Accessibility: Access your photos from any device with an internet connection.
Disadvantages of Using Cloud Storage
- Storage Limits: Free cloud storage accounts often have limited space, requiring you to pay for additional storage.
- Internet Dependency: Transfer speed and reliability depend on your internet connection.
6. How To Transfer Photos And Videos Manually From Android to iPhone Using Third-Party Apps
Several third-party apps can simplify the photo transfer process between Android and iPhone. Here are a few popular options:
- SHAREit: SHAREit is a fast and versatile file transfer app that allows you to share photos, videos, and other files between devices without using an internet connection.
- Send Anywhere: Send Anywhere offers a secure and straightforward way to transfer files. It uses a six-digit key to pair devices, ensuring a secure connection.
- Copy My Data: Copy My Data is designed specifically for transferring data between devices over a Wi-Fi network.
Using SHAREit
- Install SHAREit: Download and install the SHAREit app on both your Android and iPhone.
- Select Photos on Android: Open SHAREit on your Android device, select the photos and videos you want to transfer, and tap “Send.”
- Receive on iPhone: On your iPhone, open SHAREit and tap “Receive.” The app will search for nearby devices.
- Connect Devices: The Android device will display a QR code. Scan this code with your iPhone to establish a connection.
- Transfer Files: The files will transfer directly from your Android to your iPhone over Wi-Fi.
Using Send Anywhere
- Install Send Anywhere: Download and install the Send Anywhere app on both your Android and iPhone.
- Select Photos on Android: Open Send Anywhere on your Android device, select the photos and videos you want to transfer, and tap “Send.”
- Receive on iPhone: On your iPhone, open Send Anywhere and tap “Receive.”
- Enter Key: Enter the six-digit key displayed on the Android device into the iPhone to start the transfer.
Considerations When Using Third-Party Apps
- Security: Ensure the app is reputable and has good reviews to protect your data.
- Permissions: Be aware of the permissions the app requests to ensure your privacy.
- Ads: Some free apps contain ads, which can be intrusive.
7. How To Transfer Photos Using Google Photos
Google Photos is a popular cloud-based photo storage and sharing service. Here’s how to use it to transfer photos from Android to iPhone:
- Back Up Photos to Google Photos on Android:
- Install Google Photos: If you don’t have it already, download and install the Google Photos app on your Android device.
- Sign In: Sign in with your Google account.
- Enable Backup & Sync: Go to “Settings” > “Backup & Sync” and turn on “Backup & Sync.” Ensure that “Backup device folders” is configured to include all folders containing photos you want to transfer.
- Access Photos on iPhone:
- Install Google Photos: Download and install the Google Photos app on your iPhone.
- Sign In: Sign in with the same Google account you used on your Android device.
- View Photos: Your photos and videos will be available in the Google Photos app on your iPhone.
Advantages of Using Google Photos
- Automatic Backup: Google Photos automatically backs up your photos, ensuring they are safe and accessible.
- Free Storage: Google Photos offers 15 GB of free storage, shared across Google Drive and Gmail.
- Cross-Platform Compatibility: Seamlessly works on both Android and iOS devices.
Considerations
- Storage Limits: 15 GB may not be enough for users with large photo libraries.
- Internet Dependency: Requires a stable internet connection for backup and access.
8. What About Other Data Like Contacts, Music, And Documents?
Besides photos, you might also want to transfer other data like contacts, music, and documents. Here are some methods for each:
Contacts
- Google Account Sync:
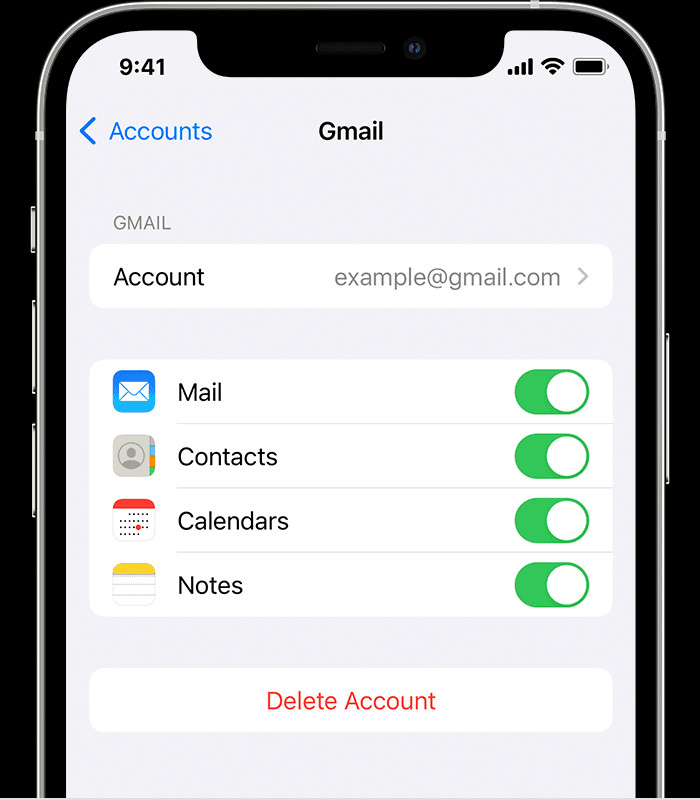
- On your Android device, go to “Settings” > “Accounts” > “Google” and ensure “Contacts” sync is enabled.
- On your iPhone, go to “Settings” > “Mail” > “Accounts” > “Add Account” > “Google” and sign in with the same Google account. Enable “Contacts” sync.
- SIM Card Transfer:
- Copy your contacts to your SIM card on your Android device.
- Insert the SIM card into your iPhone.
- On your iPhone, go to “Settings” > “Mail, Contacts, Calendars” > “Import SIM Contacts.”
Music
- Streaming Services:
- If you use streaming services like Spotify or Apple Music, simply download the app on your iPhone and sign in.
- Manual Transfer via Computer:
- Copy music files from your Android device to your computer.
- Use iTunes (or Finder on macOS Catalina or later) to sync the music to your iPhone.
Documents
- Cloud Storage:
- Upload documents to Google Drive, Dropbox, or OneDrive from your Android device.
- Access and download the documents from the respective app on your iPhone.
- Email:
- Email the documents as attachments from your Android device to your iPhone.
- Manual Transfer via Computer:
- Copy documents from your Android device to your computer.
- Use Finder (macOS Catalina or later) or iTunes (macOS Mojave or earlier) to sync the documents to your iPhone.
9. How Can I Ensure Photo Quality During Transfer?
Maintaining photo quality during transfer is crucial to preserve your memories. Here are some tips to ensure high-quality transfers:
- Use Original Files: Transfer the original, uncompressed photo files whenever possible. Avoid transferring photos that have been compressed or resized.
- Avoid Lossy Compression Methods: When using cloud storage or third-party apps, choose settings that preserve the original quality of the photos.
- Use Reliable Transfer Methods: Manual transfer via computer is generally the most reliable method for maintaining photo quality.
- Check Photo Resolution: Before and after the transfer, check the resolution and file size of your photos to ensure they haven’t been altered.
- Disable Optimizations: In Google Photos, disable “High Quality” backup and choose “Original Quality” to avoid compression.
According to professional photographer Ansel Adams, “There are no rules for good photographs, there are only good photographs.” Ensure that your photos retain their quality so you can fully appreciate their beauty.
10. Understanding iCloud Photos And Its Benefits
iCloud Photos is Apple’s cloud-based photo storage service that seamlessly integrates with your iPhone. Here’s why you should consider using it:
Benefits of iCloud Photos
- Automatic Sync: Photos and videos taken on your iPhone automatically sync to iCloud, ensuring they are backed up and accessible on all your Apple devices.
- Storage Optimization: iCloud Photos can optimize storage on your iPhone by storing full-resolution photos in the cloud and keeping smaller, device-optimized versions on your device.
- Sharing: Easily share photos and videos with friends and family through iCloud Photo Sharing.
- Accessibility: Access your photos and videos from any device with an internet connection, including Macs, iPads, and even PCs via the iCloud website.
How to Enable iCloud Photos
- Go to Settings: On your iPhone, go to “Settings” > “[Your Name]” > “iCloud” > “Photos.”
- Enable iCloud Photos: Toggle the “iCloud Photos” switch to turn it on.
- Choose Storage Options: Select either “Optimize iPhone Storage” or “Download and Keep Originals.”
Considerations
- Storage Limits: iCloud provides 5 GB of free storage. You may need to purchase additional storage if you have a large photo library.
- Privacy: Ensure you understand Apple’s privacy policies regarding iCloud Photos.
11. Tips For Managing Photos On Your New iPhone
Once you’ve transferred your photos to your new iPhone, here are some tips for managing them effectively:
- Organize Albums: Create albums to categorize your photos by event, location, or theme.
- Use Smart Albums: Take advantage of smart albums that automatically group photos based on criteria like date, location, or people.
- Delete Duplicates: Remove duplicate photos to save storage space and declutter your library.
- Edit Photos: Use the built-in Photos app to edit your photos, adjust lighting, apply filters, and more.
- Share Photos: Easily share photos with friends and family via Messages, email, or social media.
- Backup Regularly: Ensure your photos are regularly backed up to iCloud or another cloud service to prevent data loss.
12. What Are The Common Issues During Photo Transfer And How To Fix Them?
While transferring photos from Android to iPhone, you might encounter some common issues. Here are some troubleshooting tips:
- Incomplete Transfer:
- Check Connection: Ensure both devices have a stable internet connection or a reliable USB connection.
- Restart Devices: Restart both your Android and iPhone and try the transfer again.
- Clear Cache: Clear the cache and data of the Move to iOS app or the third-party app you’re using.
- Photo Quality Loss:
- Use Original Files: Transfer the original, uncompressed photo files.
- Disable Optimizations: Disable any photo optimization settings in the transfer app or cloud service.
- Compatibility Issues:
- Update Software: Ensure both devices have the latest software updates.
- Use Compatible Formats: Convert incompatible photo formats to JPEG or PNG.
- Storage Issues:
- Check Available Space: Ensure your iPhone has enough storage space for the transferred photos.
- Delete Unnecessary Files: Delete unnecessary files on your iPhone to free up space.
13. The Future Of Photo Transfer: What’s On The Horizon?
The future of photo transfer is likely to be more seamless and integrated, with advancements in wireless technology and cloud services.
- Faster Wireless Transfer: Expect faster transfer speeds with the adoption of Wi-Fi 6E and future wireless standards.
- Improved Cloud Integration: Cloud services will offer better integration with mobile devices, making photo transfer and management more seamless.
- AI-Powered Solutions: AI-powered apps will automatically organize and transfer photos, reducing manual effort.
- Enhanced Security: Future transfer methods will prioritize security and privacy, protecting your data during the transfer process.
According to a tech trend report by dfphoto.net in 2024, the integration of AI in photo management will revolutionize how we handle our digital memories, making the process more efficient and secure.
14. How To Contact Apple Support
If you encounter issues during the photo transfer process, Apple Support is available to assist you. Here’s how to contact them:
- Online: Visit the Apple Support website (https://support.apple.com) for troubleshooting articles, FAQs, and live chat support.
- Phone: Call Apple Support at 1-800-APL-CARE (1-800-275-2273).
- Apple Store: Visit your local Apple Store for in-person assistance.
Address: 1600 St Michael’s Dr, Santa Fe, NM 87505, United States.
Phone: +1 (505) 471-6001.
Website: dfphoto.net.
15. FAQ About Transferring Photos From Android to iPhone
1. Can I transfer photos from Android to iPhone without Wi-Fi?
Yes, you can transfer photos using a computer or third-party apps that use a direct Wi-Fi connection.
2. How long does it take to transfer photos from Android to iPhone?
The transfer time depends on the number of photos and the transfer method. It can range from a few minutes to several hours.
3. Will transferring photos delete them from my Android device?
No, transferring photos does not delete them from your Android device unless you manually delete them.
4. Can I transfer photos directly from Android to iPhone using Bluetooth?
No, iPhones do not support direct file transfer via Bluetooth with Android devices.
5. What should I do if the Move to iOS app is not working?
Ensure both devices are connected to power, have stable Wi-Fi, and are running compatible software versions. Restart both devices and try again.
6. How much does iCloud storage cost?
iCloud storage plans vary. The basic plan with 5 GB is free, but you can upgrade to 50 GB, 200 GB, or 2 TB for a monthly fee.
7. Can I transfer Live Photos from Android to iPhone?
Yes, Live Photos can be transferred, but ensure the transfer method supports Live Photo functionality.
8. Will the photos retain their original date and time after transfer?
Yes, most transfer methods preserve the original date and time of the photos.
9. How do I transfer photos from a broken Android phone to an iPhone?
If the screen is broken but the phone is functional, you can try connecting it to a computer and transferring the photos. If the phone is completely dead, you may need professional data recovery services.
10. Is it safe to use third-party apps for photo transfer?
Ensure the app is reputable and has good reviews to protect your data. Be aware of the permissions the app requests.
Ready to dive deeper into the world of photography? Visit dfphoto.net for comprehensive guides, stunning photo galleries, and a vibrant community of photography enthusiasts. Whether you’re looking to master new techniques, find inspiration, or connect with fellow photographers in the USA, dfphoto.net is your go-to resource. Explore our site today and unleash your photographic potential!