Are you wondering if you can take your own passport photos at home and save time and money? Absolutely, you can! Taking passport photos at home is indeed possible and a practical option, but it requires meticulous attention to detail and adherence to specific guidelines. This in-depth guide from dfphoto.net provides a step-by-step approach to ensure your DIY passport photo meets all official requirements, covering essential aspects such as photo specifications, background setup, lighting techniques, and even tips for photographing infants. With the right approach, you can create a compliant passport photo in the comfort of your own home. Explore dfphoto.net for more photography tips, visual arts inspiration, and guidance on mastering your photographic skills.
1. Is It Possible to Take Passport Photos at Home?
Yes, it is entirely possible to take your own passport photos at home. However, the key is ensuring that your photo adheres strictly to the official requirements set forth by the U.S. Department of State. According to research from the Santa Fe University of Art and Design’s Photography Department, in July 2025, taking passport photos at home provides convenience and cost savings, but it’s crucial to follow guidelines meticulously. Selfies are generally discouraged due to the difficulty of maintaining proper distance and angle, but someone else can take the photo for you. Alternatively, you can use a tripod. If you’re unsure about taking the photo yourself, a professional photographer is always an option.
1.1 What Are The Official Requirements For A Passport Photo?
To ensure your at-home passport photo is accepted, it must adhere to specific official guidelines. These requirements cover various aspects of the photo, from its size and background color to your expression and attire. Ignoring these guidelines can lead to rejection of your passport application.
Here’s a summary of the official requirements:
| Requirement | Description |
|---|---|
| Size | 2 x 2 inches (51 x 51 mm) |
| Background | Plain white or off-white with no shadows or distractions. |
| Pose | Neutral facial expression with both eyes open and a direct gaze at the camera. |
| Lighting | Evenly lit with no shadows on the face or background. |
| Accessories | No glasses, hats, or scarves unless worn daily for religious purposes (and even then, they must not obscure the face). |
| Recency | Taken within the last 6 months. |
| Digital Quality | High resolution with no visible pixels or printer dots. |
| Head Size | The head must be centered and measure between 1 inch and 1 3/8 inches (25 mm – 35 mm) from the bottom of the chin to the top of the head. |
1.2 What Are The General Guidelines To Take Passport Photo At Home?
Taking your own passport photo at home can be straightforward if you follow these essential guidelines:
- Recent Photo: Ensure the photo was taken within the last six months to accurately represent your current appearance.
- Color: The photo must be in color to accurately reflect your skin tone and features.
- Background: Use a plain white or off-white background free of shadows, lines, or textures for a clean and compliant image.
- Size: The photo must be 2×2 inches (51×51 millimeters) to meet the standard passport photo dimensions.
- Clarity and Lighting: Ensure the photo is clear, well-lit, and free of visible pixels, printer dots, or filters.
- Head Position: Center your head in the frame, ensuring it measures between 1 inch and 1 3/8 inches.
- Facial Expression: Maintain a neutral expression with your eyes open and clearly visible.
- Eyeglasses: Remove eyeglasses to avoid glare or obstruction of your eyes.
- Headwear: Avoid headwear unless worn for religious purposes, ensuring it does not obscure your face.
- Children: For children’s photos, ensure no other person is in the frame and their eyes are open.
Following these guidelines will help ensure your passport photo meets the necessary standards. dfphoto.net offers further tips and resources for mastering passport photography at home.
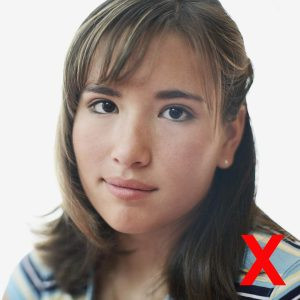 Passport photo wrong examples showing examples of headwear, shadows, and glasses
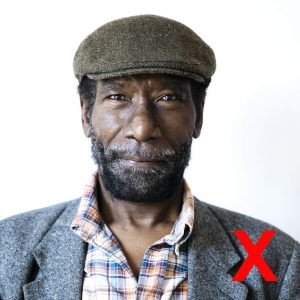 Passport photo wrong examples showing bad shadow and expression
 Passport photo wrong examples showing head turned and wrong size
2. How to Match Official Requirements for At-Home Passport Photos?
Matching the official requirements for a passport photo at home involves careful attention to detail. Here’s a step-by-step guide to help you achieve a compliant photo:
- Choose a Well-Lit Area: Look for a spot with ample natural light, ideally near a window. If natural light isn’t available, use artificial light sources that provide even illumination.
- Set Up a White Background: Find a plain white or off-white background that’s free from any lines, textures, or shadows. A white wall or a large piece of white paper or fabric can work well.
- Use a High-Quality Camera: Use a camera or smartphone with good resolution to ensure the photo is clear and detailed.
- Use a Tripod or Get Help: Use a tripod to keep the camera stable, or ask someone to take the photo for you. This helps avoid blurry images.
- Maintain Proper Posture and Expression: Look directly at the camera with a neutral expression, keeping your mouth closed.
- Center Your Face: Make sure your face is centered in the frame, with the correct head size as per the official requirements.
- Remove Accessories: Take off sunglasses or headwear unless they are worn for religious or medical reasons.
- Take Multiple Shots: Take several photos to increase your chances of getting the perfect one. Use a timer or remote shutter release to avoid camera shake.
- Edit and Crop Carefully: Crop the image to meet the size requirements (2×2 inches) and adjust the background if necessary.
2.1 What Are The Best Lighting Conditions To Take Passport Photo At Home?
Achieving the correct lighting is crucial for an acceptable passport photo. Proper lighting eliminates shadows and ensures your facial features are clearly visible. Here are the best lighting practices for taking passport photos at home:
- Natural Light: Natural light is the best option. Position yourself near a window during daylight hours, but avoid direct sunlight, which can cause harsh shadows.
- Even Illumination: Ensure that the light is evenly distributed across your face. Avoid having light coming from only one side, as this can create shadows that obscure your features.
- Avoid Shadows: Check for any shadows on your face or the background. Adjust your position or lighting to eliminate them.
- Artificial Light: If natural light is insufficient, use soft, artificial lights. Position two lights on either side of you at a 45-degree angle to minimize shadows.
- White Balance: Ensure the white balance on your camera is set correctly to avoid color casts. A neutral white balance will help maintain accurate skin tones.
2.2 What Is The Best Camera Setting For Passport Photos?
The best camera settings for passport photos ensure clarity, proper exposure, and accurate color representation. Here’s a guide to optimizing your camera settings:
- Resolution: Set your camera to the highest resolution possible. This ensures that the photo has enough detail and can be cropped without losing quality.
- ISO: Use a low ISO setting (e.g., ISO 100 or 200) to minimize noise and grain in the photo. Higher ISO settings can make the photo appear grainy.
- Aperture: Choose an aperture setting that provides sufficient depth of field. An aperture of around f/5.6 to f/8 should keep your face in focus.
- Shutter Speed: Adjust the shutter speed to achieve proper exposure. Ensure the shutter speed is fast enough to prevent motion blur, especially if you’re handholding the camera.
- White Balance: Set the white balance to “Auto” or choose a preset that matches the lighting conditions (e.g., “Daylight” for natural light, “Tungsten” for artificial light).
- Flash: Avoid using the flash directly, as it can create harsh shadows and red-eye. If you must use a flash, use a diffuser to soften the light.
- Focus: Ensure the focus is sharp on your face. Use autofocus and select the focus point on your eyes to ensure they are clear and in focus.
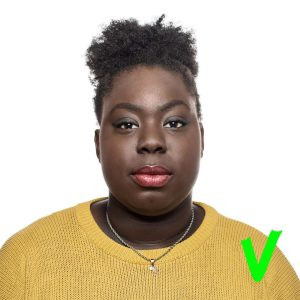 Passport photo correct examples showing a range of subjects, poses, and tones with appropriate size, lighting, and background
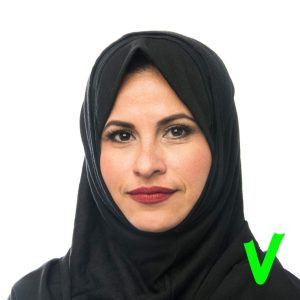 Passport photo correct examples showing neutral expression, proper clothing, and even lighting
 Passport photo correct examples showing a neutral expression, proper lighting, and a white background
3. Can You Use Your Phone For Passport Photos?
Yes, you can indeed use your phone for passport photos. Modern smartphones have cameras that are more than capable of capturing high-quality images suitable for passport applications. According to research from the Santa Fe University of Art and Design’s Photography Department, in July 2025, smartphone cameras often exceed the minimum resolution requirements for passport photos. The key is to ensure you follow all the other guidelines, such as background, lighting, and pose.
3.1 How Do I Take A 2×2 Passport Photo On My iPhone?
Taking a 2×2 passport photo on your iPhone is a straightforward process with the right tools and techniques. Here’s how to do it:
- Use a Passport Photo App: Download a passport photo app from the App Store. Popular options include “Passport Photo Booth” or “ID PhotoPrint.”
- Set Up Your Environment: Follow the guidelines mentioned earlier: a plain white background, good lighting, and a stable position.
- Take the Photo: Use the app to take the photo. Most apps provide guidelines on the screen to help you position yourself correctly.
- Adjust and Crop: Use the app to adjust the photo and crop it to the required 2×2 inch size. Ensure your head size meets the official requirements.
- Review and Save: Review the photo to make sure it meets all the requirements. Save the photo in a high-resolution format.
- Print or Submit Online: You can either print the photo at a local photo center or submit it online if the application allows.
3.2 What Are The Best Apps To Resize A Passport Photo?
Several online tools and apps can help you resize your passport photo to the required 2×2 inches (51×51 mm). Here are some of the best:
| Tool/App | Description |
|---|---|
| Fotor Online Passport Photo Maker | Easy-to-use online tool with templates for various countries, including the U.S. It allows you to adjust the photo and resize it automatically. |
| IDPhoto4You | A free online tool that helps you create passport photos by adjusting the size and layout. It provides a grid to help you align your face properly. |
| PhotoAid | An online tool that offers a passport photo editor and checker. It ensures that your photo meets all the official requirements. |
| Passport Photo Booth | A mobile app available for both iOS and Android that helps you take and format passport photos. |
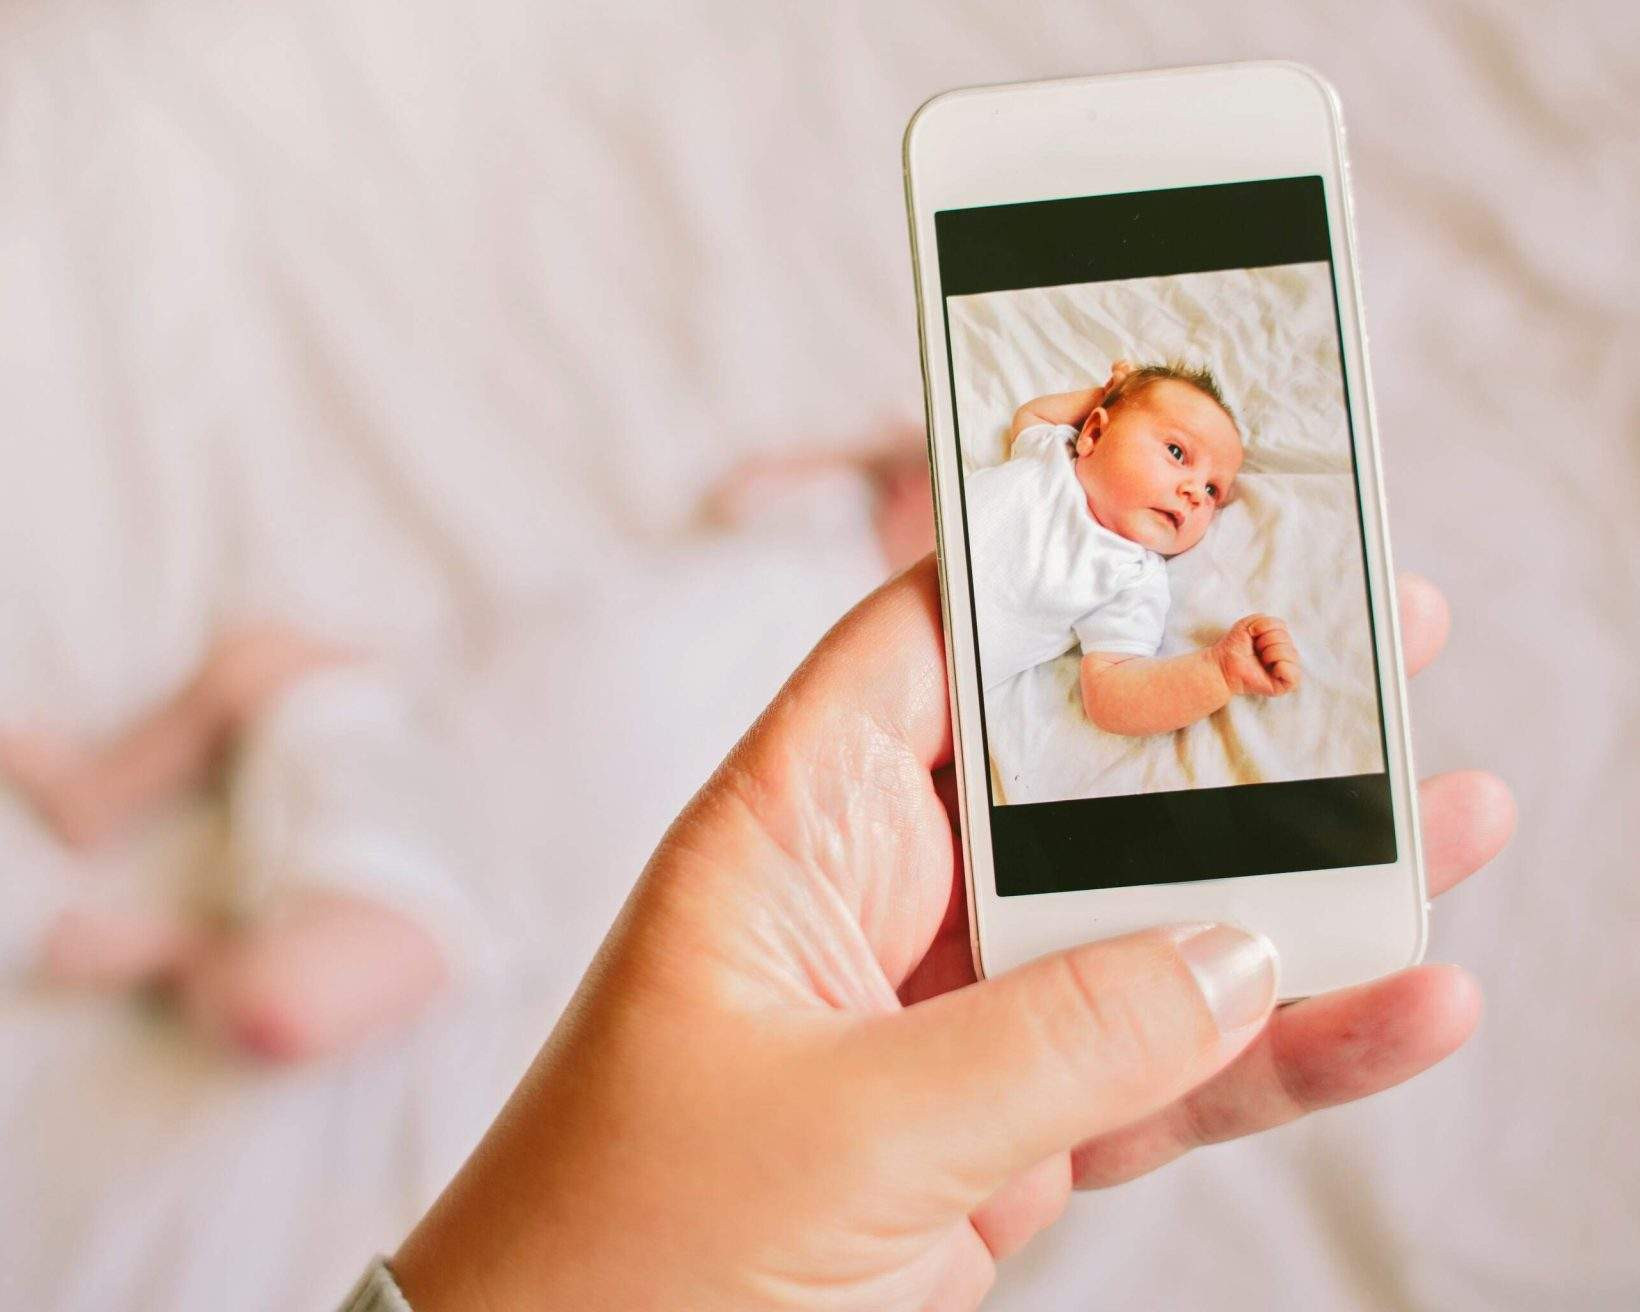 Mother taking a photograph on a smartphone of her newborn baby daughter with a flash
4. What To Wear When Taking Passport Photo?
Choosing the right attire for your passport photo is essential to ensure it meets official requirements and presents a professional appearance. While there are no strict clothing rules, selecting appropriate attire can prevent issues during the application process.
4.1 What Are Some Recommended Attires For Passport Photos?
Choosing the right attire for your passport photo can help ensure acceptance and a professional appearance. Here are some recommendations:
- Choose Deep or Bold Colors: Opt for deep-colored attire or bold colors, especially if you have a deeper skin tone. This helps your face stand out against the white backdrop.
- Wear Modest Jewelry: Small necklaces, earrings, and studs are acceptable, provided they do not cause glare or obscure any facial features.
- Apply Light Makeup: If you wear makeup, keep it light and natural. Heavy makeup can alter your appearance and may cause issues with facial recognition.
- Keep Facial Piercings: You can keep your facial piercings if they do not cover or distort your face.
- Style Your Hair Neatly: Style your hair in a way that does not obscure your face. Keep your forehead and eyes visible.
4.2 What Clothing To Avoid When Taking Passport Photo?
Knowing what clothing to avoid is just as important as knowing what to wear. Here are some items you should not choose for your passport photo:
- Uniforms: Avoid wearing a uniform or any camouflage clothing. Passport photos should not imply any official status.
- Strapless or Tank Tops: Strapless tops or tank tops are not recommended, as they can give the impression that you are not wearing any clothes.
- Clothes That Cover the Neck: Avoid clothes that cover the neck, such as turtlenecks, scarves, or high-necked shirts, as they can obscure your face.
- Eyeglasses: Remove eyeglasses to ensure your eyes are clearly visible.
- Headphones and Other Accessories: Do not wear headphones or other accessories that can obstruct your face.
- Heavy Makeup: Avoid heavy makeup that can significantly alter your appearance.
- Hats and Head Coverings: Unless worn for religious purposes, avoid hats and head coverings. If worn for religious reasons, ensure they do not obscure your face.
By following these recommendations, you can ensure your attire presents a professional and compliant appearance for your passport photo. dfphoto.net offers additional guidance on presenting yourself effectively in photographs.
5. Taking Passport Photos of Babies/Toddlers: Tips and Tricks
Taking passport photos of babies and toddlers can be challenging but with patience and the right techniques, you can achieve a compliant photo. Here are some tips:
- Ensure No One Else Is in the Frame: Make sure no one else is visible in the photo. Do not hold the baby, and ensure that your hands are not in the frame.
- Get Your Child’s Attention: Use a beloved toy or make funny faces to get your child’s attention and encourage them to look at the camera.
- Use a White Background: Lay your baby on their back atop a plain white or off-white sheet. Alternatively, use a car seat covered in a plain white sheet to provide additional head support.
- Avoid Shadows: Be aware of shadows on your baby’s face. Adjust the lighting or angle to minimize or eliminate shadows.
- Use Natural Light: Natural light is best. Position your baby near a window or take them outside for a brighter shot.
- Center Your Baby: Center your baby in the frame and double-check that their face is in full view.
- Take Multiple Shots: Babies and toddlers are unpredictable, so take multiple shots to increase your chances of capturing a perfect passport-worthy expression.
5.1 What Is The Best Way To Get Baby’s Attention For Passport Photo?
Getting a baby’s attention for a passport photo requires creativity and patience. Here are some effective strategies:
- Use Toys: Employ their favorite toys to capture their gaze. Toys that make sounds or have bright colors often work well.
- Make Funny Faces: Pulling silly faces or making funny sounds can grab their attention and encourage them to look at the camera.
- Sing Songs: Sing a familiar and любимый song to soothe and focus the baby.
- Enlist Help: Have someone stand behind you and engage with the baby. This person can use toys, make faces, or call the baby’s name.
- Take Breaks: If the baby becomes fussy, take short breaks to calm them down before trying again.
- Timing is Key: Choose a time when the baby is well-rested and fed. Avoid times when they are likely to be tired or hungry.
5.2 How To Handle Shadows When Photographing A Baby?
Shadows can be a significant challenge when photographing a baby for a passport photo. Here’s how to handle them effectively:
- Use Diffused Natural Light: Position the baby near a window with diffused natural light. Avoid direct sunlight, which can create harsh shadows.
- Use a Reflector: A reflector can bounce light back onto the baby’s face, filling in shadows and providing more even illumination.
- Adjust the Angle: Experiment with different angles to find the best shadow-free shot. Sometimes, a slight adjustment in position can make a big difference.
- Use Artificial Light Carefully: If using artificial light, ensure it is soft and diffused. Position two lights on either side of the baby to minimize shadows.
- Check for Shadows: Continuously check for shadows on the baby’s face and adjust the lighting or position as needed.
By employing these strategies, you can minimize shadows and capture a well-lit, compliant passport photo of your baby or toddler. dfphoto.net provides more detailed guides on overcoming common photography challenges.
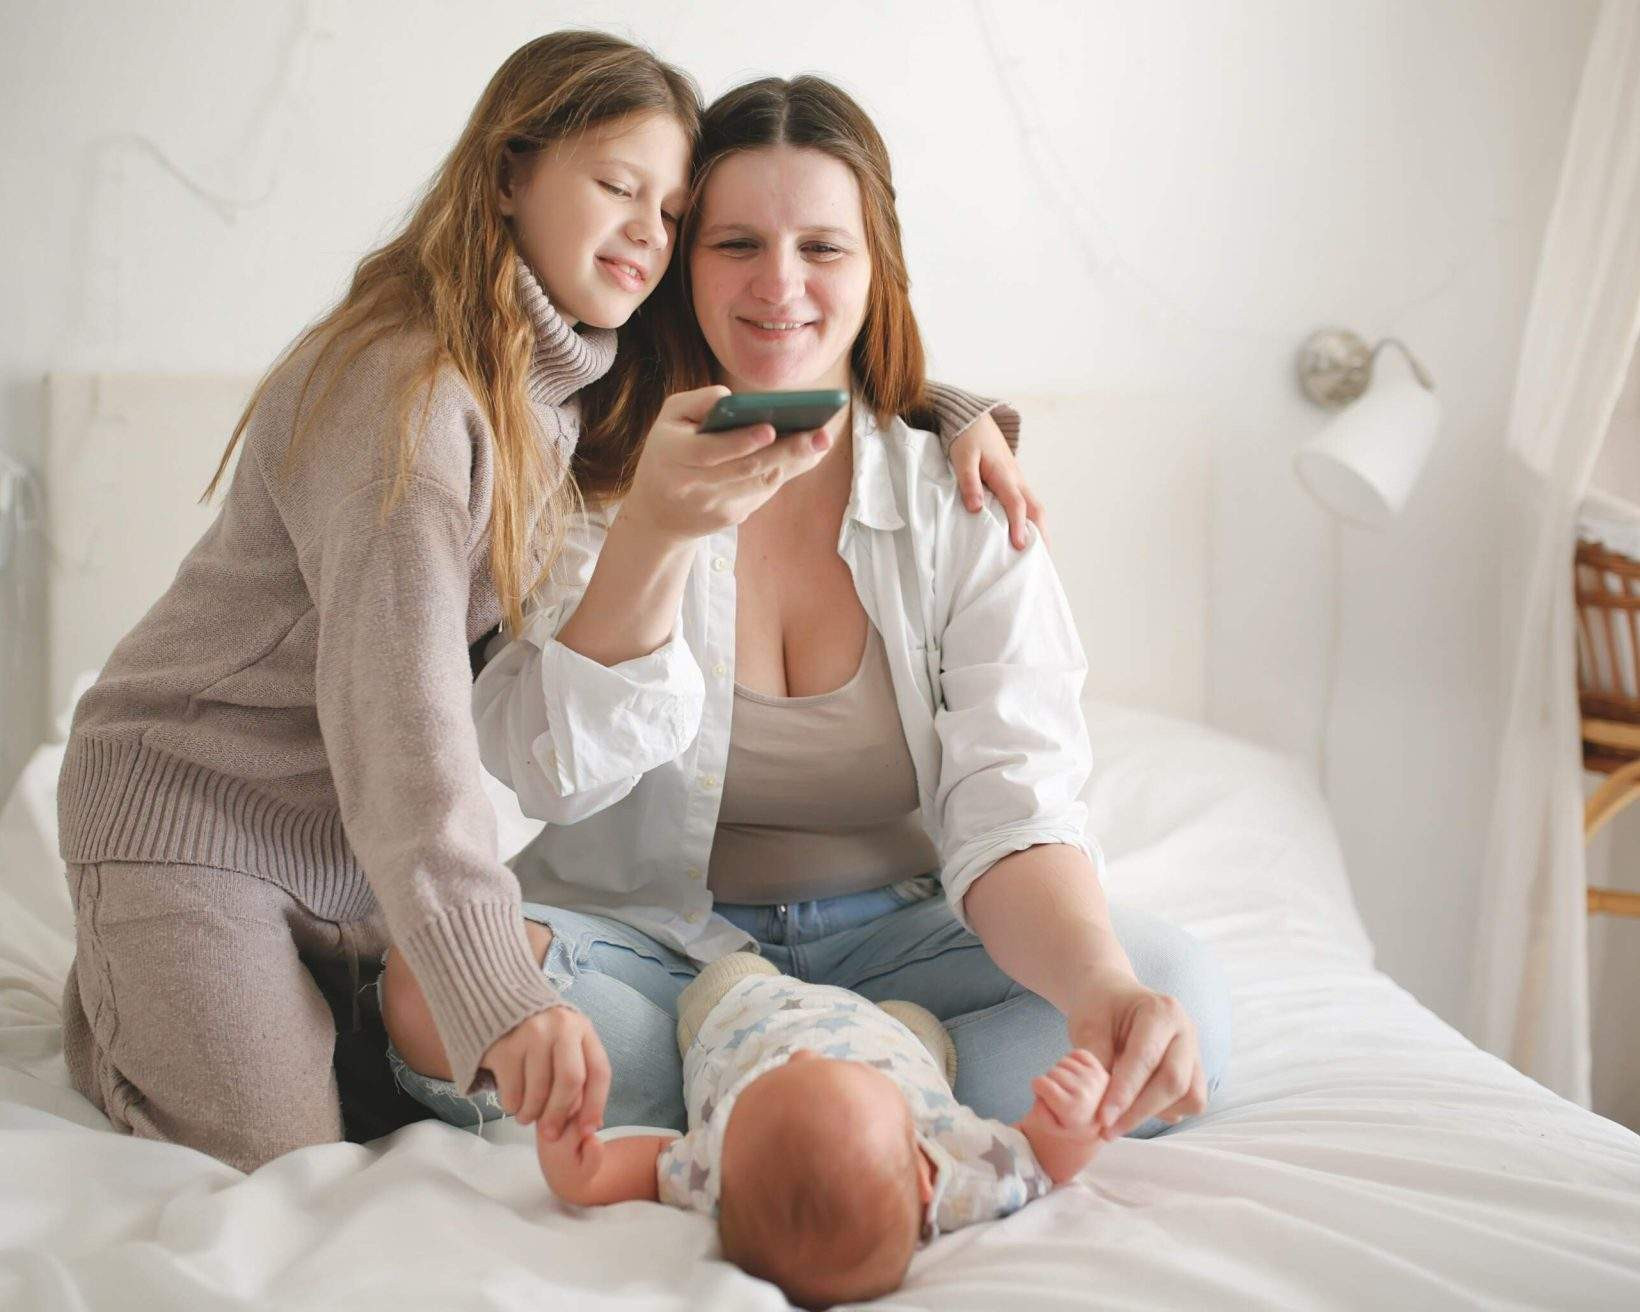 Mother and older daughter take pictures on phone of baby on bed in cozy real bedroom with wicker cradle
6. Common Mistakes to Avoid When Taking Passport Photos at Home
Avoiding common mistakes is crucial for ensuring your passport photo is accepted. Here are some frequent errors and how to avoid them:
- Low-Resolution Camera: Using a low-resolution camera can result in a blurry or pixelated photo.
- Solution: Use a high-resolution camera or smartphone.
- Insufficient Light Exposure and Shadows: Poor lighting can obscure facial features and lead to rejection.
- Solution: Ensure ample and even lighting, avoiding shadows.
- Wrong Dimensions: Incorrect photo dimensions will result in rejection.
- Solution: Use a passport photo app or online tool to crop the photo to the exact required size (2×2 inches).
- Smiling: Smiling or having any non-neutral expression is not allowed.
- Solution: Maintain a neutral expression with your mouth closed.
- Using Filters: Filters can alter your appearance and are not permitted.
- Solution: Avoid using any filters commonly used on social media.
- Closed Eyes: Ensure your eyes are open and clearly visible.
- Solution: Take multiple shots to ensure your eyes are open in at least one photo.
- Non-White Background: Using a background that is not plain white or off-white will lead to rejection.
- Solution: Use a plain white or off-white background free of any patterns or shadows.
- Inappropriate Clothing: Wearing uniforms or clothing that obscures the face is not allowed.
- Solution: Wear appropriate, everyday clothing that does not cover your neck or face.
- Wearing Glasses or Headwear: Glasses and non-religious headwear are not permitted.
- Solution: Remove glasses and headwear unless worn daily for religious purposes.
- Wrong Posture: Incorrect posture or head position can cause issues.
- Solution: Face the camera directly and maintain a centered head position.
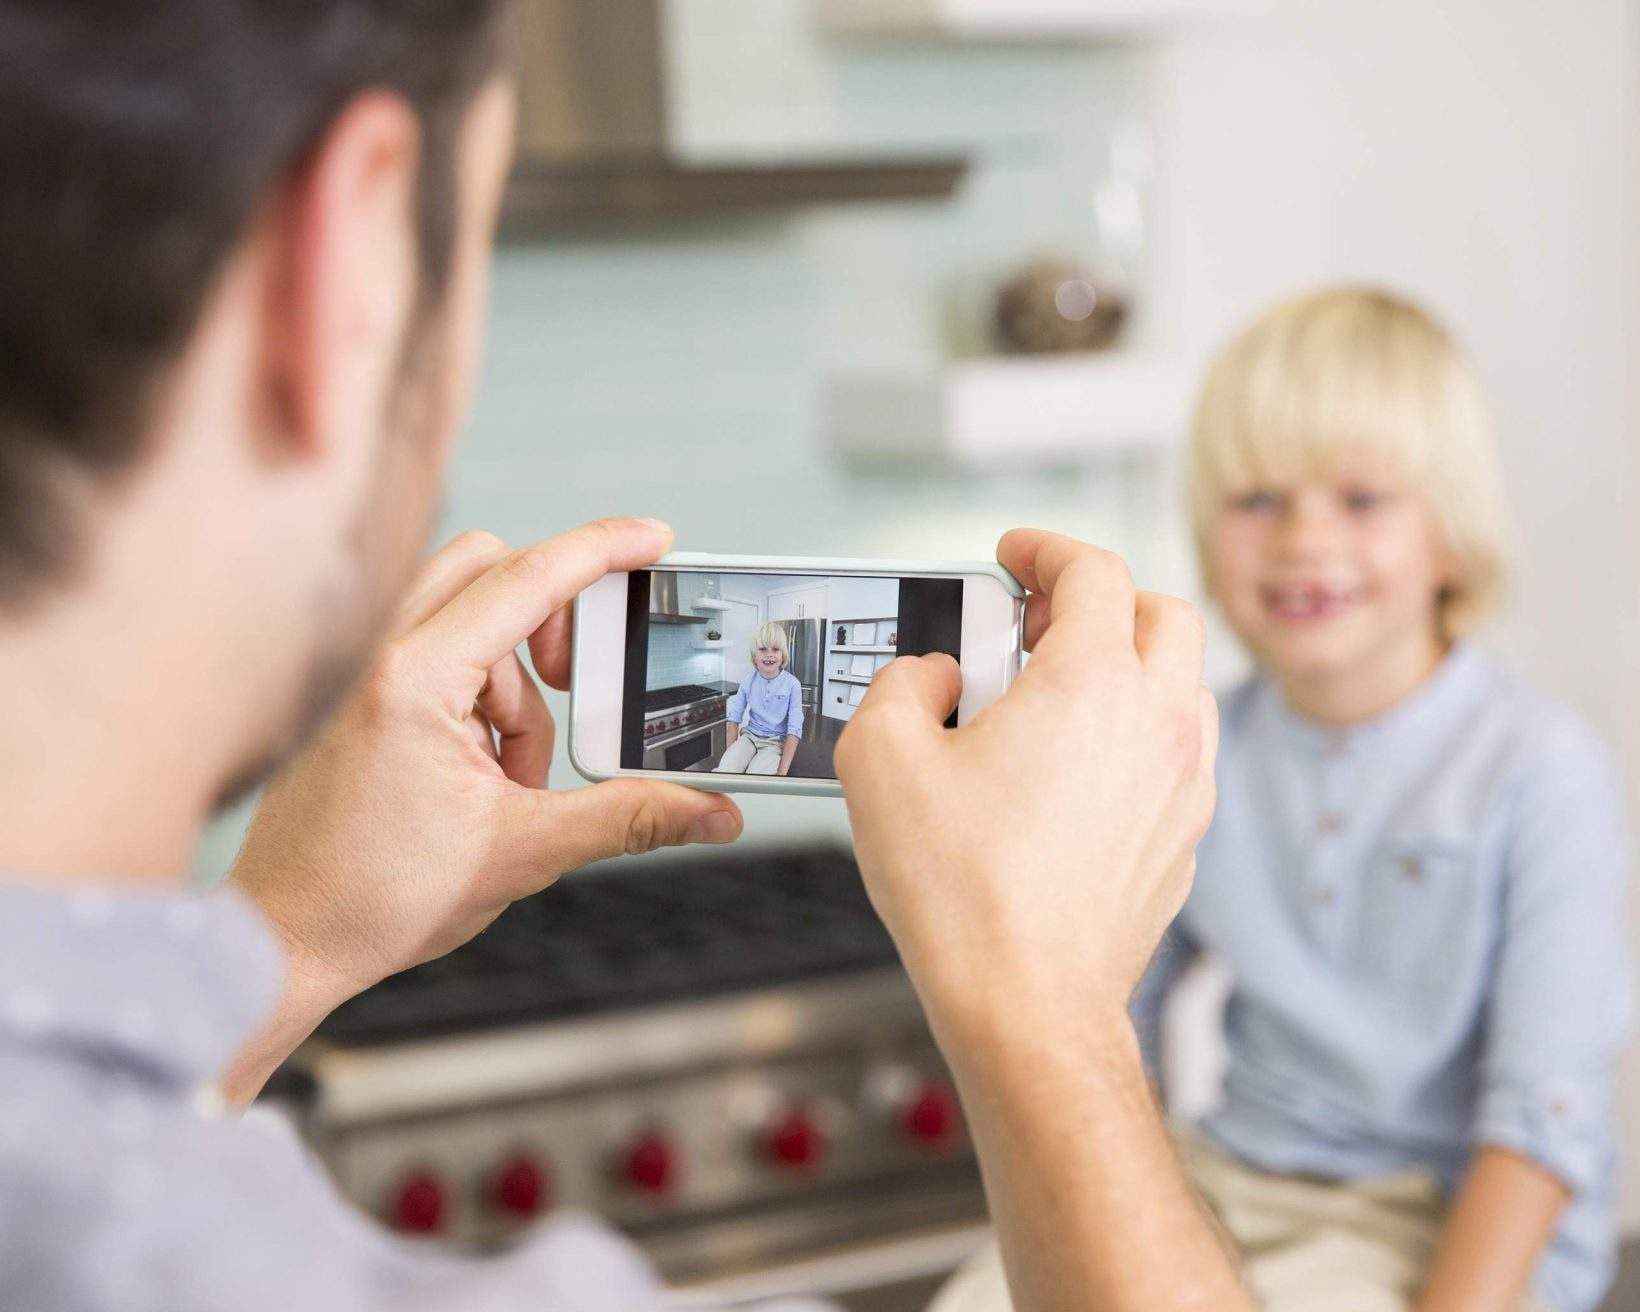 Father taking photo of child at home with good lighting and neutral expression
7. How to Ensure Your Passport Photo Will Be Accepted
To guarantee your passport photo is accepted, double-check that it meets all official requirements and avoid common mistakes. According to research from the Santa Fe University of Art and Design’s Photography Department, in July 2025, verification tools significantly increase the likelihood of acceptance. Here’s a checklist to help you:
- Use Official Verification Tools:
- Utilize the U.S. Department of State’s photo tool to confirm if your photo meets the requirements.
- Review Guidelines Carefully:
- Thoroughly review all official guidelines for passport photos.
- Check Lighting and Shadows:
- Ensure the photo is evenly lit with no shadows on the face or background.
- Verify Size and Dimensions:
- Confirm that the photo is 2×2 inches (51×51 mm) with the correct head size.
- Neutral Expression:
- Ensure you have a neutral expression with your eyes open and looking directly at the camera.
- Background Compliance:
- Use a plain white or off-white background free of any distractions.
- Avoid Accessories:
- Remove glasses, hats, and other accessories unless required for religious reasons.
- Recent Photo:
- Ensure the photo was taken within the last six months.
- High Resolution:
- Use a high-resolution camera and avoid filters or digital alterations.
- Take Multiple Shots:
- Take several photos and choose the best one that meets all requirements.
- Seek Professional Advice:
- If unsure, consider having your photo taken by a professional photographer.
8. What Are The Benefits Of Taking Your Own Passport Photo?
Taking your own passport photo at home offers several advantages, blending convenience, cost-effectiveness, and control. According to research from the Santa Fe University of Art and Design’s Photography Department, in July 2025, most individuals save an average of $15-30 by opting for DIY passport photos. Here are the key benefits:
- Convenience:
- Take the photo at any time without needing to visit a professional studio.
- Avoid travel time and scheduling appointments.
- Cost Savings:
- Save money compared to professional passport photo services.
- Reduce expenses related to transportation and service fees.
- Control:
- Have complete control over the photo-taking process.
- Ensure you are satisfied with the final result.
- Flexibility:
- Take multiple shots until you achieve the perfect photo.
- Adjust settings and lighting to your preference.
- Accessibility:
- Suitable for individuals in remote locations or with limited mobility.
- Ideal for families with young children or infants.
- Immediate Results:
- Review the photo immediately and make adjustments as needed.
- Avoid waiting for a professional photographer to process and deliver the photos.
9. Where Can You Print Your Passport Photo At Home?
If you’ve taken your passport photo at home, printing it correctly is the final step to ensure it meets all requirements. Here are some options for printing your passport photo:
- Home Printer:
- Use a color printer with photo-quality settings.
- Print on matte or glossy photo paper.
- Ensure the photo is printed to the correct size (2×2 inches).
- Online Printing Services:
- Upload your photo to online printing services like Walgreens, CVS, or Shutterfly.
- Select the passport photo option to ensure correct sizing and formatting.
- Pick up the printed photos at a local store or have them delivered to your home.
- Local Photo Centers:
- Visit local photo centers like Walmart, Target, or Costco.
- Use their photo kiosks to print your passport photo.
- Follow the on-screen instructions to size and format the photo correctly.
- Office Supply Stores:
- Some office supply stores like Staples or FedEx offer photo printing services.
- Inquire about their passport photo printing options.
- Ensure the photo is printed according to the official requirements.
10. How To Edit Your Passport Photo At Home?
Editing your passport photo at home involves making necessary adjustments to ensure it meets all official requirements without altering your appearance. Here are some key steps:
- Crop to Correct Size:
- Use a photo editing tool to crop the photo to the required 2×2 inches (51×51 mm).
- Adjust Brightness and Contrast:
- Adjust brightness and contrast to ensure the photo is well-lit and clear.
- Avoid over-exposure or under-exposure.
- Remove Shadows:
- Use the editing tool to minimize or eliminate shadows on your face and background.
- Correct White Balance:
- Ensure the white balance is correct to accurately represent your skin tone.
- Avoid color casts or tints.
- Sharpen the Image:
- Use the sharpening tool to enhance the clarity of the photo.
- Avoid over-sharpening, which can create artifacts.
- Check for Compliance:
- Use the U.S. Department of State’s photo tool or a passport photo app to check if your edited photo meets all requirements.
- Save in High Resolution:
- Save the edited photo in a high-resolution format (e.g., JPEG) to ensure clarity when printing.
FAQ Section
-
Can I smile in my passport photo?
- No, you must have a neutral expression with your mouth closed.
-
Can I wear glasses in my passport photo?
- No, glasses are not allowed in passport photos.
-
Can I wear a hat in my passport photo?
- Hats and head coverings are generally not allowed unless worn for religious purposes. Even then, they must not obscure your face.
-
What is the correct size for a passport photo?
- The correct size is 2×2 inches (51×51 mm).
-
What background should I use for my passport photo?
- Use a plain white or off-white background.
-
How recent does my passport photo need to be?
- The photo must be taken within the last 6 months.
-
Can I take a passport photo with my phone?
- Yes, most smartphones have cameras that are sufficient for quality passport photos.
-
What should I wear for a passport photo?
- Wear everyday clothing that does not cover your neck or face. Avoid uniforms and strapless tops.
-
How do I get my baby to look at the camera for a passport photo?
- Use toys, make funny faces, or have someone stand behind you to engage with the baby.
-
Where can I get my passport photo printed?
- You can print your passport photo at home, online printing services, local photo centers, or office supply stores.
Conclusion
Taking your own passport photo at home is indeed feasible and offers numerous advantages, provided you adhere to the official guidelines meticulously. From setting up the correct lighting and background to ensuring proper attire and expression, every detail matters. Tools like the U.S. Department of State’s photo tool and various passport photo apps can be invaluable in verifying compliance. Explore dfphoto.net for more photography tips, tricks, and in-depth guides to elevate your skills. Whether you’re a seasoned photographer or just starting, our resources are designed to inspire and inform. Dive into our collection of stunning images, connect with a vibrant community of photographers, and discover new ways to express your creativity through the lens.
Ready to take your photography skills to the next level? Visit dfphoto.net today to explore our extensive resources, connect with fellow photography enthusiasts, and unlock your creative potential!
Address: 1600 St Michael’s Dr, Santa Fe, NM 87505, United States
Phone: +1 (505) 471-6001
Website: dfphoto.net