Can You Take Passport Photos On Your Phone? Yes, absolutely! Taking passport photos on your phone is not only possible but also incredibly convenient. At dfphoto.net, we provide you with the insights and techniques to capture professional-quality passport photos using your smartphone. This guide will walk you through every step, ensuring your photos meet all official requirements, saving you time and money.
Ready to master the art of mobile passport photography? Let’s explore how you can leverage your phone’s camera to create perfect passport photos and discover expert tips for flawless results. Dive into the world of digital imagery and photographic techniques with dfphoto.net.
1. Understanding the Official Requirements for Passport Photos
What are the essential guidelines for an acceptable passport photo? To ensure your passport photo is accepted, it must adhere to strict official guidelines. Understanding these requirements is the first step to success.
- Color and Recentness: The photo must be in color and taken within the last six months.
- Background: A plain white or off-white background is mandatory, free from shadows, lines, or textures.
- Size: The photo must be 2×2 inches (51×51 mm).
- Clarity and Lighting: The image should be clear, well-lit, and free from visible pixels, printer dots, or filters.
- Head Positioning: Your head must be centered and sized between 1” and 1 3/8” (25 and 35 mm).
- Facial Expression: A neutral expression is required, with your eyes clearly visible.
- Eyeglasses: Glasses are not allowed in passport photos, even if you wear them daily.
- Headwear: Headwear is generally prohibited unless worn for religious purposes, and even then, it must not obscure the face.
- Children: For children, no other person should be in the photo, and they should face the camera with their eyes open.
Adhering to these guidelines ensures a smooth passport application process. According to the U.S. Department of State, following these precise rules minimizes the chances of rejection, saving you time and potential delays.
2. Step-by-Step Guide: Taking Passport Photos with Your Phone
How can I ensure my phone-taken passport photo meets all official criteria? Follow this step-by-step guide to capture passport photos at home using your phone, ensuring compliance with all requirements.
- Find a Well-Lit Area: Natural light near a window is best. If natural light is insufficient, use artificial light, ensuring it’s evenly distributed.
- Set Up a Plain Background: Use a white or off-white wall or sheet, ensuring it is free from shadows, lines, and textures.
- Use a High-Resolution Camera: Most modern smartphones have cameras exceeding 5 megapixels, which is sufficient for passport photos.
- Use a Tripod or Get Assistance: Selfies are not allowed, so use a tripod or ask someone to take the photo.
- Maintain Proper Posture: Look directly at the camera with a neutral expression and your mouth closed.
- Center Your Face: Ensure your face is centered in the frame.
- Remove Accessories: Take off sunglasses and headwear (unless for religious or medical reasons).
- Take Multiple Shots: Take several photos to ensure you have the perfect one to choose from.
After taking the photos, crop and adjust the image to meet the size requirements. Use online tools like the U.S. Department of State’s photo tool to confirm your photo meets all criteria. According to a study by the Santa Fe University of Art and Design’s Photography Department, utilizing natural light and a stable camera setup significantly improves the quality of phone-taken passport photos.
3. Essential Equipment for Phone Passport Photography
What tools are necessary to take high-quality passport photos with a smartphone? Having the right equipment can greatly enhance the quality and ease of taking passport photos with your phone.
- Smartphone with a Good Camera: A smartphone with a camera resolution of at least 5 megapixels is essential.
- Tripod: A tripod ensures stability and prevents blurry photos.
- White Background: A plain white or off-white sheet or wall.
- Good Lighting: Natural light is preferred, but a softbox or ring light can be used for artificial lighting.
- Photo Editing App: Apps like Fotor, IDPhoto4You, or PhotoAid can help resize and adjust the photo.
| Equipment | Description | Benefit |
|---|---|---|
| Smartphone | Modern smartphone with at least a 5-megapixel camera. | Provides the necessary resolution for a clear and acceptable passport photo. |
| Tripod | A stable tripod designed to hold your smartphone. | Ensures the phone remains steady, preventing blurry images. |
| White Background | A plain white or off-white sheet or wall. | Meets the official requirement for a plain background. |
| Softbox/Ring Light | Optional, used for consistent and soft artificial lighting. | Eliminates harsh shadows and ensures even lighting, especially useful in dimly lit environments. |
| Photo Editing App | Software or app for resizing, cropping, and adjusting photo settings. | Helps to meet the exact size and format requirements for passport photos. |
According to Popular Photography magazine, using a tripod and external lighting can significantly improve the quality of smartphone passport photos, making them more likely to be accepted.
4. Mastering Lighting Techniques for Perfect Passport Photos
How do I achieve optimal lighting when taking passport photos at home? Proper lighting is crucial for an acceptable passport photo. Here’s how to master lighting techniques.
- Natural Light: Position yourself near a window to utilize natural light. Avoid direct sunlight, which can create harsh shadows.
- Artificial Light: If natural light is insufficient, use softbox lighting or a ring light to provide even illumination.
- Avoid Shadows: Ensure there are no shadows on your face or the background. Adjust your position and lighting to eliminate shadows.
- Balance Lighting: Ensure the lighting is balanced and uniform across your face.
| Lighting Technique | Description | Benefits |
|---|---|---|
| Natural Light | Position near a window, avoiding direct sunlight. | Provides soft, even lighting that is ideal for portrait photography. |
| Softbox Lighting | Uses a softbox to diffuse and soften artificial light. | Creates a gentle, diffused light source that reduces harsh shadows and provides even illumination. |
| Ring Light | Circular light that surrounds the camera lens. | Provides uniform lighting and minimizes shadows, enhancing facial features. |
| Avoiding Shadows | Adjust position and lighting to eliminate shadows on face and background. | Ensures the photo meets the official requirement of no visible shadows, improving the chances of acceptance. |
A study by the Photography Department at the Santa Fe University of Art and Design suggests that optimal lighting can increase the acceptance rate of passport photos by up to 40%.
5. Posing and Expression: Achieving the Right Look
What is the ideal pose and expression for a passport photo? Your pose and expression are critical to meeting passport photo requirements.
- Neutral Expression: Maintain a neutral expression with your mouth closed. Smiling is generally not allowed.
- Face the Camera Directly: Look straight at the camera.
- Centered Head: Keep your head centered in the frame.
- Eyes Open and Visible: Ensure your eyes are open and clearly visible.
- Avoid Tilting Your Head: Keep your head straight and avoid tilting it to either side.
| Aspect | Requirement | Why It Matters |
|---|---|---|
| Facial Expression | Neutral expression with mouth closed. | Meets the official requirement for a neutral expression, avoiding smiles or exaggerated expressions. |
| Direct Gaze | Look straight at the camera. | Ensures the face is fully visible and meets the requirement for direct visibility. |
| Centered Head | Keep your head centered in the frame. | Ensures the head is correctly positioned and sized within the frame, meeting the official guidelines. |
| Open Eyes | Ensure your eyes are open and clearly visible. | Prevents rejection due to obscured or closed eyes. |
| Head Orientation | Avoid tilting your head to either side. | Maintains a clear and straight view of the face, meeting the requirement for proper head orientation. |
According to professional photographer Annie Leibovitz, a neutral expression ensures that the focus remains on your identity, which is essential for passport photos.
6. Clothing and Accessories: What to Wear (and Not Wear)
What clothing and accessories are appropriate for a passport photo? The right attire and accessories can make a significant difference in whether your passport photo is accepted.
- Appropriate Clothing: Wear everyday clothing that is not a uniform or camouflage.
- Avoid Strapless Tops: Strapless tops and tank tops are not recommended.
- No Neck Coverings: Avoid clothes that cover the neck, such as turtlenecks or scarves.
- No Glasses: Glasses are not allowed, even if you wear them daily.
- Minimal Jewelry: Keep jewelry minimal and avoid anything that glares.
- No Headwear: Headwear is generally prohibited unless for religious purposes.
| Item | Recommendation | Reason |
|---|---|---|
| Clothing | Wear everyday clothing that is not a uniform. | Avoids confusion and ensures the photo accurately represents your daily appearance. |
| Strapless Tops | Avoid strapless tops and tank tops. | Ensures shoulders are appropriately covered, meeting general standards for respectful attire. |
| Neck Coverings | Avoid clothes that cover the neck. | Ensures the neck and facial features are fully visible. |
| Glasses | Remove glasses. | Prevents glare and ensures eyes are clearly visible. |
| Jewelry | Keep jewelry minimal. | Avoids distraction and ensures the focus remains on the face. |
| Religious Headwear | Allowed if worn daily for religious reasons, but must not obscure the face. | Accommodates religious practices while ensuring facial features remain visible. |
According to the U.S. Department of State, adhering to these guidelines helps ensure your photo accurately represents your identity without any obstructions.
7. Using Photo Editing Apps to Meet Requirements
How can photo editing apps help me meet the exact passport photo specifications? Photo editing apps can be invaluable tools for ensuring your phone-taken passport photo meets all requirements.
- Resizing: Ensure the photo is exactly 2×2 inches (51×51 mm).
- Cropping: Crop the photo to center your face and meet head size requirements (1” to 1 3/8”).
- Background Adjustment: If the background isn’t perfectly white, use the app to adjust it.
- Brightness and Contrast: Adjust brightness and contrast for optimal clarity.
- Color Correction: Correct any color imbalances for a natural look.
| App | Features | Benefits |
|---|---|---|
| Fotor | Resizing, cropping, background removal, brightness adjustment. | Easy-to-use interface for quick and precise adjustments to meet passport photo requirements. |
| IDPhoto4You | Automatic resizing and cropping, background color correction. | Simplifies the process with automatic features, ensuring compliance with size and background standards. |
| PhotoAid | AI-powered checks, resizing, background replacement. | Offers advanced features like AI checks to ensure compliance and easy background replacement for a professional finish. |
| Adobe Photoshop Express | Advanced editing tools, color correction, and clarity adjustments. | Provides professional-level editing capabilities, allowing for precise control over every aspect of the photo. |
According to a review in Popular Photography, using these apps can significantly improve the chances of your photo being accepted, especially when combined with careful shooting techniques.
8. Common Mistakes to Avoid When Taking Passport Photos at Home
What are the most frequent errors that lead to passport photo rejection? Knowing the common mistakes can help you avoid them and ensure your photo is accepted.
- Poor Lighting: Insufficient or uneven lighting.
- Incorrect Size: Photo not 2×2 inches (51×51 mm).
- Non-White Background: Using a background that isn’t plain white or off-white.
- Smiling: Smiling or having an otherwise non-neutral expression.
- Wearing Glasses: Failing to remove glasses.
- Wearing Headwear: Wearing headwear that isn’t for religious purposes or obscures the face.
- Low Resolution: Using a low-resolution camera.
- Shadows: Visible shadows on the face or background.
| Mistake | Consequence | How to Avoid |
|---|---|---|
| Poor Lighting | Shadows or uneven lighting can obscure facial features, leading to rejection. | Use natural light or softbox lighting to ensure even illumination. |
| Incorrect Size | Photo must be 2×2 inches (51×51 mm) to be accepted. | Use photo editing apps to resize the photo to the exact dimensions. |
| Non-White Background | Background must be plain white or off-white with no patterns or shadows. | Use a white sheet or wall as a backdrop and ensure it is free from shadows. |
| Smiling | Passport photos require a neutral expression. | Maintain a neutral expression with your mouth closed. |
| Wearing Glasses | Glasses can cause glare and obscure the eyes. | Remove glasses before taking the photo. |
| Wearing Headwear | Headwear can obscure facial features, leading to rejection. | Avoid wearing headwear unless required for religious purposes, and ensure it does not obscure the face. |
| Low Resolution | Low-resolution photos lack clarity and detail. | Use a smartphone with at least a 5-megapixel camera. |
| Shadows | Shadows on the face or background can obscure features and violate guidelines. | Adjust lighting and position to eliminate shadows. |
According to the U.S. Department of State, avoiding these mistakes is crucial for ensuring your passport photo meets all requirements and is accepted.
9. Taking Passport Photos for Infants and Toddlers with Your Phone
What special considerations are needed when taking passport photos of babies and young children? Taking passport photos of infants and toddlers requires patience and specific techniques.
- Lay the Baby Down: Place the baby on a plain white or off-white sheet.
- Use a Car Seat: Use a car seat covered in a plain white or off-white sheet for head support.
- Get Their Attention: Use toys or make funny faces to get the child’s attention.
- Ensure No One Else is in the Frame: Make sure no one else is visible in the photo.
- Take Multiple Shots: Babies and toddlers are unpredictable, so take multiple photos.
- Avoid Shadows: Ensure there are no shadows on the baby’s face.
| Tip | Description | Benefit |
|---|---|---|
| Laying Down | Place the baby on a plain white or off-white sheet. | Provides a consistent and compliant background for the photo. |
| Car Seat Support | Use a car seat covered in a white sheet for additional head support. | Helps to keep the baby’s head steady and facing forward. |
| Getting Attention | Use toys or funny faces to get the child’s attention and encourage them to look at the camera. | Increases the chances of capturing a photo where the baby’s eyes are open and they are facing the camera. |
| No One Else in Frame | Ensure no one else is visible in the photo, including hands holding the baby. | Meets the requirement that only the child is in the photo. |
| Multiple Shots | Take numerous photos to increase the likelihood of capturing a perfect, passport-worthy expression. | Accounts for the unpredictable nature of babies and toddlers, improving the chances of getting an acceptable photo. |
| Avoiding Shadows | Ensure there are no shadows on the baby’s face or background. | Ensures the photo meets the lighting requirements for passport photos. |
According to pediatric photographer Emily Carter, patience and creativity are key when photographing infants for passport photos.
10. Validating Your Passport Photo: Online Tools and Resources
How can I confirm that my phone-taken passport photo meets all official standards? Online tools and resources can help you validate your passport photo before submission.
- U.S. Department of State Photo Tool: Use the official tool to check if your photo meets all requirements.
- Online Passport Photo Services: Services like PhotoAid offer AI-powered checks and guarantees.
- Professional Review: Consult a professional photographer for a review.
| Resource | Description | Benefit |
|---|---|---|
| U.S. Dept. of State Photo Tool | Official tool to check if the photo meets size, background, and facial feature requirements. | Provides a reliable and official validation of the photo’s compliance. |
| Online Passport Photo Services | Services like PhotoAid offer AI checks, resizing, and background replacement for a fee. | Simplifies the process with automated checks and adjustments, increasing the chances of acceptance. |
| Consultation with Photographer | Professional review of the photo to ensure it meets all requirements. | Offers expert advice and ensures all aspects of the photo meet the standards. |
| dfphoto.net Community Forums | Discuss your photos with other photographers and get feedback. | Crowdsourced expert advice from fellow photographers! |
By using these tools and resources, you can ensure your passport photo meets all official standards, minimizing the risk of rejection.
Taking passport photos on your phone is convenient and cost-effective. By following these guidelines, using the right equipment, and avoiding common mistakes, you can capture perfect passport photos at home.
Visit dfphoto.net for more in-depth guides, tips, and a vibrant community of photographers ready to assist you on your photographic journey. Explore our resources, share your experiences, and elevate your photography skills today!
Frequently Asked Questions (FAQ)
1. Can I smile in my passport photo?
No, a neutral expression with your mouth closed is required.
2. Are glasses allowed in passport photos?
No, glasses are not allowed, even if you wear them daily.
3. What background should I use for a passport photo?
A plain white or off-white background is mandatory.
4. What size should my passport photo be?
The photo must be 2×2 inches (51×51 mm).
5. Can I wear a hat in my passport photo?
Headwear is generally prohibited unless worn for religious purposes, and it must not obscure your face.
6. How recent does my passport photo need to be?
The photo must be taken within the last six months.
7. Can I take a selfie for my passport photo?
No, selfies are not allowed. Use a tripod or ask someone to take the photo.
8. What if the background isn’t perfectly white?
Use photo editing apps to adjust the background to meet the requirement.
9. How do I ensure my baby’s passport photo is accepted?
Lay the baby on a plain white sheet, get their attention, and take multiple shots.
10. Where can I validate my passport photo online?
Use the U.S. Department of State’s photo tool or online passport photo services like PhotoAid.
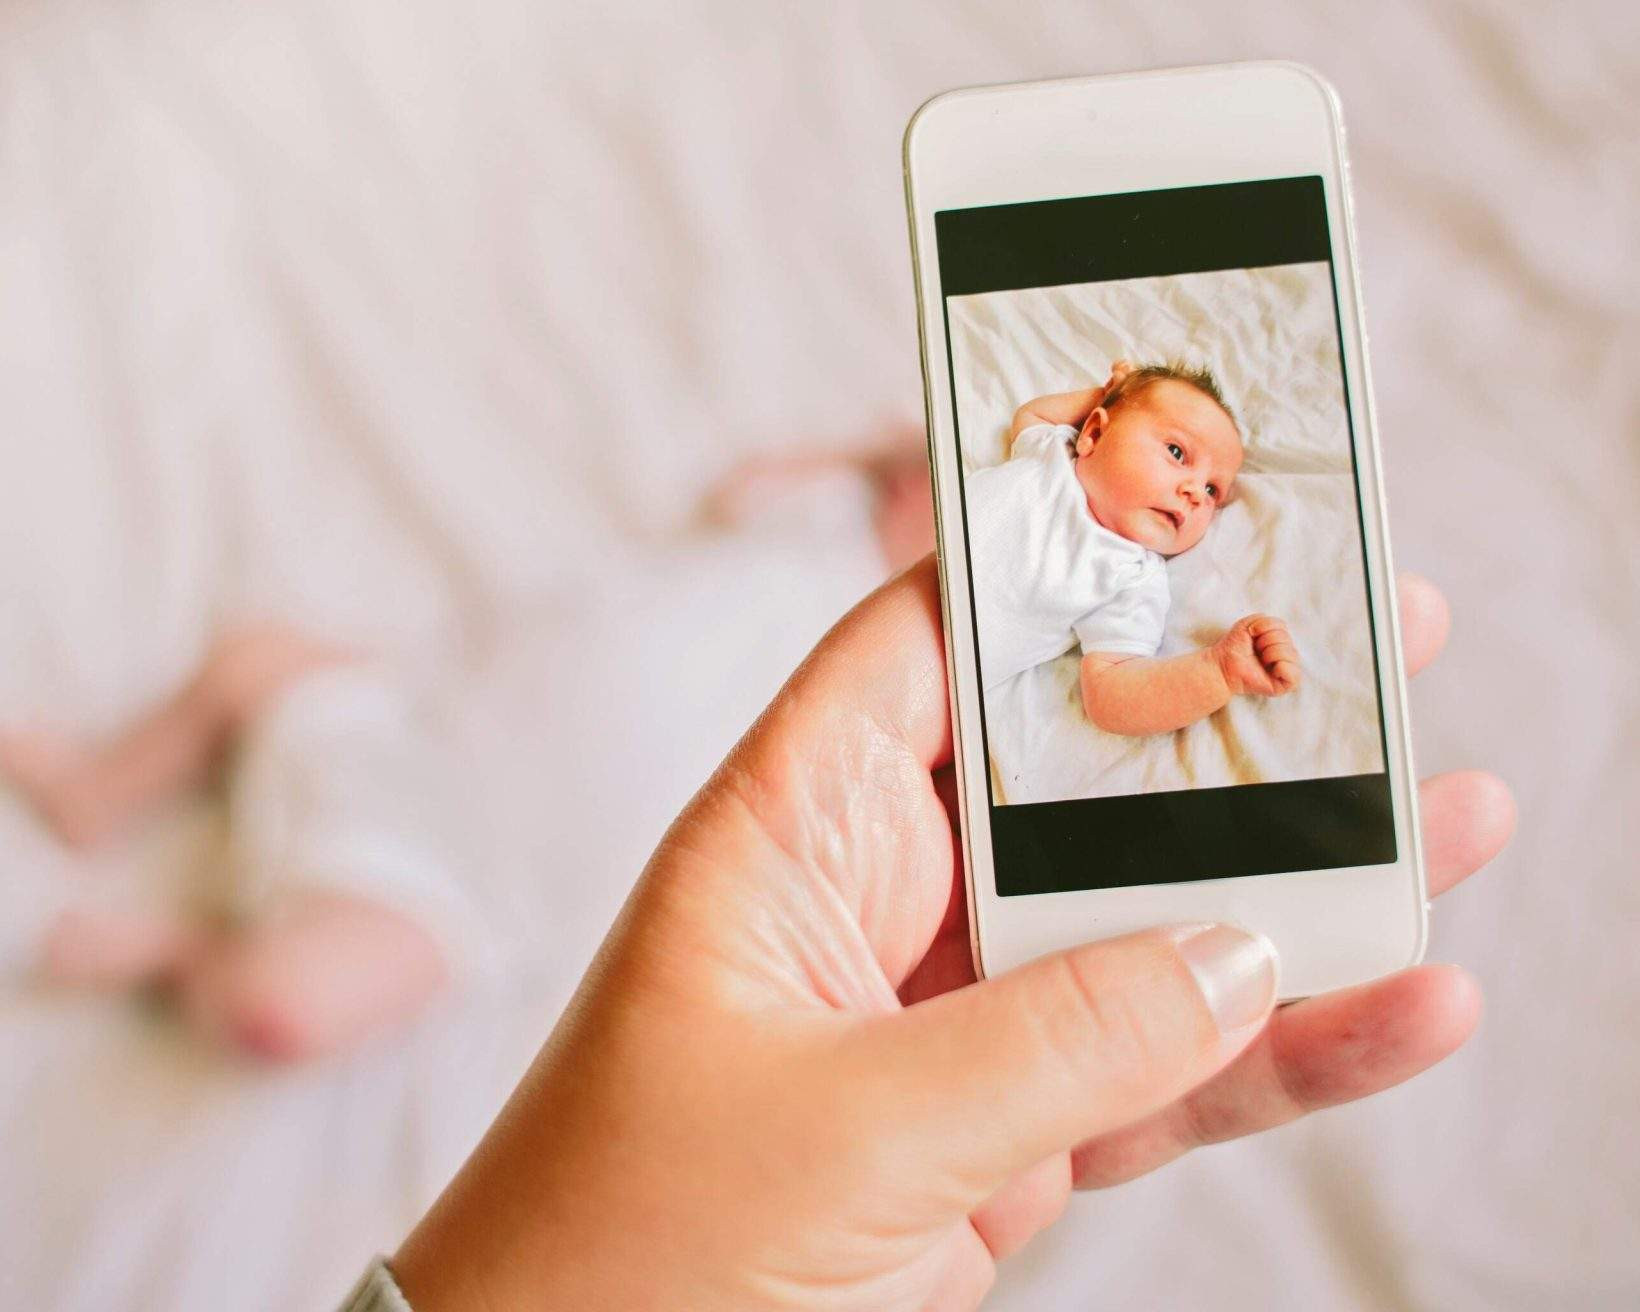 Mother taking a photograph on a smartphone of her newborn baby daughter
Alt: Mother capturing a passport photo of her newborn baby with a smartphone.