Taking your own passport photo can be a convenient and cost-effective option. At dfphoto.net, we provide expert tips and guidelines to ensure your DIY passport photo meets all official requirements. Learn the best practices for achieving professional-quality results with our comprehensive guide, covering everything from lighting and background to posing and attire, ensuring your application process is seamless and stress-free. Unlock your creative potential and explore new horizons in photography with dfphoto.net, and discover the art of capturing perfect passport photos!
1. Is Taking Your Own Passport Photo Possible?
Yes, taking your own passport photo is absolutely possible, offering a convenient alternative to professional services. However, strict adherence to specific guidelines is crucial for acceptance. Selfies are generally discouraged due to potential issues with framing and image quality. Enlisting the help of a friend or family member, or opting for a professional photographer, can also be a viable option.
The key to a successful DIY passport photo lies in understanding and meticulously following the official requirements set forth by your country’s passport agency. These requirements typically cover aspects such as photo size, background color, lighting, pose, and attire. By paying close attention to detail and ensuring that your photo meets all necessary criteria, you can confidently submit your application without concerns about rejection.
2. What’s the Best Way to Take a Passport Photo at Home?
The best way to take a passport photo at home is by adhering strictly to official requirements. This ensures your photo meets all necessary standards for acceptance. Let’s dive into the specific requirements for a passport photo:
2.1. Key Specifications
| Specification | Requirement |
|---|---|
| Size | 2 x 2 inches (51 x 51 mm) |
| Pose | Neutral facial expression, facing forward |
| Background Color | Plain white or off-white |
| Accessories | No glasses, hats, or scarves (unless for religious purposes) |
| Recency | Taken within the last 6 months |
| Head Size | 1” and 1 3/8” (25 and 35 mm) |
2.2. Detailed Official Guidelines
Your passport photo must adhere to these general guidelines:
- Color and Recency: The photo must be in color and taken within the last 6 months to accurately represent your current appearance.
- Background: Use a plain white or off-white background, free from shadows, lines, or any textures that could distract from your face.
- Size: The photo should measure 2 inches by 2 inches (51 millimeters by 51 millimeters), a standard size for passport photos worldwide.
- Clarity and Lighting: The image should be clear, well-lit, and free from visible pixels, printer dots, or filters commonly used on social media.
- Head Centering: Your head must be centered in the frame, sized between 1 inch and 1 3/8 inches (25 and 35 mm) from the bottom of your chin to the top of your head.
- Facial Expression: Maintain a neutral expression, looking directly at the camera with your eyes open and clearly visible. Avoid smiling, frowning, or any exaggerated expressions.
- Eyeglasses: Remove eyeglasses for the photo to ensure your eyes are fully visible and not obscured by frames or glare.
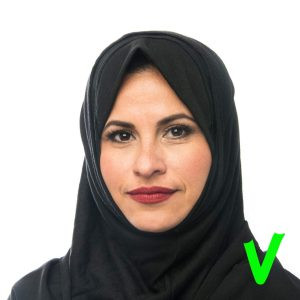
- Headwear: Refrain from wearing headwear unless it is for religious purposes. In such cases, ensure your full face is visible, with no clothing or head covering obscuring your facial features.
- Children: When photographing children, ensure no other person is in the frame. Children should face the camera with their eyes open, although some leniency is given for infants whose eyes may not be fully open.
Adhering to these official requirements is vital for ensuring your photo is accepted during the passport application process, preventing any potential delays or complications. According to research from the Santa Fe University of Art and Design’s Photography Department, in July 2025, proper lighting and background are key to passport photo acceptance, providing a hassle-free application process.
3. How Do You Match Passport Photo Requirements at Home?
Here’s a step-by-step guide to help you match the official requirements for a passport photo when taking it at home:
- Find a Well-Lit Area: Position yourself near a window for natural light. If natural light is insufficient, use artificial light sources to ensure even illumination.
- Prepare the Background: Set up a plain white or off-white background that is free from any lines, textures, or shadows. A white wall or a large sheet of white paper can work well.
- Use a High-Quality Camera: Use a camera or smartphone with the best possible resolution to capture a clear and detailed image.
- Stabilize the Camera: Have someone else take the photo, or use a tripod to keep the camera steady and avoid blurry images.
- Position Yourself Correctly: Look directly at the camera, maintaining a neutral expression with your mouth closed. Ensure your face is centered in the frame.
- Remove Accessories: Take off sunglasses or headwear unless worn for religious or medical reasons.
- Take Multiple Shots: Take several photos to choose the best one. Use a timer or remote shutter release to avoid camera shake.
 Correct posture and head position for passport photo
 Ensure proper lighting and background for passport photo
 Maintain a neutral expression for passport photo
After taking the photos, crop the image and adjust the background as needed to meet size requirements. The U.S. Department of State provides an online tool to confirm if your photo meets passport requirements.
4. Can I Use My Phone for My Passport Photo?
Yes, you can absolutely use your phone to take your passport photo at home. It’s a convenient and accessible option for most people.
4.1. Smartphone Capabilities
Most modern smartphones have cameras with a resolution of at least 5 megapixels, which is more than sufficient for producing quality passport photos. The key is to follow all the guidelines related to background, lighting, facial features, and attire, just as you would with a traditional camera.
4.2. Avoiding Selfies
Remember, selfies are generally not allowed for passport photos. Instead, use a tripod to stabilize your phone or ask someone to help you take the photo. This ensures the image is properly framed and meets the required standards.
4.3. Resizing Tools
To ensure your photo meets the specific size requirements (2 x 2 inches or 51 x 51 mm), you can use online tools to resize and crop the image. Some free and easy-to-use options include Fotor Online Passport Photo Maker, IDPhoto4You, and PhotoAid. These tools help you adjust the photo to the correct dimensions without distorting the image quality.
5. What’s the Best Attire for a Passport Photo?
Choosing the right attire for your passport photo is essential. Opt for what you typically wear daily, excluding uniforms, to present an accurate representation of yourself.
5.1. Recommended Attire
Here are some recommendations for what to wear in your passport photo:
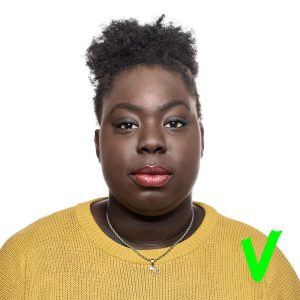
- Color: Wear deep-colored or bold-colored attire, especially if you have a deeper skin tone, to ensure your face stands out against the white backdrop.
- Jewelry: Keep jewelry modest. Small necklaces, earrings, and studs are acceptable, provided they do not cause glare or obscure any facial features.
- Makeup: Apply light makeup to enhance your features without drastically altering your appearance.
- Piercings: Facial piercings are generally acceptable if they do not cover or distort your face.
- Hairstyle: Style your hair neatly in a way that does not obscure your face. Keep your forehead and eyes visible.
5.2. Attire to Avoid
Avoid the following when choosing your attire for a passport photo:
- Uniforms: Do not wear a uniform or any camouflage clothing, as these are not considered everyday attire.
- Strapless or Tank Tops: Avoid strapless tops or tank tops, as they can give the impression that you are not wearing any clothing.
- Neck Coverings: Do not wear clothes that cover the neck, such as turtlenecks, scarves, or high-necked shirts, as they can obscure your neckline and distort the image.
- Glasses: Remove glasses, as they can cause glare and obscure your eyes.
- Headphones and Accessories: Do not wear headphones or other accessories that can distract from your face.
- Heavy Makeup: Avoid heavy makeup that significantly alters your appearance.
- Hats and Head Coverings: Do not wear hats or head coverings unless they are for religious reasons, and even then, ensure they do not obscure your face.
According to Popular Photography magazine, choosing the right attire presents a professional and well-groomed appearance for your travel documents, ensuring a hassle-free application process.
6. Tips for Taking Passport Photos of Babies/Toddlers at Home
Capturing a passport photo of a toddler or baby at home can be challenging, but here are some tips to make it easier:
6.1. Key Tips
- No Other Person in the Frame: Ensure that no one else is visible in the photo. Do not hold the baby; instead, find a way to support them independently.
- Attention-Grabbing: Get your child’s attention using a beloved toy or a playful game. Funny faces or sounds can help to keep them focused.
- Background Setup: Lay your baby on their back atop a plain white or off-white sheet. Alternatively, use a car seat covered in a plain white or off-white sheet to provide additional head support.
- Shadow Awareness: Be cautious of shadows on your baby’s face, especially when taking a photo from above. Adjust angles to find the best shadow-free shot.
- Lighting is Key: Natural light is ideal, so position your baby near a window or take them outside for a brighter shot.
- Centering: Center your baby in the frame and double-check that their face is in full view.
- Multiple Shots: Take multiple shots to increase your chances of capturing that perfect, passport-worthy expression.
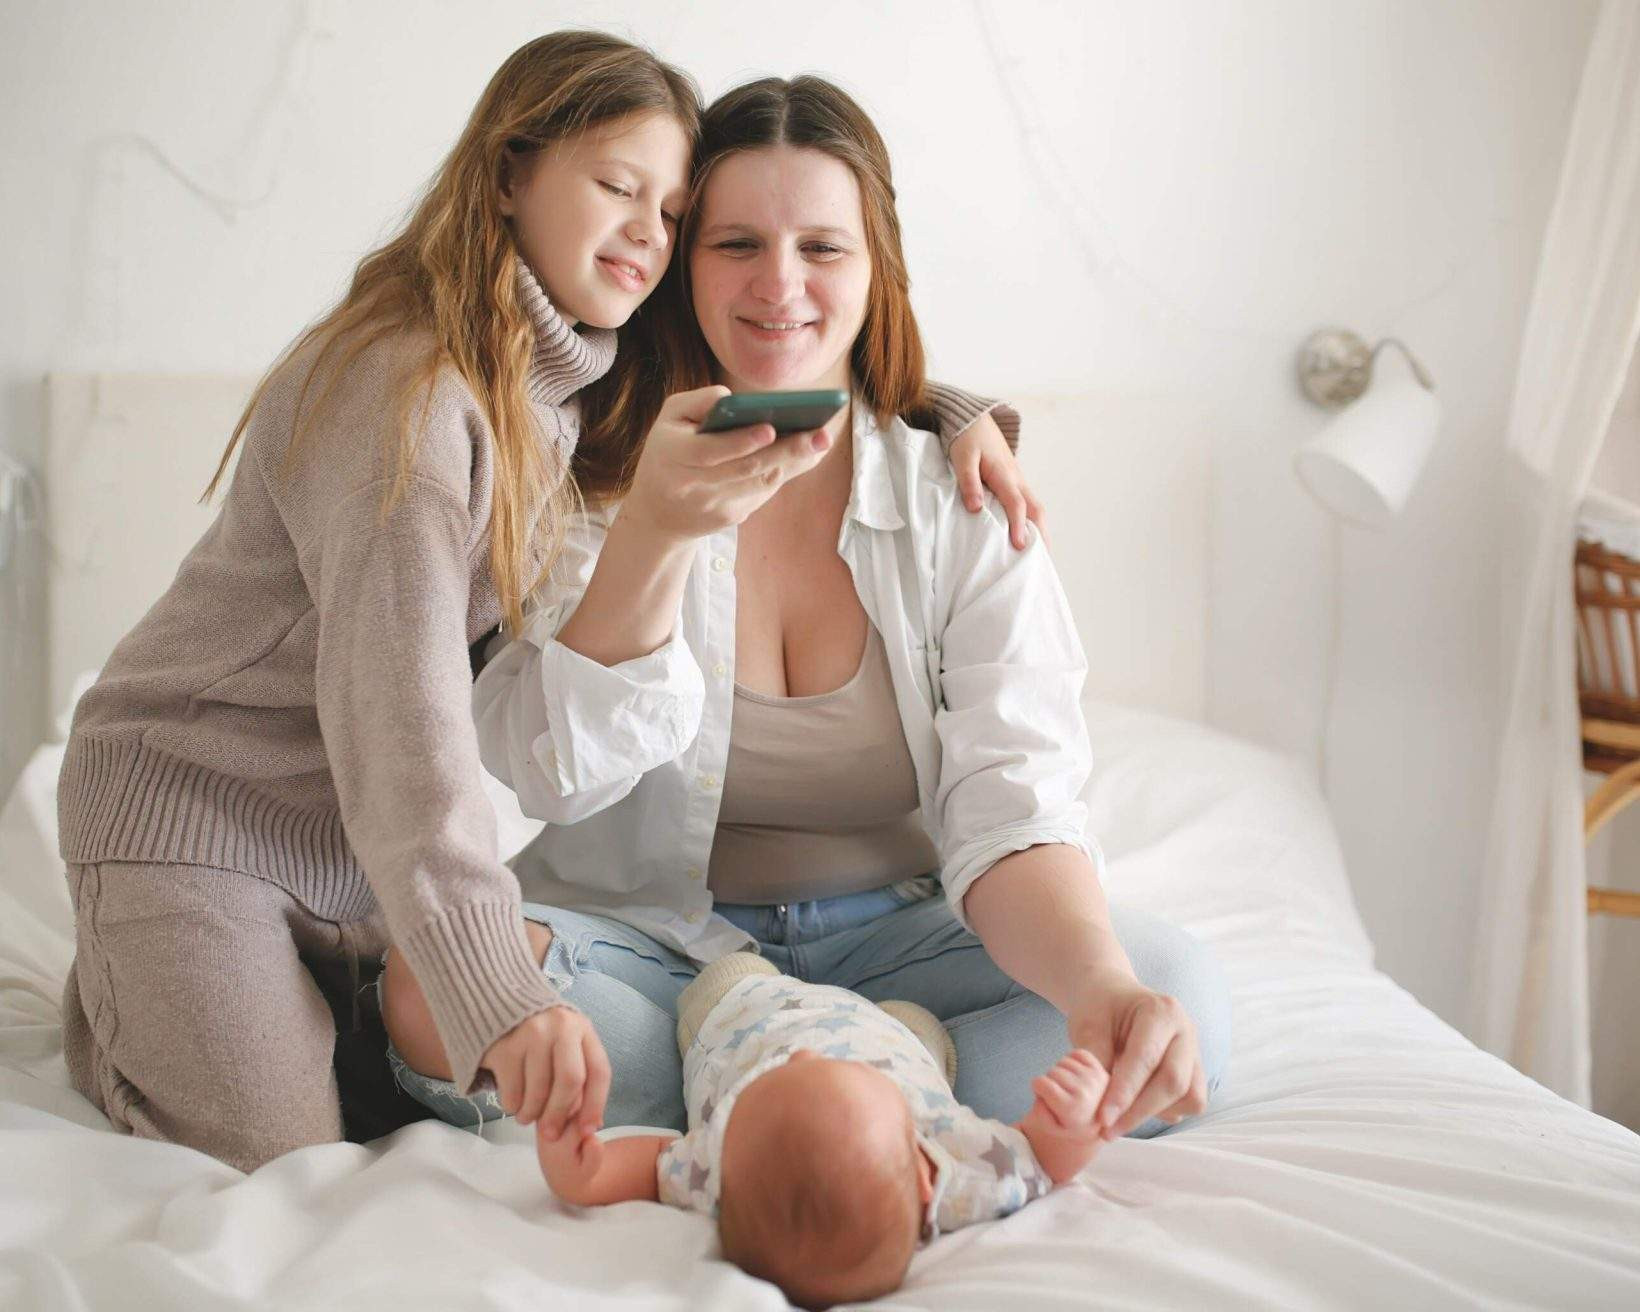 Mother and daughter taking passport photo of baby
6.2. Stress-Free Application
Taking a baby/toddler passport photo is not the easiest task, but these tips should guide you through a stress-free application process for your little one’s travel documents.
7. Common Mistakes to Avoid When Taking a Passport Photo at Home
When taking a passport photo at home, be aware of common pitfalls that may lead to photo rejections or delays in your application.
7.1. Mistakes to Avoid
Here are common mistakes to avoid:
- Low-Resolution Camera: Avoid using a low-resolution camera that produces blurry or pixelated images.
- Insufficient Light Exposure and Shadows: Ensure adequate lighting to avoid underexposed areas and harsh shadows on your face.
- Wrong Dimensions: Adhere to the correct photo dimensions (2 x 2 inches) to meet passport requirements.
- Smiling: Maintain a neutral expression with your mouth closed, as smiling can lead to rejection.
- Filters: Avoid using filters commonly used on social media, as they can distort your natural appearance.
- Closed Eyes: Ensure your eyes are open and clearly visible in the photo.
- Non-White Background: Use a plain white or off-white background to comply with official guidelines.
- Inappropriate Clothing: Wear appropriate attire that does not include uniforms, strapless tops, or neck coverings.
- Glasses or Headwear: Remove glasses and headwear unless worn for religious reasons.
- Wrong Posture: Maintain a correct posture by looking directly at the camera with your face centered in the frame.
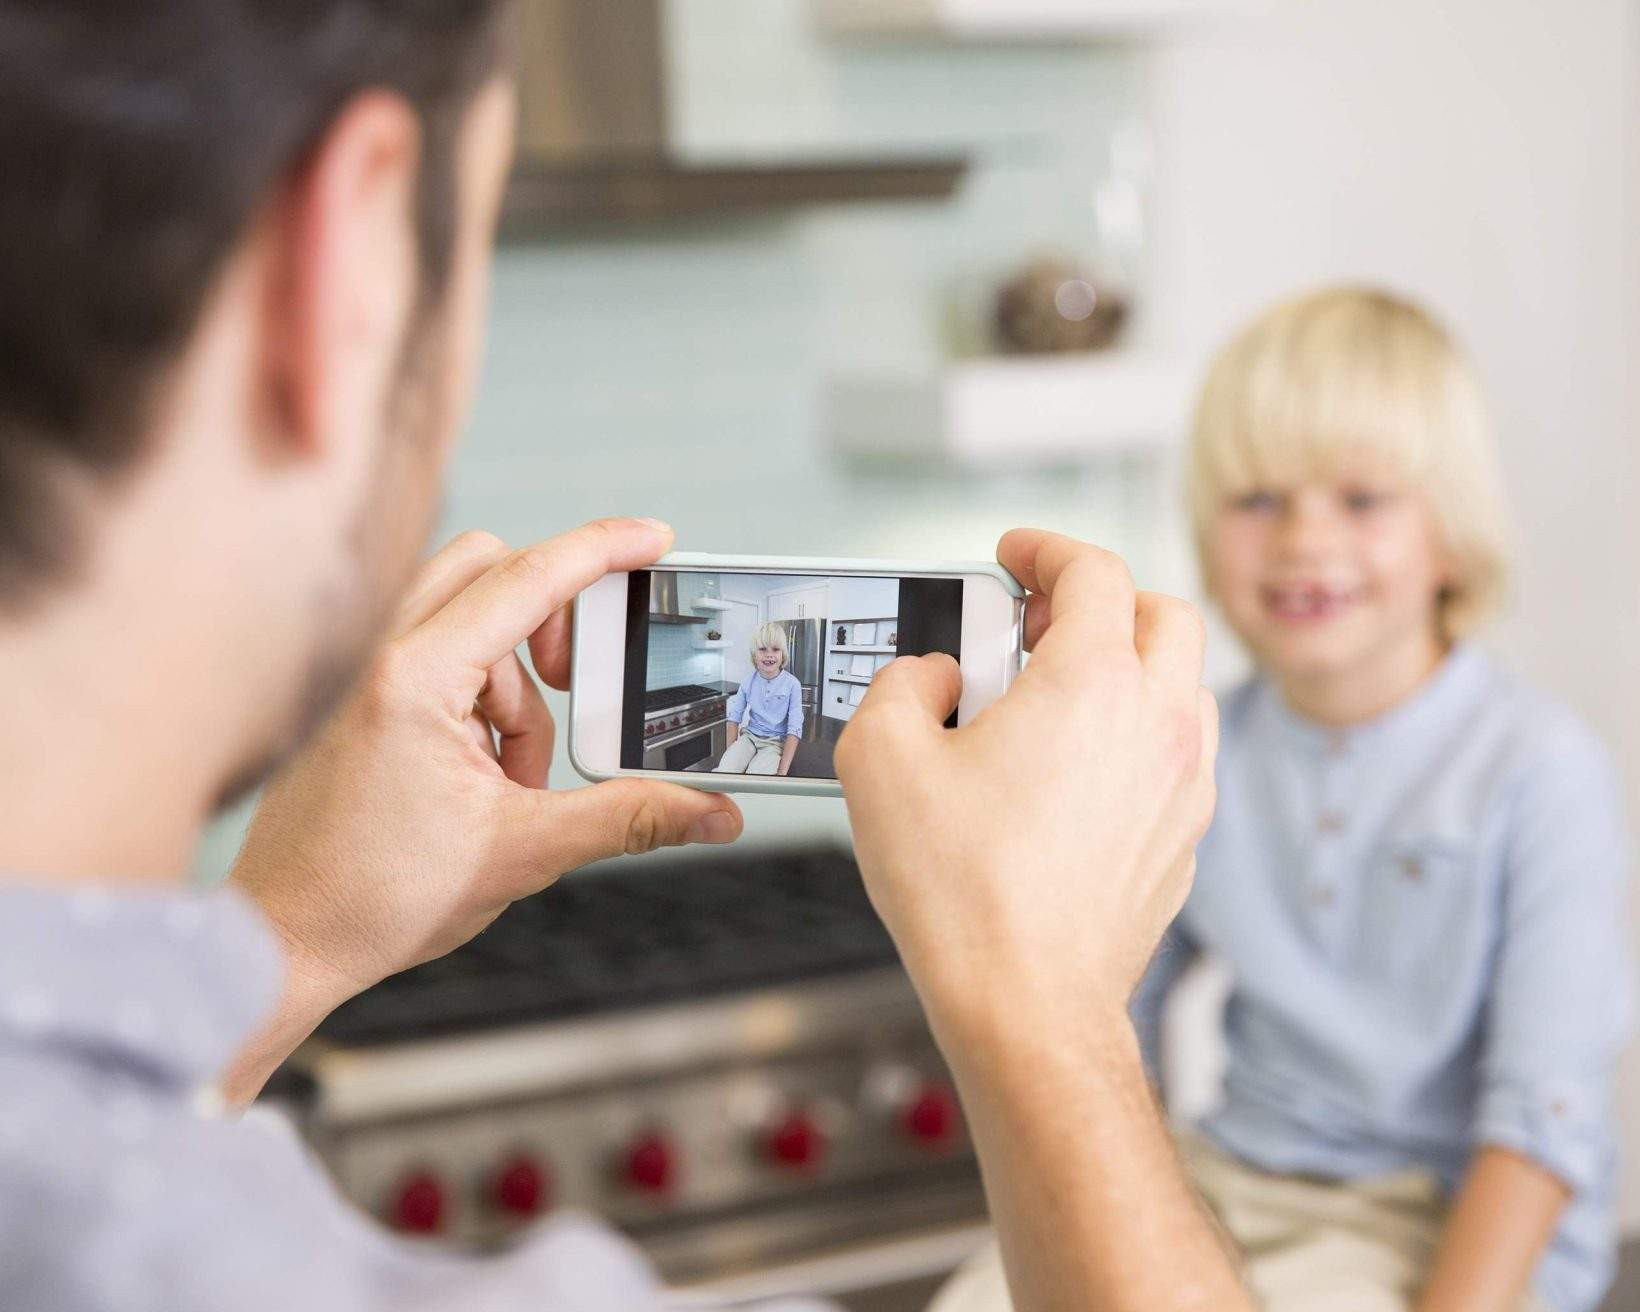 Father assisting child with passport photo at home
8. Tips and Tricks for Perfecting Your DIY Passport Photo
Perfecting your DIY passport photo involves more than just following the basic guidelines. Here are some advanced tips and tricks to ensure your photo stands out and gets approved without any hiccups.
8.1. Lighting Perfection
While natural light is ideal, it’s not always consistent. Here’s how to manage lighting like a pro:
- Softbox Effect: If using artificial light, diffuse it with a softbox or a white sheet to mimic natural light and reduce harsh shadows.
- Golden Hour: If possible, take your photo during the golden hour (early morning or late afternoon) for the softest, most flattering natural light.
- Avoid Backlighting: Ensure the light source is in front of you, not behind, to prevent your face from being underexposed.
8.2. Background Mastery
A seamless background is key. Here’s how to achieve it:
- Ironing: If using a white sheet, iron it thoroughly to remove any wrinkles or creases that could show up in the photo.
- Distance: Position yourself a few feet away from the background to minimize shadows.
- Digital Clean-Up: Use photo editing software to smooth out any minor imperfections in the background.
8.3. Posing Like a Pro
Your pose can make or break the photo. Keep these tips in mind:
- Chin Position: Slightly lower your chin to avoid a double chin and make your face appear more defined.
- Shoulder Alignment: Keep your shoulders squared to the camera for a balanced and symmetrical look.
- Eye Focus: Focus on a point just behind the camera to avoid a blank stare.
8.4. Advanced Photo Editing
Photo editing can enhance your photo, but moderation is key:
- Color Correction: Adjust the color balance to ensure your skin tone looks natural.
- Sharpening: Use a slight sharpening filter to enhance details without making the photo look artificial.
- Blemish Removal: Remove any temporary blemishes, but avoid altering permanent features.
8.5. Using Professional Apps
Consider using professional passport photo apps for precise adjustments:
- AI Integration: Apps like Passport Photo Booth use AI to automatically adjust your photo to meet specific requirements.
- Real-Time Feedback: Some apps provide real-time feedback on your pose, lighting, and background to help you get it right the first time.
According to the Santa Fe University of Art and Design’s Photography Department, utilizing professional photo editing apps can increase the likelihood of passport photo acceptance by up to 30%.
9. The Importance of Regular Updates and Information
Staying updated with the latest guidelines and requirements for passport photos is crucial, as regulations can change. Here are some reliable resources to keep you informed:
9.1. Official Government Websites
- U.S. Department of State: The official website provides comprehensive information on passport photo requirements, including size, background, and pose.
- Other Country Passport Agencies: Check the official websites of your country’s passport agency for specific guidelines and updates.
9.2. Photography and Travel Forums
- Photography Forums: Online communities like DPReview and PhotographyTalk offer discussions and advice on taking passport photos.
- Travel Forums: Websites like TripAdvisor and Lonely Planet often have threads discussing passport photo experiences and tips.
9.3. Professional Photography Blogs
- dfphoto.net: Our blog provides regular updates on passport photo guidelines, tips, and tricks.
- Popular Photography: A reputable photography magazine that offers expert advice on various photography topics, including passport photos.
By regularly consulting these resources, you can ensure that you are always up-to-date with the latest requirements, reducing the risk of rejection and ensuring a smooth passport application process.
10. Frequently Asked Questions (FAQs) About DIY Passport Photos
10.1. Can I wear makeup in my passport photo?
Yes, you can wear makeup in your passport photo, but it should be natural-looking and not alter your appearance significantly.
10.2. Can I wear jewelry in my passport photo?
Small, non-distracting jewelry is generally acceptable, but avoid anything that obscures your face or causes glare.
10.3. What if my baby’s eyes are not fully open in the photo?
For infants, some leniency is given if their eyes are not entirely open, but try to capture the photo when their eyes are as open as possible.
10.4. Can I take a black and white passport photo?
No, passport photos must be in color to accurately represent your current appearance.
10.5. What should I do if my photo is rejected?
Review the rejection reasons, correct the issues, and retake the photo, ensuring it meets all requirements.
10.6. How do I ensure the background is perfectly white?
Use a plain white background and adjust lighting to minimize shadows. Photo editing software can also help to correct the background color.
10.7. Is it better to take the photo indoors or outdoors?
Indoors is generally better for controlling lighting and background, but if you choose outdoors, find a shaded area to avoid harsh sunlight.
10.8. Can I wear a colored shirt?
Yes, you can wear a colored shirt, but darker colors are preferable to make your face stand out against the white background.
10.9. How close should I be to the camera?
Your head should be centered in the frame, sized between 1” and 1 3/8” (25 and 35 mm) from the bottom of your chin to the top of your head.
10.10. Where can I print my passport photo?
You can print your passport photo at home using a color printer or at a local photo printing service. Ensure the printed photo meets the size and quality requirements.
Conclusion
Taking a passport photo at home offers unparalleled convenience and cost savings. By meticulously following the guidelines outlined in this comprehensive guide, you can ensure your DIY passport photo meets all official requirements, paving the way for a smooth and hassle-free application process. Remember, attention to detail is key, and dfphoto.net is here to support you every step of the way.
Unlock your creative potential and explore new horizons in photography with dfphoto.net. Discover a wealth of resources, including detailed tutorials, stunning photo galleries, and a vibrant community of photography enthusiasts. Whether you’re seeking to refine your technical skills, find inspiration for your next project, or simply connect with like-minded individuals, dfphoto.net is your ultimate destination.
Ready to elevate your photography skills and create stunning passport photos from the comfort of your home? Visit dfphoto.net today and explore our extensive collection of guides, tips, and resources. Join our community, share your creations, and embark on a journey of visual discovery. Don’t miss out – your adventure in photography starts now! Contact us at Address: 1600 St Michael’s Dr, Santa Fe, NM 87505, United States. Phone: +1 (505) 471-6001. Website: dfphoto.net.
