Live Photos bring your still images to life by capturing a few moments before and after you snap a picture. This feature on your iPhone allows you to go beyond static photos, enabling you to relive memories with motion and sound. Discover How To Take Live Photos and unlock a new dimension in your photography.
Steps to Capture a Live Photo on Your iPhone
Taking a Live Photo is as simple as taking a regular photo on your iPhone. Here’s a step-by-step guide to get you started:
- Launch the Camera App: Begin by opening the Camera application on your iPhone. It’s the quickest way to access your phone’s photo-taking capabilities.
- Ensure Photo Mode and Activate Live Photos: Verify that your camera is set to Photo mode. Look for the Live Photos icon, which resembles concentric circles, typically located at the top right or left of your screen. If the icon is not highlighted or has a slash through it, tap it to turn Live Photos on. When activated, the icon will usually turn yellow or white, indicating that it’s ready to capture live motion.
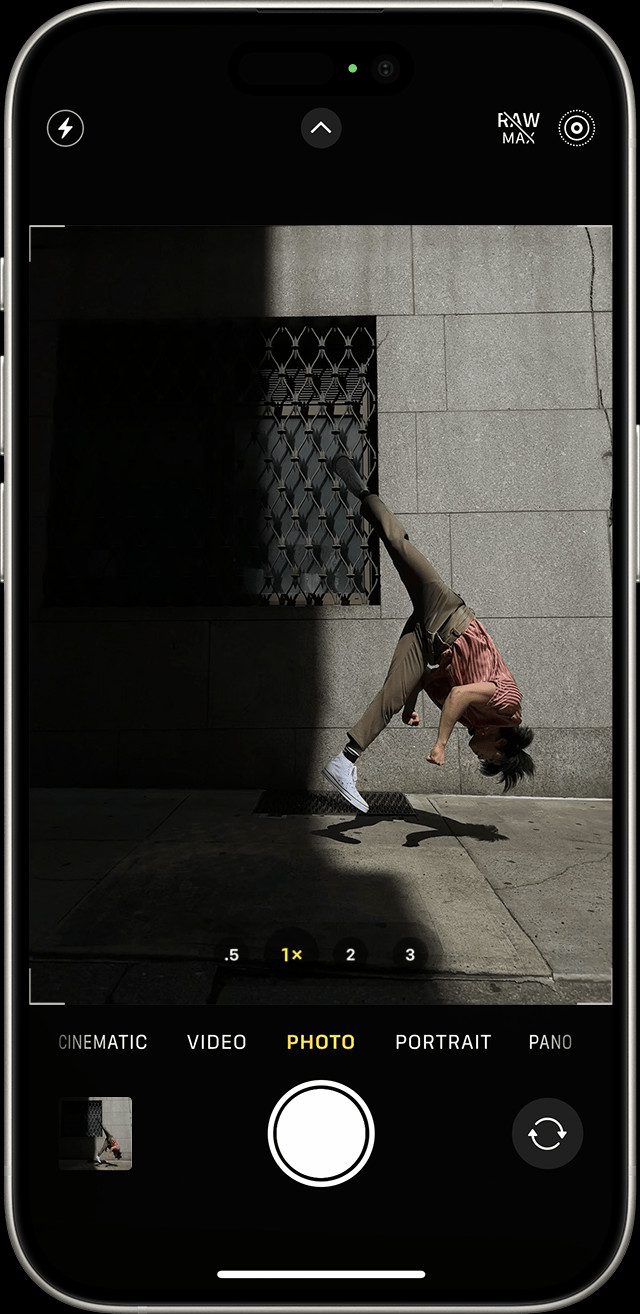 iPhone Camera interface with Live Photos feature highlighted as active.
- Keep Your Device Steady: To ensure the best quality Live Photo, it’s crucial to hold your iPhone as still as possible, especially in the moments leading up to and immediately following pressing the shutter button. This minimizes blur and keeps the focus sharp in your moving picture.
- Press the Shutter Button: Once you’ve framed your shot and held your device steady, simply tap the shutter button to take your Live Photo. Your iPhone will automatically record the 1.5 seconds of action both before and after this moment.
By default, Live Photos is usually enabled on iPhones to ensure you don’t miss capturing moments in motion. However, if you prefer to take still photos, you can easily toggle the Live Photos feature off temporarily or even permanently through your settings.
Accessing and Playing Your Live Photos
After capturing Live Photos, viewing them is just as straightforward. Follow these steps to find and play your moving images:
- Open the Photos App: Navigate to and open the Photos application on your iPhone, where all your captured photos and videos are stored.
- Locate the Live Photos Album: In the Photos app, scroll down until you find the ‘Media Types’ section. Within this section, tap on ‘Live Photos’. This album specifically compiles all the Live Photos you’ve taken, making them easy to find.
 Accessing the Live Photos album within the Photos app on an iPhone.
- Select and Play a Live Photo: Tap on any photo in the Live Photos album to open it. To bring the photo to life, press and hold your finger on the screen. This action will play the short motion video and sound captured with the Live Photo, allowing you to experience the moment as it happened.
Customizing Your Live Photos: Changing the Key Photo
Sometimes the automatically selected still frame of your Live Photo isn’t the best representation of the moment. Fortunately, you can easily change the key photo – the still image that appears when the Live Photo is not playing:
- Enter Edit Mode: Open the Live Photo you wish to adjust and tap on the ‘Edit’ button located at the top right corner of the screen.
- Access Live Photo Options: Within the edit interface, tap the Live Photos icon. This action will display the filmstrip of your Live Photo, showing each frame captured.
- Select a New Key Photo: Slide your finger across the filmstrip to browse through the frames of your Live Photo. Once you find the perfect frame you want to use as the key photo, release your finger. Then, tap ‘Make Key Photo’ to set your selected frame as the new still image.
- Save Your Changes: Finally, tap ‘Done’ to save your changes. The Live Photo will now use your chosen frame as its still preview image.
You also have the option to toggle the Live Photo effect on or off while editing. By tapping the ‘LIVE’ button at the top, you can switch between having the motion effect enabled or viewing it as a standard still photo.
Adding Engaging Effects to Live Photos
To make your Live Photos even more creative and captivating, your iPhone offers several fun effects: Loop, Bounce, and Long Exposure. Here’s how to apply them:
-
Open Your Live Photo: Select the Live Photo you want to enhance and open it in the Photos app.
-
Access Effects Menu: Tap the ‘Live Photos’ button usually positioned at the top left corner of the screen. This will reveal the available effects.
-
Choose an Effect: Select from the following options:
- Loop: Transforms your Live Photo into a repeating video loop, perfect for continuous actions like a smile or a wave.
- Bounce: Creates a playful back-and-forth animation, making your Live Photo rock forward and then instantly in reverse.
- Long Exposure: Mimics the effect of a DSLR long exposure shot, blurring motion to create artistic effects like smooth waterfalls or light trails from moving vehicles.
Experiment with these effects to add a unique touch to your Live Photos and discover new ways to express your creativity.
Basic Editing for Live Photos
Beyond effects, you can also perform basic edits on your Live Photos, just like regular photos:
-
Select and Edit: Open the specific Live Photo you intend to edit. Tap the ‘Edit’ button (the slider icon) to enter the editing interface.
-
Adjust and Enhance: Utilize the iPhone’s built-in editing tools to adjust aspects like brightness, contrast, color, and apply filters. Make your desired adjustments to enhance your Live Photo.
-
Finalize Edits: Once you’re satisfied with your edits, tap ‘Done’ to save your changes.
Keep in mind that editing your Live Photo in third-party applications might remove any Live Photo effects you’ve previously applied. Ensure compatibility if you plan to use external apps for editing.
Sharing Your Animated Memories
Sharing Live Photos allows you to send motion-filled memories to friends and family. Here’s how to share them effectively:
- Initiate Sharing: Open the Live Photo you wish to share and tap the ‘Share’ button, which is typically located at the bottom left corner and looks like an upward-pointing arrow coming out of a square.
- Choose to Share as Still or Live: Before sharing, if you only want to send the still image and not the motion, tap ‘Live’ in the upper-left corner of the photo to convert it to a still photo for sharing. Otherwise, leave it as is to share the Live Photo.
- Select a Sharing Method: Choose your preferred method of sharing, such as Messages, Mail, social media platforms, or other available options. Note that when sharing via email, Live Photos are typically sent as still images due to email compatibility limitations.
When you receive a Live Photo via Messages on an iPhone or iPad, simply tap the photo to open it, and then firmly press and hold to play the motion. On a Mac using Messages, double-click the Live Photo to view it, and click the ‘LIVE’ button to replay the motion if needed.
Disabling Live Photos: Temporary and Permanent Options
While Live Photos are a fantastic feature, there might be times when you prefer to disable them. Here’s how you can turn off Live Photos, either temporarily or permanently:
Temporary Deactivation:
Directly within the Camera app, tap the Live Photos button. When a slash appears through the Live Photos icon, it indicates that the feature is temporarily turned off. However, remember that the Camera app will automatically re-enable Live Photos the next time you open it.
Permanent Deactivation:
To keep Live Photos turned off persistently, follow these steps:
- Open Settings: Go to the ‘Settings’ app on your iPhone’s home screen.
- Navigate to Camera Settings: Scroll down and tap on ‘Camera’.
- Preserve Settings: Tap on ‘Preserve Settings’.
- Enable Preserve Live Photo: Ensure that the switch next to ‘Live Photo’ is toggled on (green). This setting ensures that your preference to keep Live Photos off is preserved across camera sessions.
By following these steps, you can effectively manage the Live Photos feature on your iPhone, tailoring it to your photography needs and preferences.
Live Photos are supported on iPhone 6s and later models, iPad (5th generation) and later, iPad Air (3rd generation) and later, iPad mini (5th generation) and later, and iPad Pro models from 2016 onwards. Start capturing your moments in motion today!