Sending photos via email is a common task, whether for personal or professional reasons. This article provides a clear guide on how to attach images to your emails, ensuring your photos arrive safely and are displayed correctly by the recipient.
Methods for Sending Photos via Email
There are several ways to send a photo to an email, each with its own advantages:
Direct Attachment
Most email providers allow you to directly attach image files to your messages. This is usually done by clicking an “Attach” button or paperclip icon and selecting the photo file from your computer.
 alt text: Screenshot of Gmail's compose window with the attach files icon highlighted.
Key considerations for direct attachments:
- File Size: Email providers often have limits on the size of attachments. Large images may need to be resized or compressed before sending.
- File Format: Common image formats like JPEG, PNG, and GIF are generally well-supported.
- Multiple Attachments: You can usually attach multiple photos to a single email.
Inserting Images into the Email Body
Some email clients allow you to insert images directly into the body of your email, similar to adding them to a document. This can make the email more visually appealing, especially for newsletters or announcements. However, this method might not be compatible with all email clients, and the recipient might not see the images if their email settings don’t allow for automatic image display.
Using Cloud Storage Services
Services like Google Drive, Dropbox, and OneDrive allow you to upload your photos and share a link via email. This is particularly useful for very large files that exceed email attachment limits. The recipient can then click the link to download the photo.
 Screenshot of export options with include IPTC metadata checked.
Ensuring Your Photos Arrive Successfully
Here are some tips to ensure your photos arrive successfully and are displayed correctly:
- Resize Images: Reduce the file size of large images to avoid exceeding attachment limits and ensure faster delivery.
- Compress Images: Use image compression tools to reduce file size without significant quality loss.
- Choose the Right Format: Use JPEG for photos and PNG for images with transparency.
- Add Descriptive File Names: Rename your image files with descriptive names before attaching them.
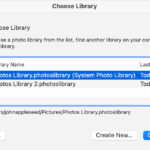
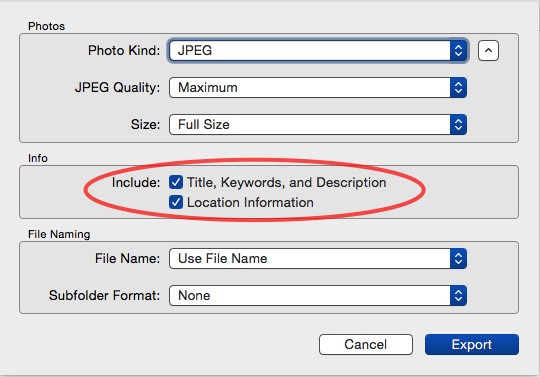
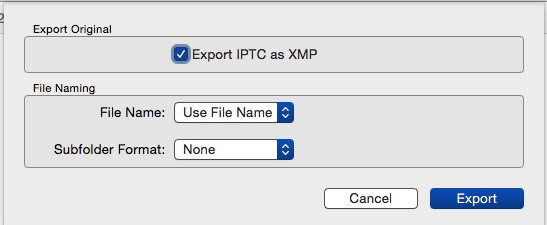
Metadata and Image Information
Images often contain metadata, which includes information about the photo such as the date taken, camera settings, and location. This information is embedded within the image file itself. While some email providers might strip out some metadata for privacy reasons, you can usually retain most of it by ensuring you are exporting your photos correctly.
 alt text: Screenshot of Preview's Inspector window showing the EXIF data tab.
For instance, in applications like Preview, you can export images and choose to include IPTC metadata (keywords, titles, descriptions) or EXIF data.
 Screenshot of Preview's info window with the Exif tab selected
Knowing how to manage and include this metadata can be crucial for certain applications, like photojournalism or legal documentation.
Conclusion
Sending photos by email is straightforward, but understanding the different methods and best practices can ensure your photos arrive as intended. Choose the method that best suits your needs, considering file size, recipient compatibility, and the importance of preserving image metadata. By following these guidelines, you can confidently share your photos electronically.