Saving photos on a Chromebook is a straightforward process, mirroring the simplicity and user-friendliness of the Chrome OS itself. Whether you’re downloading images from the web for a school project, storing precious memories, or managing your digital assets, understanding how to save and locate your photos is essential. This guide will walk you through the simple steps to save pictures on your Chromebook and ensure you know exactly where to find them afterwards.
Saving Photos from the Web on Your Chromebook
The most common scenario for saving photos on a Chromebook involves downloading them from websites. Here’s how to do it quickly and efficiently:
Step 1: Initiate the Save Process with a Right-Click
To begin, navigate to the image you wish to save. Once you’ve found the desired photo, the first key step is to right-click on it. On a Chromebook, you can easily perform a right-click by tapping the trackpad with two fingers simultaneously. This action will open a context menu, presenting you with a range of options related to the image.
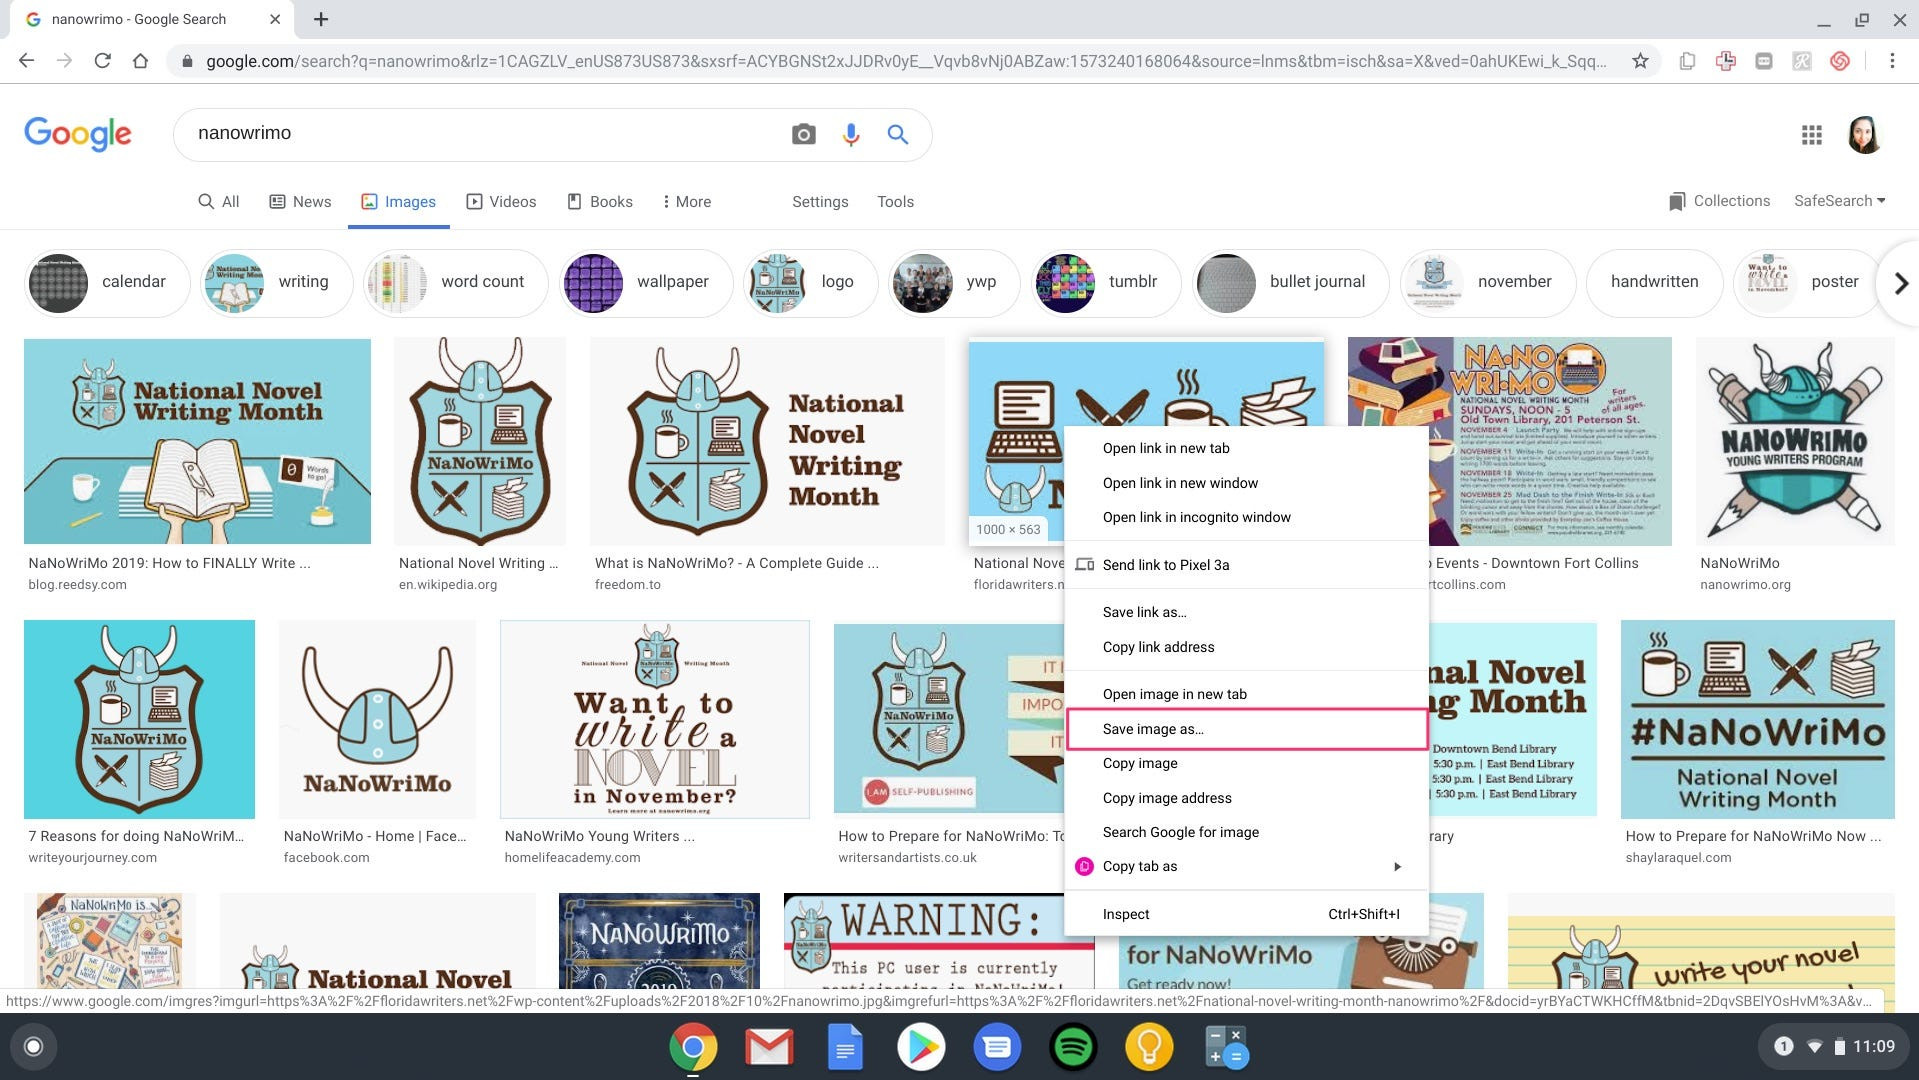 Right-clicking on an image on a Chromebook to access the 'Save image as' option
Step 2: Select “Save Image As” from the Context Menu
Within the context menu that appears after your right-click, locate and select the option labeled “Save image as.” Choosing this option signals to your Chromebook that you intend to download and store the selected image.
Step 3: Customize the Image Name and Choose Your Save Location (Optional)
Upon selecting “Save image as,” a dialog box will appear. This window allows you to customize the name of the image file before saving it. The default name is often derived from the website’s file naming convention, but you can rename it to something more descriptive or easier for you to remember. Additionally, this dialog box lets you choose where on your Chromebook you want to save the photo.
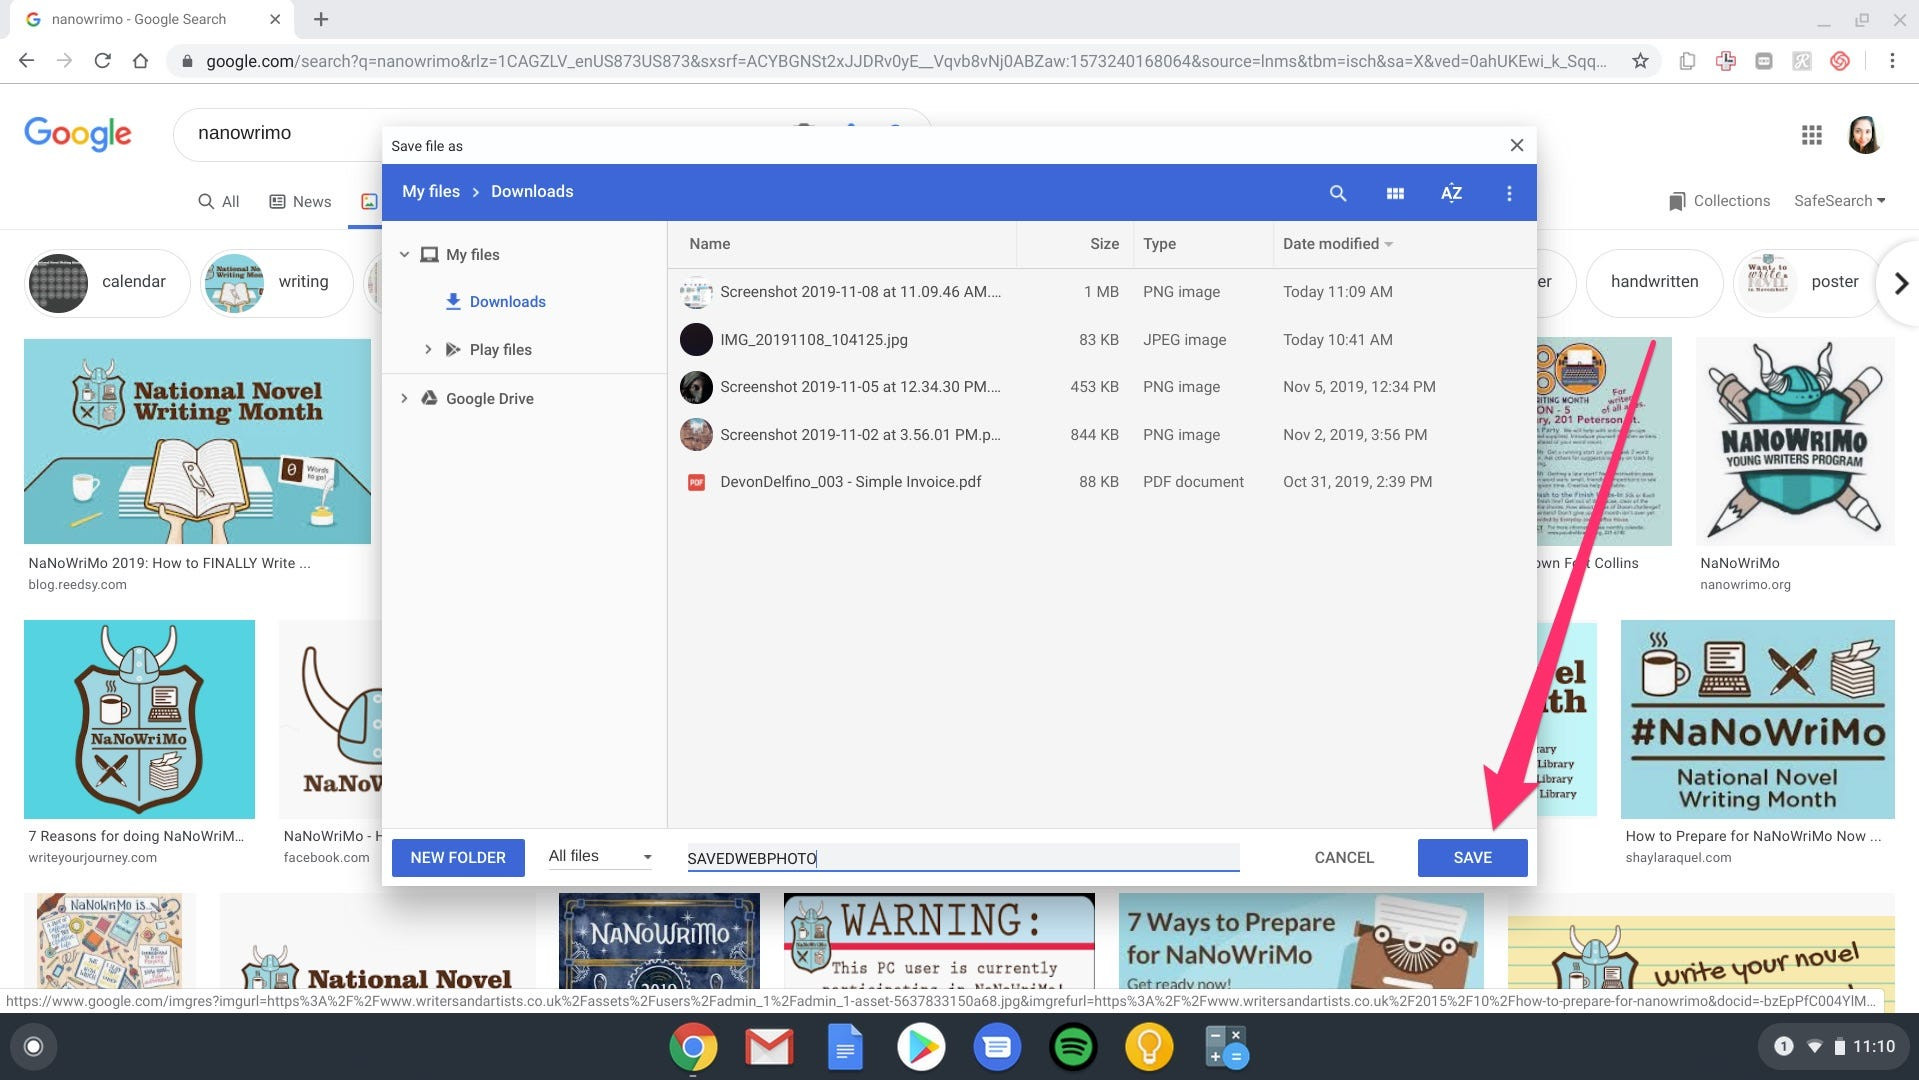 Choosing a save location for a photo on a Chromebook in the 'Save image as' dialog box
Step 4: Finalize the Download by Clicking “Save”
After you’ve renamed the image (if desired) and selected a save location (if you wish to change from the default), click the “Save” button in the dialog box. This action initiates the download process.
Step 5: Download Confirmation
Once the image is successfully saved, a small preview will briefly appear in the bottom-right corner of your Chromebook screen. This preview is accompanied by a “Download complete” message, confirming that your photo has been saved and indicating the download was successful.
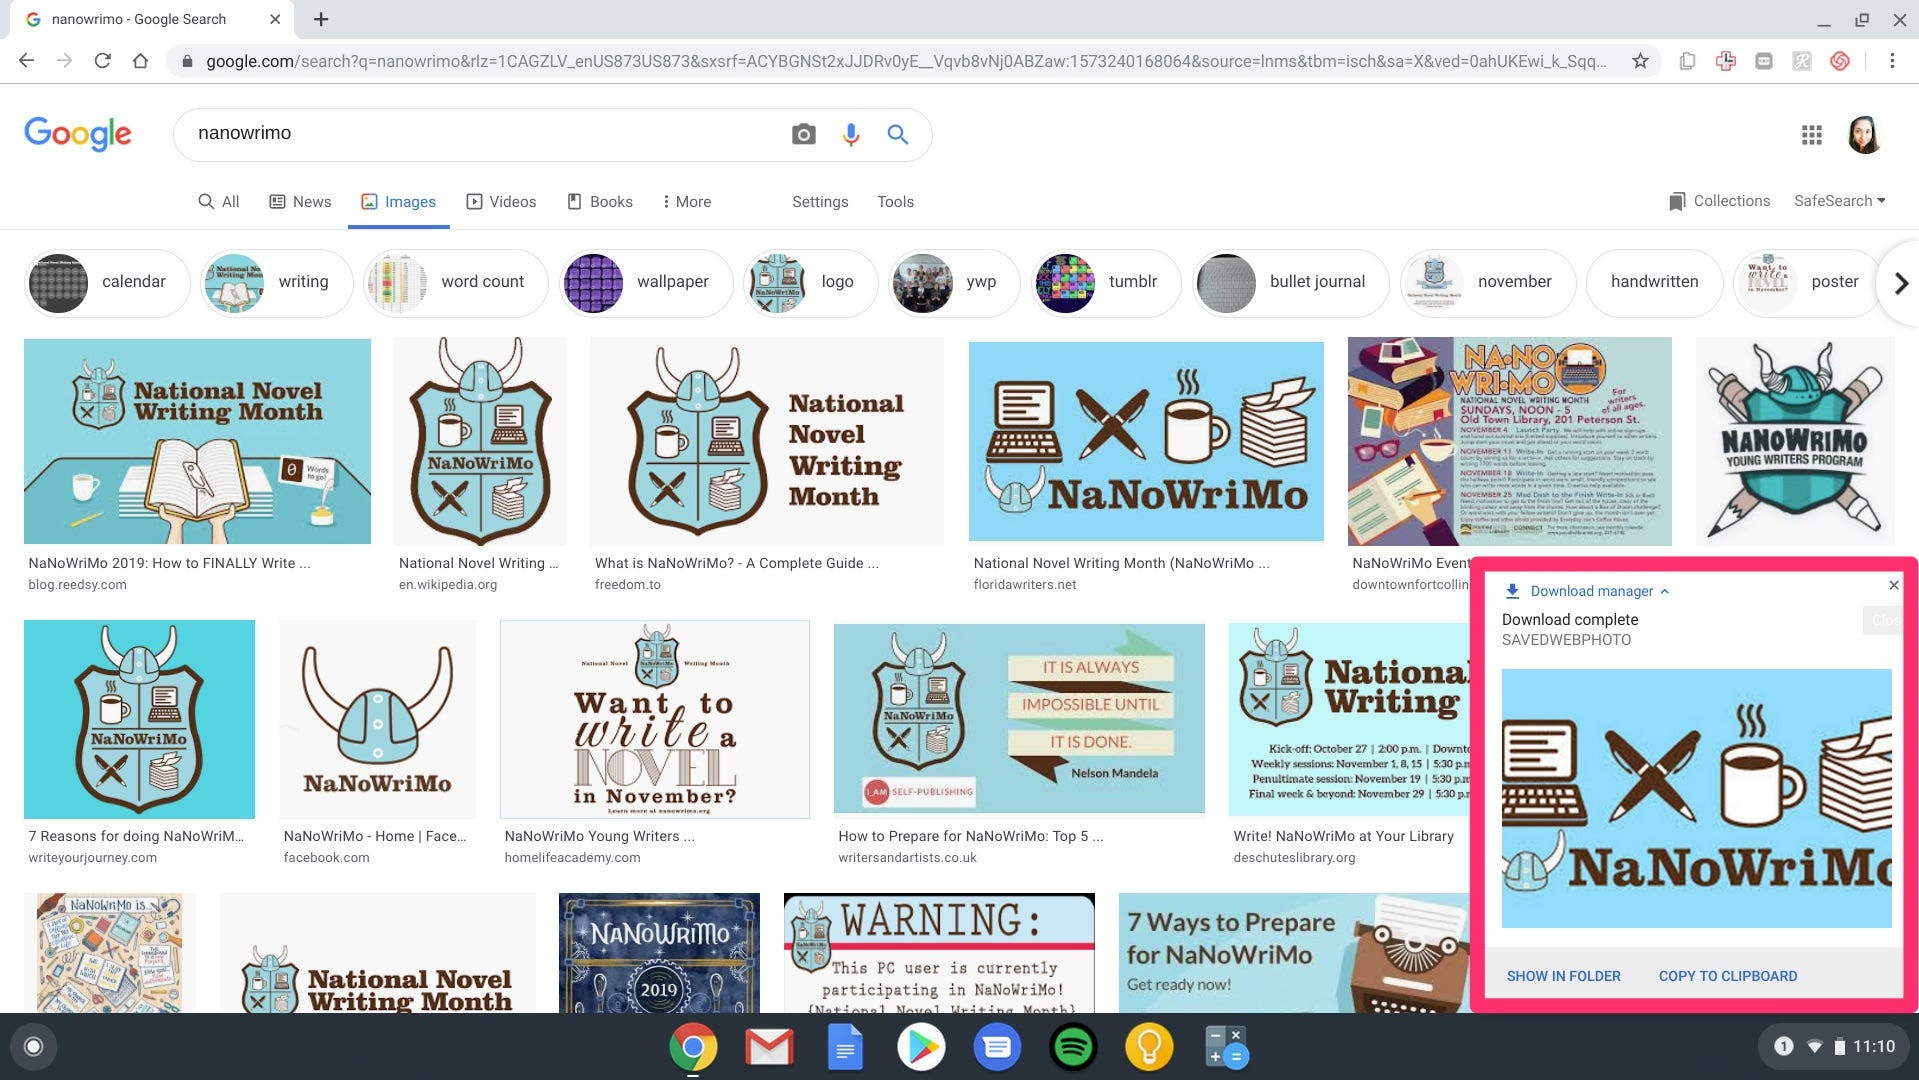 A download complete preview showing a recently saved image on a Chromebook
Finding Your Saved Photos on Your Chromebook
Now that you’ve saved your photos, knowing where to find them is the next crucial step. Chromebooks, by default, save downloaded files, including images, to the “Downloads” folder within the “Files” app. Here are a couple of ways to access your saved photos:
Method 1: Accessing via the Download Preview
The quickest way to locate your newly saved photo immediately after downloading is through the download preview that appears in the bottom-right corner. Clicking the “Show in folder” button on this preview will directly open the “Downloads” folder in the Files app, with your recently saved image highlighted for easy access. From there, you can double-click the photo to view it.
Method 2: Accessing via the Files App
If the download preview has disappeared, or if you want to access photos saved previously, you can use the Files app. To open the Files app, click on the Launcher icon (a circle) typically located in the bottom-left corner of your screen. Then, look for the upward-pointing arrow icon within the launcher menu to expand and reveal all apps. Alternatively, you can simply search for “Files” in the launcher search bar. Once you open the Files app, you will see “Downloads” listed in the left-hand sidebar. Click on “Downloads” to view all files saved to this default location, including your images.
By following these simple steps, you can easily save photos from the internet and locate them on your Chromebook, allowing you to effectively manage your visual content.
![You can choose Optimize [device] storage or Download and Keep Originals.](https://dfphoto.net/wp-content/uploads/2025/02/ios-18-iphone-15-pro-settings-apple-account-icloud-photos-optimize-iphone-storage-150x150.jpg)