Live Photos, a captivating feature on iPhones, capture a few seconds of motion and sound along with a still image. But what if you want to share that moment as a video? This guide provides a clear, step-by-step process on how to save your Live Photos as videos, addressing the nuances of single and multiple Live Photo conversions.
Saving a Single Live Photo as a Video
Converting a single Live Photo to a video is straightforward:
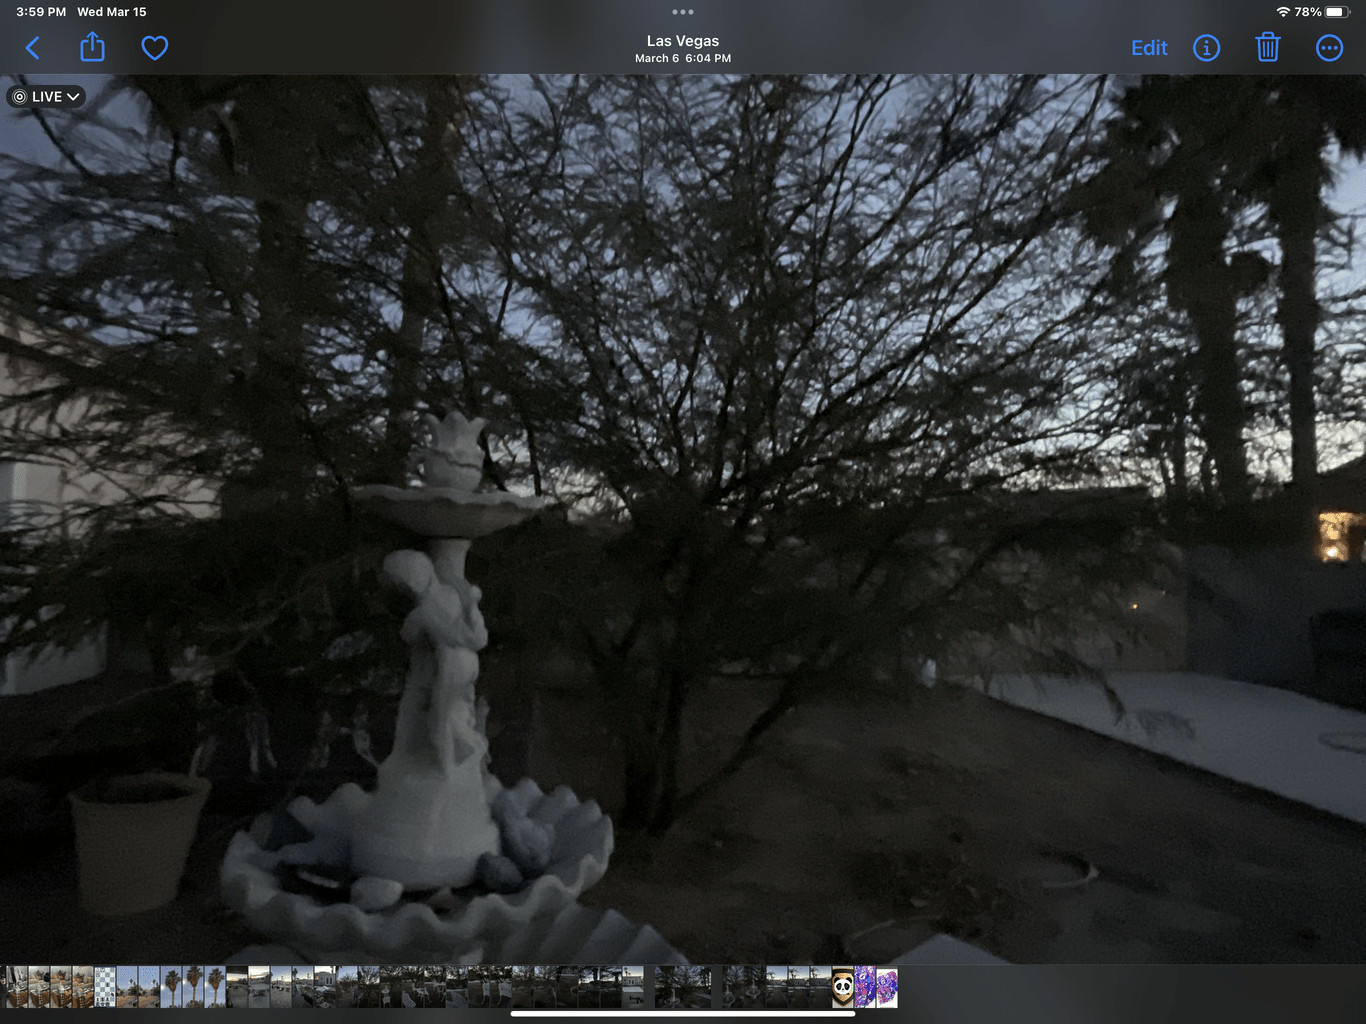
- Open the Photos app: Locate and open the specific Live Photo you wish to convert.
- Access the Options Menu: In the top right corner of the screen, tap the three dots icon (More options).
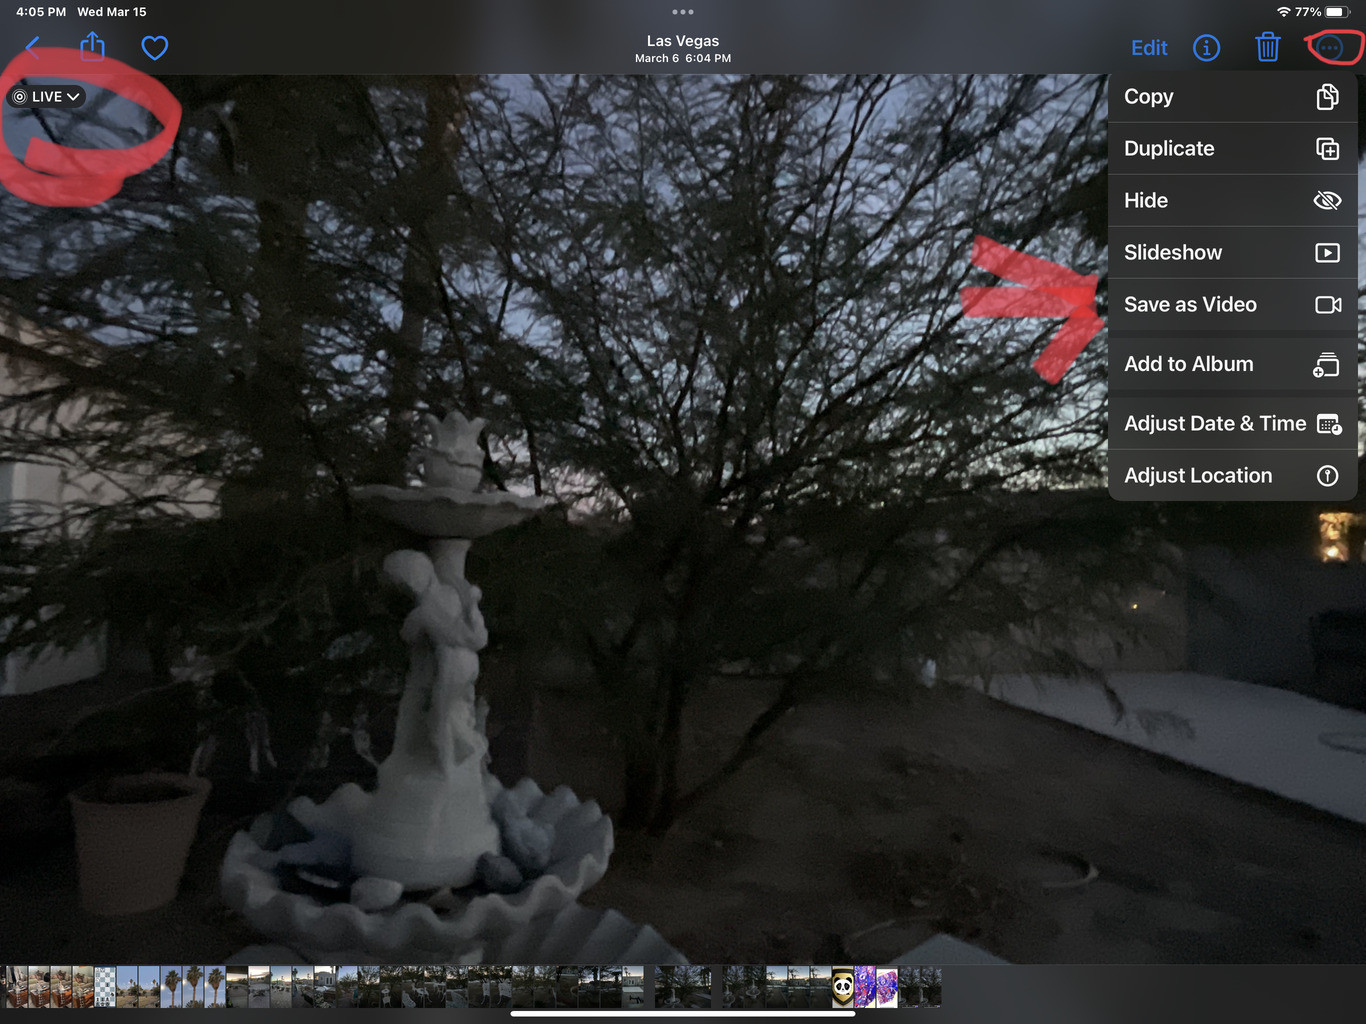 Three dots icon for more options
 - Save as Video: Select the “Save as Video” option from the menu. Your Live Photo will be instantly converted and saved as a separate video file in your photo library.
Saving Multiple Live Photos as a Single Video
Combining several Live Photos into a single video requires a slightly different approach:
- Enter Selection Mode: Open the Photos app and navigate to the album containing your desired Live Photos. Tap “Select” in the top right corner.
- Choose Your Live Photos: Carefully select the consecutive Live Photos you want to merge into a video. Ensure no regular photos are included in the selection, as this will prevent the “Save as Video” option from appearing.
- Access the Options Menu: Once you’ve selected your Live Photos, look for the three dots icon in the bottom right corner of the screen. This menu offers different options than the single photo view.
 Three dots in the bottom right corner for multiple Live Photo selections
 - Save as Video: Tap on “Save as Video.” The selected Live Photos will be stitched together chronologically and saved as a single video file.
Troubleshooting
- Missing “Save as Video” Option: If you don’t see the “Save as Video” option, double-check your selection. Ensure you haven’t accidentally included any standard photos or Live Photos with effects (Bounce or Loop) applied. Remove these and try again. You may need to revert edited Live Photos to their original format before converting.
- iOS Version: While the core process remains similar, the exact location of menu buttons might vary slightly across different iOS versions. If you’re having trouble, consult Apple’s official support documentation for your specific iOS version.
Conclusion
Saving Live Photos as videos is a simple yet powerful way to share your memories. By following these steps, you can easily create videos from your Live Photos, whether you’re converting a single moment or compiling a series of captivating shots. Remember to check for any applied effects and select only consecutive Live Photos for a seamless video creation experience.