Saving your Google Photos to Google Drive can help centralize your files and simplify backup management. While Google no longer offers a direct sync option, several methods allow you to transfer your precious memories. This guide explores four effective ways to save Google Photos to Drive, ensuring your photos and videos are safely stored and easily accessible.
The Google Photos interface allows for easy downloading and organization of your pictures and videos.
Method 1: Download and Upload
The most straightforward method involves downloading your photos from Google Photos and uploading them to Google Drive. This manual approach is best suited for transferring smaller selections of photos.
- Download from Google Photos: Access photos.google.com, select the desired photos or videos, click the three-dot icon (More), and choose “Download.” For entire albums, navigate to Albums, select the album, click More, and choose “Download all.”
- Upload to Google Drive: Go to drive.google.com, click “New,” then select “File upload” or “Folder upload” to upload the downloaded content.
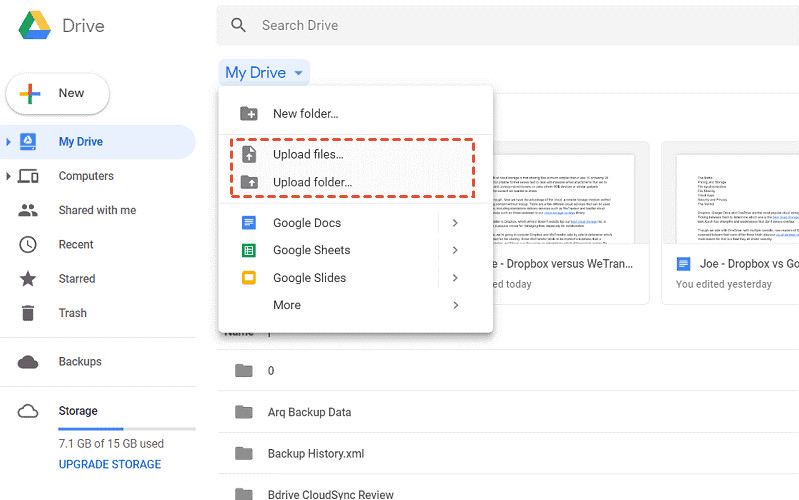 Uploading files to Google Drive
Method 2: Google Takeout
Google Takeout allows you to export a copy of your Google data, including Google Photos, and transfer it to Google Drive or other platforms.
- Access Google Takeout: Go to takeout.google.com and select “Deselect all.”
- Choose Google Photos: Scroll down and select “Google Photos.” You can choose specific albums or all photos.
- Select Destination: Choose “Google Drive” as the destination and customize export settings. Click “Create export.”
- Transfer to Drive: Once the export is complete, Google Takeout will move your Google Photos data to your selected Google Drive account. You’ll receive an email notification when the process is finished.
Google Takeout provides various options for exporting your Google Photos data.
Method 3: Third-Party Cloud Sync Tools
Several third-party cloud sync services, such as MultCloud, offer seamless transfer of data between cloud storage platforms, including Google Photos and Google Drive.
- Connect Your Accounts: Sign up for a MultCloud account and connect your Google Photos and Google Drive accounts.
- Initiate Sync: Choose “Cloud Sync,” select Google Photos as the source and Google Drive as the destination.
- Start Sync: Click “Sync Now” to transfer your photos and videos. These tools often offer features like scheduled syncs and real-time updates.
MultCloud and similar services offer an intuitive interface for syncing data between cloud platforms.
Method 4: CBackup for Combined Cloud Storage
CBackup provides a unique solution by allowing you to combine multiple cloud storage accounts, including Google Drive, into a single, larger storage space. This enables backing up your Google Photos to this combined cloud.
- Add Cloud Accounts: Download and install CBackup, create an account, and connect your Google Drive and other cloud accounts.
- Create Combined Cloud: In CBackup, go to “Storage” > “+ Add Combined Cloud.” Select the cloud drives you want to combine and click “Next.”
- Backup Google Photos: Download your Google Photos using Method 1 and then use CBackup to back up the downloaded folders to your Combined Cloud, effectively saving them to Google Drive as part of your larger storage pool.
CBackup allows combining multiple cloud accounts for expanded storage capacity.
Conclusion
While direct syncing between Google Photos and Google Drive is no longer an option, these four methods offer practical solutions for How To Save Google Photos To Drive. Choose the method that best suits your needs and storage capacity to ensure your photos are securely backed up and readily available. Remember to consider factors like the number of photos, frequency of transfers, and your comfort level with third-party tools.