iPhones are known for their high-quality cameras, but those stunning photos and videos can quickly eat up storage space. If you’re constantly battling low storage alerts, learning how to reduce photo file size on your iPhone is essential. This guide will explore various methods to compress your photos and reclaim valuable space on your device.
Why You Should Compress iPhone Photos
Compressing photos offers several key benefits:
- Free Up Storage Space: High-resolution images can take up gigabytes of storage. Compressing them allows you to store more photos and other files on your iPhone.
- Maximize iCloud Storage: iCloud’s free storage is limited. Compressing photos before backing them up to iCloud helps you optimize your available space.
- Improve iPhone Performance: A cluttered iPhone can run slower. Reducing photo file sizes can improve overall device performance and responsiveness.
- Faster Sharing: Smaller files are quicker to share via email, messaging apps, or social media.
Using the Shrink.media App to Reduce Photo File Size
Shrink.media is a dedicated app designed to compress JPEG, PNG, and HEIF images without drastically affecting their quality. Here’s how to use it:
-
Download and Install: Download Shrink.media from the Apple App Store.
 Downloading Page of Shink.media
 -
Upload Your Images: Open the app and tap “Upload Image.” Select the photos you want to compress from your albums.
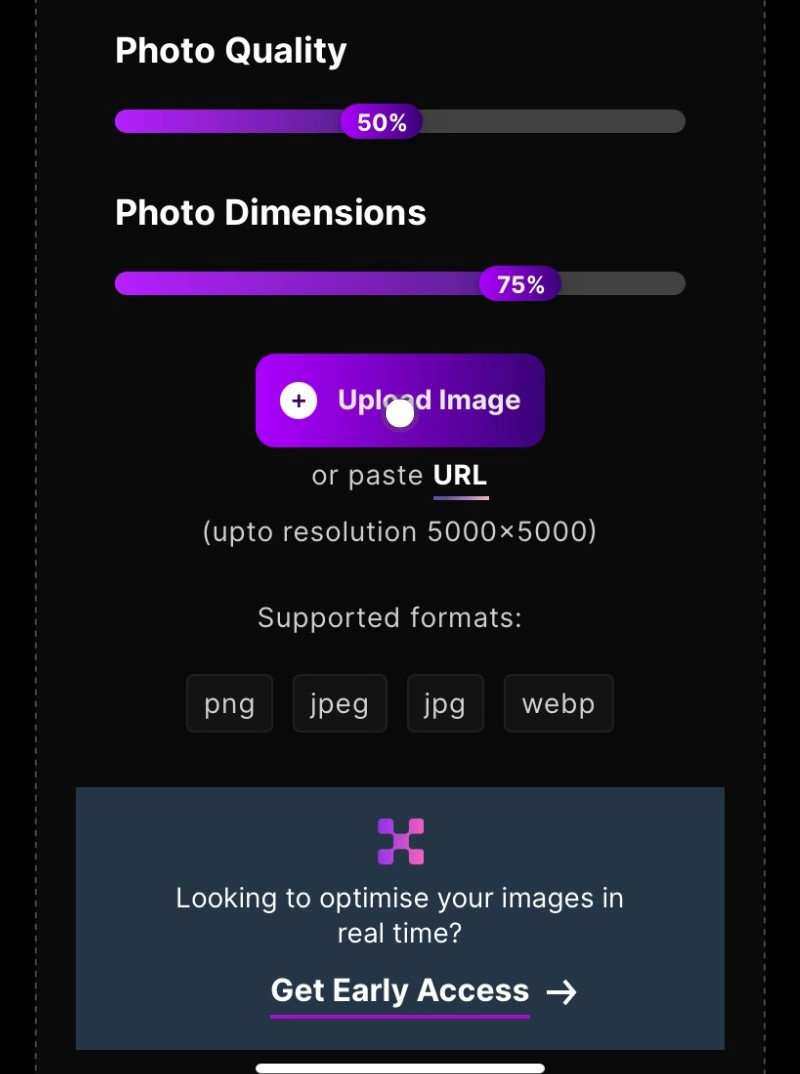 Home Page of Shrink.media
 -
Adjust Compression Settings: Customize the compression level by adjusting the quality and dimensions sliders. A lower quality setting will result in a smaller file size.
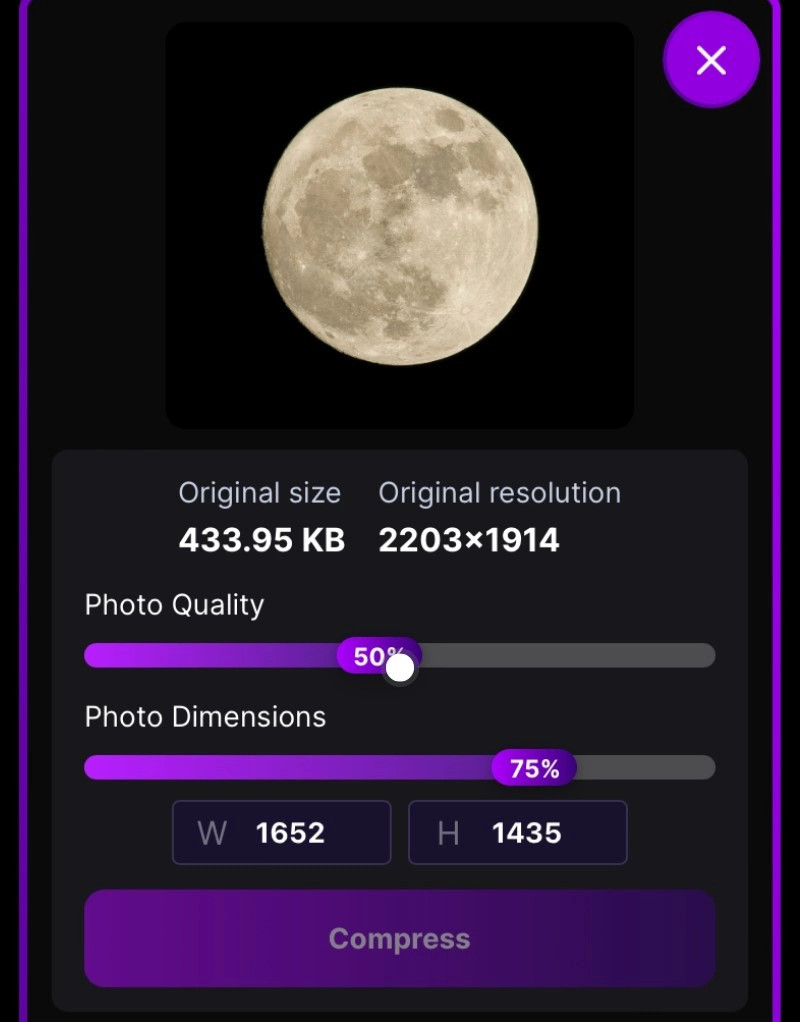 3rd Steo to Uplodading image
 -
Compress and Download: Tap “Compress.” The app will process your photos. Once complete, the compressed images will be saved to your Camera Roll in a new “Shrink.media” album.
 4th Step to Compress image
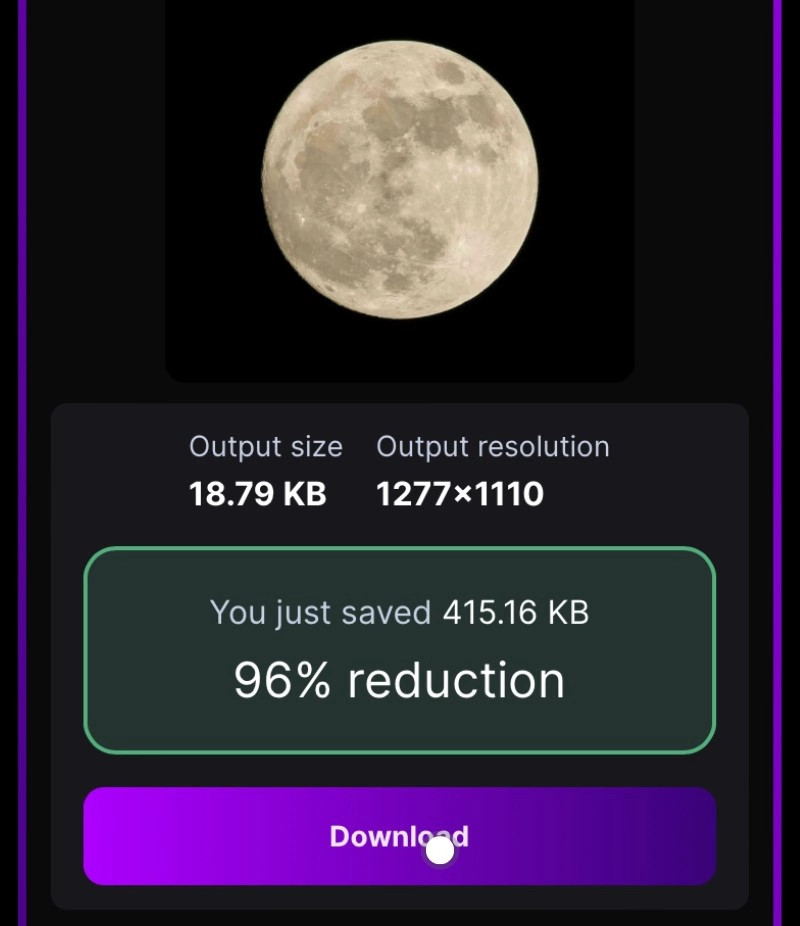 Last Step to Download image in low size
 -
Delete Originals (Optional): Once you’re satisfied with the compressed versions, you can delete the original photos to free up space.
Other Methods to Reduce iPhone Photo Size
- Emailing Photos: When sharing photos via email, your iPhone offers options to reduce image size (Small, Medium, Large). Choosing a smaller size will compress the photo before sending.
- Taking Screenshots: For individual images, taking a screenshot can reduce the file size. However, this method slightly reduces image quality.
- Optimizing iPhone Storage: In Settings > Photos, choose “Optimize iPhone Storage.” This will store full-resolution photos in iCloud and keep smaller versions on your device. This requires sufficient iCloud storage.
- Using HEIF/HEIC Format: If your iPhone runs iOS 11 or later, enable the High Efficiency setting in Settings > Camera > Formats. This uses the HEIF format, which significantly reduces file size without compromising quality.
Checking Image Size on iPhone
Easily check the size of any photo:
- Open the Photo: Open the Photos app and select the image.
- Tap the Info Button: Tap the “i” icon in the bottom right corner.
- View File Size: The image’s size, dimensions, and other details will be displayed.
By utilizing these techniques, you can effectively manage your iPhone’s photo storage and ensure you always have enough space for capturing life’s precious moments. Remember to choose the method that best suits your needs and storage availability.