Have you ever wanted to personalize fabric with your own photos or designs but thought it was too time-consuming? Many people hesitate to try image transfers onto fabric because of the perceived long drying times. However, with a simple technique using a heat gun, you can achieve fantastic results in just about 10 minutes! This guide will walk you through a speedy method to print photos on fabric, perfect for quick crafting projects and personalized gifts.
Materials You’ll Need for Fabric Photo Transfer
Before you begin, gather these essential materials to ensure a smooth and efficient image transfer process:
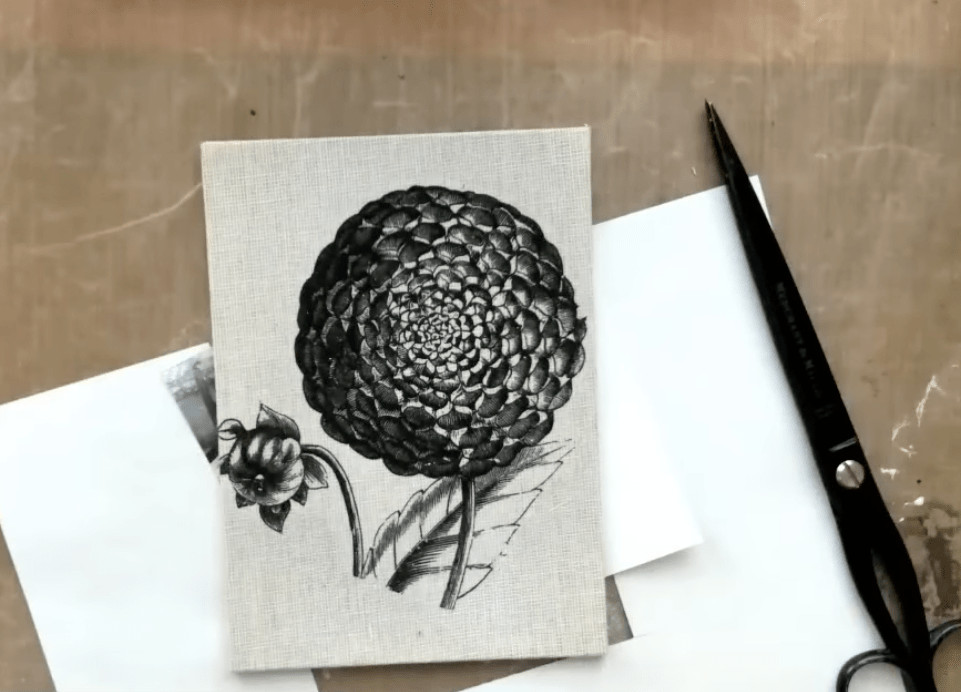
- High Contrast Image Printout: Use either a laser or inkjet printer to print your chosen image. High contrast images work best for this technique.
- Scissors or Rotary Cutter: For precisely cutting out your image and removing excess paper.
- Non-Stick Surface: A plastic sheet or silicone craft mat will protect your work surface and prevent sticking.
- Matte Medium: This is crucial for transferring the image. A thin layer of matte medium ensures a clear and lasting transfer.
- Fabric: Choose your desired fabric. Natural fabrics like cotton or linen work exceptionally well.
- Bone Folder or Fingers: To gently and firmly smooth the fabric onto the image, ensuring good contact for transfer.
- Heat Gun: This is the key to speeding up the drying process and achieving a 10-minute transfer.
- Water: For soaking the fabric and image after heat setting.
- Rag or Sponge: To gently rub away the paper layer and reveal the transferred image.
- Magic Eraser (Optional): To remove any remaining haze and brighten the transferred image.
 Close-up of materials needed for fabric image transfer, including matte medium, heat gun, printed image, and fabric
Step-by-Step Guide: 10-Minute Fabric Photo Transfer
Follow these straightforward steps to quickly and easily print your photos onto fabric:
Step 1: Print Your Image
Begin by printing your selected image. Ensure it’s a high-contrast image for the best transfer visibility. You can use either a laser printer or an inkjet printer for this step, depending on what you have available.
Step 2: Prepare the Image and Surface
Carefully cut out your printed image, removing any excess paper around the edges. This will give you a cleaner transfer. Place a non-stick surface, such as a plastic sheet or silicone mat, onto your work area to protect it and prevent your project from sticking to the surface.
Step 3: Apply Matte Medium
Apply a thin, even layer of matte medium to the front side (printed side) of your image. Be sure to cover the entire image area, but avoid applying it too thickly, as this can prolong drying time and potentially blur the transfer.
Step 4: Adhere Fabric
Take your chosen fabric and carefully place it face down onto the wet matte medium side of the image. Ensure the fabric makes good contact with the image across the entire surface.
Step 5: Dry with Heat Gun
Using a bone folder or your fingers, gently but firmly smooth the fabric onto the image. This step is crucial for ensuring good image contact and preventing air bubbles. Now, use your heat gun to dry the image and fabric. Keep the heat gun moving and apply heat evenly for several minutes until the matte medium is dry. This is where the heat gun dramatically reduces the drying time compared to air drying.
 Demonstration of using a heat gun to quickly dry matte medium in fabric photo transfer process
Step 6: Soak and Remove Paper
Once the matte medium is dry, soak the fabric and image in water for about 3 minutes. This will soften the paper and make it easier to remove. After soaking, gently begin rubbing the top layer of paper off with your finger.
Step 7: Final Touches and Magic Eraser
As the paper pieces become smaller and more difficult to remove, you can use your heat gun again to dry the area and make the remaining paper easier to rub off. Work from the center outwards with a rag or sponge to remove the paper. If there’s any remaining haze on your transferred image, gently use a magic eraser to lift it and reveal a clearer, brighter image on your fabric.
Tips for Best Results
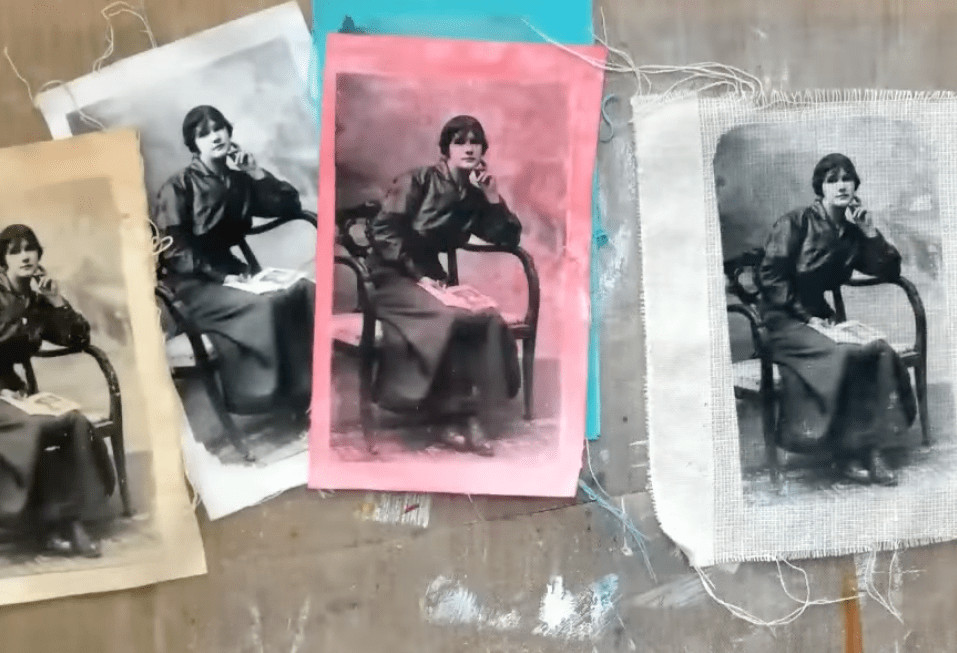
- Image Selection: High-contrast black and white images or images with bold colors tend to transfer most effectively.
- Matte Medium Application: A thin, even layer of matte medium is key. Too much can cause smudging; too little might result in an incomplete transfer.
- Heat Gun Technique: Keep the heat gun moving to avoid scorching the paper or fabric. Use a medium heat setting for best control.
- Gentle Rubbing: Be gentle when rubbing off the paper to avoid damaging the transferred image. Patience is helpful at this stage.
- Fabric Choice: Tightly woven natural fabrics like cotton and linen are ideal for image transfers because they provide a good surface for the matte medium to adhere to.
Experiment with printing photos on fabric using this quick 10-minute method and discover the creative possibilities it unlocks! Personalize home décor, create unique clothing items, or craft memorable gifts with ease.