Printing small photos can enhance your creative projects, whether it’s for scrapbooking, personalized gifts, or mini photo albums. This guide provides simple steps to print photos smaller than the standard 4×6 size, opening up a world of possibilities for your crafting endeavors.
Printing Small Photos: A Step-by-Step Guide
While standard photo printing sizes are readily available, printing smaller photos often requires adjusting settings within your chosen photo printing software. Here’s a general overview of the process:
1. Choosing Your Photo Printing Software
Numerous photo editing and printing programs allow for custom photo sizes. Popular options include:
- Built-in Photo Printing Software: Most operating systems (Windows, macOS) offer basic photo printing capabilities with options for resizing.
- Online Photo Printing Services: Websites like Shutterfly, Snapfish, and Walgreens Photo allow you to upload photos and customize print sizes.
- Dedicated Photo Editing Software: Programs like Photoshop, GIMP (free), and Canva offer extensive editing and printing features, including precise size adjustments.
2. Selecting Your Photo and Desired Size
Choose the photo you want to print and decide on your desired dimensions. Common small photo sizes include 2×2 inches, 3×3 inches, and wallet size. For scrapbooking, sizes like 2×2 inches are ideal for adding detail and visual interest.
3. Adjusting Print Settings
Within your chosen software, locate the print settings. Look for options to customize the paper size and photo dimensions. You might need to select “custom” or “wallet size” options.
- Resizing Your Photo: If necessary, resize your photo to match the desired print dimensions. This ensures the photo prints at the correct size without cropping or distortion. Many programs allow you to maintain the aspect ratio while resizing.
- Setting DPI: Dots per inch (DPI) determines the resolution of your printed image. A higher DPI (e.g., 300 DPI) generally yields sharper prints, particularly for smaller photos.
4. Printing Your Small Photo
After configuring the settings, load suitable photo paper into your printer. Use high-quality photo paper for the best results. Perform a test print on plain paper to verify the size and placement before printing on photo paper.
Tips for Printing Small Photos
- Cropping for Impact: When resizing, consider cropping your photo to highlight the main subject and enhance its visual impact in a smaller format.
- Using Templates: For scrapbooking or projects with specific size requirements, utilize pre-designed templates to ensure accurate dimensions. Some software and online services offer templates for common project sizes.
- Experiment with Borders: Adding a thin white or colored border around your small photo can create a polished look, especially when incorporating them into scrapbooks or albums.
Creative Uses for Small Photos
Small photos are versatile and can be used in various creative projects:
- Scrapbooking: Create dynamic layouts with a mix of large and small photos to tell a comprehensive story.
- Mini Photo Albums: Compile small prints into compact albums for travel memories or special occasions.
- Personalized Gifts: Incorporate small photos into handmade cards, keychains, or custom magnets.
- Home Decor: Create unique wall displays or collages using a collection of small, framed prints.
Conclusion
Printing small photos offers a simple way to enhance your creative endeavors. By following these steps and utilizing available software and online services, you can easily print photos in custom sizes to suit your specific needs. Experiment with different sizes and layouts to unlock the full potential of small photos in your projects.
 Scrapbook Layout with Small Photos
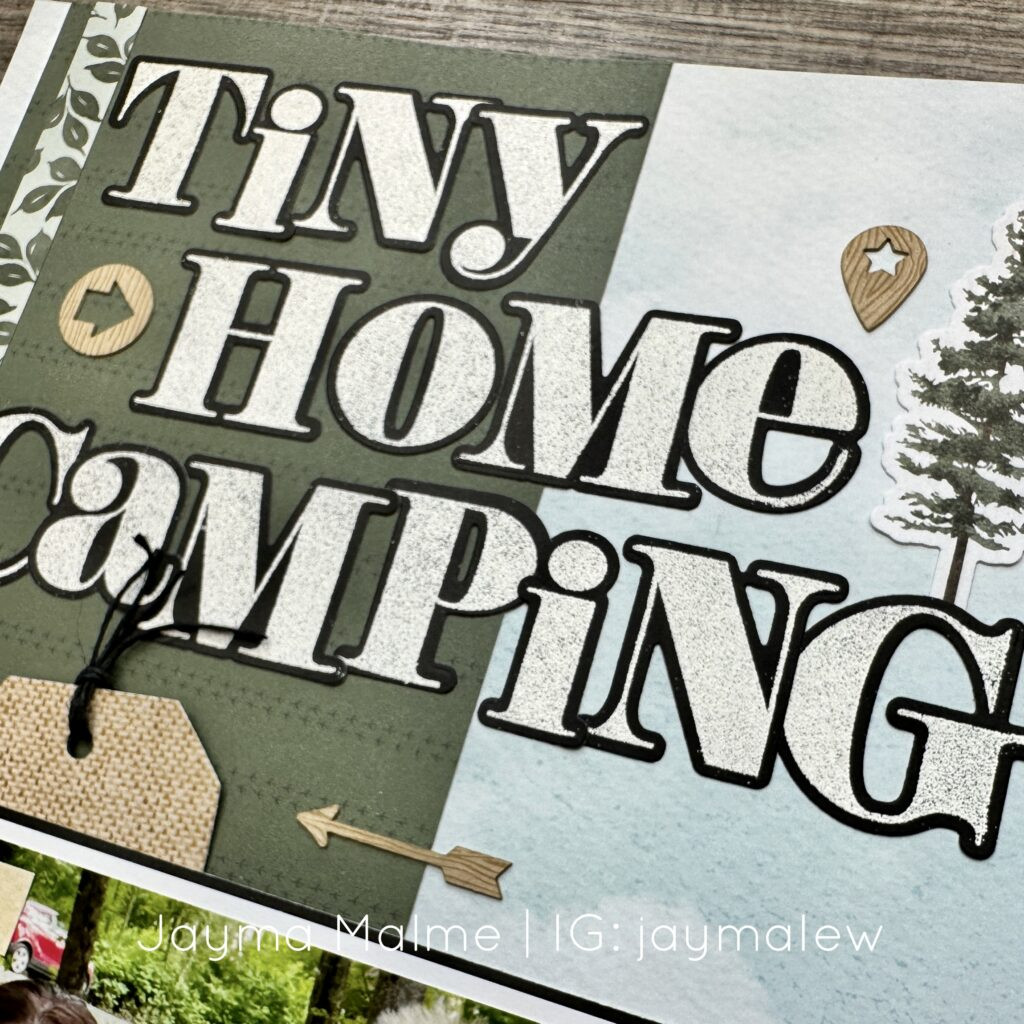
 Close up of a scrapbook page featuring small photos