Increasing the resolution of an image, often called upsampling or upsizing, is a common need for various purposes, from fitting a small image to a larger screen to enhancing the details of a low-resolution picture. While it’s true that you can’t magically create new information from nothing, there are techniques to improve the perceived resolution and overall visual quality of an image.
Understanding Image Resizing
Image resizing involves changing the dimensions of a picture, either by increasing (upsampling) or decreasing (downsampling) the number of pixels. Downsampling generally results in a smaller file size and reduced image quality, while upsampling aims to enlarge the image while minimizing quality loss.
Methods to Improve Photo Resolution
While several software options exist, a simple and accessible method for upsampling is using the Preview app on macOS. Here’s a step-by-step guide:
- Open the image in Preview: Drag and drop the image file into the Preview application.
- Access the Adjust Size tool: In the menu bar, go to Tools > Adjust Size.
- Input desired dimensions: In the “Fit into” field, enter the desired pixel dimensions or choose a preset size.
- Enable crucial settings: Ensure both “Scale proportionally” and “Resample image” options are checked. Scaling proportionally maintains the aspect ratio of the original image, preventing distortion. Resampling allows Preview to create new pixels based on the existing ones, resulting in a smoother upscaled image.
 Preview Adjust Size Dialog Box
This demonstrates the difference between a low-resolution original and a properly upsampled version:
 Comparison of Low-Res and Upsampled Images
- Save the upscaled image: It’s crucial to save the modified image as a new file to preserve the original. Use the “Save As” command (or “Duplicate” in newer versions of Preview) with a different filename. Choose JPEG format with “Best” quality for optimal results. This step is important to avoid overwriting the original image:
 Save As Dialog Box
Practical Applications of Upsampling
Upsampling can be beneficial in several scenarios:
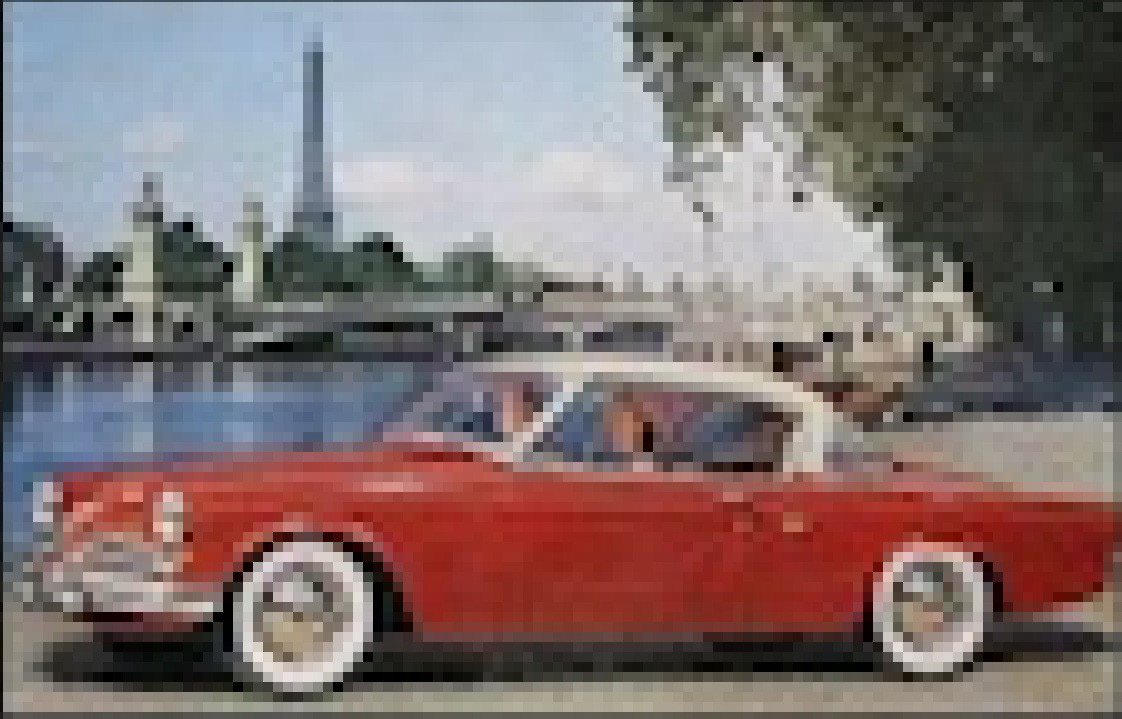
- Enlarging small web images: Often, images found online are too small for practical use. Upsampling allows you to enlarge them for better viewing or printing. For example, this low-resolution image:
 Low-Resolution Studebaker Ad
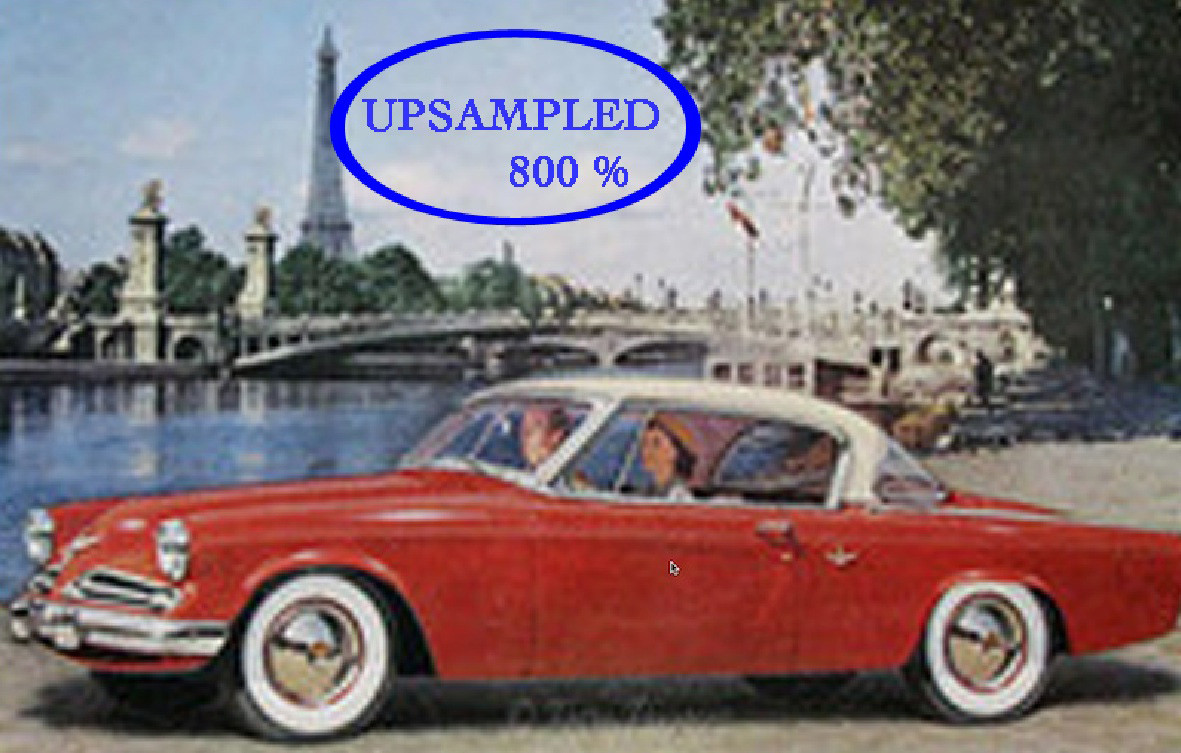
Can be upsampled to a much larger and more usable size:
 Upsampled Studebaker Ad
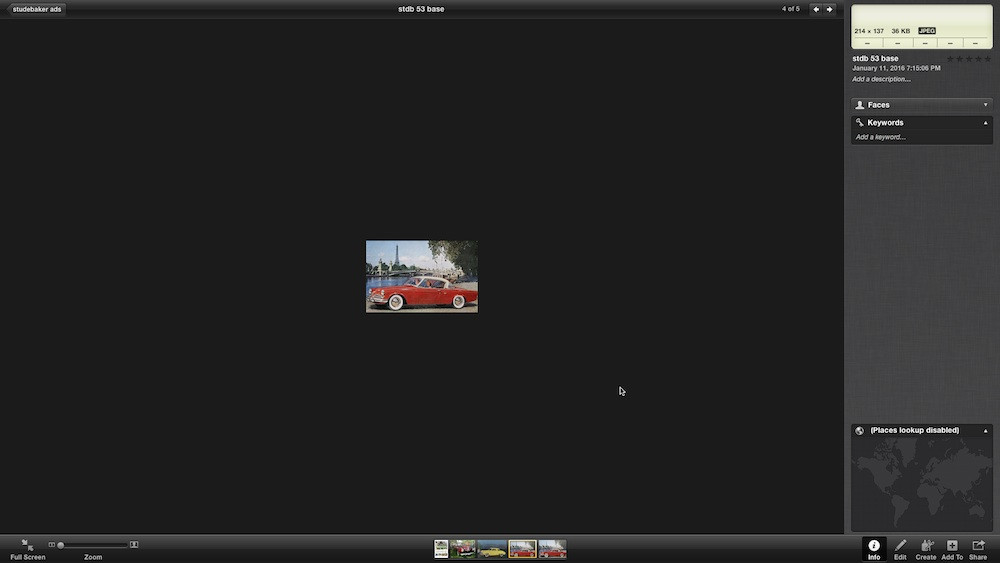
Compared to simply zooming in on the original:
 Zoomed Low-Resolution Studebaker Ad
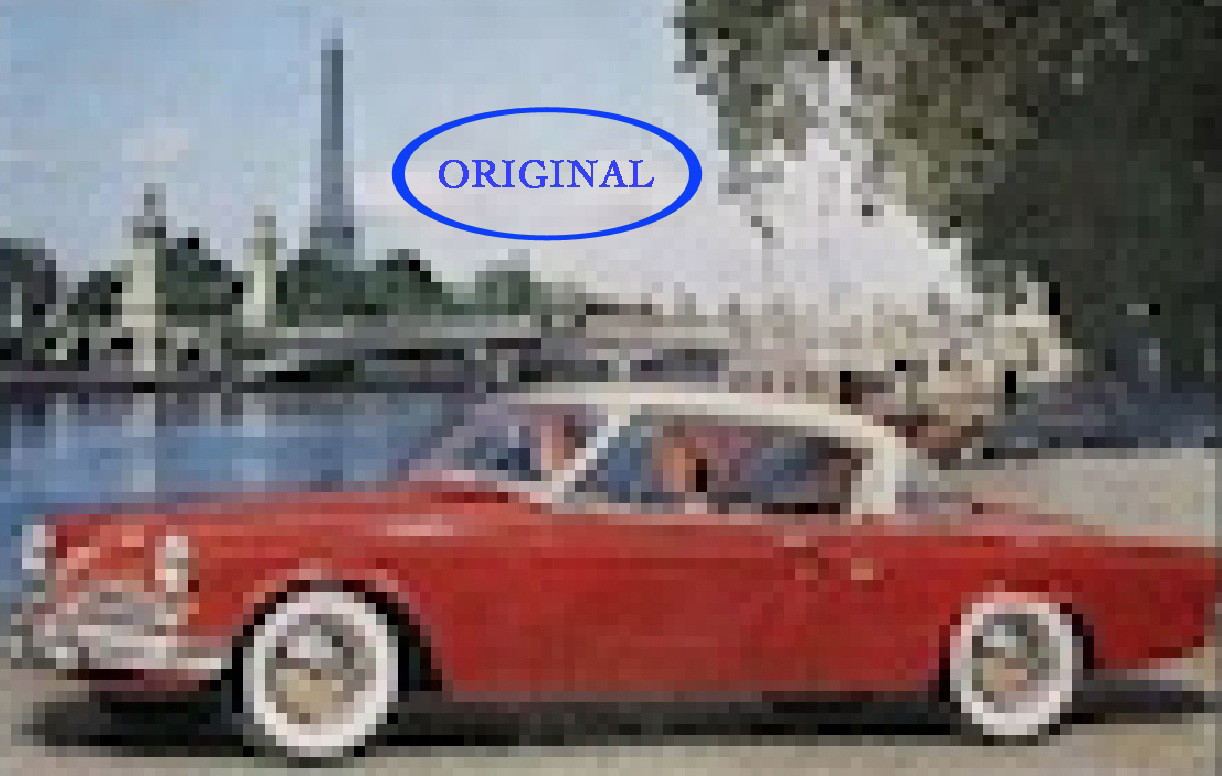
- Improving the appearance of low-resolution images: Upsampling can smooth out pixelation and improve the overall visual quality of images with low detail. As seen in this example, the detail in the upsampled image is much smoother than the pixelated original:
 Original Low-Resolution Image Detail
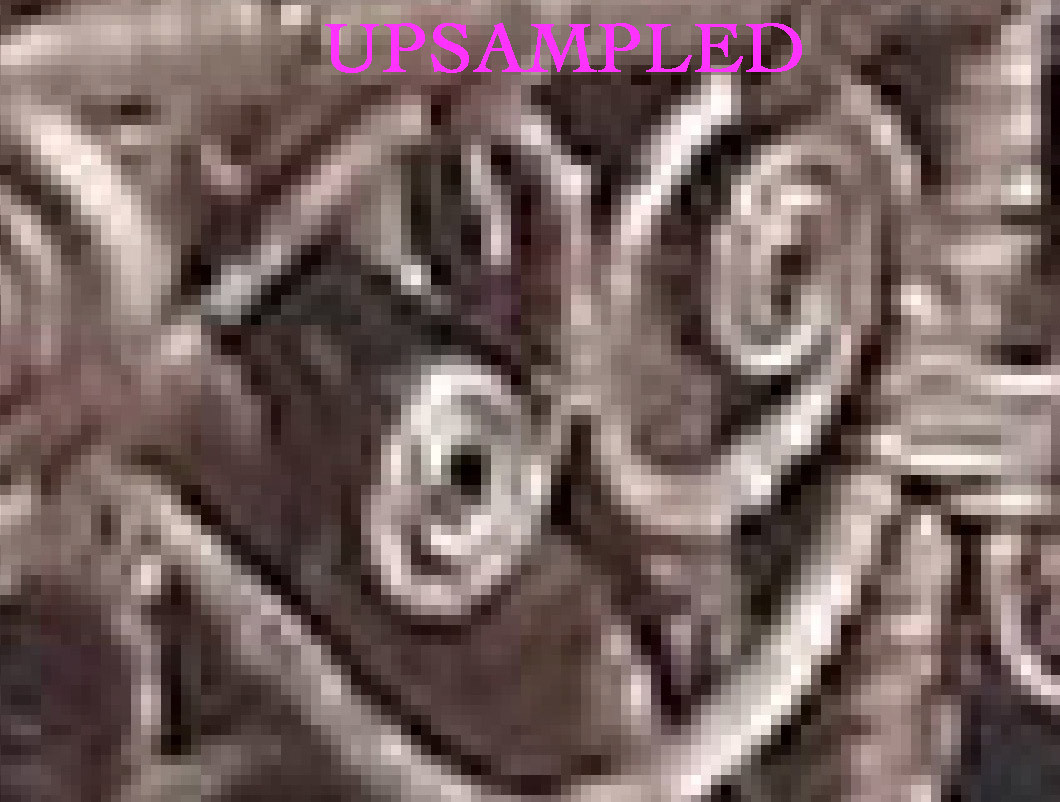 Upsampled Image Detail
Conclusion
While increasing true resolution is not possible, utilizing techniques like upsampling with appropriate software can effectively improve the visual quality and usability of low-resolution images. Remember to save the upscaled image as a separate file to avoid overwriting your original.