Shooting photos in brightly lit environments can often lead to unwanted glare. This article outlines effective techniques to minimize and eliminate light glare, ensuring your images capture the intended subject with clarity. We’ll explore the importance of shooting in RAW format and utilizing your camera’s manual exposure settings.
Understanding and Controlling Light Glare
Light glare occurs when bright light reflects off surfaces, overwhelming the sensor and washing out details. This is especially common when photographing scenes with high contrast, such as a brightly lit stage against a dark background. The key to managing glare lies in controlling the exposure.
Mastering Manual Exposure for Glare Reduction
Rather than relying on automatic modes, switch to manual exposure. This allows precise control over how your camera captures light. A crucial technique is to expose for the highlights, ensuring the brightest parts of the image are not overexposed. This might seem counterintuitive, but it preserves detail in the highlights, preventing them from becoming pure white.
Leveraging RAW Format for Enhanced Flexibility
Shooting in RAW format provides significant advantages when dealing with glare. Unlike JPEG, RAW files retain much more image data, allowing for greater flexibility during post-processing. You can recover details in both the highlights and shadows, effectively reducing the impact of glare. This extra “headroom” allows you to fine-tune the exposure after the shot is taken, bringing out nuances that might be lost in JPEG. This is particularly valuable when shooting high-contrast scenes with significant differences in brightness.
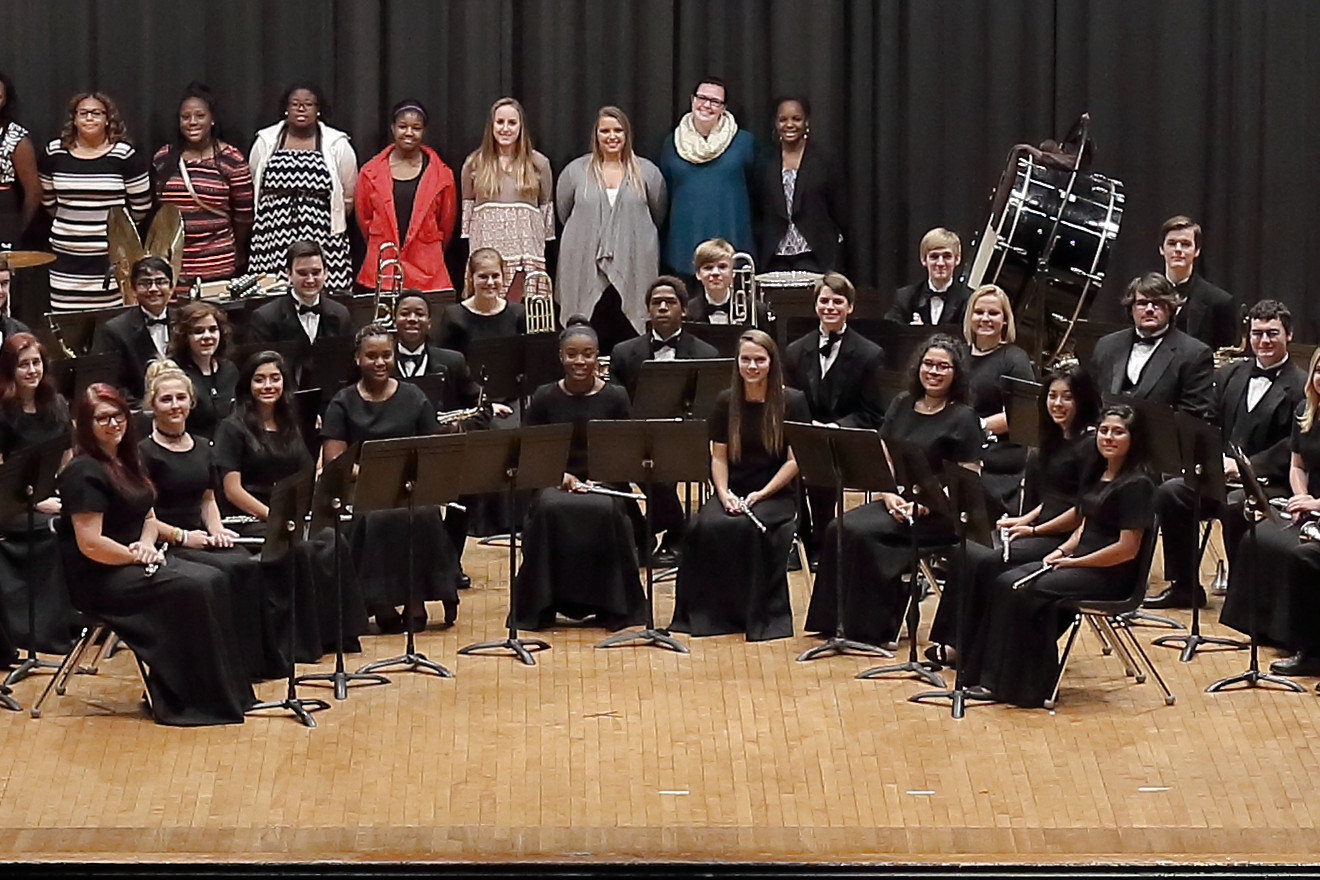
 alt text: A photo of an orchestra on a stage with a conductor in the center.
Example of a properly exposed photo in a challenging lighting situation.
Exposing for Highlights: A Practical Approach
To expose for the highlights, use your camera’s built-in light meter and “blinkies” feature, which indicates overexposed areas on the LCD screen. Adjust your shutter speed and aperture until the brightest parts of the scene are just on the verge of overexposure. This technique preserves detail in the highlights while allowing you to recover details in the underexposed areas during post-processing.
 alt text: A zoomed in portion of the orchestra photo highlighting the detail retained in the music stand.
100% crop of the above image showcasing retained detail despite the challenging lighting.
Utilizing a Tripod for Optimal Sharpness
While image stabilization can help, using a tripod is highly recommended, especially in low-light conditions when using manual exposure often requires slower shutter speeds. A tripod eliminates camera shake, ensuring sharp images even with longer exposures necessary for capturing detail in darker areas without overexposing highlights.
Conclusion
Eliminating light glare involves understanding how your camera captures light and using the right techniques to control exposure. By mastering manual exposure, shooting in RAW format, and employing a tripod, you can significantly reduce glare and capture stunning images even in challenging lighting conditions. Remember, practice is key to perfecting these techniques.
