Photos are more than just images; they are our treasured memories, captured moments, and stories told through visuals. With the iPhone being a primary tool for photography for millions worldwide, knowing How To Get Photos From Iphone To Iphone is essential, especially when upgrading devices or sharing memories with family and friends.
Whether you’re switching to a new iPhone or simply want to share your photo library with another iPhone user, this guide provides you with several straightforward methods. We’ll explore the best ways to transfer your precious photos, ensuring you don’t lose a single memory in the process. Let’s dive into the most effective techniques to move your photos seamlessly between iPhones.
Method 1: Utilizing TouchCopy for Direct iPhone to iPhone Transfer
For a robust and direct method, TouchCopy software stands out as an excellent solution. This software allows you to manage your iPhone data directly from your computer, offering a way to transfer photos without relying on iCloud or internet connectivity. TouchCopy is particularly useful when you need a reliable transfer method that gives you complete control over the process.
With TouchCopy, you first transfer photos from your old iPhone to your computer, and then transfer those photos from your computer to your new iPhone. This method ensures a secure and local transfer of your photos.
Here’s how to transfer photos from iPhone to iPhone using TouchCopy:
-
Install and Launch TouchCopy: Download and install TouchCopy on your computer (PC or Mac). Open TouchCopy and connect your old iPhone to your computer using a USB cable.
-
Access and Select Photos: Once TouchCopy recognizes your iPhone, click on the “Photos” tab. This will display all the photos stored on your iPhone, organized for easy browsing.
-
Transfer Photos to Computer: Select the photos you wish to transfer, or choose to transfer all of them. Click either “Save to PC” or “Copy to Mac” to begin the transfer process from your iPhone to a designated folder on your computer.
-
Disconnect Old iPhone and Connect New iPhone: After the photos are safely copied to your computer, disconnect your old iPhone. Then, connect your new iPhone to the computer.
-
Transfer Photos to New iPhone: Open iTunes (or Finder on macOS for newer versions). Select your new iPhone once it appears. Navigate to the “Photos” section in iTunes/Finder, check the “Sync Photos” option, and select the folder on your computer where you saved the photos from your old iPhone. Click “Apply” to sync and transfer the photos to your new iPhone.
TouchCopy offers a dependable, computer-based approach, ideal for users who prefer not to use cloud services or want a direct and controlled transfer process.
Method 2: iCloud – Apple’s Wireless Transfer Solution
iCloud, Apple’s cloud storage service, provides a convenient wireless method to transfer photos between iPhones. By enabling iCloud Photos, your photos are automatically uploaded to the cloud, making them accessible on any device logged in with the same Apple ID. This method is seamless and keeps your photos synced across your Apple ecosystem.
Keep in mind that iCloud offers 5GB of free storage, which might be sufficient for some, but larger photo libraries may require upgrading to iCloud+.
Follow these steps to transfer photos from iPhone to iPhone using iCloud:
- Enable iCloud Photos on Old iPhone: On your old iPhone, go to “Settings” > “[Your Name]” > “iCloud” > “Photos”. Toggle the “iCloud Photos” switch to the ON position.
- Choose Storage Option: You’ll be prompted to choose between “Optimize iPhone Storage” or “Download and Keep Originals“. “Optimize iPhone Storage” saves device space by storing smaller versions on your iPhone and originals in iCloud, while “Download and Keep Originals” keeps full-resolution photos on both your iPhone and iCloud. Select the option that best suits your needs.
- Wait for Upload: Ensure your iPhone is connected to Wi-Fi. Your photos will begin uploading to iCloud in the background. The time this takes will depend on the size of your photo library and your internet speed.
- Enable iCloud Photos on New iPhone: On your new iPhone, repeat step 1 and 2, ensuring you are logged in with the same Apple ID.
- Access Photos on New iPhone: Open the “Photos” app on your new iPhone. Navigate to “Library” > “All Photos.” Your photos will start downloading from iCloud and appear in your photo library.
iCloud offers a wireless and automatic syncing solution, ideal for users already invested in the Apple ecosystem and comfortable with cloud storage.
Method 3: Using iTunes, Finder, or Apple Devices App for Computer Sync
Apple provides different applications for syncing your iPhone with your computer, depending on your operating system. For macOS Catalina or later and newer Windows, Finder on Mac and the Apple Devices app on Windows 10 or later are used. For older macOS versions (Mojave or earlier) and Windows 8 or earlier, iTunes is the tool. These methods allow you to sync photos from your computer back to your iPhone.
However, it’s crucial to understand the limitations of this method:
- You can typically only sync photos from folders on your computer, not directly from another iPhone’s Camera Roll if iCloud Photos is enabled.
- Syncing photos can sometimes overwrite existing photos on your iPhone if not managed carefully.
- This method is not compatible with iCloud Photos being enabled. If you use iCloud Photos, you need to disable it on your iPhone, which might lead to deletion of photos not stored locally on your device.
Given these complexities, it’s often recommended to consider Method 1 (TouchCopy) or Method 2 (iCloud) for a smoother experience.
If you still wish to use iTunes, Finder, or the Apple Devices app, here’s a general approach:
Step 1: Transfer Photos from Old iPhone to Computer (if not already done)
- Windows PC: Connect your old iPhone to your PC. In the AutoPlay prompt, select “Import pictures and videos.” Choose a destination folder on your PC for the photos and click “Import.”
- Mac: Connect your old iPhone to your Mac. The Photos app should launch automatically. Select your iPhone in the Photos app, choose the photos to transfer, and click “Import Selected” or “Import All New Items.”
Step 2: Sync Photos from Computer to New iPhone
-
Windows 10 or Later (Apple Devices app):
- Connect your new iPhone to your computer.
- Open the Apple Devices app.
- Select “Photos” in the settings.
- Check “Sync photos onto your device from:” and choose the folder where you saved photos from your old iPhone.
- Click “Apply.”
-
macOS Catalina or Later (Finder):
- Connect your new iPhone to your Mac.
- Open Finder.
- Select your iPhone in the sidebar.
- Click on the “Photos” tab.
- Check “Sync Photos to your device from:” and choose the folder.
- Click “Apply.”
-
Windows 8 or Earlier/macOS Mojave or Earlier (iTunes):
- Connect your new iPhone to your computer.
- Open iTunes.
- Click on the device icon.
- Go to the “Photos” section.
- Check “Sync Photos” and choose the folder.
- Click “Apply.”
This method is more technical and less flexible for direct iPhone to iPhone transfer, but it can be useful if you prefer managing photos through your computer.
Method 4: AirDrop for Quick, Direct Wireless Transfer
If you only need to transfer a small selection of photos, AirDrop provides a fast and direct wireless transfer between iPhones. AirDrop uses Bluetooth and Wi-Fi to create a peer-to-peer connection, allowing for quick sharing of files, including photos, between nearby Apple devices.
Here’s how to use AirDrop to transfer photos from iPhone to iPhone:
-
Enable AirDrop on Both iPhones: On both iPhones, swipe down from the top-right corner to open Control Center (or swipe up from the bottom on older iPhones). In the Control Center, ensure Wi-Fi and Bluetooth are turned on. Tap and hold the network settings card (where Wi-Fi, Bluetooth, Cellular are). Then, tap on “AirDrop” and choose either “Contacts Only” or “Everyone” to enable AirDrop. Also, make sure “Personal Hotspot” is turned off.
-
Select Photos to Share: On the iPhone with the photos you want to transfer, open the “Photos” app and select the photos. You can tap “Select” and then tap on multiple photos to choose them.
-
Share and AirDrop: Tap the Share icon (the square with an arrow pointing upwards) at the bottom left of the screen. In the share sheet, tap the “AirDrop” option.
-
Choose Receiving iPhone: Your receiving iPhone should appear as an available AirDrop recipient if it’s nearby and AirDrop is correctly set up. Tap on the icon representing the receiving iPhone.
-
Accept on Receiving iPhone: On the receiving iPhone, a preview of the photos will appear, and you will need to tap “Accept” to start the download. The transferred photos will be saved in the Photos app on the receiving iPhone.
AirDrop is incredibly convenient for quickly sharing a few photos wirelessly, especially when devices are in close proximity.
Conclusion
Transferring photos from iPhone to iPhone is a straightforward process with multiple effective methods available. Whether you opt for the direct control of TouchCopy, the wireless convenience of iCloud, the computer-based syncing with iTunes/Finder/Apple Devices app, or the quick sharing of AirDrop, you have options to suit your preferences and needs.
By following the steps outlined in this guide, you can confidently transfer your photos, ensuring your precious memories move safely and efficiently to your new iPhone or are shared seamlessly with another iPhone user. Choose the method that best fits your situation and enjoy your photos on your desired device.
Thanks for reading!
Publisher: Wide Angle Software
Read Next: 4 Ways to Backup your iPhone properly >
[
TouchCopy](/touchcopy/) The Ultimate tool for transferring files from iPhone to your computer.
Related Articles
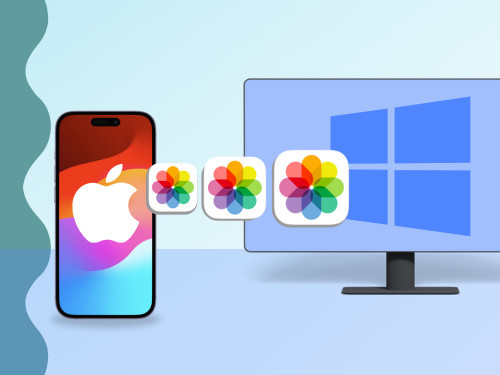 Transfer iPhone Photos to PC The Best 6 Ways to Copy iPhone and iPad Photos to a Windows PC
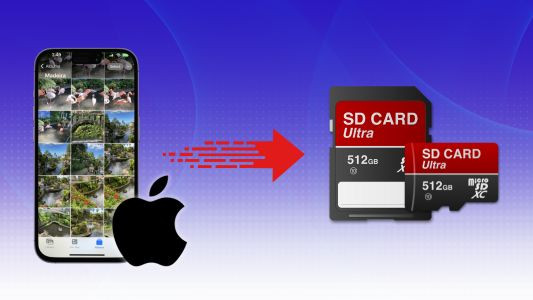 Move Pictures from iPhone to SD Card 3 Best Ways to Move Pictures from iPhone to an SD Card
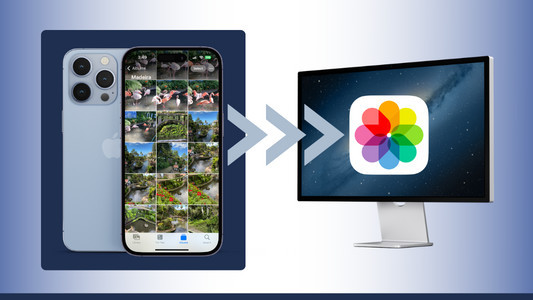 Copy Pictures from iPhone to Mac The 6 Easiest Ways to Copy Pictures from iPhone to Mac
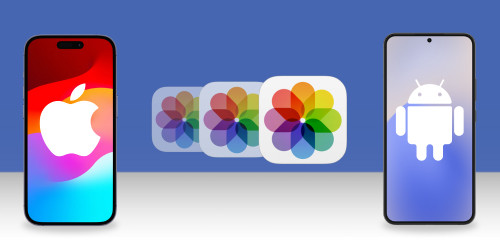 Transfer Photos iPhone to Android How to Transfer Photos from iPhone to Android
▷Free Download
TouchCopy X
The best way to transfer iPhone Photos and more to your computer with ease.
Find out more > Try TouchCopy free, today!