 alt text: Lightroom Classic interface with the Detail panel open, showing noise reduction settings.
Adobe Lightroom Classic offers powerful noise reduction tools to help you fix grainy photos. This professional-grade software provides more detailed control than basic photo editors, making it a popular choice for photographers dealing with image noise. Lightroom’s specialized features allow for precise adjustments to eliminate grain while preserving image detail.
Understanding Noise Reduction in Lightroom
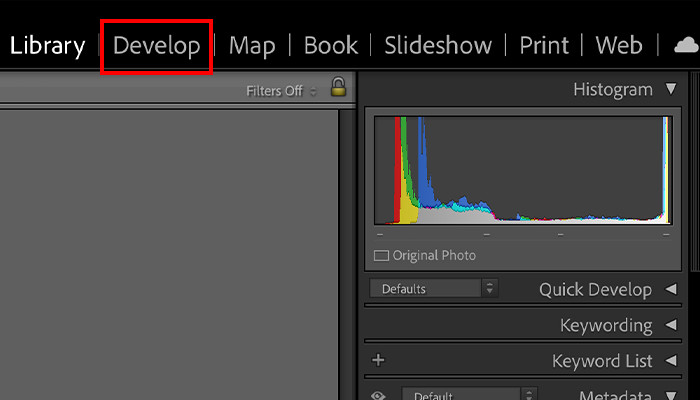
To access Lightroom’s noise reduction capabilities, open your grainy image and navigate to the Develop module. Within the Detail panel on the right-hand side, you’ll find the Noise Reduction section. This section is divided into two main parts: Luminance and Color Detail.
 alt text: Close-up of the Noise Reduction section in Lightroom Classic, highlighting Luminance and Color Detail settings.
Luminance noise appears as graininess caused by variations in light affecting the camera sensor. Color noise, on the other hand, manifests as pixels of different colors disrupting the image. Lightroom allows you to address these two types of noise separately.
Adjusting Luminance Noise
The Luminance sliders control the amount of noise reduction applied, the level of detail preservation, and the contrast adjustments. The Amount slider dictates the overall noise reduction, while the Detail slider helps retain fine details. The Contrast slider compensates for any contrast loss resulting from the previous adjustments.
Increase the Amount slider gradually to reduce noise, but be careful not to over-apply, as this can result in a loss of image sharpness. Use the Detail slider to fine-tune the balance between noise reduction and detail retention. The Contrast slider helps restore any contrast lost during the process.
Tackling Color Noise
The Color Detail sliders function similarly to the Luminance sliders. The Color slider controls the amount of color noise reduction, while the Detail slider preserves color details. The Smoothness slider helps soften the appearance of any remaining color artifacts.
As with Luminance noise, apply color noise reduction incrementally to avoid negatively impacting the image quality. Adjust the Detail slider to maintain color accuracy and the Smoothness slider to achieve a natural look.
Fine-Tuning for Optimal Results
 alt text: A photographer editing a photo in Lightroom Classic on a laptop.
Remember that there is no one-size-fits-all solution for fixing grainy photos. The optimal settings will vary depending on the image and the extent of the grain. Experiment with different combinations of slider adjustments to find the best balance between noise reduction and image quality. Preview your changes regularly to ensure you’re achieving the desired results.
It’s crucial to work in small increments, carefully observing the impact of each adjustment. This gradual approach ensures that you can effectively reduce grain without compromising the overall quality and detail of your photograph. By mastering these techniques in Lightroom Classic, you can significantly improve the clarity and visual appeal of your grainy images.