Editing photos on your iPad is easier than ever thanks to its powerful processing capabilities and intuitive software. Whether you’re a casual photographer or a seasoned pro, this guide will walk you through the essential steps and techniques to enhance your images directly on your iPad. Learn how to use built-in tools and explore popular third-party apps to achieve professional-looking results.
 Woman editing a photo on an iPad with the Apple Pencil
Utilizing the Built-in Photos App for Editing
Your iPad comes equipped with a robust Photos app that offers a surprising array of editing features. You can access these tools by simply opening a photo and tapping the “Edit” button.
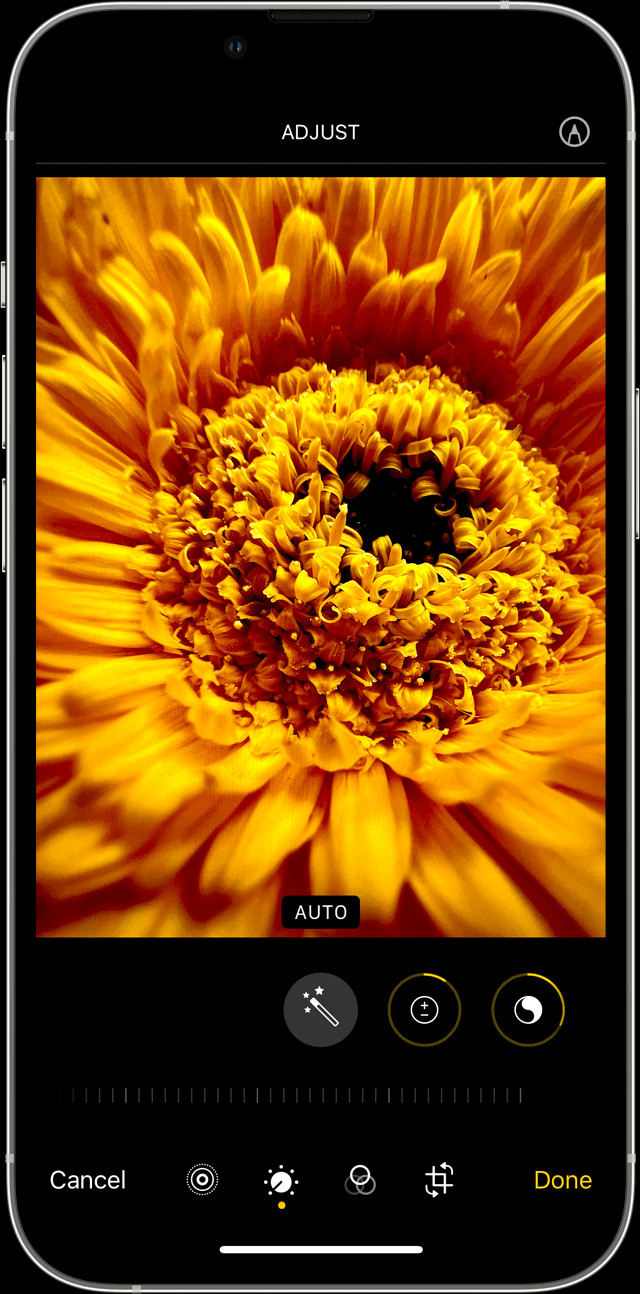
Adjusting Light and Color
Fine-tune the overall look of your photos by adjusting brightness, contrast, saturation, and more. The Photos app provides intuitive sliders for precise control over each setting. Experiment with these adjustments to correct exposure issues, enhance colors, and create the desired mood.
Applying Filters for Creative Effects
Quickly transform your images with a variety of built-in filters. From vintage-inspired looks to modern aesthetics, filters offer a one-tap solution for adding artistic flair. Explore the different filter options and adjust their intensity to achieve the perfect effect.
Cropping and Straightening for Composition
Improve the composition of your photos by cropping and straightening them. Use the grid overlay to ensure proper alignment and remove unwanted elements. You can also rotate your images and adjust perspective to correct any distortions.
Exploring Advanced Editing Features
Beyond the basic adjustments, the Photos app provides more advanced tools for refining your images.
Utilizing the Markup Tool for Annotations
Add text, drawings, and shapes to your photos with the Markup tool. This feature is perfect for adding captions, highlighting specific areas, or creating fun visual effects.
Removing Unwanted Objects with the Healing Tool
Seamlessly remove blemishes, distractions, or unwanted objects from your photos using the Healing tool. Simply brush over the area you want to remove, and the app will intelligently blend the surrounding pixels for a natural look.
Leveraging Third-Party Photo Editing Apps
While the Photos app provides a solid foundation for editing, numerous third-party apps offer expanded capabilities and specialized features.
Popular Choices for Professional Editing
Consider exploring popular apps like Adobe Photoshop Lightroom, Affinity Photo, and Pixelmator Pro for more advanced editing on your iPad. These apps provide professional-grade tools for retouching, color grading, and manipulating images.
Exploring Niche Apps for Specific Needs
If you have specific editing needs, look for niche apps tailored to those tasks. For example, apps like TouchRetouch are designed for precise object removal, while VSCO focuses on film-inspired filters and presets.
Tips for Editing Photos on iPad
- Use the Apple Pencil for Precision: An Apple Pencil allows for greater accuracy when using editing tools like the Healing brush and Markup.
- Shoot in RAW Format: Capturing photos in RAW format preserves more image data, providing greater flexibility during editing.
- Experiment with Different Tools and Techniques: Don’t be afraid to try new things and develop your own editing style.
Conclusion
Editing photos on your iPad opens up a world of creative possibilities. By mastering the built-in tools of the Photos app and exploring third-party options, you can transform your images into stunning works of art. So, grab your iPad, unleash your inner artist, and start editing!