Frustrated with the default white background in Windows Photo Viewer? While Microsoft doesn’t provide an obvious setting to change it, customizing the background color to black, grey, or any shade you prefer is easily achievable. This simple tweak can significantly improve your photo viewing experience, especially when you need to focus on image details or cull through a large number of pictures. This guide will show you exactly how to change the background on your photos in Windows Photo Viewer using a quick registry edit.
To change the background color, you’ll need to modify the Windows Registry. Here’s a step-by-step guide to help you through the process:
-
Open the Run Prompt: Press the
Win + Rkeys simultaneously to open the Run dialog box. -
Launch Registry Editor: Type
regeditin the Run prompt and press Enter. If User Account Control (UAC) prompts for permission, clickYes. -
Navigate to the Viewer Key: In the Registry Editor window, use the left-hand pane to navigate to the following path:
HKEY_CURRENT_USERSoftwareMicrosoftWindows Photo ViewerViewer -
Create a New DWORD Value: Once you’ve navigated to the
Viewerkey, right-click in the right-hand pane, selectNew, and then click onDWORD (32-bit) Value. Name this new valueBackgroundColor. -
Modify the BackgroundColor Value: Right-click on the newly created
BackgroundColorvalue and selectModify.... -
Set Your Desired Background Color: In the “Value data” field, type
fffollowed by the hexadecimal code for your chosen color. For example, to set a black background, enterff000000. Here are a few color examples:- Black:
ff000000 - Grey:
ff808080 - White:
ffffffff - Green:
ff00ff00
- Black:
-
Apply Changes and Close: Click
OKto save the color value. Close the Registry Editor.
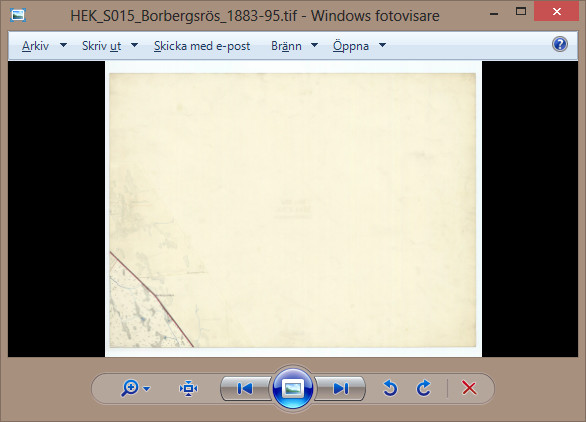
 Windows Registry Editor showing BackgroundColor DWORD value modified to ff000000 for a black background, illustrating how to change photo background color.
After completing these steps, open any image with Windows Photo Viewer to see your new background color in action. A black background, as shown above, can be particularly useful for photographers or anyone working with images that have white borders, making it easier to distinguish the image edges. It also helps in making the colors of your photos appear more vibrant, enhancing your viewing experience and aiding in photo culling decisions.
While black is a popular choice, a grey background offers a softer alternative, sitting comfortably between stark white and deep black. Experiment with different hexadecimal color codes to find the background that best suits your needs and preferences.
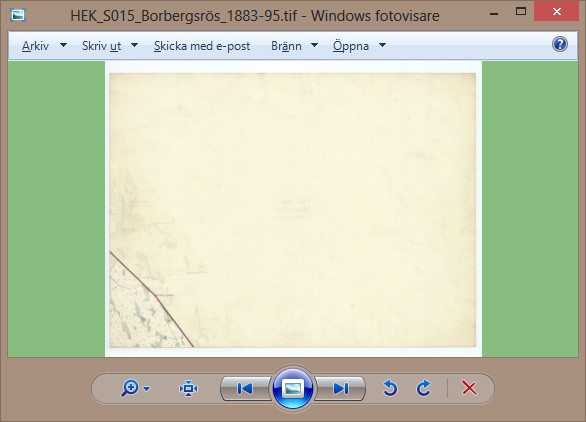
 Windows Photo Viewer displaying an image with a green background after registry modification, showcasing background color customization for photo viewing.
This registry tweak is a simple yet effective way to personalize Windows Photo Viewer and optimize it for your photo viewing workflow. Originally shared by How-To Geek, this method has been confirmed to work on Windows 8.0 and should also be compatible with older versions like Windows XP and Windows 7, which also included Windows Photo Viewer. Users on Windows Vista, which used Windows Photo Gallery, may need to locate the corresponding registry key but the principle of adding the BackgroundColor DWORD value should remain the same.
