Want to know how to blur the background of a photo on your iPhone for a professional look? You don’t need a fancy camera! This guide reveals four simple tricks to achieve stunning background blur on any iPhone, even without Portrait Mode. Learn how to use built-in features and editing apps to create beautiful, blurred backgrounds that make your subjects pop. Let’s dive in!
 How To Blur Background On iPhone using Portrait Mode
1. Mastering Portrait Mode for Background Blur
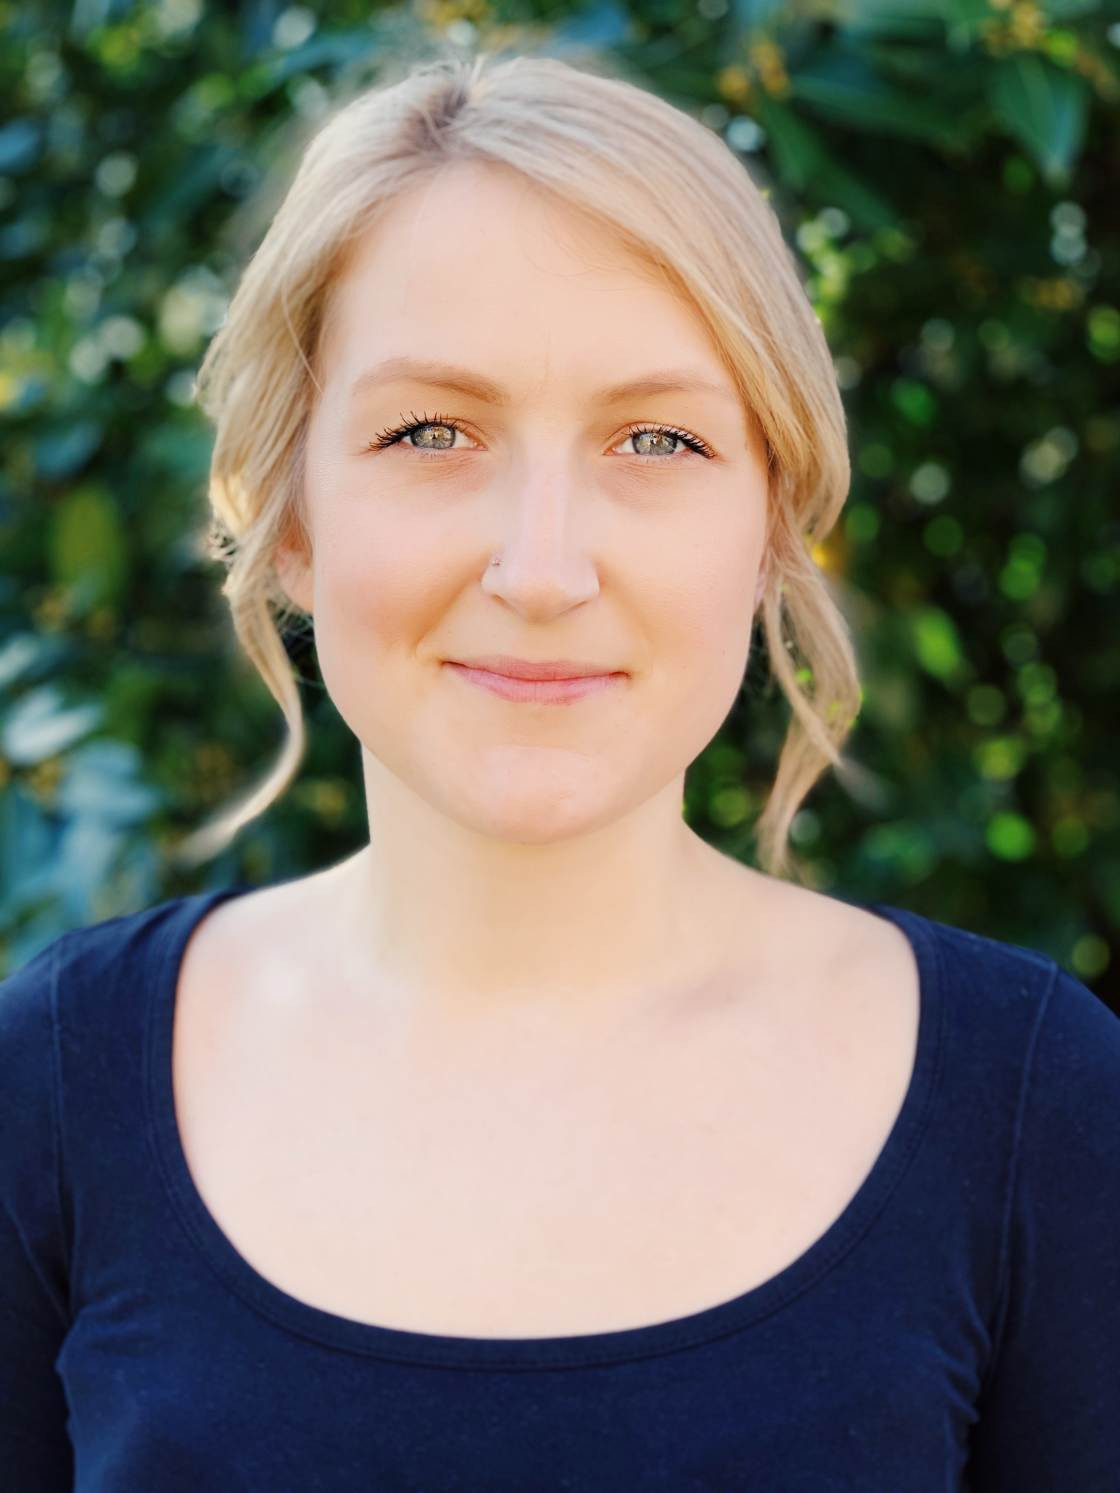
The easiest way to blur a photo background on iPhone is using Portrait Mode. Available on newer iPhones (iPhone 7 Plus and later), this feature utilizes depth-effect software to automatically blur the background while keeping your subject sharp.
1.1 Using Portrait Mode
- Open the Camera app.
- Select Portrait at the bottom.
- Position your subject 2-8 feet away.
- Ensure adequate lighting.
- A yellow focus box will appear when ready.
- Tap the shutter button.
 Using Portrait Mode to blur photo background on iPhone
1.2 Adjusting Blur Intensity
On iPhone XS and later, you can adjust the blur after taking the photo:
- Open the photo in the Photos app.
- Tap Edit.
- Tap the f/number icon (top left).
- Adjust the Depth slider to control blur strength. Lower f/number = more blur.
Adjusting Depth effect in Portrait Mode
Even on older iPhones with Portrait Mode, you can toggle the blur on or off by tapping Portrait in the edit screen.
2. Blurring Backgrounds Without Portrait Mode: Get Closer!
Don’t have Portrait Mode? No problem! You can still achieve background blur by getting closer to your subject. This technique utilizes a shallow depth of field, naturally blurring the background as you approach your subject. The closer you get, the more pronounced the blur. Experiment to find the sweet spot where your subject is sharp and the background is softly blurred.
Getting closer to the subject to blur the background
Pro Tip: Tap the screen to set the focus point precisely on your subject.
3. Blurring Photo Backgrounds in Editing Apps
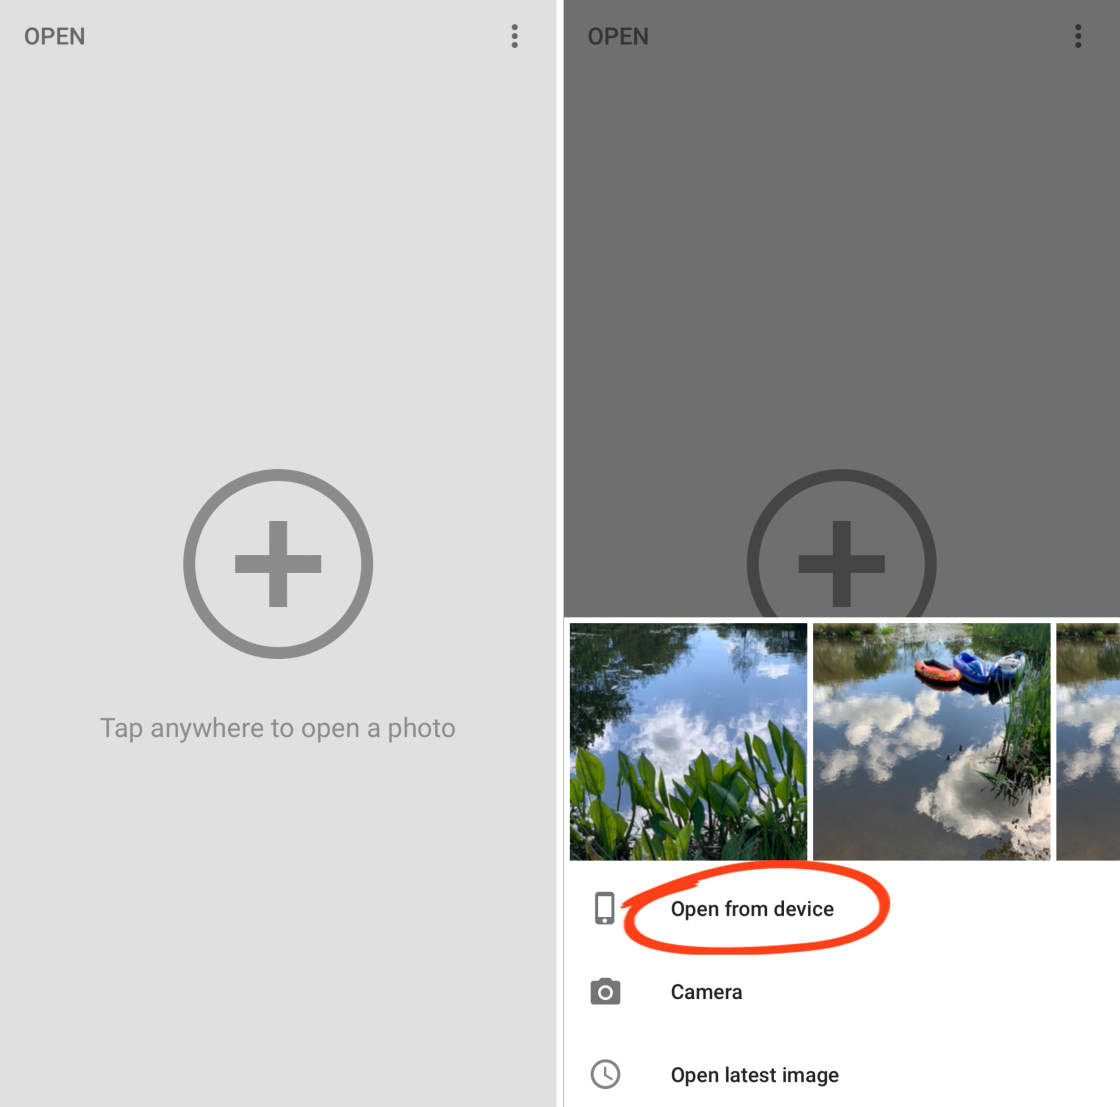
For more control, use editing apps like AfterFocus.
- Select Subject & Background: Use the Smart or Manual Selection tools to precisely mark your subject and background.
- Apply Lens Blur: Adjust the blur strength slider for desired intensity.
Using AfterFocus app to select subject and blur background
Bonus: AfterFocus also offers Motion Blur to simulate movement.
4. Creating a Dreamy Blurred Vignette
A blurred vignette subtly blurs the edges of your photo, drawing attention to the center and adding a dreamy effect. Use Snapseed’s Lens Blur tool:
- Open your photo in Snapseed.
- Select the Lens Blur tool.
- Adjust the Blur Strength, Transition, and Vignette Strength.
Using Snapseed to add a blurred vignette
This technique works best with centrally positioned subjects.
With these four simple techniques, you can easily blur photo backgrounds on your iPhone like a pro. Experiment, have fun, and create stunning images!