Adobe Photoshop is a powerful tool for photographers and designers alike, offering a wide array of features to manipulate and enhance images. One of the most fundamental adjustments you’ll need to make is resizing your photos. Whether you’re preparing images for the web, print, or simply need to alter dimensions for creative purposes, understanding how to resize photos in Photoshop is essential. This guide will walk you through various methods to precisely adjust photo size in Photoshop, ensuring you achieve the perfect dimensions and maintain image quality.
Resizing Photos Using the Scale Function
The Scale function in Photoshop is a straightforward way to resize layers or objects proportionally or non-proportionally. Let’s start by selecting the layer you want to resize. In this example, we’ll begin with a white background layer. Locate the Layers panel, typically in the bottom-right corner, and click on the desired layer to select it. A light gray background indicates the active layer.
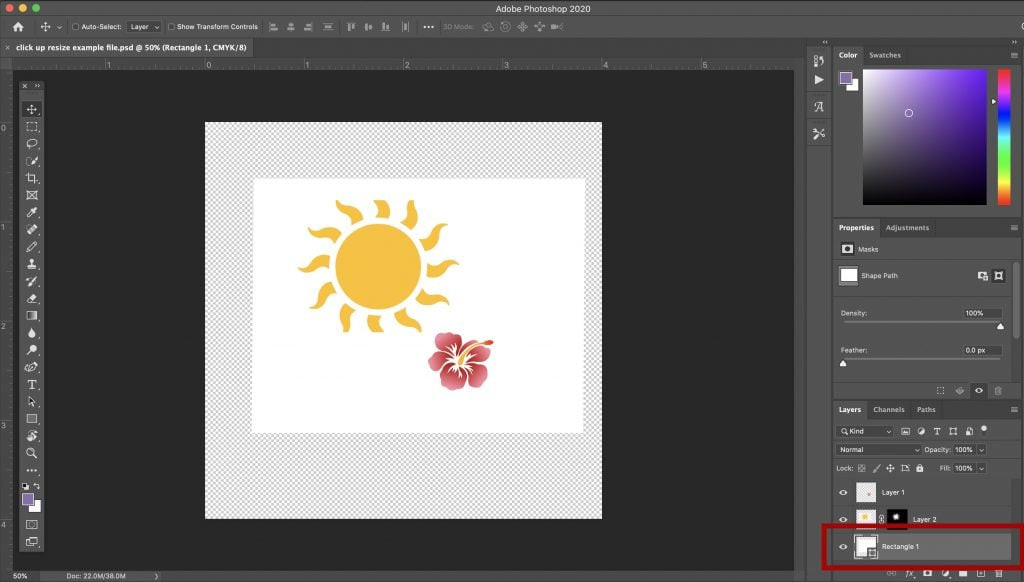 Selected white layer in Photoshop's Layers panel, ready for scaling
Once your layer is selected, navigate to the top menu bar and click on Edit, then hover over Transform and select Scale from the dropdown menu.
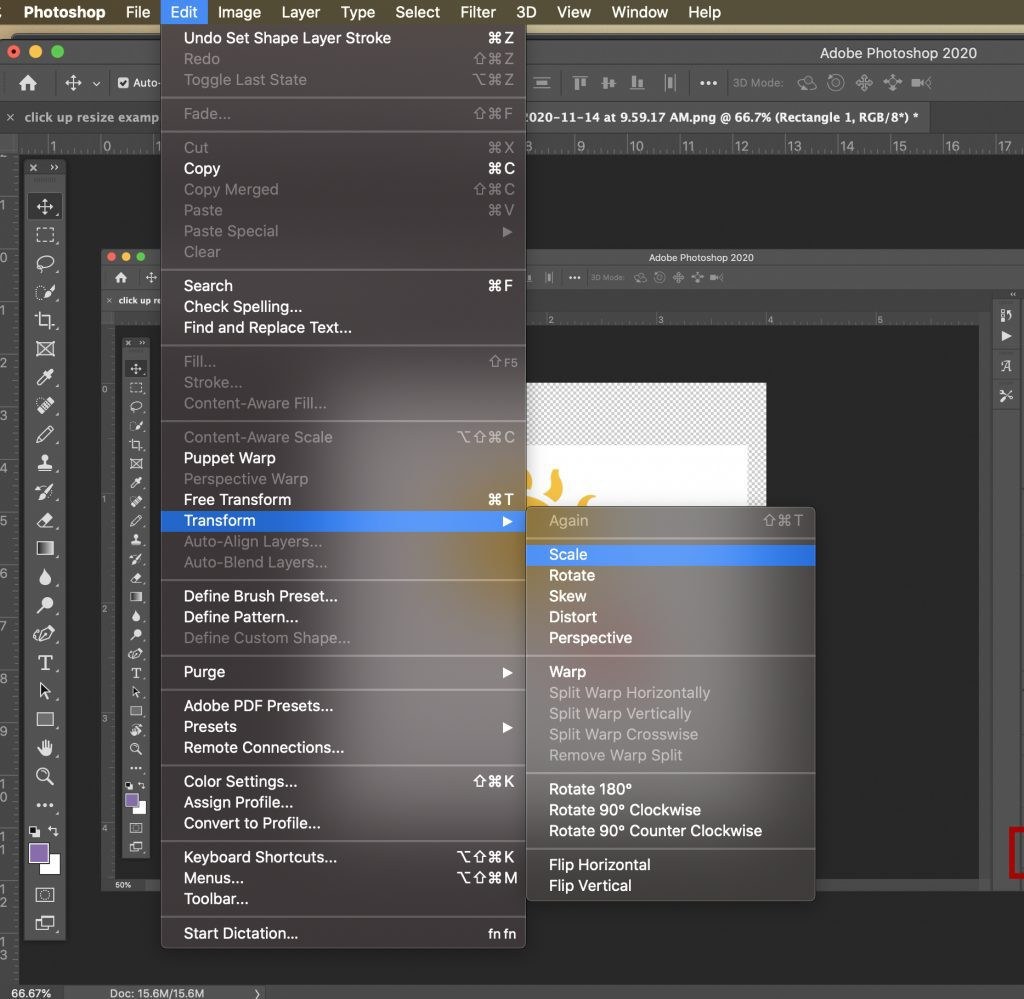 Accessing the Scale transform option in Photoshop's Edit menu
A bounding box will immediately appear around your selected object or layer. This box is equipped with handles at the corners and sides, allowing you to interactively resize the element.
 Bounding box with handles around a white square in Photoshop, indicating the Scale transformation is active
To resize the object proportionally—maintaining its original aspect ratio—simply click and drag any of the corner handles. As you drag, Photoshop will automatically adjust both the height and width in the same ratio.
 Proportional resizing of a white square using a corner handle in Photoshop Scale transform
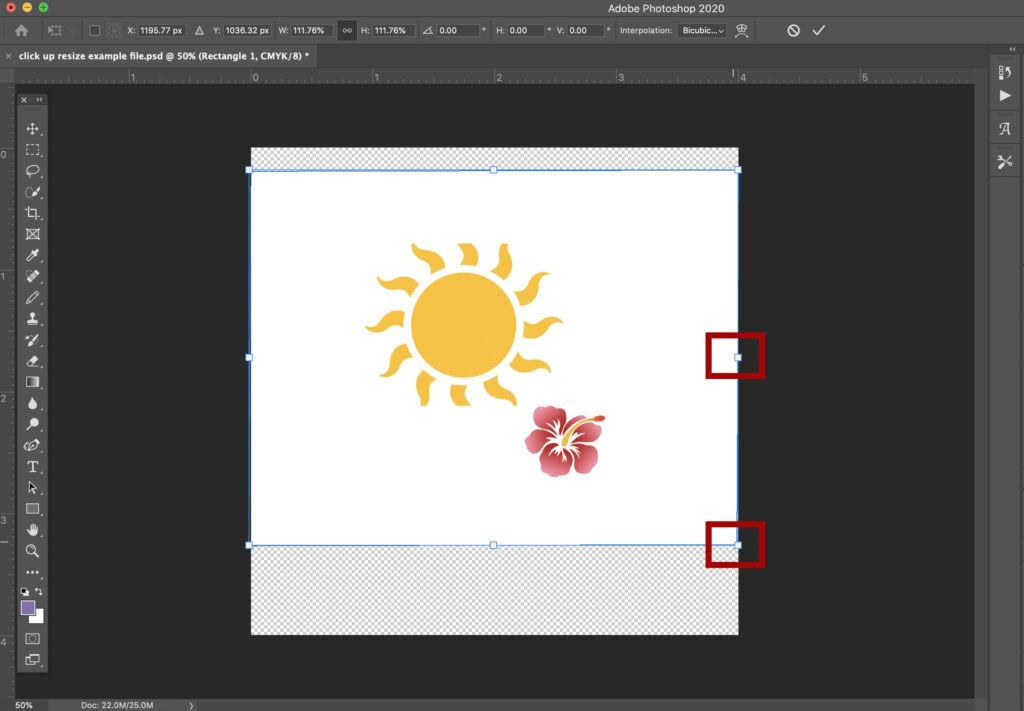
Sometimes, you might need to resize an object non-proportionally, stretching it in one direction more than another. To achieve this, look at the Options Bar at the top of your screen. You’ll see a Maintain Aspect Ratio button, depicted as a link icon. Click this button to deselect it.
 Maintain Aspect Ratio button deselected in Photoshop's Options Bar for non-proportional scaling
With the Maintain Aspect Ratio deselected, you can now drag a side handle independently. This allows you to stretch or compress the object horizontally or vertically without affecting the other dimension.
 Non-proportional resizing of a white square using a side handle in Photoshop Scale transform, Maintain Aspect Ratio is off
By using the Scale function and toggling the Maintain Aspect Ratio option, you have precise control over how you resize your photos in Photoshop.
Utilizing Free Transform for Photo Adjustments
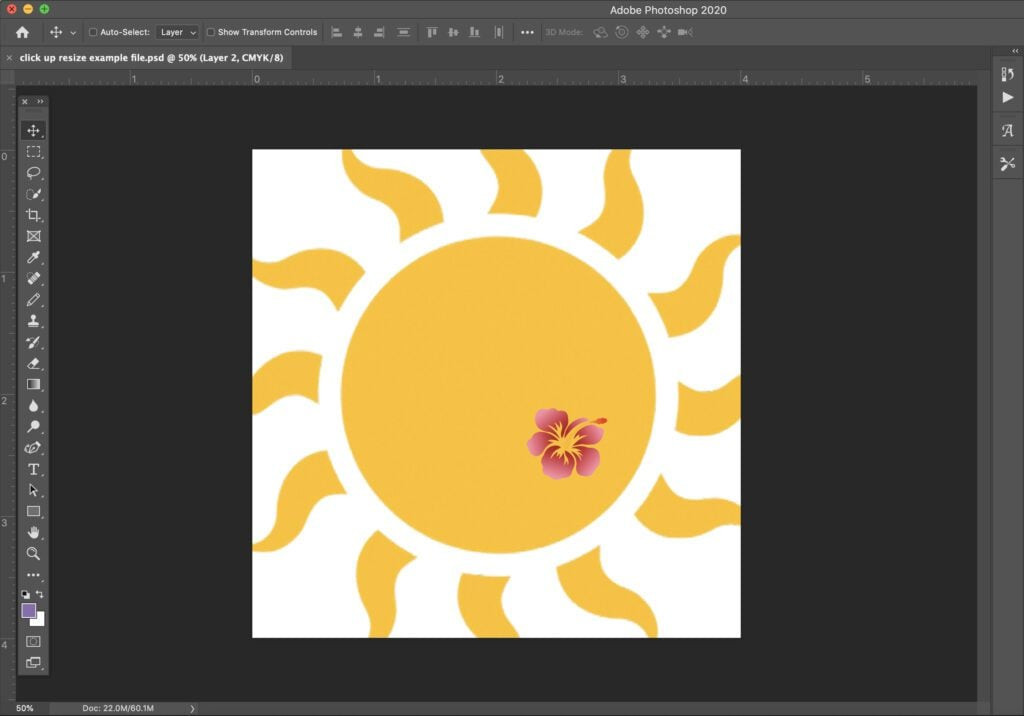
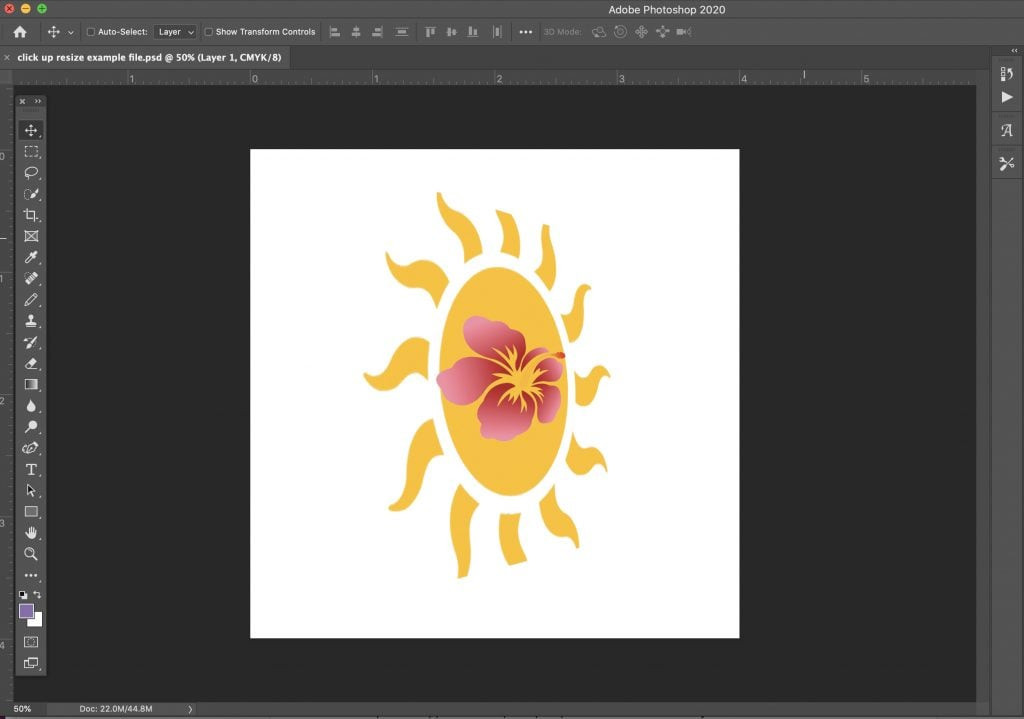
Another versatile method for resizing photos in Photoshop is through the Free Transform command. Free Transform encompasses all the functionalities of Scale and more, offering a unified tool for various transformations. For this example, we’ll use a sun graphic layer. Select the layer containing the sun graphic from the Layers panel.
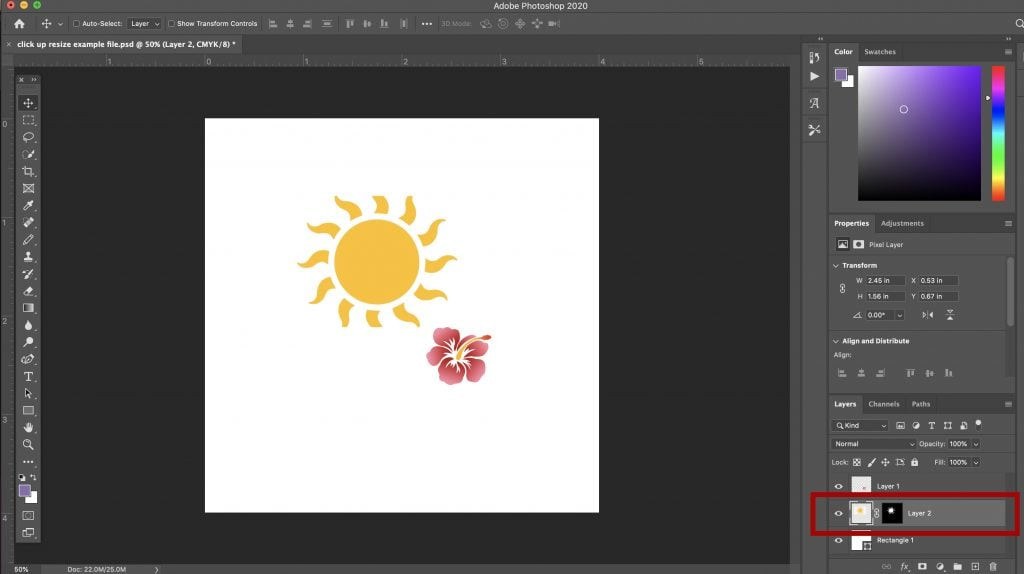 Sun graphic layer selected in Photoshop's Layers panel, ready for Free Transform
Access Free Transform by going to the Edit menu and selecting Free Transform. Alternatively, a quicker method is using the keyboard shortcut Ctrl+T on Windows or Command+T on Mac.
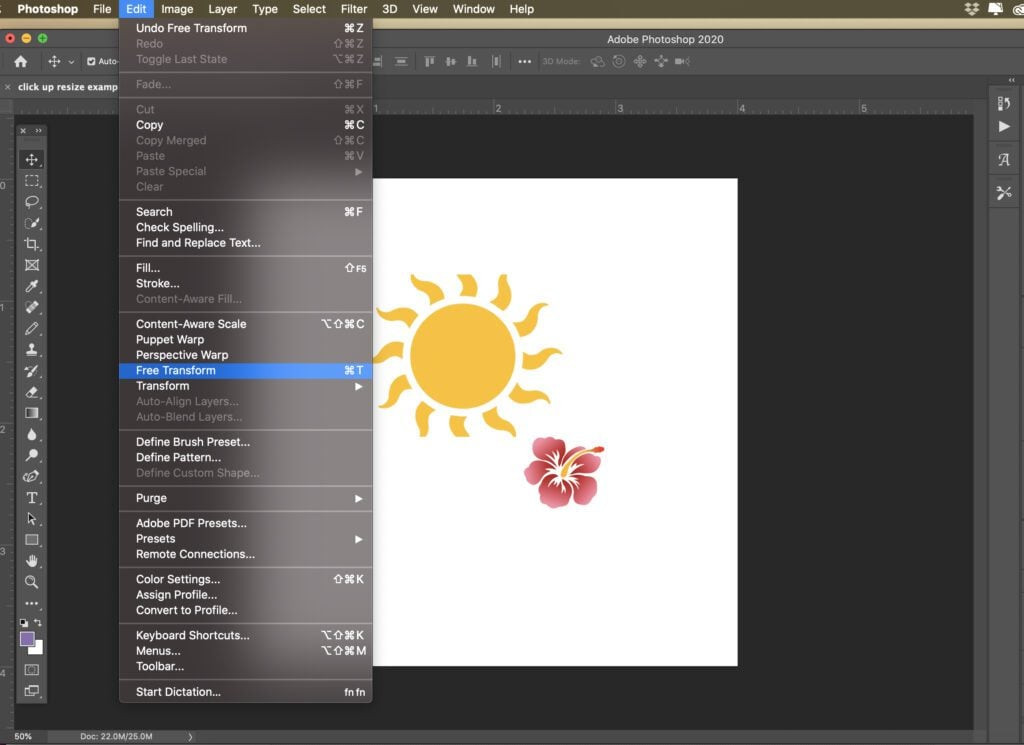 Accessing Free Transform option in Photoshop's Edit menu
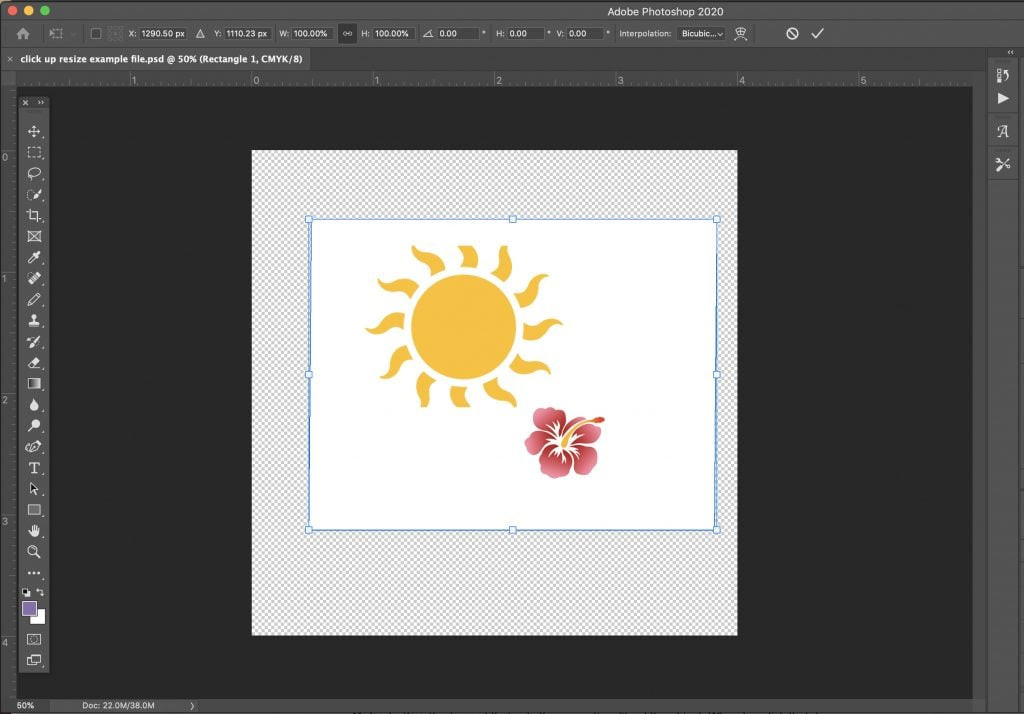
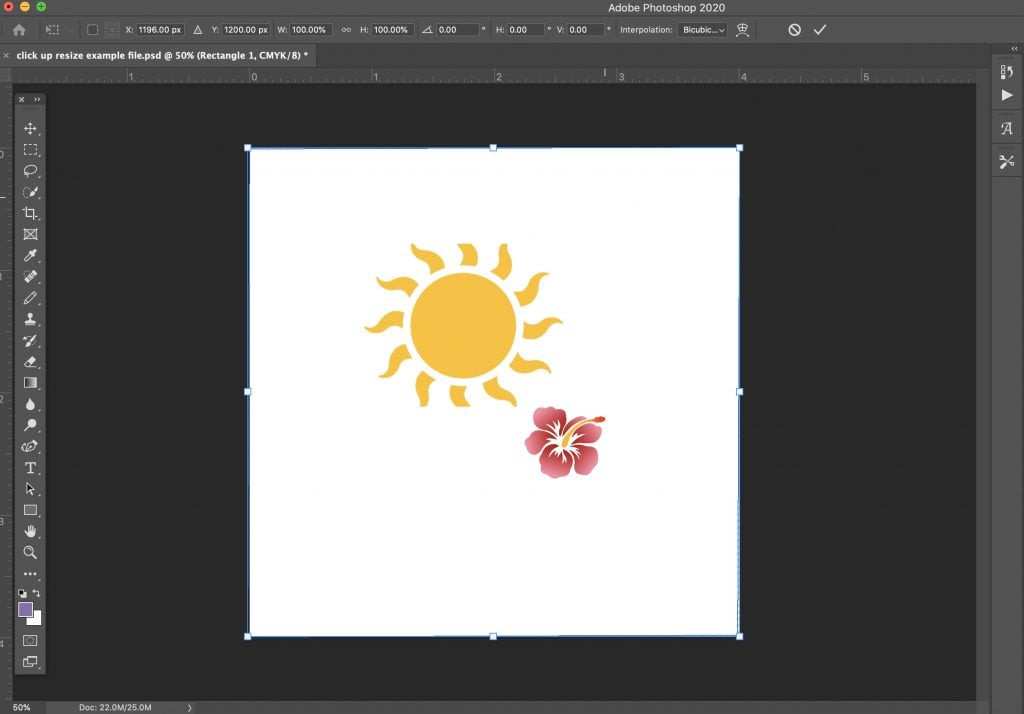
Just like with the Scale function, a bounding box with handles will appear around the selected sun graphic, indicating that Free Transform is active.
 Bounding box with handles around a sun graphic in Photoshop, indicating Free Transform is active
If you intend to resize the photo proportionally using Free Transform, ensure the Maintain Aspect Ratio button (link icon) in the Options Bar is selected. Then, drag any of the corner handles to resize the sun graphic while preserving its proportions.
 Proportional resizing of a sun graphic using a corner handle in Photoshop Free Transform, Maintain Aspect Ratio is on
Beyond using handles, Free Transform and Scale offer another precise control method: numerical input. In the Options bar, you’ll find fields for Width (W) and Height (H), displayed as percentages. This allows you to resize your photo by entering specific percentage values.
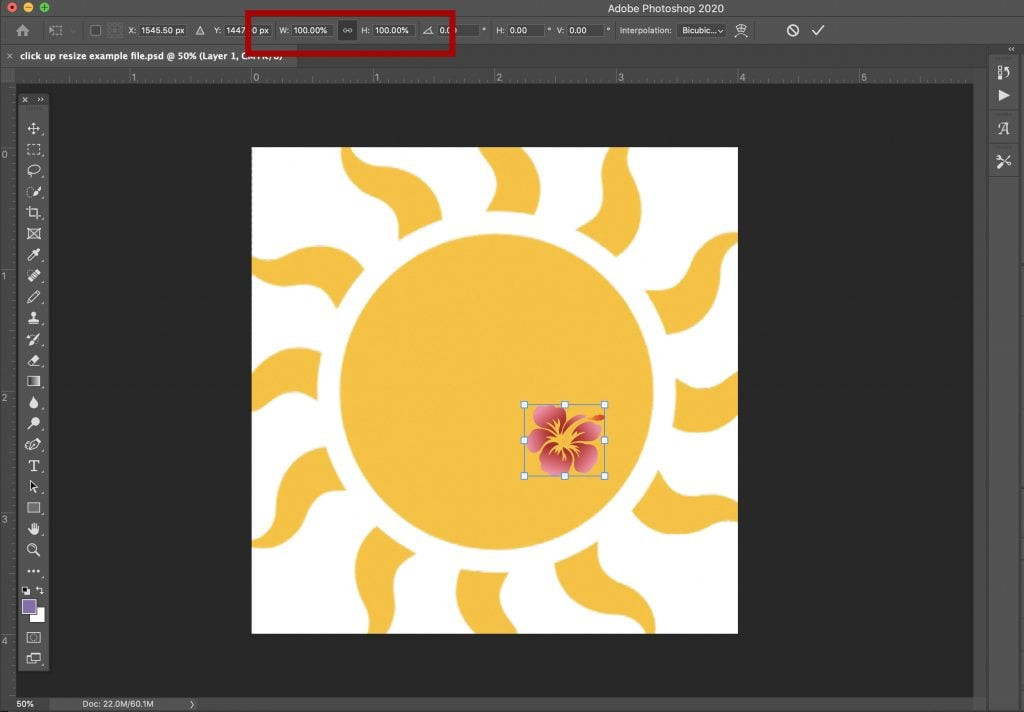 Width and Height percentage input fields in Photoshop's Options Bar for precise resizing
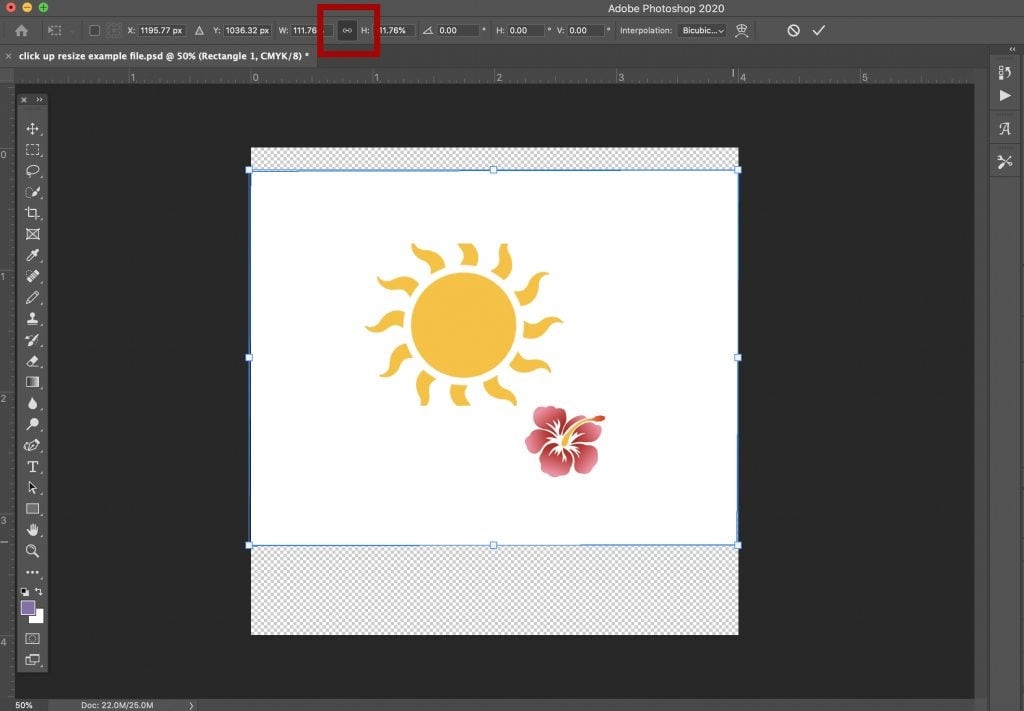
For example, if you want to increase the size of a flower layer while maintaining its aspect ratio, you can select the layer, activate Free Transform (or Scale), ensure the Maintain Aspect Ratio icon is enabled, and then type a percentage value into either the Width or Height field. Changing one field will automatically update the other to maintain proportions.
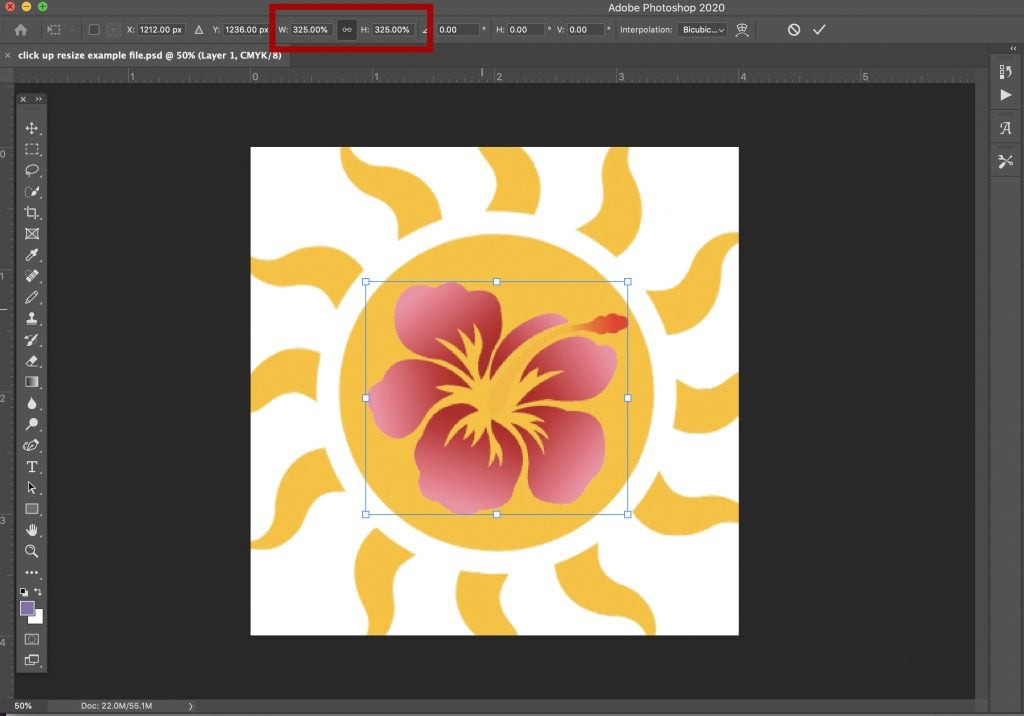 Adjusting height percentage to resize a flower graphic proportionally in Photoshop Free Transform
Exploring Transform Sub-options for Advanced Photo Adjustments
The Transform command in Photoshop extends beyond just scaling and offers a suite of sub-options that provide creative ways to adjust your photos. These include Rotate, Skew, Distort, Perspective, and Warp.
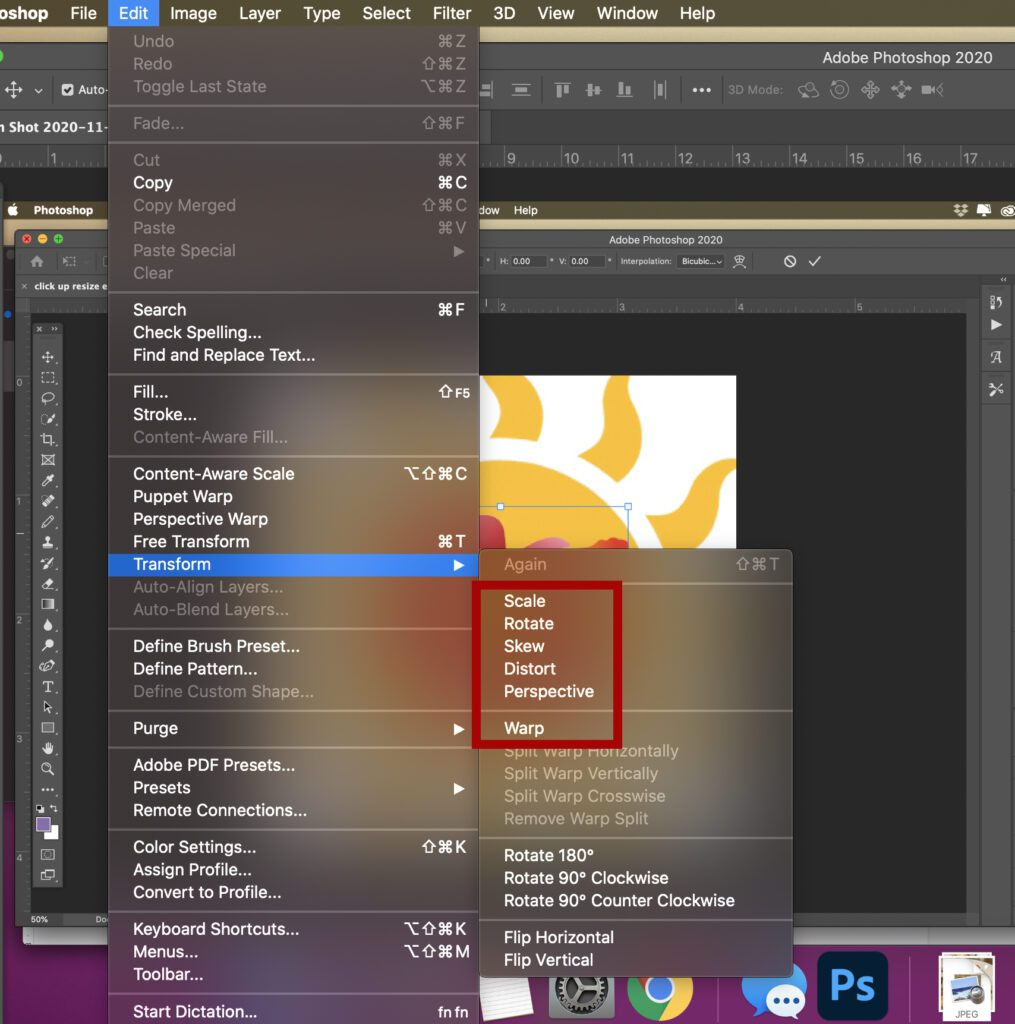 Transform sub-options available in Photoshop's Transform menu, including Rotate, Skew, Distort, Perspective, and Warp
These sub-options are powerful tools for creating unique effects and manipulating the spatial characteristics of your images. For instance, the Perspective option can be used to simulate depth and distance within a 2D image. By manipulating the handles of the bounding box when using Perspective, you can make objects appear to recede into the background, as demonstrated below with the sun and flower graphics.
 Perspective transformation applied to sun and flower graphics in Photoshop, creating a sense of depth
Here’s a brief overview of each Transform sub-option:
- Rotate: Rotates the object around a designated reference point. Click and drag outside the bounding box to rotate. Hold Shift for 15° increments.
- Skew: Slants the object horizontally and vertically. Drag a side handle to skew.
- Distort: Stretches the object in any direction. Use corner handles for distortion.
- Perspective: Applies a one-point perspective effect. Drag a corner handle to adjust perspective.
- Warp: Allows for complex shape manipulation using a mesh grid. Drag control points, lines, or areas within the mesh to warp the object’s shape.
For a more in-depth exploration of these sub-options, Adobe’s official documentation provides comprehensive details and examples.
Streamlining Your Workflow with Keyboard Shortcuts
Keyboard shortcuts can significantly speed up your photo editing workflow, especially when it comes to resizing and transforming images in Photoshop. Mastering these shortcuts will allow you to make adjustments more efficiently.
Here are some essential keyboard shortcuts for resizing and transforming:
- Free Transform: Ctrl + T (Windows) or Command + T (Mac) activates Free Transform, placing a bounding box around the selected layer.
- Resize from Center: Hold Alt (Windows) or Option (Mac) while dragging a handle to resize the object from its center point, expanding or contracting equally in all directions.
- Constrain Aspect Ratio: Hold Shift while dragging a handle in Free Transform to maintain the object’s original aspect ratio. This is an alternative to clicking the Maintain Aspect Ratio button in the Options Bar.
- Proportional Resize from Center: Hold Shift + Alt (Windows) or Shift + Option (Mac) while dragging a corner handle to resize proportionally from the center. Using a side handle with this combination will adjust opposite sides equally.
- Access Transform Sub-menu: Right-click (Windows) or Control + click (Mac) within the bounding box to access the Transform sub-menu, offering quick access to Rotate, Skew, Distort, etc. Holding Alt (Windows) or Option (Mac) while using these sub-options might activate specific behaviors within them, depending on the chosen sub-option.
- Temporary Mode Switching in Free Transform:
- Skew/Distort Mode: Hold Ctrl (Windows) or Command (Mac) and drag a side or corner handle to temporarily switch to Skew or Distort mode.
- Perspective Mode: Hold Shift + Ctrl + Alt (Windows) or Shift + Command + Option (Mac) and drag a corner handle to temporarily engage Perspective mode.
- Releasing the keys reverts back to standard Free Transform mode.
- Commit Transformation: Press Enter to finalize and apply the transformation.
Conclusion: Efficient Photo Size Adjustment in Photoshop
Transform and Free Transform are indeed among the most intuitive and frequently used methods for adjusting photo sizes and manipulating objects in Photoshop. With a little practice, these techniques will become second nature, allowing for swift and precise image adjustments. Experimenting with the various Transform sub-options and keyboard shortcuts will further enhance your efficiency and creative possibilities within Photoshop.
For those looking to delve deeper into the world of image transformation in Photoshop, Adobe’s comprehensive help documentation is an invaluable resource. It offers extensive details and advanced techniques to master image manipulation.
We encourage you to try out these resizing techniques and explore the transformative power of Photoshop. Share your experiences or any unique methods you discover in the comments below!