Adding text to images in Microsoft Word is a versatile skill with various applications. Whether you’re designing a greeting card, crafting an invitation, incorporating a watermark, or preparing a presentation, knowing how to overlay text on an image can significantly enhance your document’s visual appeal and convey important information effectively. This guide provides a step-by-step tutorial on how to achieve this effortlessly.
Simple Steps to Insert Text on an Image
Inserting text onto a picture in Word is straightforward, even for beginners. Here’s a detailed walkthrough:
1. Prepare Your Image
First, insert your chosen image into your Word document. You can do this by dragging and dropping the image directly into the document or by using the “Insert” tab and selecting “Pictures.”
2. Adjust Image Layout
Right-click on the inserted image and select “Wrap Text.” In the “Wrap Text” menu, choose the “Square” option under “Wrapping style.” This allows text to flow around the image, creating space for your text box. This step is crucial as it prevents the text box from simply pushing the image around.
 alt text: Selecting square wrapping style for image in Microsoft Word.
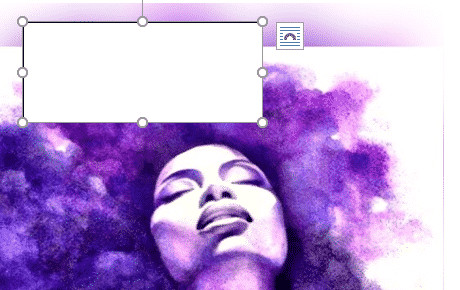
3. Insert a Text Box
Navigate to the “Insert” tab on the Word ribbon and click “Text Box.” Choose a text box style from the dropdown menu, or draw a text box directly onto the image by clicking and dragging. A simple text box without any pre-formatting is usually the best choice.
4. Add and Format Your Text
Type your desired text into the text box. You can customize the font, size, color, and alignment just like regular text in Word. To make the text stand out, consider using contrasting colors or adding a subtle text shadow.
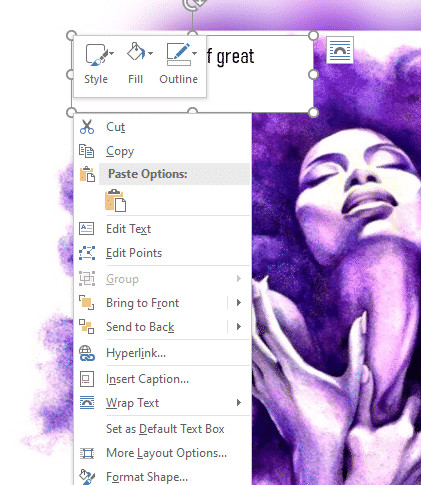
5. Refine the Text Box
To make the text appear as if it’s directly on the image, remove the text box border and fill. Right-click on the text box border, select “Shape Format,” and in the “Shape Options” menu, set both the “Fill” and “Line” to “No fill.” This will create a transparent text box, leaving only your text visible on the image.
 alt text: Removing the text box border and fill in Microsoft Word's shape format options
6. Position and Fine-tune
Click and drag the text box to position it precisely where you want it on the image. Use the resizing handles on the corners of the text box to adjust its size. You can also rotate the text box for a more dynamic effect by using the rotation handle at the top.
Conclusion
By following these simple steps, you can easily add text to photos within Microsoft Word. This technique allows you to create visually engaging documents for a variety of purposes, from professional presentations to personal projects. Experiment with different font styles, colors, and positioning to achieve the desired effect and make your images truly stand out.