Have you ever wanted to combine two different photos into a single, seamless image? Whether you’re aiming to create a whimsical composite, blend landscapes, or simply merge elements from different shots, Photoshop offers powerful tools to bring your vision to life. This guide will walk you through the fundamental steps of adding photos together using Photoshop, specifically focusing on the technique of layer masking, making it easy even for beginners to achieve impressive results.
Getting Started: Opening Your Images in Photoshop
The first step is to open the two photos you want to combine within Photoshop. For this tutorial, we will recreate the effect of placing a person inside a bubble, similar to the example in the original article. You’ll need two images: one of a bubble and another of a person.
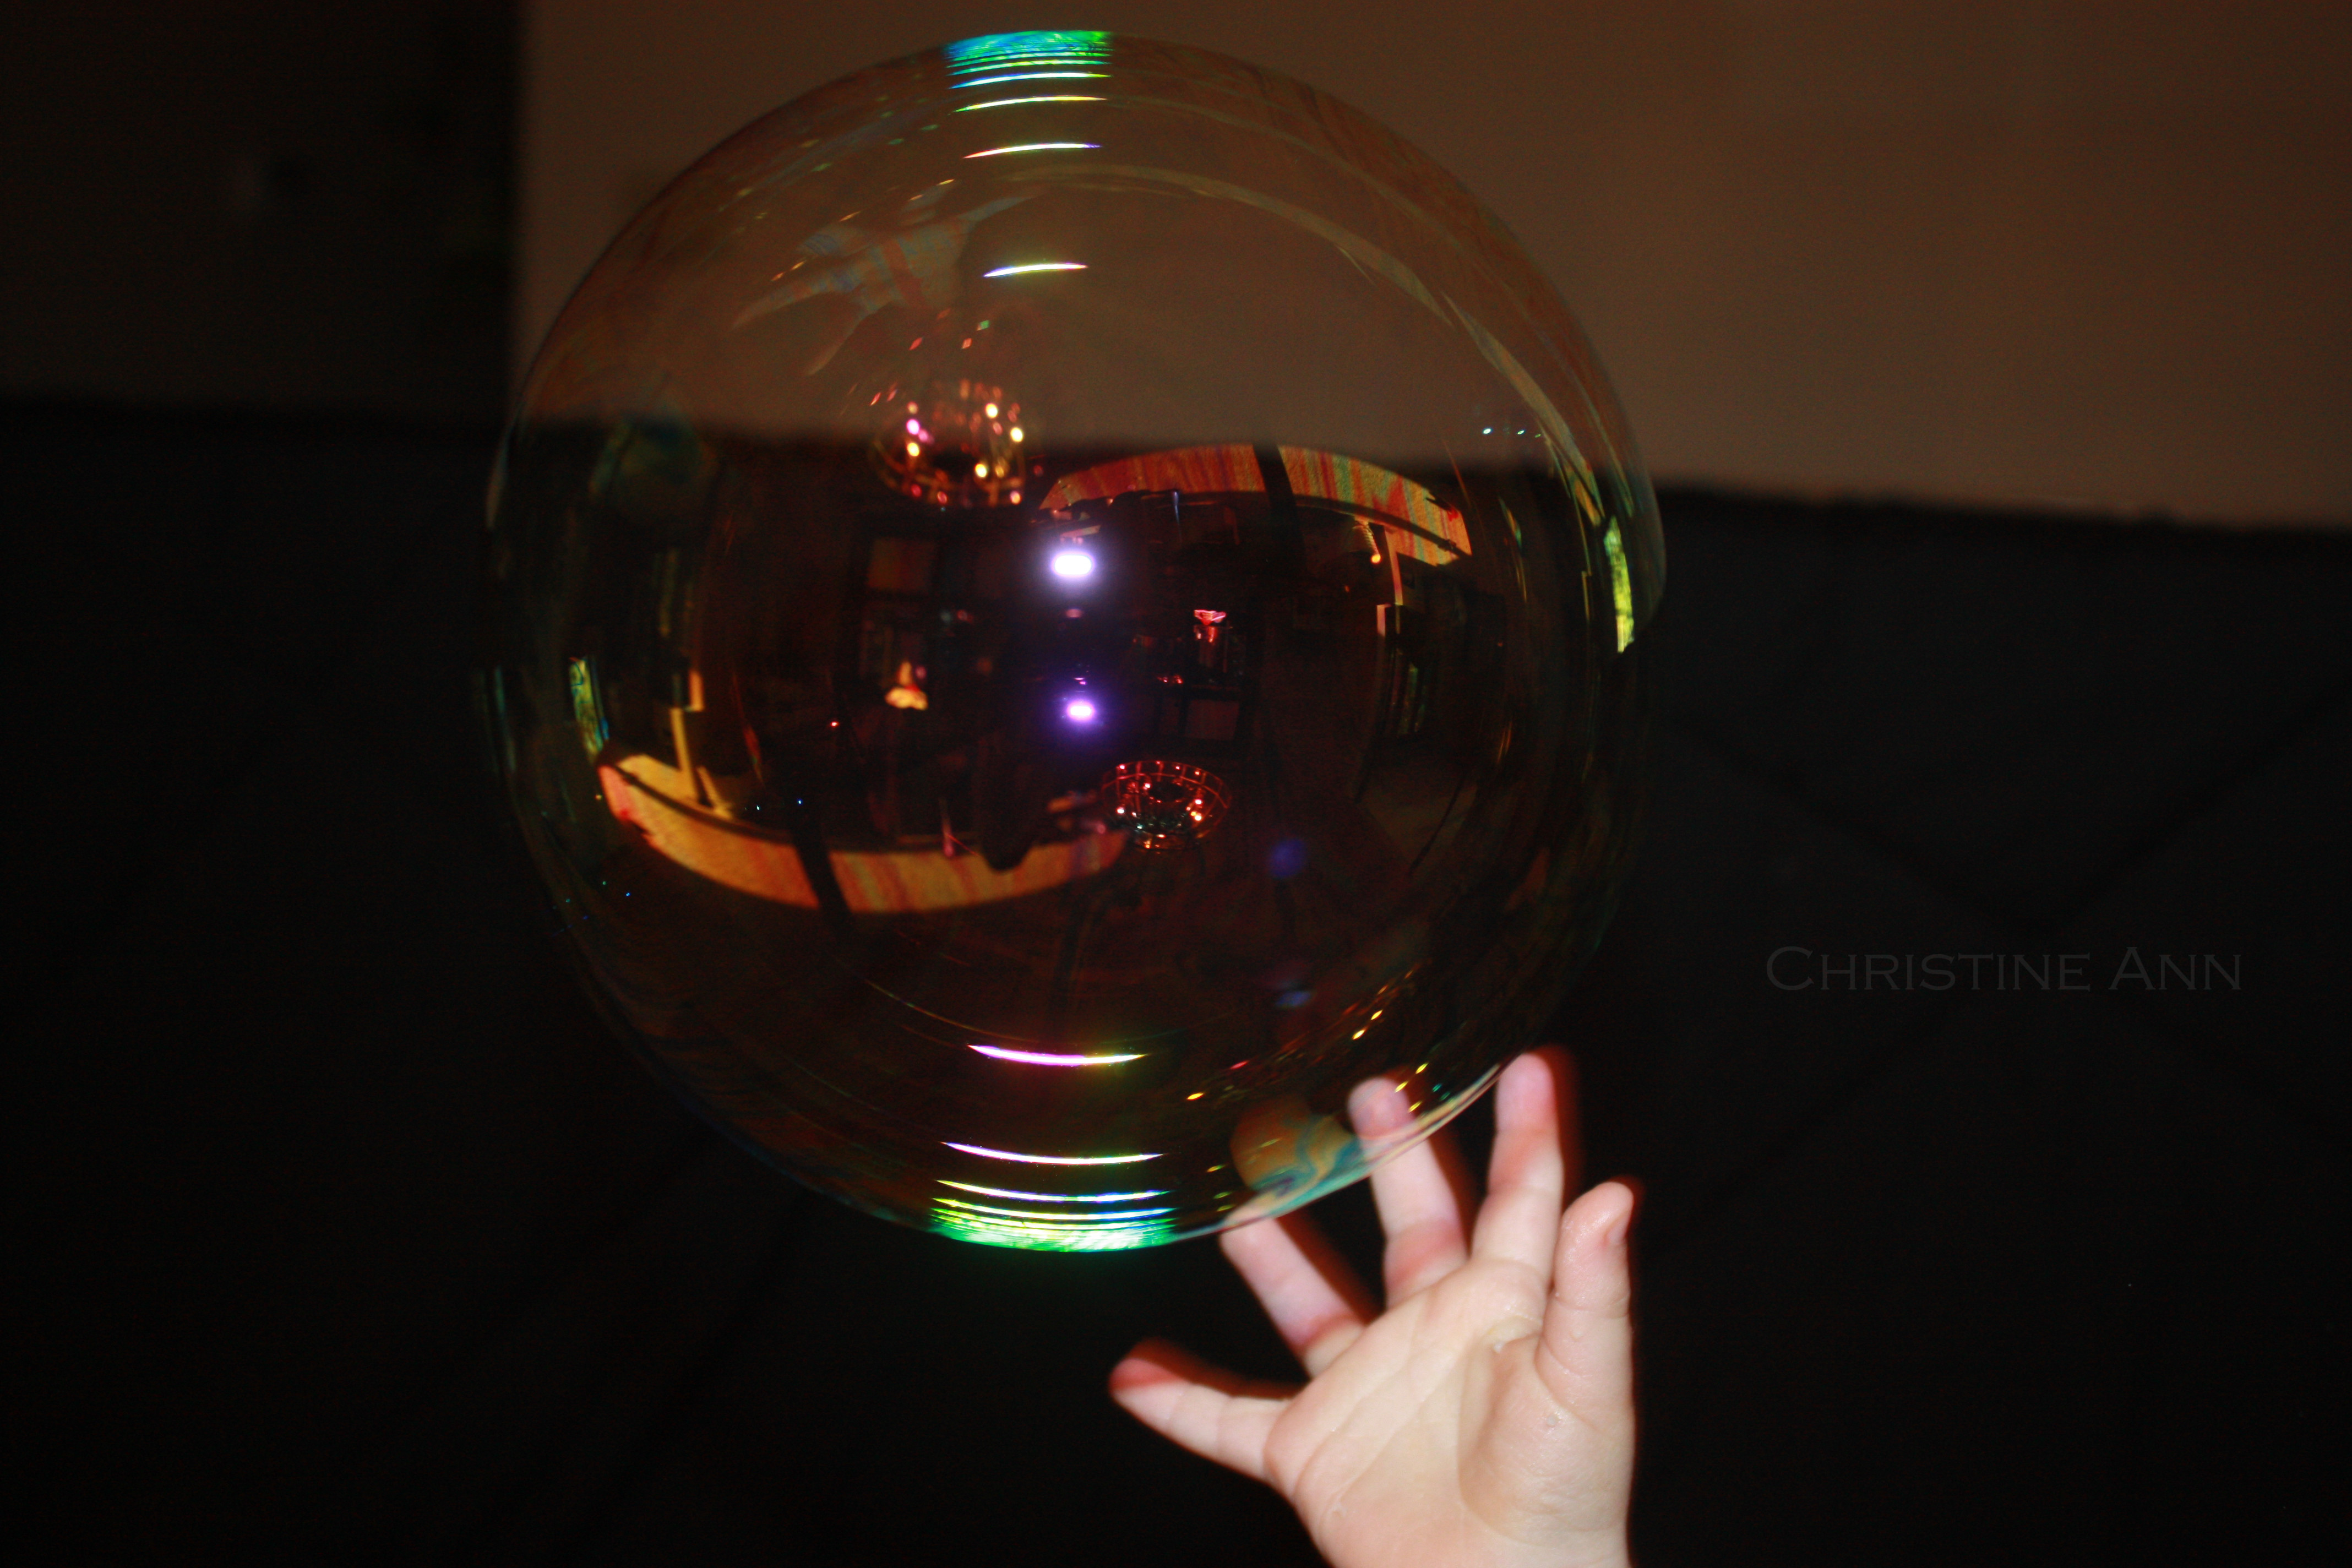 Original bubble photograph
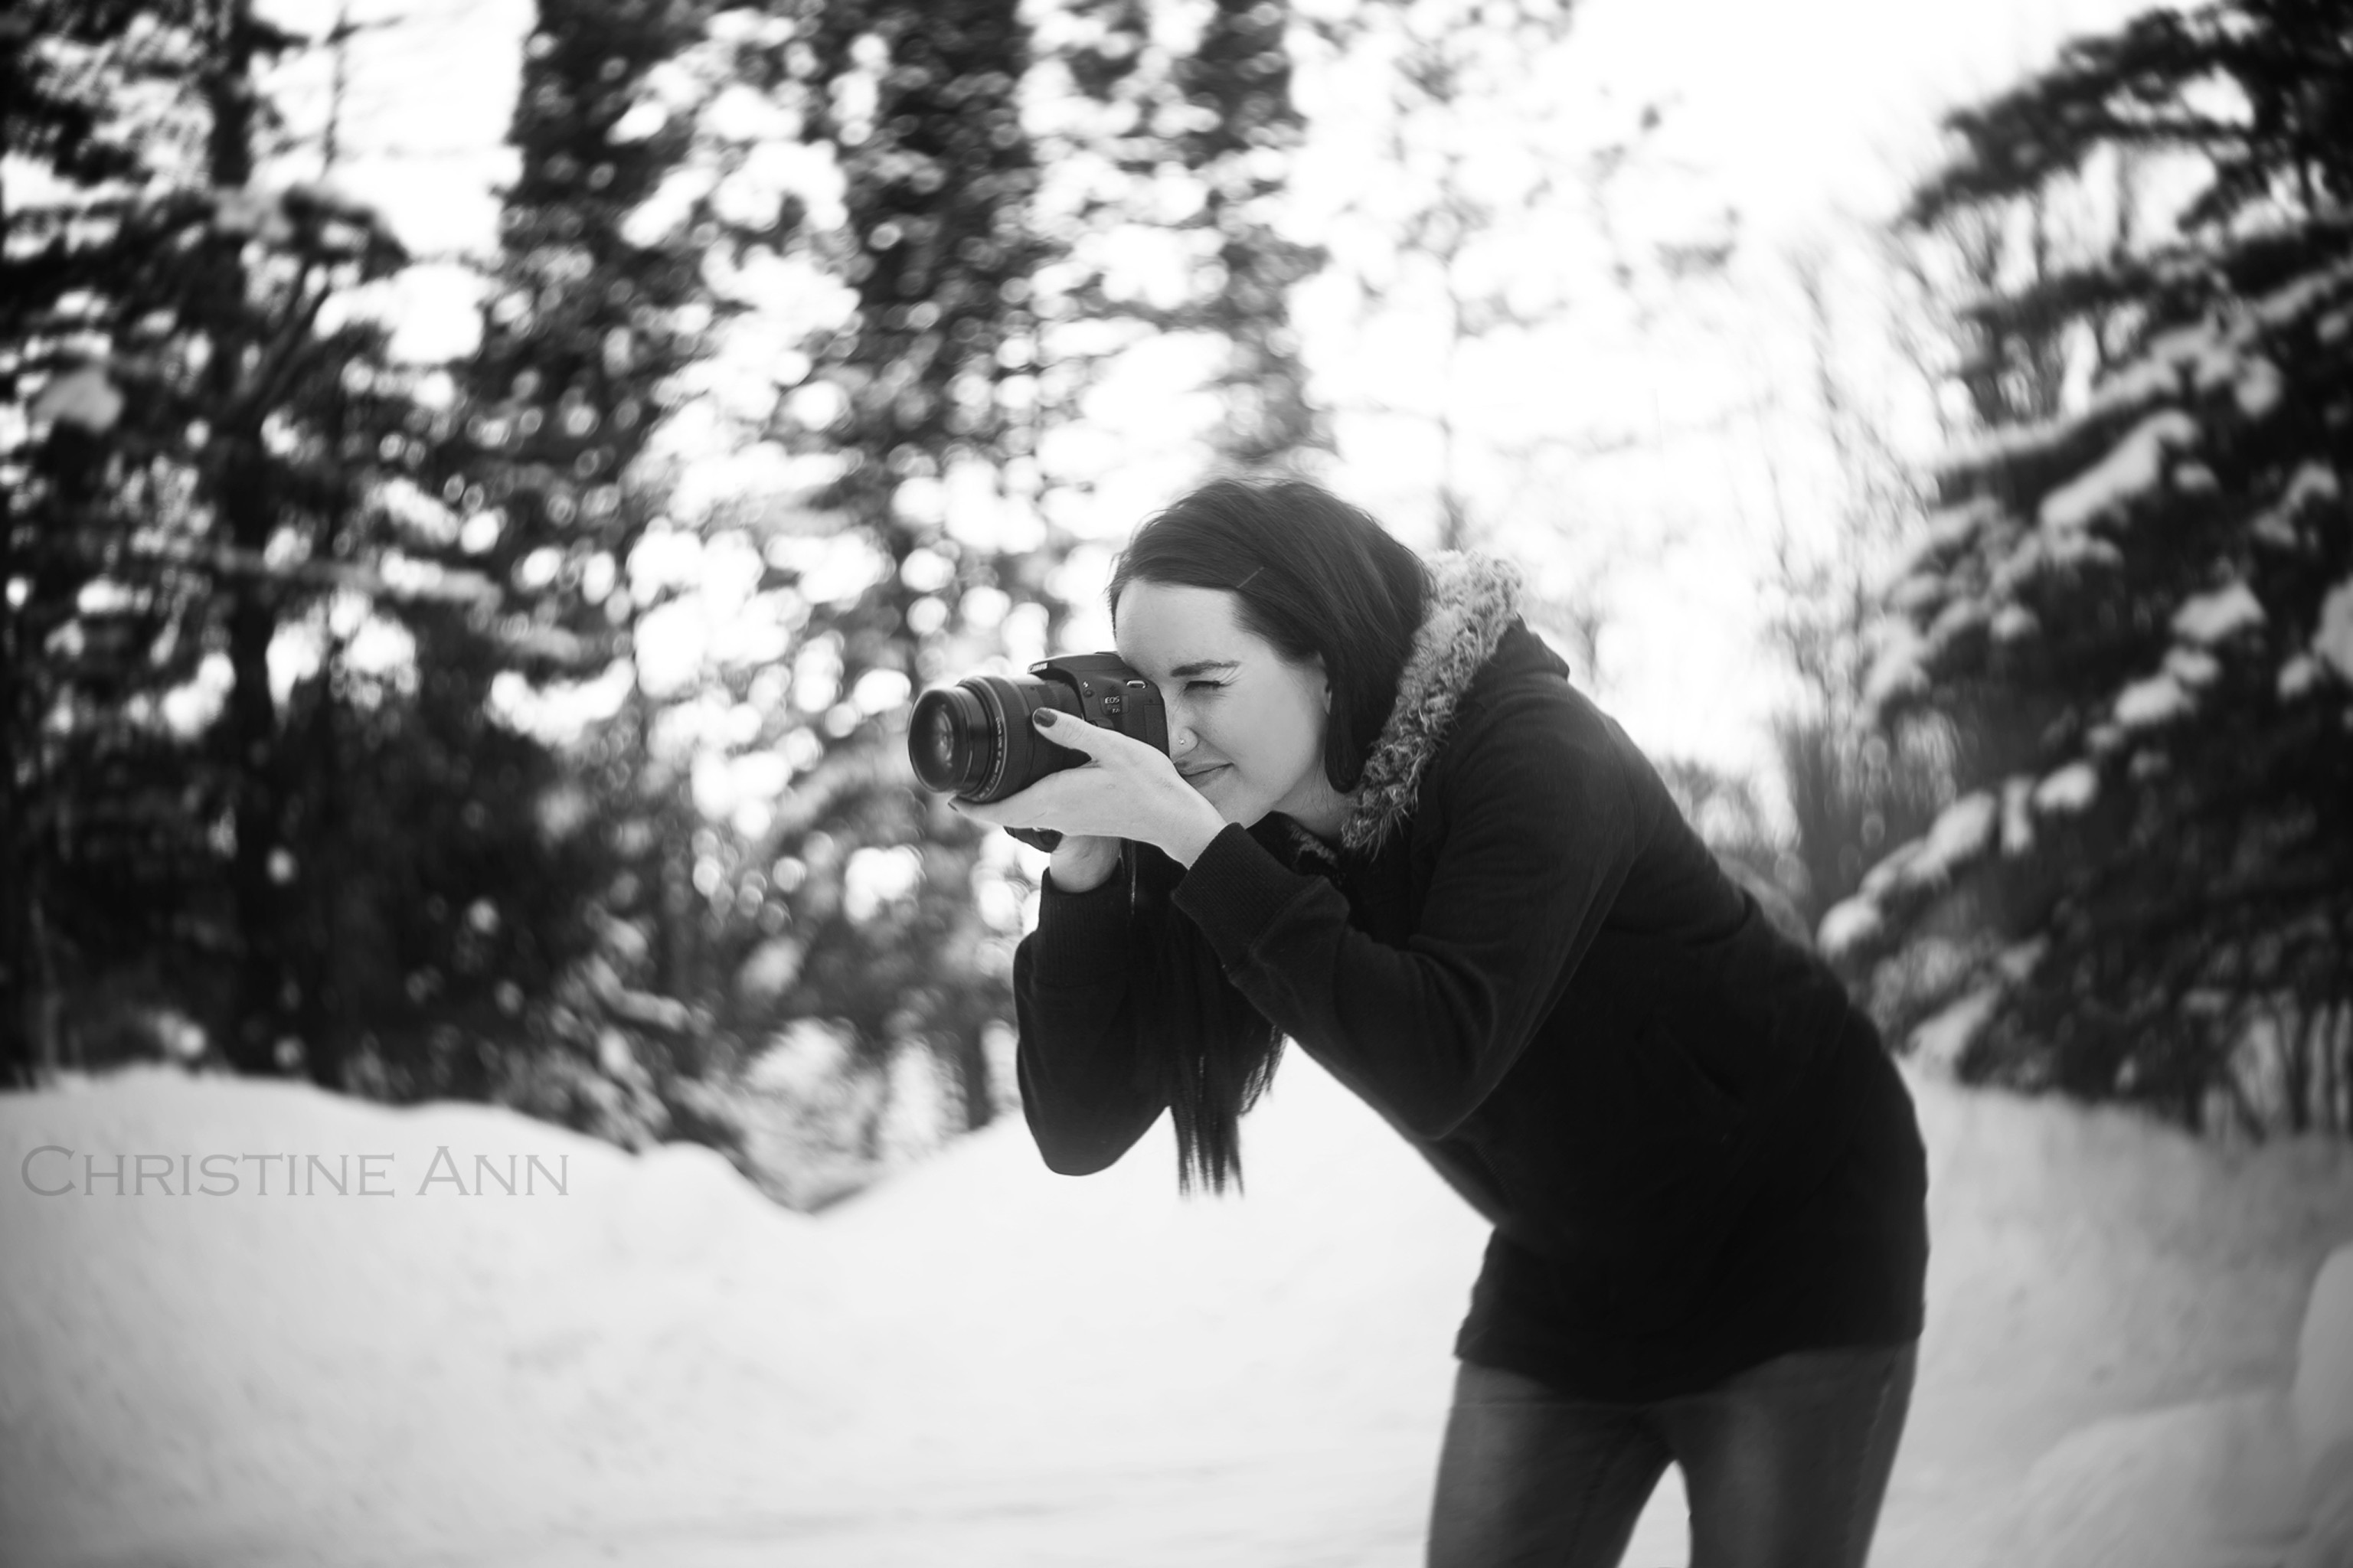 Original photograph of a person
Open both of your chosen images in Photoshop. You can do this by going to File > Open and selecting your image files.
Step 1: Copying and Pasting the Second Image
Next, you’ll need to bring one photo onto the canvas of the other. In this example, we will copy the photo of the person and paste it onto the bubble image.
- Select the image of the person.
- Go to
Select > Allto select the entire image. - Go to
Edit > Copy(or pressCtrl+Con Windows orCmd+Con Mac). - Switch to the bubble image.
- Go to
Edit > Paste(or pressCtrl+Von Windows orCmd+Von Mac).
This action will place the photo of the person onto a new layer above the bubble image. You can see the new layer in the “Layers” panel (usually located in the bottom right corner of your Photoshop workspace).
 Pasted person image as a new layer
Step 2: Resizing and Positioning the Top Image
Often, the image you paste will not be the correct size or position. In our example, the person image might be too large for the bubble. We need to resize and position it.
- Ensure the layer with the person image is selected in the “Layers” panel.
- Go to
Edit > Free Transform(or pressCtrl+Ton Windows orCmd+Ton Mac). This will place a bounding box with handles around the person image. - To resize proportionally, hold down the
Shiftkey and drag one of the corner handles. Drag inwards to make the image smaller, and outwards to make it larger. - To reposition, click and drag anywhere inside the bounding box to move the image around the canvas.
- Adjust the size and position of the person image until it roughly fits within the bubble in the image below.
- Press
Enterto apply the transformation.
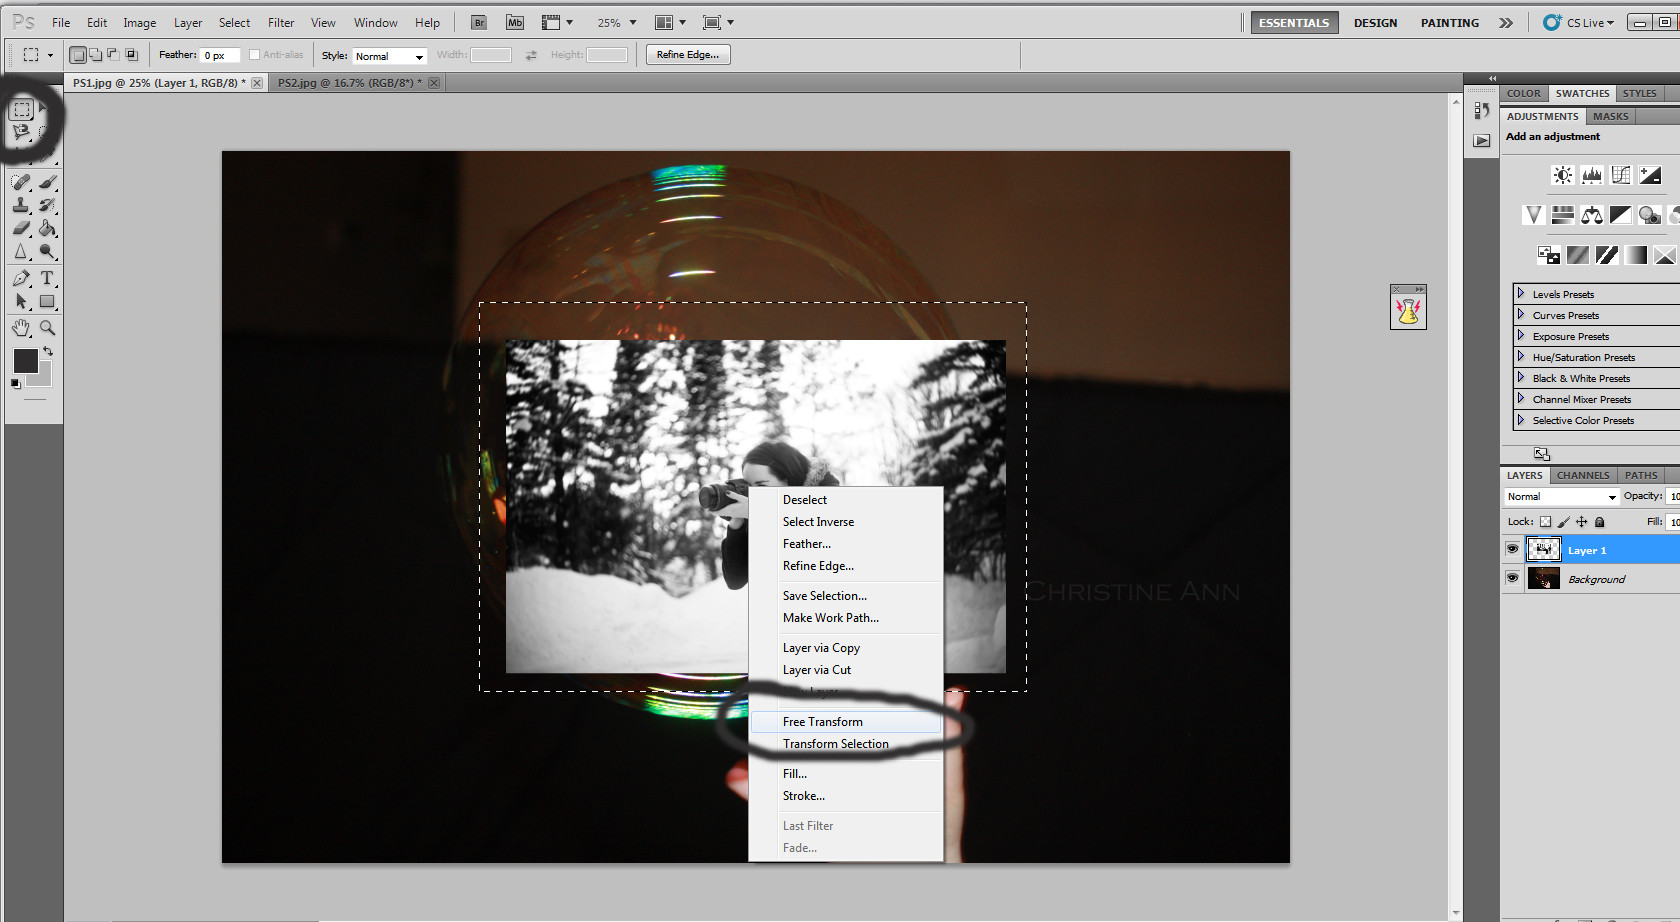 Resizing the person image using Free Transform
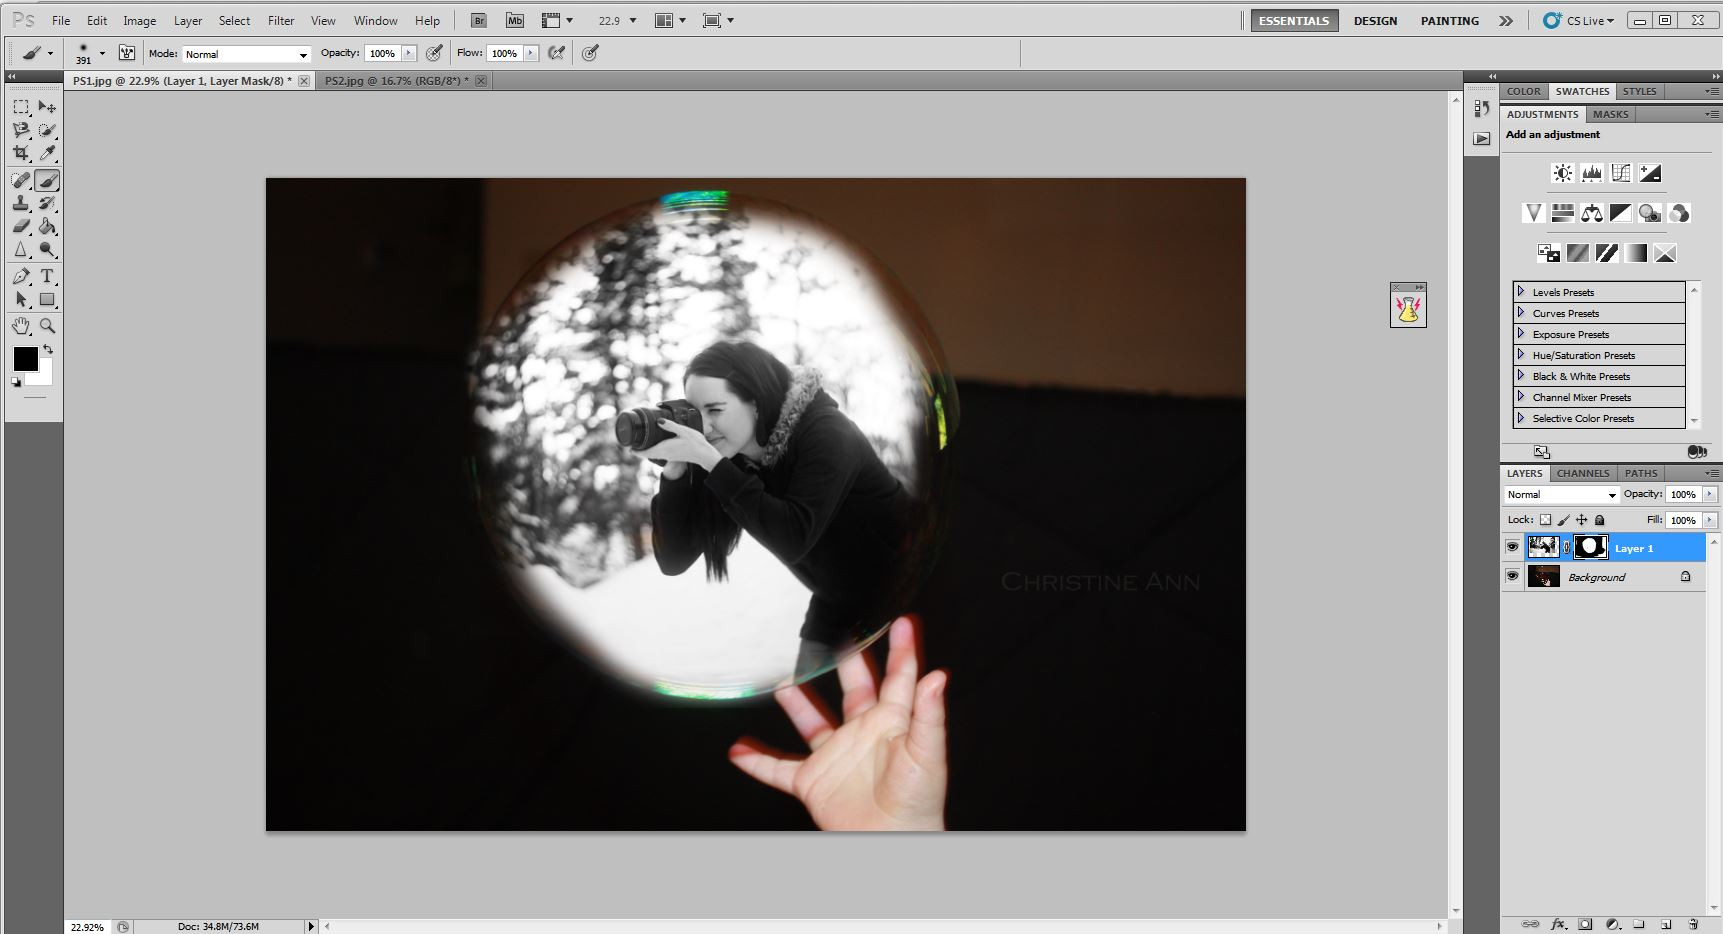
Step 3: Adding a Layer Mask for Seamless Blending
Now comes the crucial step for blending the two photos together: using a layer mask. A layer mask allows you to selectively hide or reveal parts of a layer, creating a smooth transition between images.
- Make sure the top layer (the person image) is selected in the “Layers” panel.
- At the bottom of the “Layers” panel, click the “Add layer mask” icon. It looks like a rectangle with a circle in the center. This will add a white layer mask next to your image layer.
 Adding a layer mask in Photoshop
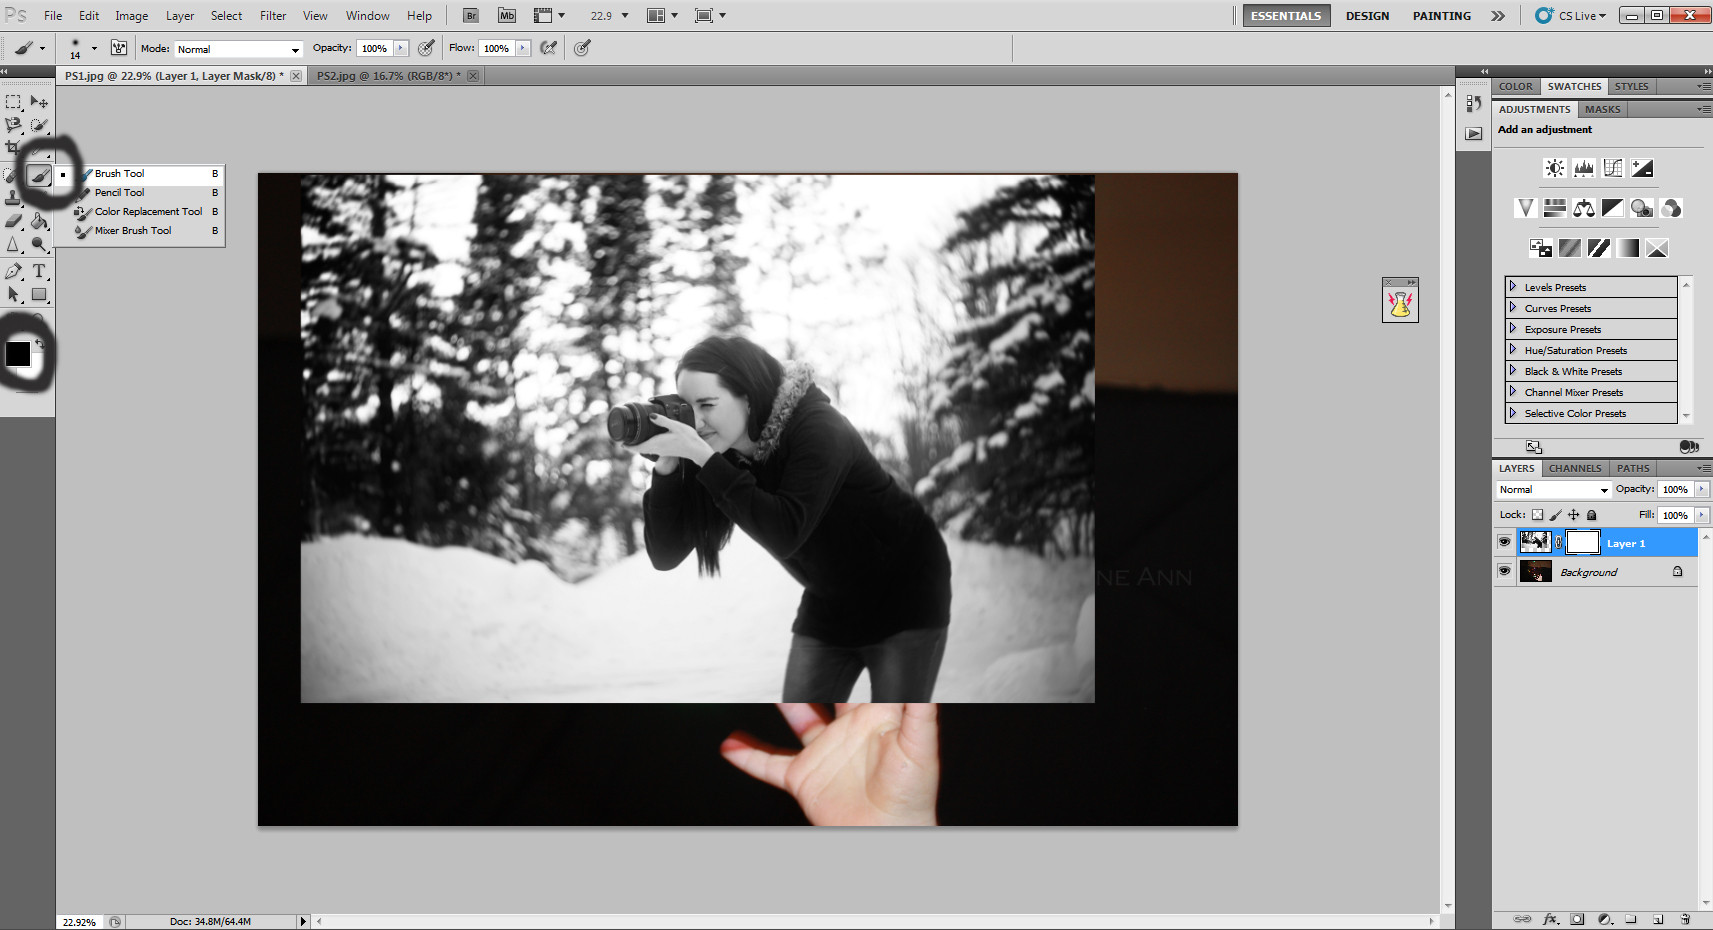
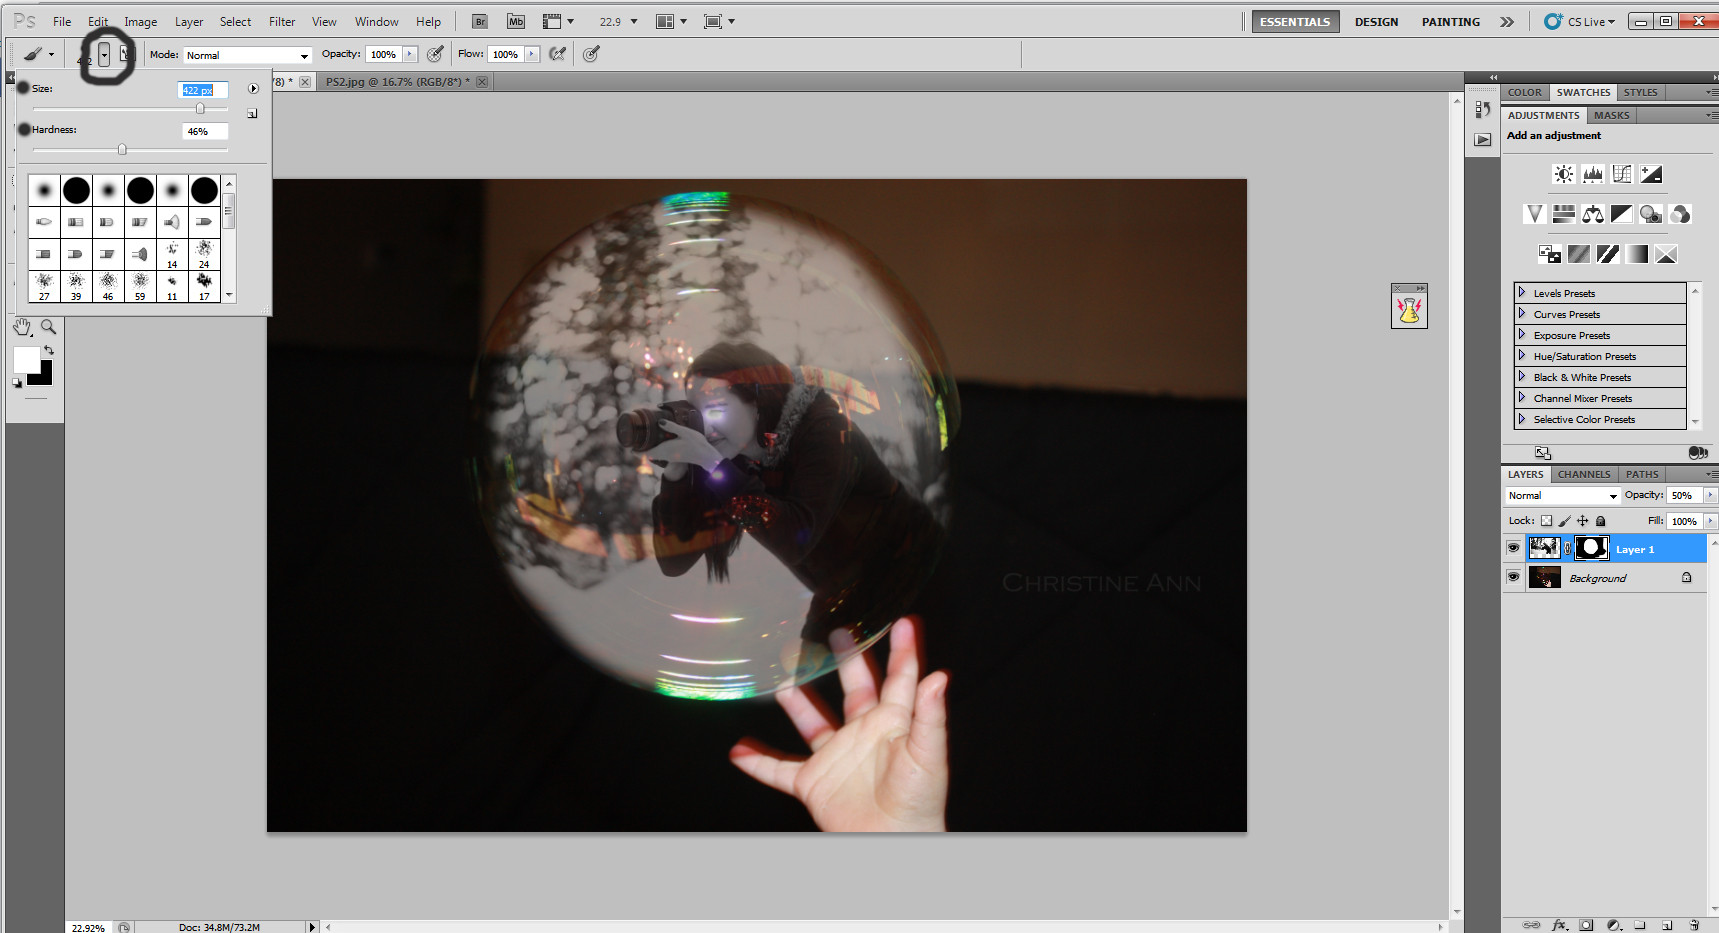
Step 4: Using the Brush Tool to Refine the Mask
With the layer mask added, you can now use the Brush tool to hide the parts of the person image that you don’t want to be visible (in our case, everything outside the bubble).
- Select the Brush tool (or press
B). - Set your foreground color to black. Black paint on a layer mask hides the corresponding area of the layer. White paint reveals it. You can switch between black and white quickly by pressing
X. - Ensure the layer mask is selected (click on the white layer mask thumbnail in the Layers panel, it should have a white border).
- Start painting with black over the areas of the person image that should be hidden, effectively erasing them to reveal the bubble image underneath.
- If you erase too much, switch your foreground color to white and paint back over the mask to reveal the image again.
 Painting on the layer mask with black brush
Step 5: Adjusting Opacity for Realistic Blending
To further refine the composite, you can adjust the opacity of the top layer. Lowering the opacity makes the top image more transparent, allowing the underlying image to show through and create a more blended effect.
- Select the top layer (the person image layer).
- In the “Layers” panel, find the “Opacity” dropdown menu.
- Click and drag the slider to the left to reduce the opacity. Experiment with different opacity levels until you achieve a natural-looking blend. For the bubble effect, a slightly lower opacity can help the person appear more naturally within the bubble’s reflection and transparency.
 Reducing layer opacity for blending
Step 6: Final Touches and Saving
Once you are satisfied with the blending, you can add final touches like color adjustments or sharpening to further enhance your composite image. To save your work for future editing, save it as a Photoshop PSD file (File > Save As and choose Photoshop format). To save a flattened, shareable image, go to File > Export > Export As and choose a format like JPEG or PNG.
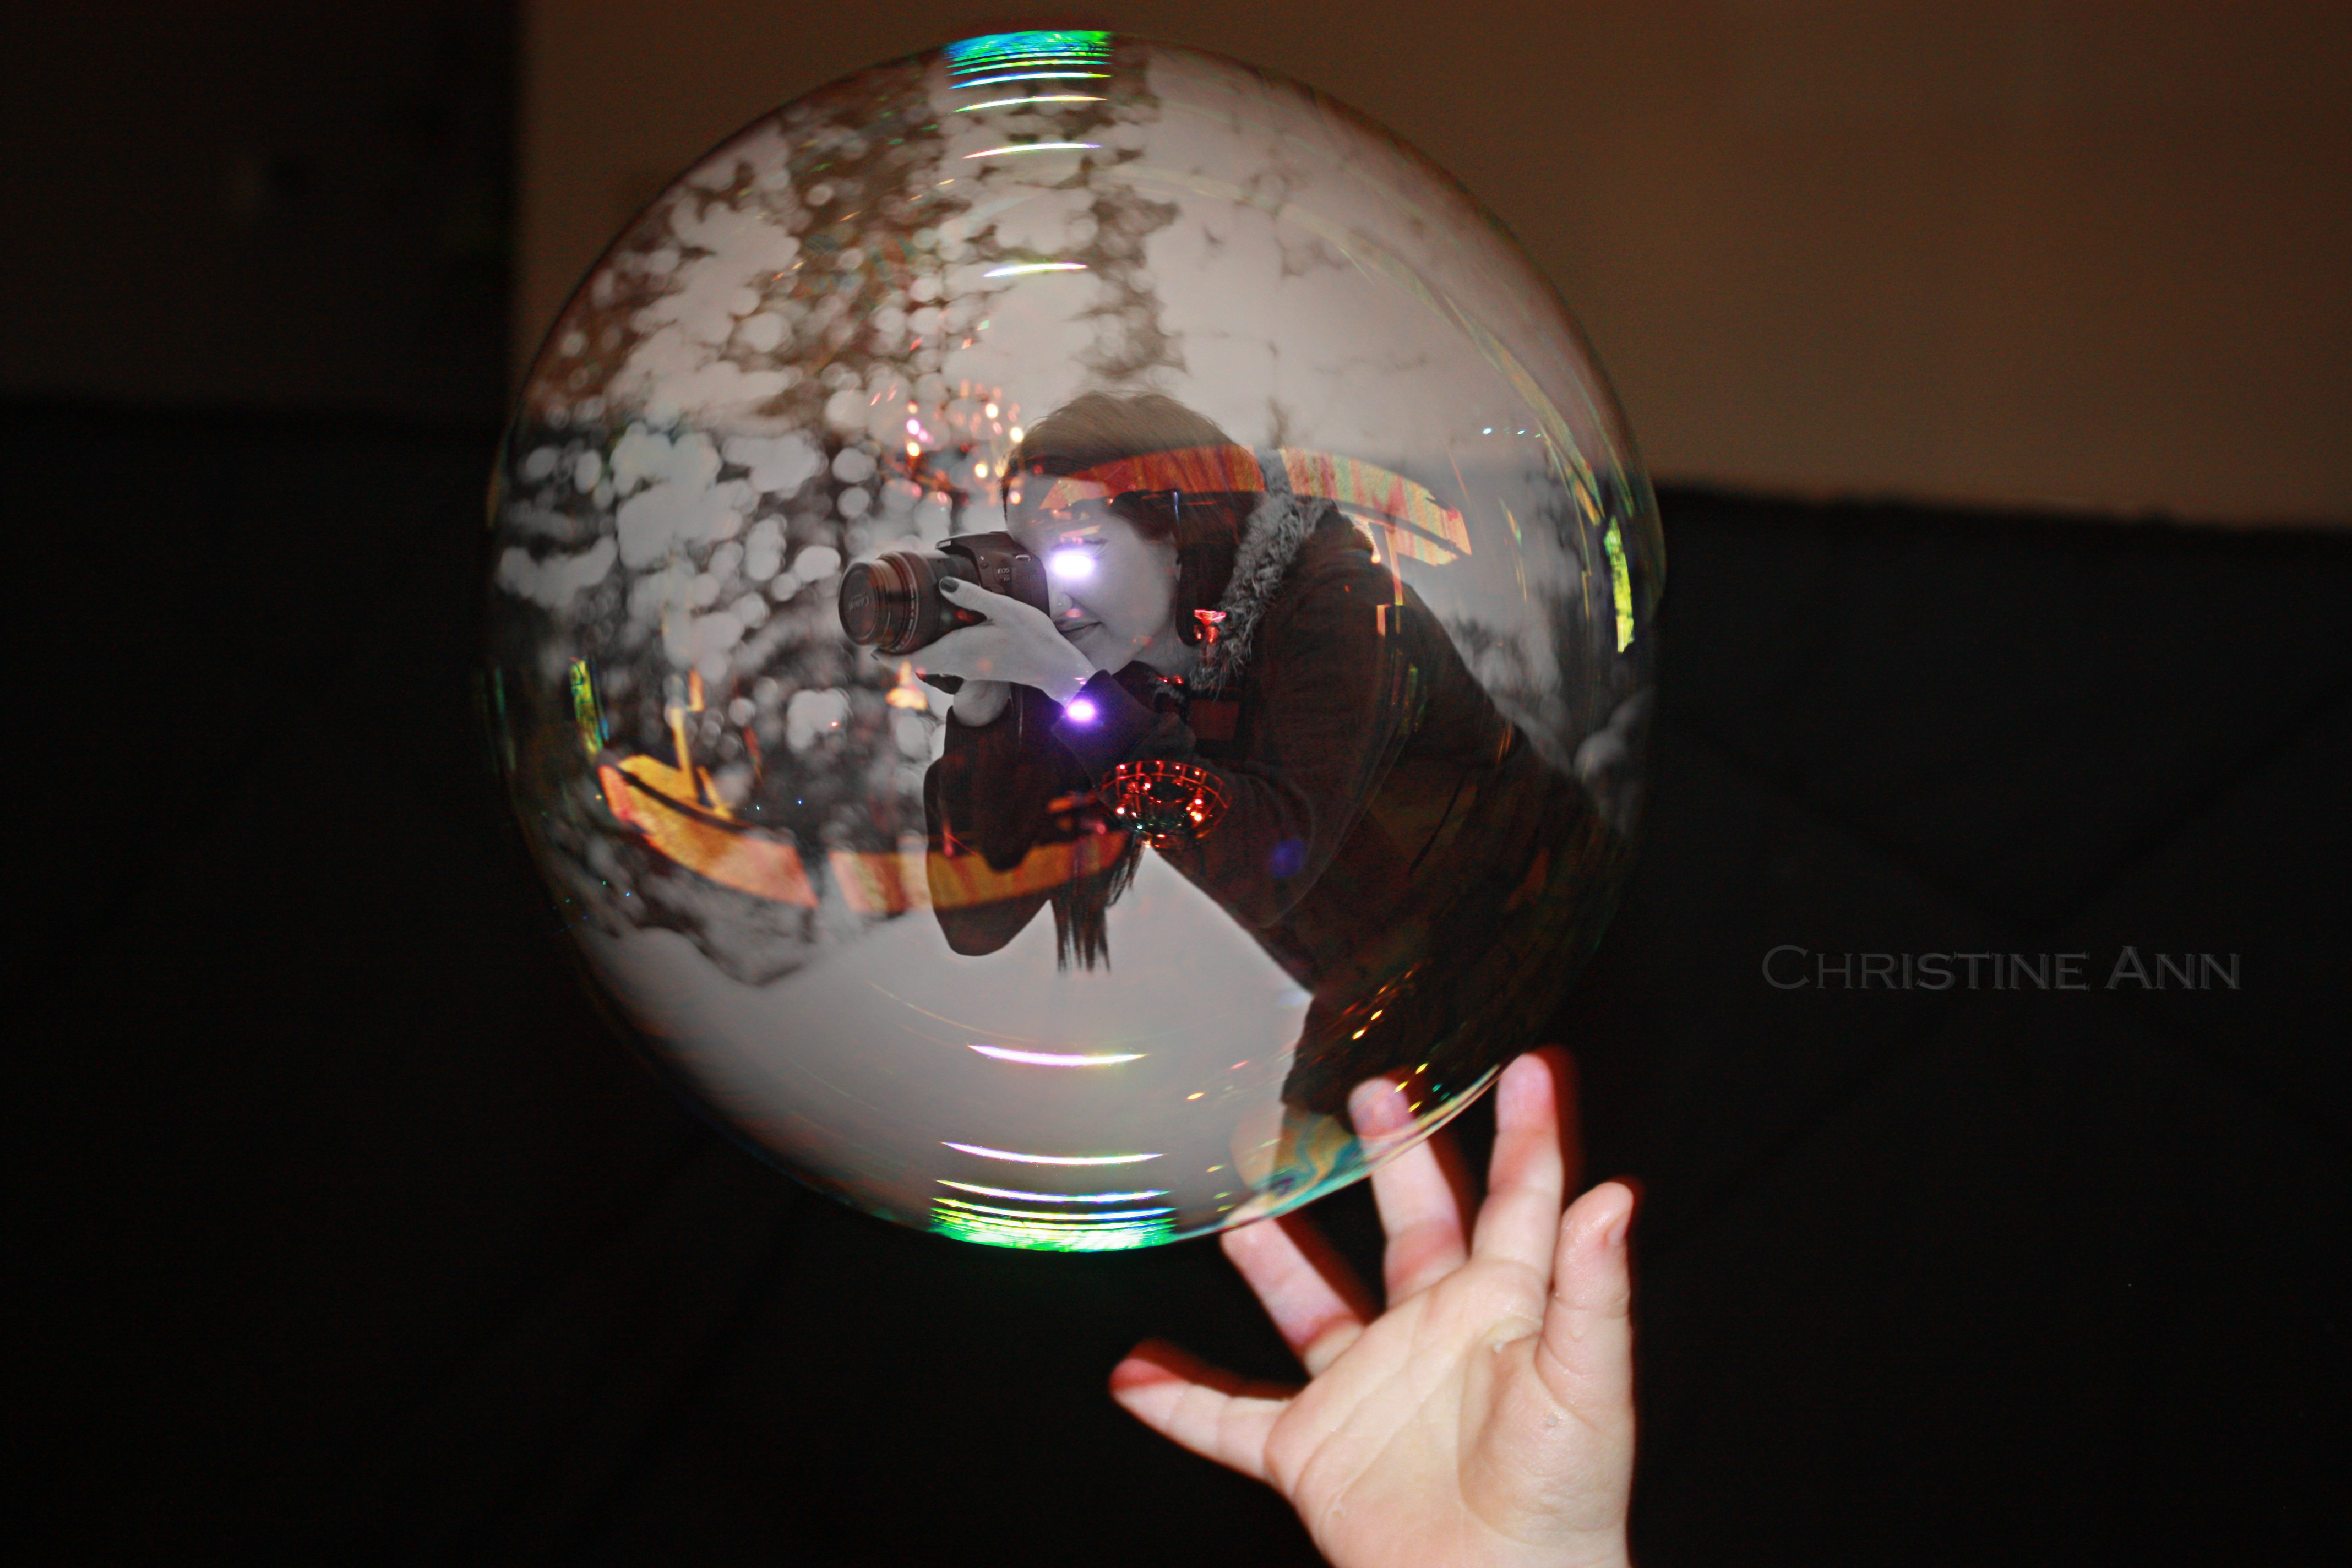 Final composite image of person in a bubble
Conclusion
Adding photos together in Photoshop using layer masks is a versatile and powerful technique. This tutorial provides a basic yet effective method for seamlessly merging images. By practicing these steps and experimenting with different images, you can unlock a world of creative possibilities in photo manipulation and create stunning visual compositions. Don’t be afraid to experiment with brush settings, opacity, and different blending modes to achieve unique and personalized results in your photo merging projects.