Printing photos allows you to hold tangible memories in your hands. Whether you’re creating personalized greeting cards, framing cherished moments, or designing a photo album, knowing how to print photos properly is essential. This guide offers several methods for printing photos at home, ensuring high-quality results.
Different Methods to Print Photos
There are various ways to approach photo printing, each with its own advantages. Let’s explore some popular techniques:
Using an Image Editor with Layers
Image editing software like Photoshop Elements provides advanced features for precise photo printing. This method is particularly useful for projects like double-sided greeting cards:
-
Print to PDF: Start by printing your desired photo or card design to a PDF file from your photo application.
-
Convert to JPEG: Use Preview or a similar application to convert each page of the PDF into separate JPEG images.
-
Create a Blank Canvas: In your image editor, create a new blank image with dimensions of 8.5 x 11 inches at 300 dpi (dots per inch) resolution, ensuring a borderless setting. This will be your printing template.
-
Position Images: Place the front and back images (from the first page of the PDF) in the upper left corner of your blank canvas. Position the inside images (from the second page of the PDF) in the lower left corner.
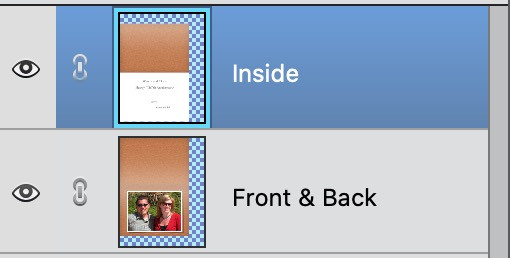 Positioning images for double-sided printing
 -
Print in Layers: Hide the layer containing the inside images (second page). Print the layer with the front and back images (first page).
-
Flip and Print: Flip the paper over end-to-end (not side-to-side). Hide the first page layer and unhide the second page layer. Print the inside images. This technique results in a correctly aligned double-sided 5×7 inch card.
Printing Side-by-Side with a Blank Image
For single-sided prints or simpler layouts, you can print your photo alongside a blank white image. This ensures correct positioning and avoids printing on the back of your photo:
-
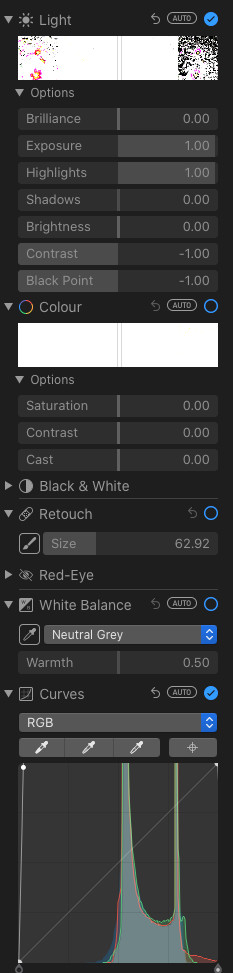
Create a Blank Image: Create a blank white image with the same dimensions and orientation (landscape or portrait) as your photo. A simple way to do this is to duplicate your photo and adjust its exposure, highlights, contrast, black point, and curves to create a completely white image.
 Adjusting image settings to create a blank white image
 -
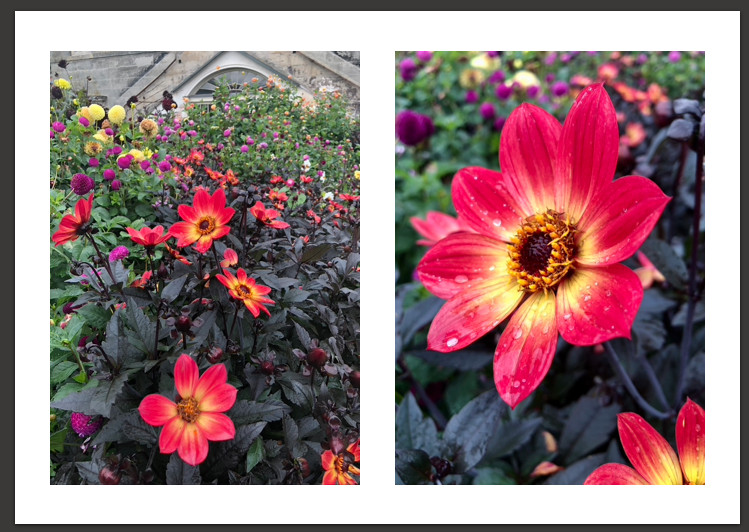
Print Side-by-Side: In your printing settings, arrange your photo and the blank image side-by-side on the page.
 Printing photos side-by-side with a blank image
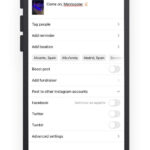
Utilizing Office Software
Leverage everyday office software like Microsoft Word or PowerPoint (or their free alternatives) for straightforward photo printing:
-
Insert Image: Insert your photo into a blank document.
-
Adjust Positioning: Use the formatting tools to precisely position and resize the image on the page according to your needs.
-
Print: Print the document with your desired settings.
Conclusion
Printing photos at home can be easily achieved with various methods. Choosing the right technique depends on the complexity of your project and the tools available. Whether you opt for the layered approach using image editors, the side-by-side method with a blank image, or the simplicity of office software, understanding these techniques allows you to bring your digital photos to life.