Reducing image file size is crucial for various reasons, from saving storage space to optimizing website loading speed. Large images can slow down your computer, take up valuable hard drive space, and make sharing files online a tedious process. Thankfully, there are several ways to make a photo size smaller without significantly compromising its quality.
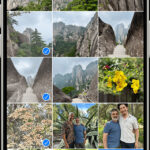
 How to Reduce Photo Size Without Quality Loss Image1
This guide explores various techniques to reduce image file size effectively, ensuring your photos remain visually appealing while being more manageable.
Understanding Image Compression: The Key to Smaller Photos
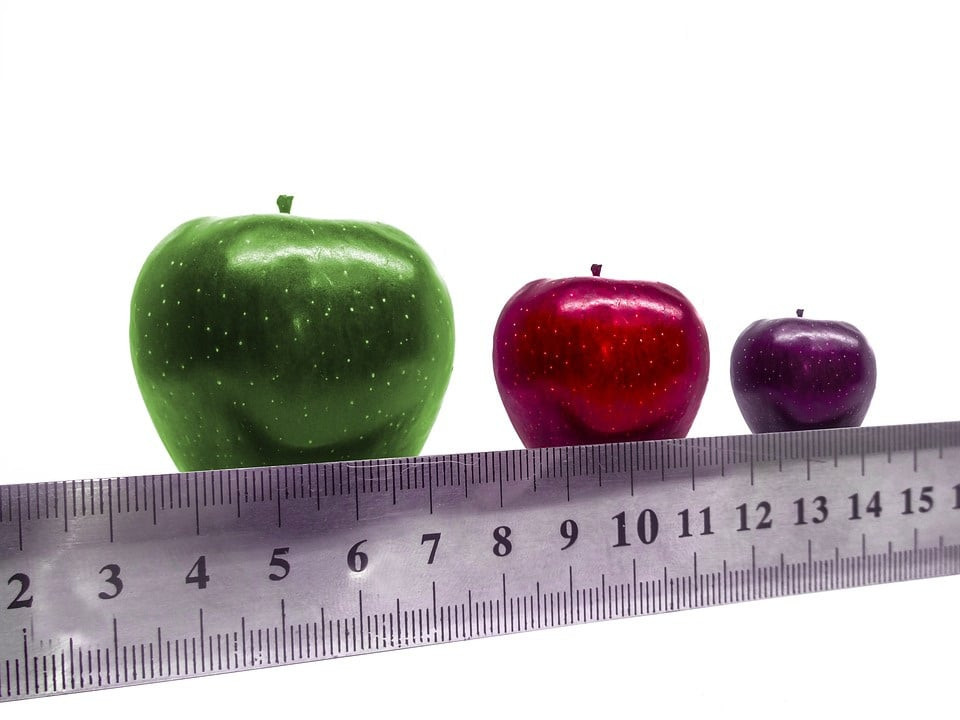
 How to Reduce Photo Size Without Quality Loss Image2
Image compression is the foundation of reducing file size. It involves encoding image data using fewer bits, resulting in a smaller file. There are two main types of compression:
- Lossy Compression: This method permanently discards some image data to achieve significant size reduction. JPEG is a common example of lossy compression.
- Lossless Compression: This technique preserves all image data, resulting in perfect image quality after decompression. PNG is a popular lossless compression format. While offering superior quality, lossless compression typically results in larger file sizes compared to lossy compression.
Benefits of image compression include:
- Freed up disk space: Reclaim valuable storage on your devices.
- Faster file sharing: Quickly share photos via email or online platforms.
- Optimized website performance: Improve website loading speed, enhancing user experience and SEO.
Practical Steps to Reduce Photo File Size
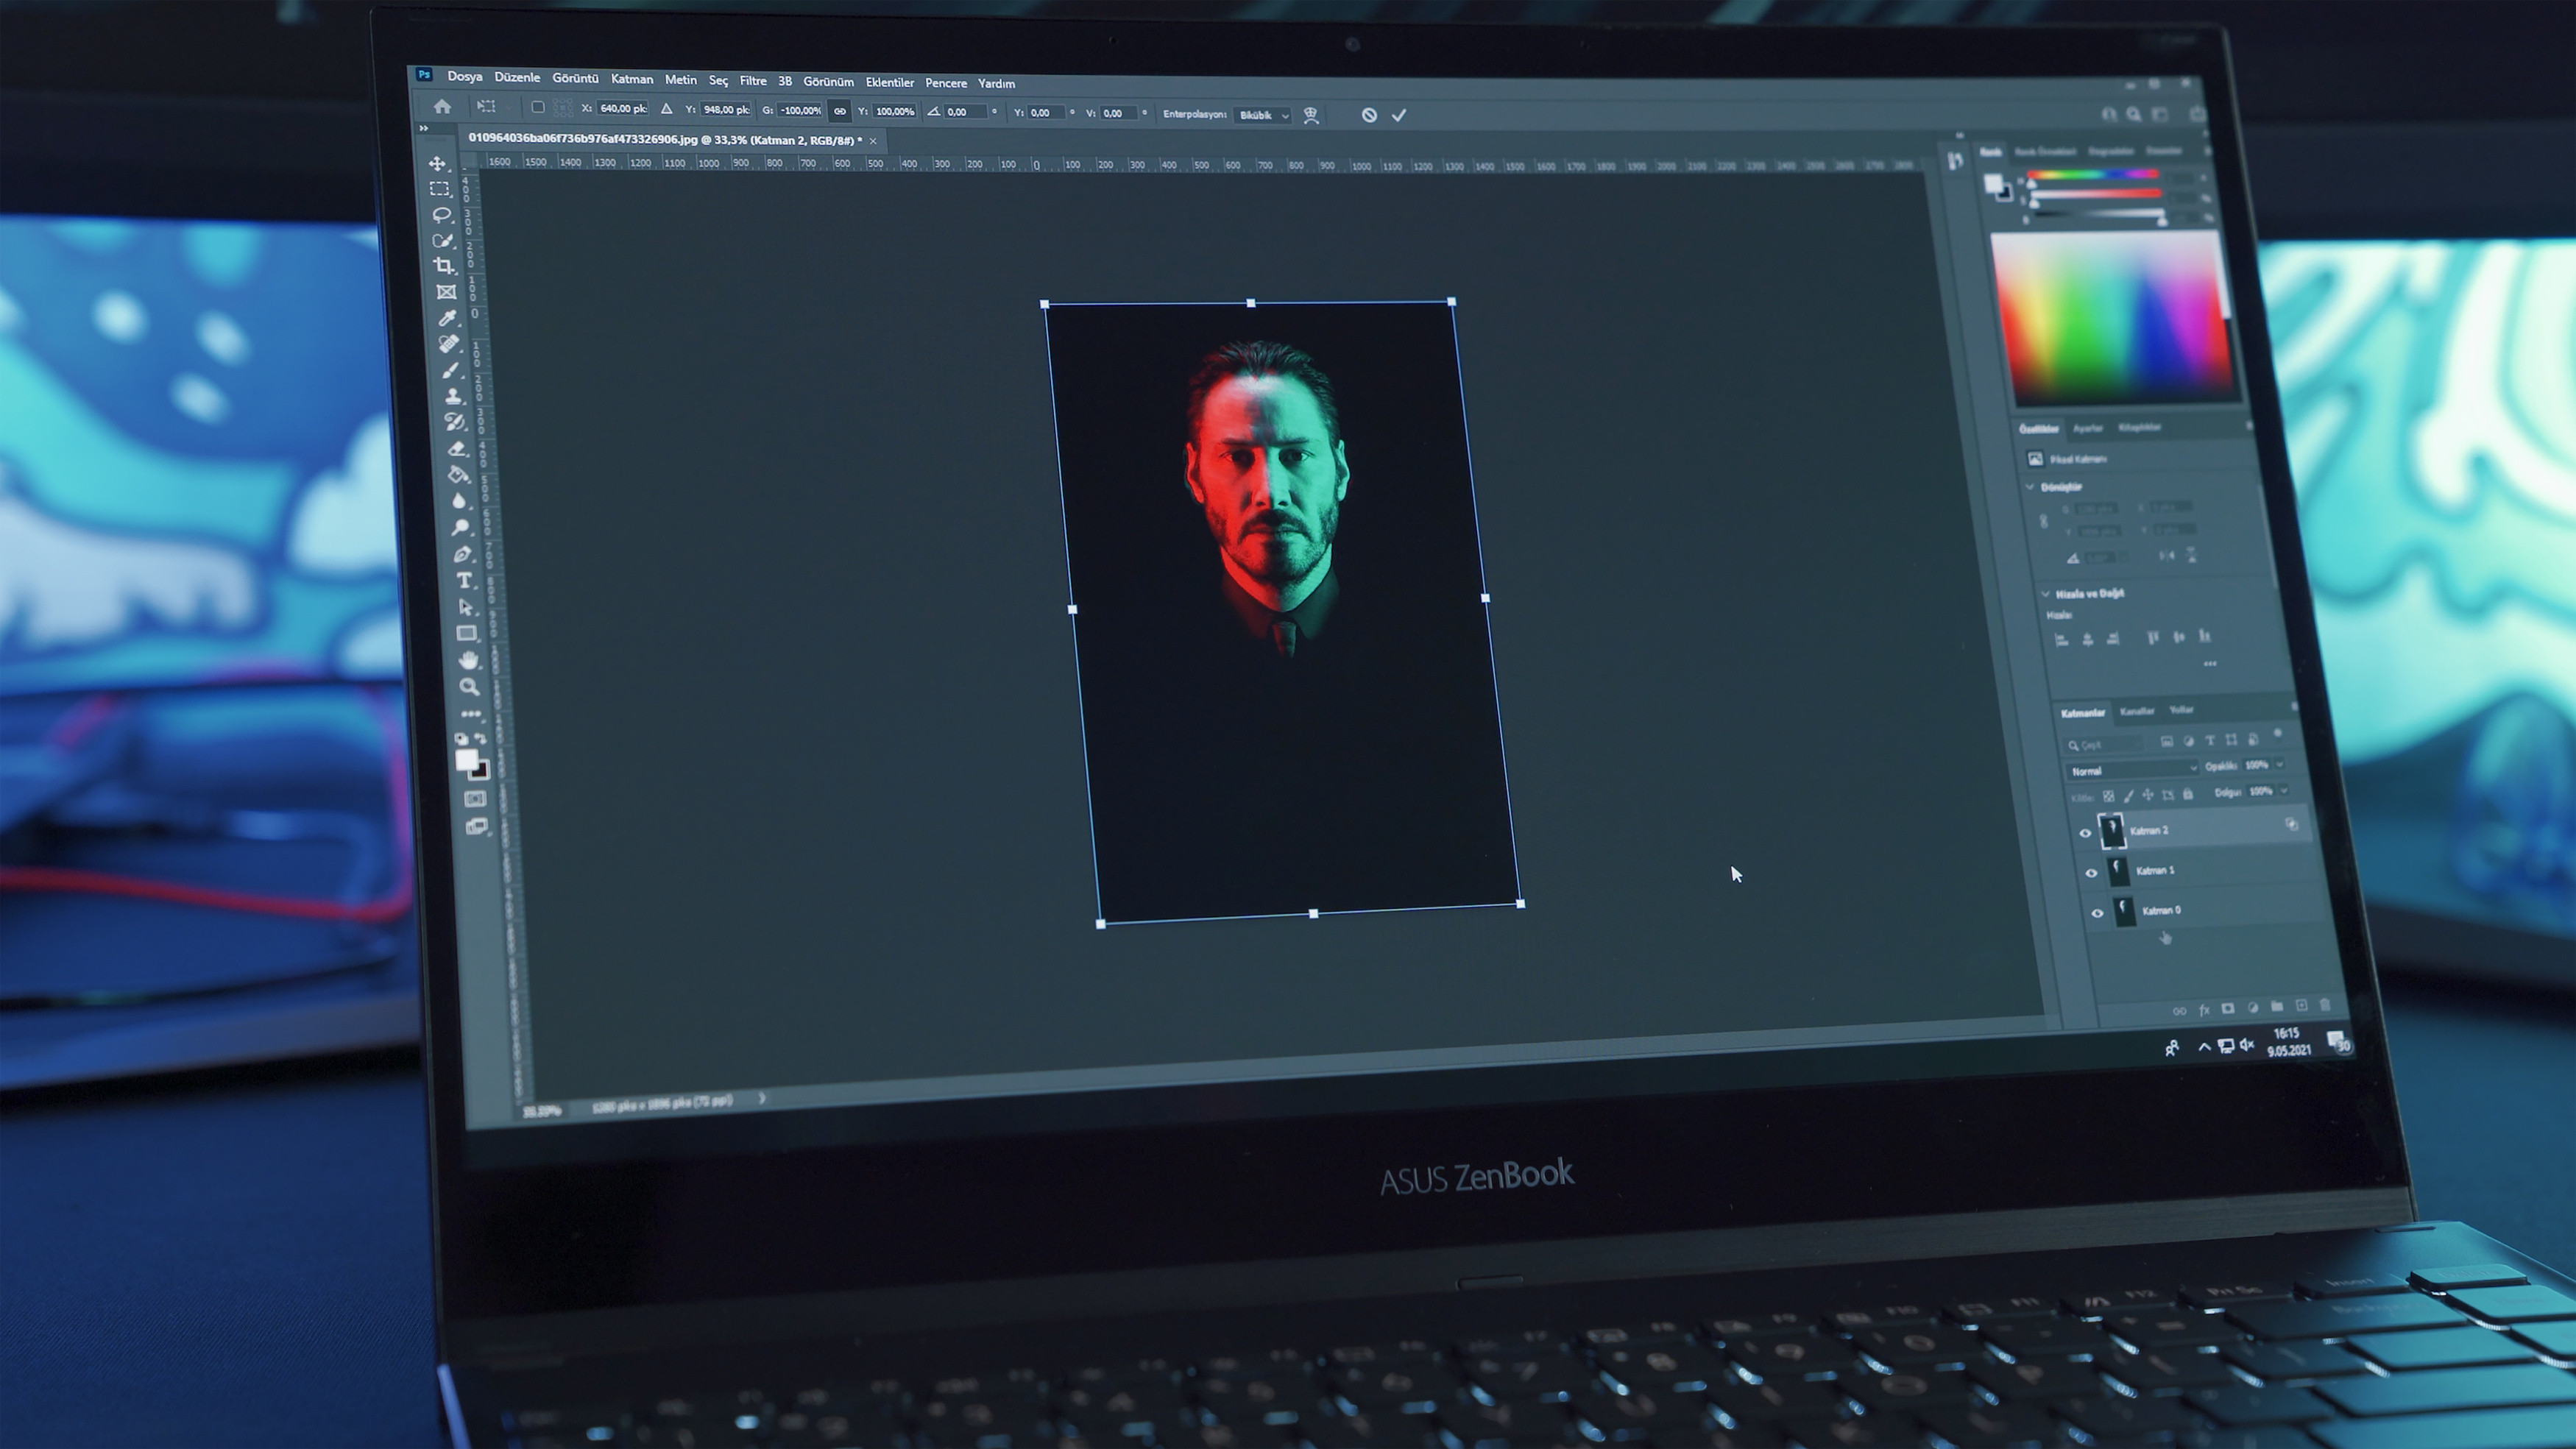 How to Reduce Photo Size Without Quality Loss Image3
Here’s a step-by-step guide outlining how to make a picture smaller:
1. Resize Your Images
Reducing the dimensions (width and height) of your image is often the most effective way to decrease file size. Most image editing software allows you to specify new dimensions in pixels or percentages.
2. Adjust Image Resolution
Lowering the resolution (DPI or dots per inch) reduces the amount of detail in the image, leading to a smaller file size. A resolution of 72 DPI is generally sufficient for web use.
3. Choose the Right File Format
Selecting the appropriate file format plays a crucial role in determining file size. JPEG is generally ideal for photographs due to its efficient lossy compression. PNG is preferred for images requiring transparency, while GIF is suitable for simple animations.
4. Utilize Image Compression Software
Leverage dedicated image compression software or online tools like TinyPNG or JPEG-Optimizer to further reduce file size without significant quality loss.
5. Crop Your Images
Cropping removes unnecessary areas from your photo, effectively decreasing both dimensions and file size.
Additional Tips for Reducing Image File Size
 How to Reduce Photo Size Without Quality Loss Image5
- Upload in lower quality: When sharing online, opt for lower quality settings to reduce the initial file size.
- Remove image metadata: Strip out unnecessary metadata (e.g., GPS data) to save space.
- Use compression tools: Employ online tools or software features for further compression.
Luminar Neo: AI-Powered Image Resizing Without Quality Loss
Luminar Neo offers advanced AI-powered tools for resizing images while preserving exceptional quality. Its intuitive interface and batch editing capabilities make it a powerful solution for efficient image size reduction. Features like AI Sharpener and AI Upscaler help maintain image clarity even after compression.
Conclusion: Finding the Right Balance
Mastering the art of reducing photo file size involves understanding the various techniques and choosing the methods best suited for your needs. By implementing these strategies, you can effectively manage your image library, optimize website performance, and share your photos seamlessly. Remember to balance file size reduction with maintaining acceptable image quality for your intended purpose.