Creating a photo book is more than just compiling pictures; it’s about weaving a narrative of your life’s most treasured moments. It’s a tangible way to hold onto memories from family vacations, milestone celebrations, or simply the beautiful everyday occurrences that make up your story. Instead of letting your precious photos languish on digital devices, a photo book transforms them into a beautifully crafted keepsake you can physically hold, share, and revisit time and time again.
In this comprehensive guide, we’ll explore exactly How Do You Make A Photo Book that truly captures your unique style and cherished memories. From carefully selecting your best photos to designing a layout that reflects your personal aesthetic, we’ll walk you through each step of the process. Let’s embark on this creative journey and turn your digital photos into a stunning photo book you’ll treasure for generations.
Step-by-Step Guide: How Do You Make a Photo Book?
Our photo books are designed to offer bookstore-quality results with the personal touch of DIY customization. Available in various formats from hardcover to softcover, and even premium leather, you can find the perfect style to showcase your memories. Let’s break down the process of creating your perfect photo book.
1. Organize Your Photos: The Foundation of Your Photo Book
Before you even think about layouts or themes, the very first step in learning how do you make a photo book is organization. In today’s digital age, our photos are often scattered across multiple devices and platforms – smartphones, computers, social media, cloud storage, and more. Starting with a disorganized collection can quickly become overwhelming.
Take some time to gather all the photos you’re considering for your photo book. Create a dedicated folder on your computer or in your cloud storage specifically for this project. Label it clearly, something like “Photo Book Project” or “Family Vacation Photo Book,” to keep everything easily accessible.
Within this main folder, consider creating subfolders to further organize your images. You could categorize them by date, event, location, or even by the people featured in the photos. A well-organized photo collection will not only streamline the photo book creation process but also help you rediscover forgotten gems you might want to include.
2. Choose the Right Photos: Quality and Storytelling
Once your photos are organized, the next crucial step in understanding how do you make a photo book is photo selection. It’s tempting to include every single picture, but a curated selection will create a more impactful and enjoyable photo book.
Begin by going through your organized folders and initially selecting all the photos you like and that resonate with the story you want to tell. Don’t be too critical at this stage; just gather the images that speak to you.
Next, it’s time to refine your selection based on quality. Consider factors like:
- Focus: Sharp, in-focus images are essential, especially when enlarged for printing. Blurry photos will become even more noticeable in print.
- Lighting and Exposure: Look for well-lit photos with balanced exposure. Images that are too dark, too bright, or washed out may not print well.
- Composition: Choose photos with good composition and visual appeal. Consider the rule of thirds, leading lines, and overall balance within the frame.
Remember, storytelling is key. Select photos that not only look good but also contribute to the narrative of your photo book. Choose images that capture key moments, emotions, and details that will bring your memories to life.
Many online photo book services, like Shutterfly, offer basic photo editing tools. You can often crop, adjust brightness and contrast, and sometimes even apply filters directly within the photo book builder. This can be helpful for making minor improvements to your selected photos.
Finally, when choosing photos of people, be mindful of how they will perceive themselves in print. Opt for flattering and representative images that everyone will be happy to see in the final photo book.
3. Highlight Your Favorites: Curating Your Best Memories
As you refine your photo selection, you’ll likely identify some stand-out images – your absolute favorites. Learning how do you make a photo book that truly shines involves strategically highlighting these special photos.
Don’t be afraid to be selective and make tough choices. While it’s wonderful to include many memories, overstuffing your photo book can dilute the impact of your best images. Focus on showcasing the highlights.
If you find it challenging to narrow down your favorites, consider these tips:
- Seek a Second Opinion: Ask a trusted friend or family member to help you choose. Fresh eyes can often spot the strongest images and help you make objective decisions.
- Consider the Emotional Impact: Which photos evoke the strongest emotions or memories? These are often the ones that will resonate most in your photo book.
- Think About Visual Variety: While highlighting favorites is important, ensure you also maintain a good variety of perspectives, subjects, and moments throughout your book.
For truly exceptional photos, consider giving them more prominent placement in your photo book. Use full-page layouts or dedicate two-page spreads to showcase these standout images. This will draw the viewer’s eye and emphasize the importance of these special moments.
4. Create Variety in Spreads: Visual Interest and Storytelling
Understanding how do you make a photo book that is visually engaging goes beyond just choosing great photos; it’s also about creating dynamic page layouts. Variety in your page spreads keeps the viewer interested and enhances the storytelling aspect of your photo book.
Photo book services offer a wide array of templates and layout options. Explore these options to find layouts that suit your photos and the narrative you’re creating. Mix and match different layouts throughout your book to avoid monotony.
Consider these layout variations:
- Single Photo Layouts: Ideal for highlighting impactful individual images, especially your favorite photos. Full-page layouts can give a dramatic effect.
- Multi-Photo Layouts: Perfect for grouping related photos together, such as a series of shots from a specific event or location. These layouts can tell a more detailed story on a single page.
- Two-Page Spreads: Utilize the panoramic canvas of a two-page spread to showcase landscape photos, group photos, or to create a visual centerpiece within your book. Ensure photos spanning spreads align seamlessly.
Think about how different layouts can emphasize different aspects of your story. For example, a series of smaller photos in a multi-photo layout can convey the hustle and bustle of a busy event, while a single, full-page photo can emphasize a moment of quiet reflection or a stunning vista.
Experiment with different layout combinations as you learn how do you make a photo book. Most photo book builders allow you to easily drag and drop photos into different layouts and rearrange them until you achieve the desired visual flow.
5. Pick a Theme: Setting the Tone and Narrative
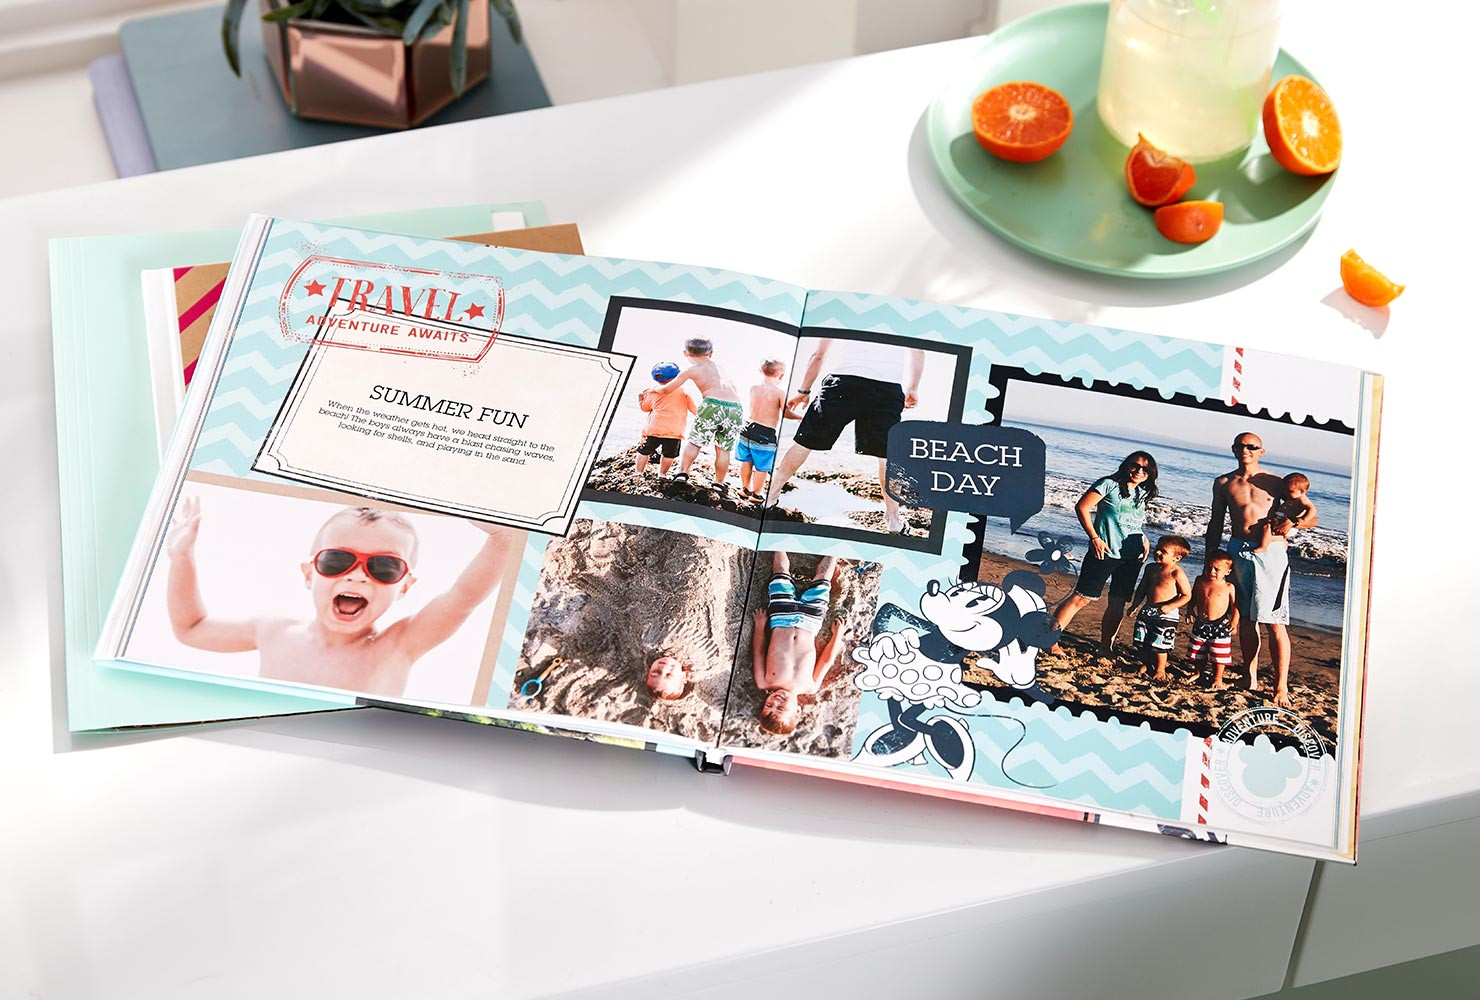 A travel photo book with the caption Beach Day and photos of a family at the beach.
Choosing a theme is a powerful way to enhance the storytelling and visual coherence of your photo book. When considering how do you make a photo book that is truly special, a theme provides a framework that guides your design choices and reinforces your narrative.
Photo book platforms offer a vast selection of themes, catering to various occasions and styles. Themes often include pre-designed backgrounds, embellishments, and font styles that complement the overall aesthetic.
Consider themes like:
- Event-Based Themes: Wedding, Travel, Baby, Birthday, Graduation – these themes provide structure and design elements specifically tailored to these occasions.
- Style-Based Themes: Modern, Rustic, Elegant, Minimalist, Vintage – these themes focus on visual style and can be adapted to various photo book subjects.
- Year-in-Review Themes: Designed to capture a year’s worth of memories, often with layouts that accommodate chronological storytelling.
A theme can provide a starting point and inspiration, but it’s also crucial to personalize it to reflect your unique style and story. You can often customize themes by changing colors, fonts, layouts, and adding your own embellishments.
Think about the story you want to tell and choose a theme that aligns with the overall tone and message. A travel photo book might benefit from a theme with adventure-inspired backgrounds and fonts, while a wedding photo book might call for an elegant and romantic theme. Experiment with different themes to see which one best complements your photos and vision as you learn how do you make a photo book.
6. Include Helpful Text: Captions and Storytelling with Words
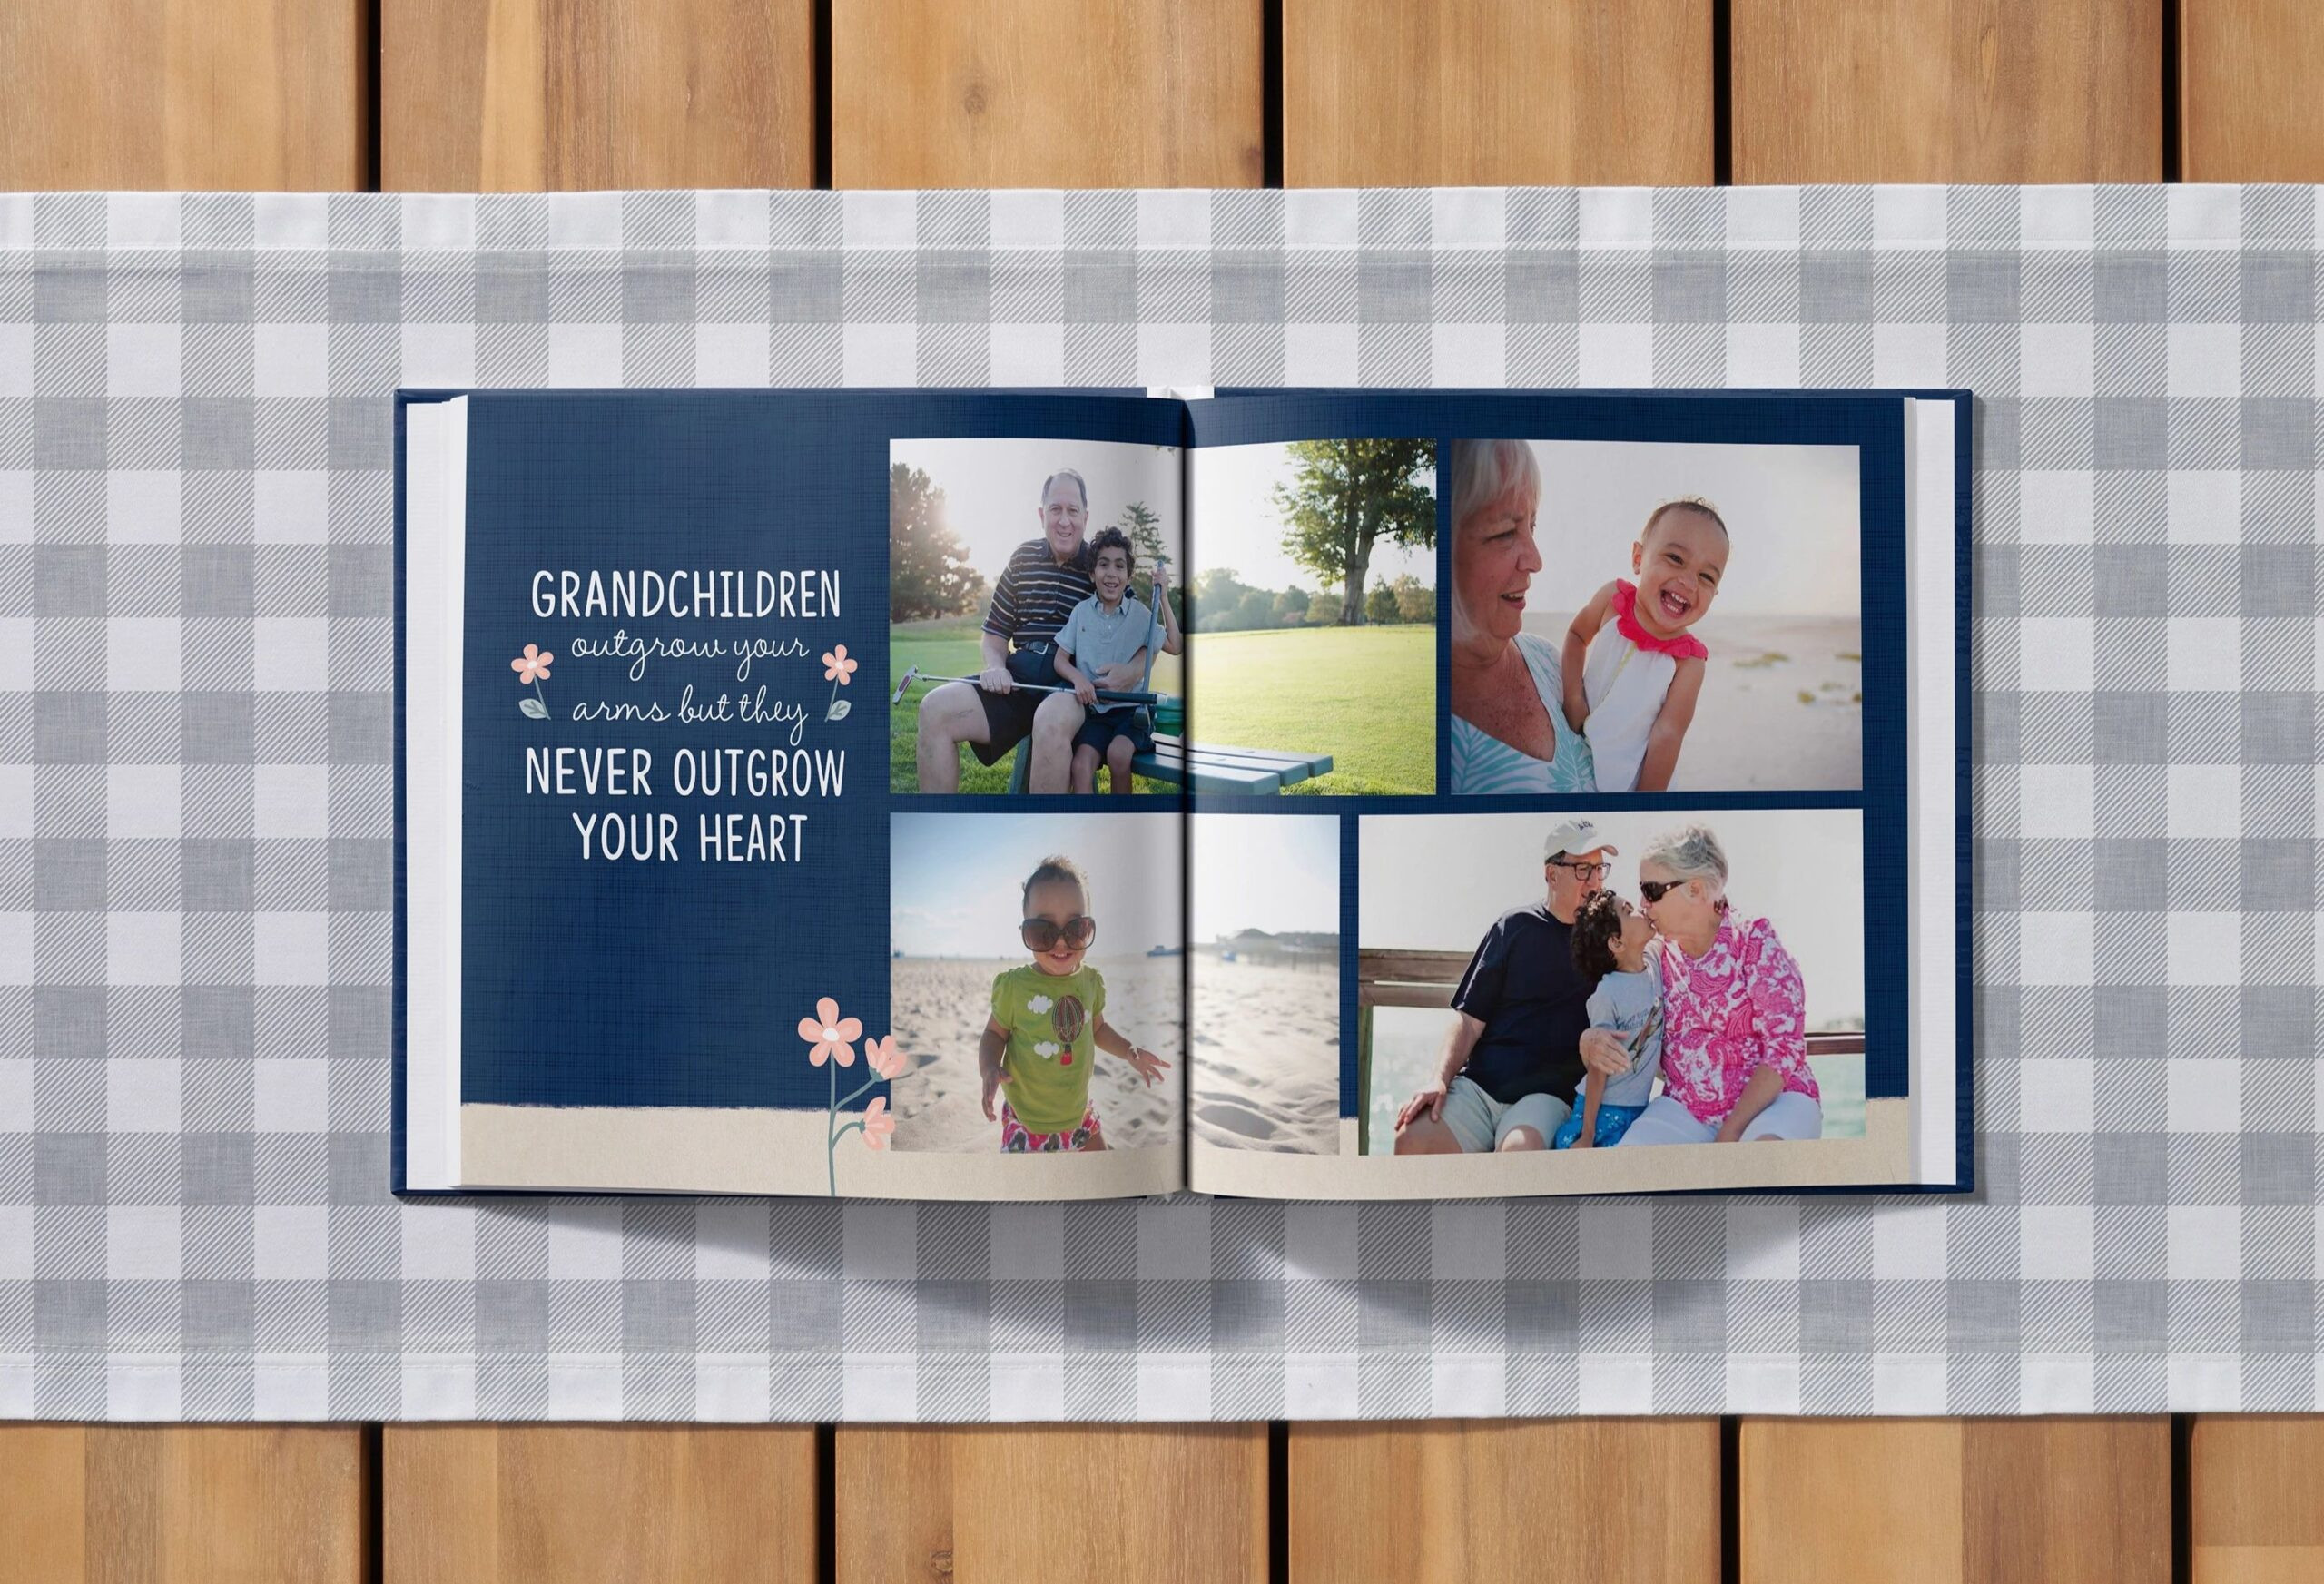 photo book for grandparents
While photos are the heart of a photo book, text plays a vital role in providing context, emotion, and deeper storytelling. Understanding how do you make a photo book truly memorable includes mastering the art of incorporating text effectively.
Use text to:
- Add Captions: Identify people, places, and dates to provide essential information and jog memories in the future. Keep captions concise and informative.
- Tell Anecdotes: Include short stories or memorable quotes related to specific photos or events. These personal touches bring your photo book to life.
- Set the Scene: Use text to describe the atmosphere, feelings, or significance of a particular moment or event.
- Create Chapter Dividers: Use larger text elements to introduce new sections or chapters within your photo book, guiding the viewer through your narrative.
Don’t overcrowd your pages with text. The photos should remain the primary focus. Use text strategically and sparingly to enhance the visual storytelling, not to overwhelm it.
Experiment with different fonts, sizes, and colors to find text styles that complement your chosen theme and photos. Ensure readability is a priority when selecting fonts and text placement. Thoughtful text additions will elevate your photo book from a collection of pictures to a rich and engaging narrative as you master how do you make a photo book.
7. Tell a Story: Creating a Meaningful Narrative
At its core, a photo book is a story told through images. The most impactful photo books are those that weave a compelling narrative, taking the viewer on a journey through your memories. Learning how do you make a photo book that resonates deeply involves structuring your photos in a way that tells a cohesive story.
Consider these storytelling approaches:
- Chronological Order: The simplest and often most effective approach is to arrange your photos in chronological order. This works especially well for events with a clear timeline, such as vacations, weddings, or a baby’s first year.
- Thematic Organization: If your photos span a longer period or are less event-driven, consider organizing them thematically. You could group photos by subject (e.g., “Family,” “Travel,” “Hobbies”), by season, or by color palette.
- Narrative Arc: For a more sophisticated approach, think about structuring your photo book like a story with a beginning, middle, and end. Introduce the setting and characters, develop the story through key events and moments, and conclude with a sense of resolution or reflection.
Think about the overall message or feeling you want to convey with your photo book. Are you celebrating a milestone? Reliving an adventure? Documenting a year in your life? Let your storytelling goal guide your photo selection and arrangement as you learn how do you make a photo book.
For example, a wedding photo book could start with engagement photos, progress through the wedding day events in chronological order, and conclude with honeymoon pictures. A “Year in Review” photo book could be structured month by month or season by season, highlighting key moments from each period.
 Need a hand? Let our designers make it for you. Save time and enjoy a beautifully crafted album you
Making a Photo Book with Online Services
Creating a photo book has become incredibly accessible thanks to user-friendly online services. These platforms offer a range of tools and options to guide you through each step of how do you make a photo book, from uploading photos to designing layouts and adding personalized touches.
Many services, including Shutterfly, offer multiple ways to create your photo book:
Creating Your Book on a Computer: Full Creative Control
Designing on a computer offers the most screen real estate and often the most comprehensive set of design tools. This method is ideal for those who want maximum creative control and prefer a larger workspace.
Online photo book builders typically provide a step-by-step interface. You begin by choosing your book size and style, then upload your organized photos. The platform then guides you through the design process, allowing you to:
- Select a Theme or Template: Choose from pre-designed themes or start with a blank template for complete customization.
- Arrange Photos in Layouts: Drag and drop photos into various page layouts, resizing and repositioning them as needed.
- Add Text and Captions: Insert text boxes and customize fonts, sizes, and colors to add captions, anecdotes, and journaling.
- Customize Backgrounds and Embellishments: Personalize your pages with background colors, patterns, and decorative elements.
- Design Your Cover: Create a compelling cover page with a title and cover photo that reflects the content of your photo book.
Utilizing Designer Services: Let Professionals Handle the Design
For those short on time or who prefer a hands-off approach, many photo book services offer designer services. This option is perfect if you want a professionally designed photo book without investing extensive time in the design process.
With designer services, you typically:
- Choose Your Book Size and Style: Select your preferred format and cover type.
- Upload Your Photos: Provide your organized photo collection to the design team.
- Provide Design Preferences: Answer a questionnaire or provide instructions regarding your desired style, layout density, and any specific requests.
Professional designers then create a photo book layout for you, often within a short timeframe. You can then review the design, request revisions, and add your own finishing touches, such as captions, before placing your order.
Creating a Photo Book on a Mobile App: On-the-Go Convenience
Mobile apps offer a convenient way to start and even complete a photo book project directly from your smartphone or tablet. This is ideal for those who want to work on their photo book in spare moments or directly use photos stored on their mobile devices.
Photo book apps typically offer streamlined interfaces optimized for touchscreens. You can:
- Upload Photos Directly from Your Device: Easily access photos stored in your phone’s photo library or connected social media accounts.
- Use Simplified Design Tools: Apps often offer simplified layout options and drag-and-drop functionality for quick and easy page creation.
- Create Photo Books in Minutes: For simpler photo books, the app-based approach can be incredibly efficient.
While mobile apps might offer fewer advanced design features compared to desktop platforms, they provide unparalleled convenience for starting and progressing with your photo book project anytime, anywhere.
Wrapping Up: Cherish Your Memories in a Photo Book
Learning how do you make a photo book is an investment in preserving your most precious memories in a tangible and beautiful format. Whether you meticulously design every page yourself or utilize professional design services, the end result is a personalized keepsake that you, your family, and friends will treasure for years to come.
Photo books are more than just albums; they are stories bound in pages, ready to be relived and shared. So gather your photos, embrace the creative process, and start crafting your own unique photo book today!
Additional Resources: (Links to relevant articles about photo book styles, themes, etc. could be added here to further enhance the article and user experience, if needed).