Putting your photos on iCloud is a great way to back them up, access them from any device, and free up space on your phone. This guide provides a comprehensive walkthrough on how to upload photos to iCloud, manage your storage, and troubleshoot common issues.
Getting Started with iCloud Photos
iCloud Photos seamlessly integrates with the Photos app on your iPhone, iPad, Mac, Apple TV, and iCloud.com, ensuring your photos and videos are securely stored and readily available across all your devices. Any changes made on one device automatically sync to the others, keeping your library consistently updated. Your photos are organized chronologically and by albums, making it easy to navigate your collection.
Enabling iCloud Photos on Your Devices
Before you begin, ensure you’re signed in to iCloud with the same Apple ID on all your devices.
iPhone, iPad, and Apple Vision Pro:
- Navigate to Settings > [Your Name] > iCloud.
- Tap Photos.
- Toggle on Sync this [Device].
Mac:
- Go to Apple menu > System Settings (or System Preferences on older macOS versions).
- Click [Your Name] > iCloud.
- Select Photos and enable Sync this Mac.
Apple TV 4K and Apple TV HD:
- Open Settings > Users and Accounts > iCloud.
- Turn on iCloud Photos.
Windows PC:
Setting up iCloud Photos on a Windows PC requires installing the iCloud for Windows application. Detailed instructions can be found on Apple’s support website.
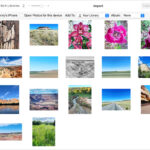
 Setting up iCloud Photos on an iPhone.
Managing Photos and Videos in iCloud
Editing and deleting photos in iCloud is straightforward. Changes made on one device are automatically reflected across your entire library. Deleted photos are moved to the Recently Deleted folder for 30 days before being permanently removed.
Downloading Your iCloud Photos
While iCloud Photos stores your photos and videos, it’s wise to have local backups. You can download your entire library or select specific photos and videos from iCloud.com or directly from your devices.
Downloading from iCloud.com:
- Go to iCloud.com and sign in.
- Open Photos.
- Select the desired photos and videos.
- Click the download button. Choose between “Most Compatible” (JPEG or H.264) and “Unmodified Original” to determine the download format.
Downloading from iPhone, iPad, or Apple Vision Pro:
- Open the Photos app.
- Select the photos and videos you want to download.
- Tap the Share button and choose AirDrop to transfer to another Apple device.
Downloading from Mac:
- Open the Photos app.
- Select the photos and videos.
- Drag them to your desktop or use the Share > AirDrop option.
Optimizing iCloud Storage
iCloud Photos counts towards your iCloud storage. Managing your storage effectively ensures you have enough space for your growing photo library.
iCloud Storage Options:
The free iCloud account comes with 5GB of storage. If you need more, consider upgrading to iCloud+, which offers larger storage plans and additional features.
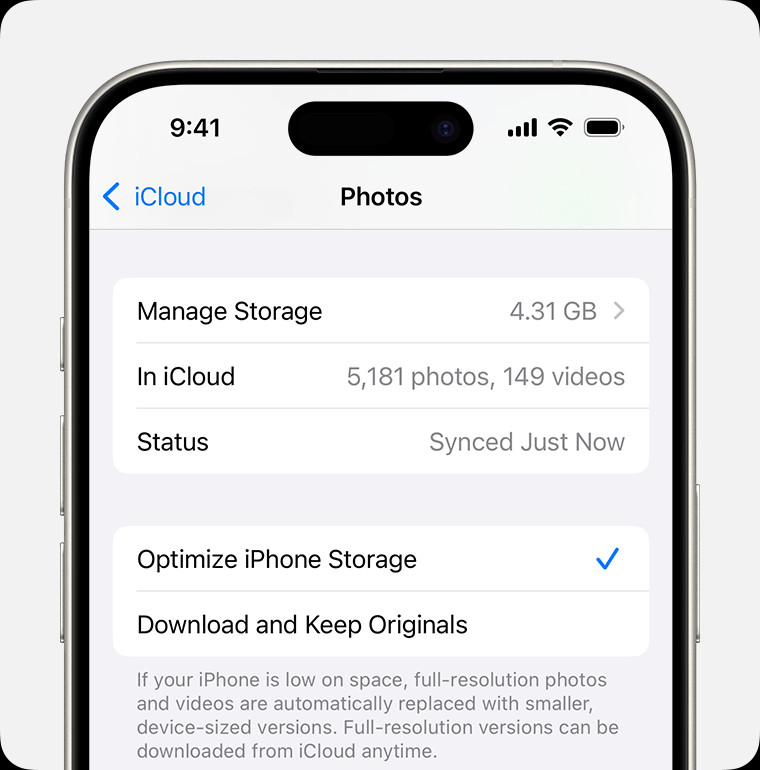
Optimizing Device Storage:
Enable Optimize [Device] Storage in your iCloud Photos settings to save space on your device. This feature stores full-resolution photos and videos in iCloud while keeping optimized versions on your device. Original files are downloaded on demand when you need them.
Pausing iCloud Photo Uploads
Uploading a large photo library can take time. You can temporarily pause uploads for a day if needed. This option is accessible at the bottom of the Photos app on your iPhone, iPad, or Mac.
Conclusion
iCloud Photos offers a seamless solution for storing, managing, and accessing your precious memories. By following these steps, you can effortlessly upload your photos to iCloud and ensure they’re safely backed up and available whenever you need them. Remember to manage your iCloud storage to avoid running out of space and to keep your library organized for easy access.