Increasing the resolution of a photo, also known as upsampling or upscaling, is a common need for various purposes, from printing large formats to enhancing digital displays. While you can’t magically add detail that wasn’t captured originally, there are techniques to improve the visual quality and make a low-resolution image appear sharper and more suitable for certain applications. This article will explore methods to achieve this using readily available software like Preview.
Understanding Image Resolution
Before diving into the how-to, it’s crucial to grasp the concept of image resolution. Resolution refers to the number of pixels that make up an image. It is typically measured in pixels per inch (PPI) or dots per inch (DPI). A higher resolution image contains more pixels, resulting in greater detail and clarity. Conversely, a low-resolution image has fewer pixels, leading to a pixelated or blurry appearance when enlarged.
Upsampling an Image Using Preview
Preview, a built-in application on macOS, offers a straightforward way to upsize an image. This process involves increasing the pixel dimensions of a photo, effectively stretching it to a larger size. While this doesn’t create new detail, it can improve the presentation of a small image on a larger display.
Here’s a step-by-step guide on how to upsize an image using Preview:
- Open the image in Preview: Drag and drop the photo into the Preview application icon in the Dock.
 Opening an image in Preview
- Access the Adjust Size tool: In the menu bar, go to Tools and select Adjust Size.
 Preview Adjust Size Dialogue Box
- Change the dimensions: In the Fit into field, you can choose a preset size or manually enter the desired width and height in pixels. Ensure that the Scale proportionally box is checked to maintain the aspect ratio of the image. Critically, select the Resample Image option. This allows Preview to interpolate new pixels based on surrounding ones, resulting in a smoother appearance when upscaled. You can experiment with different pixel dimensions to achieve the desired size. For a significant increase, consider doubling both the width and height (200%).
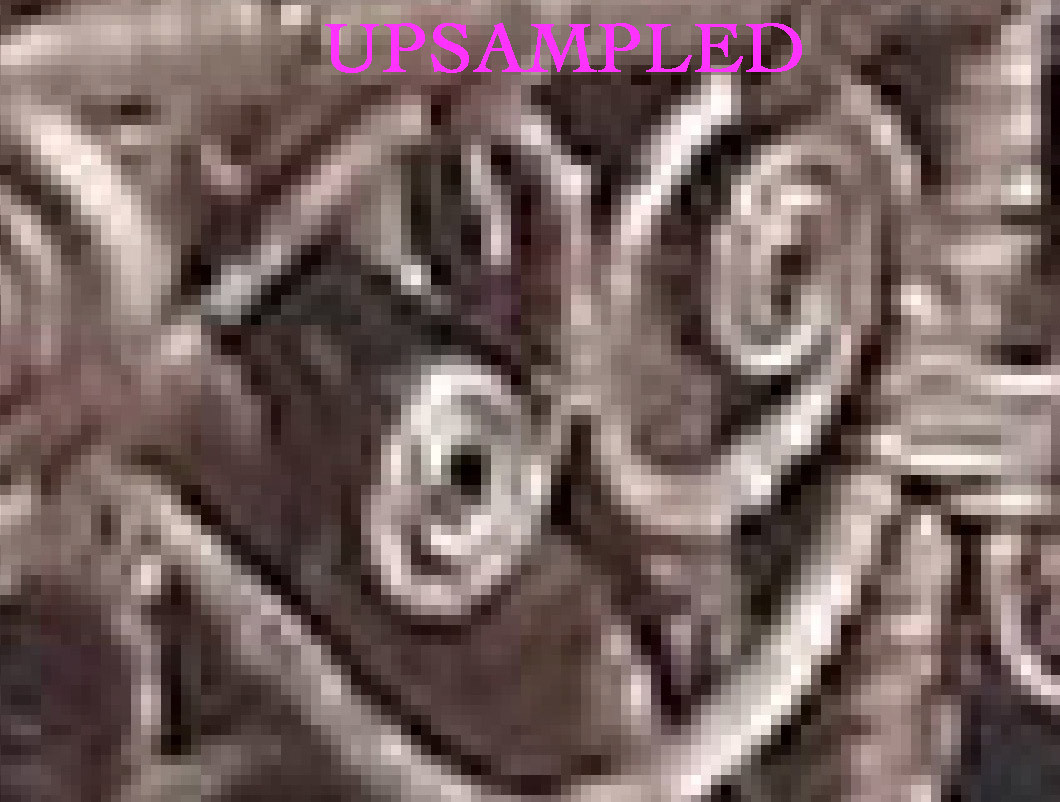 Detail of upsampled image in Preview
- Save the upsampled image: It’s crucial to save the modified image as a separate file to preserve the original. Use the File > Save As command (or Duplicate in newer versions of Preview) and choose a new file name. Select JPEG as the format and set the quality to “Best” for optimal results.
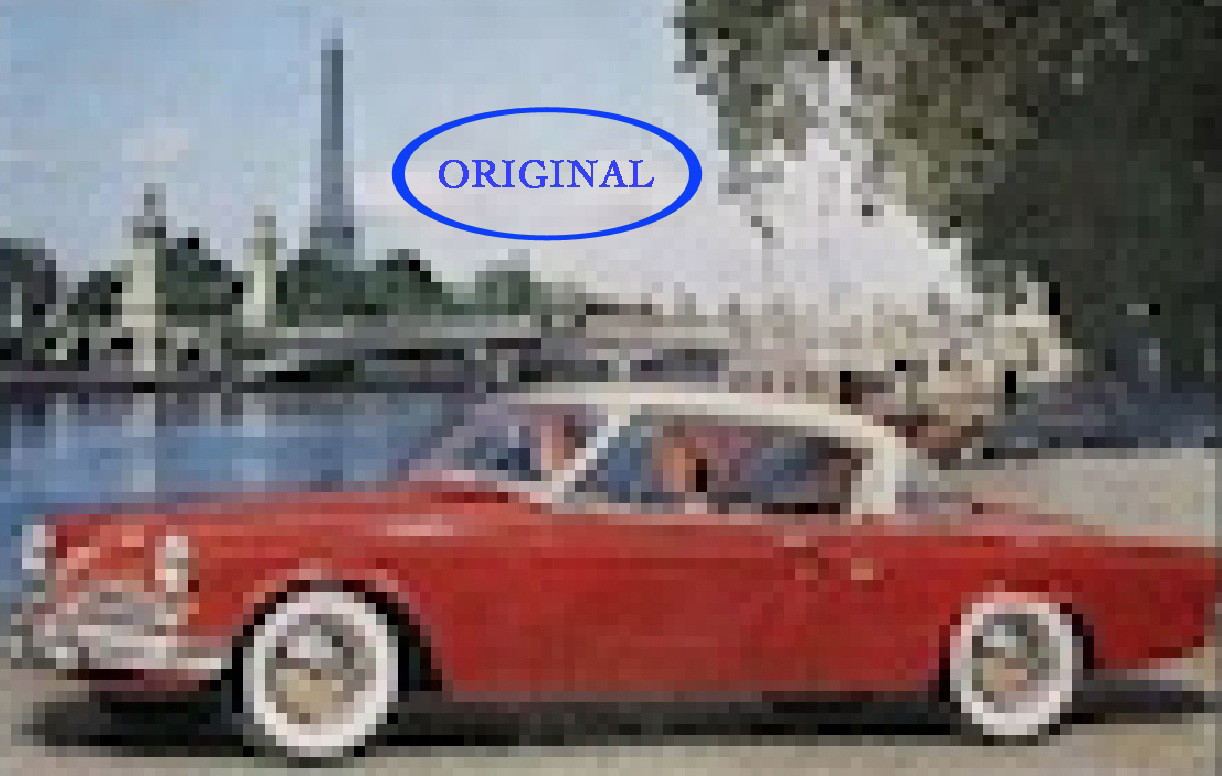
 Example of an upsampled image
Considerations When Upsampling
It’s important to remember that upsampling has limitations. It can’t recover detail that was not present in the original image. Excessive upsampling can lead to a noticeably blurry or soft image. Experimentation is key to finding the optimal balance between size and quality.
Conclusion
Upsampling can be a valuable tool for making a low-resolution photo more usable for specific applications. While it doesn’t increase true resolution, techniques like those offered in Preview can significantly improve the visual presentation of an image. By understanding the process and its limitations, you can effectively utilize upsampling to enhance your photos for various needs.