Portable Document Format (PDF) files are excellent for sharing documents while preserving formatting, but they are not inherently designed for easy image editing. If you need to insert a photo into a PDF, whether it’s for adding a logo, creating a visual document, or simply annotating, you might find yourself wondering how to do it effectively. This guide will walk you through various methods and tools to seamlessly insert a photo into your PDF document, ensuring a professional and polished result.
Why Insert a Photo into a PDF?
Before diving into the “how,” let’s briefly touch upon the “why.” Inserting photos into PDFs can serve many purposes:
- Branding: Adding a company logo to documents for official use.
- Visual Enhancement: Making reports, presentations, or portfolios more engaging with relevant images.
- Annotation and Markup: Providing visual feedback or explanations directly within a document.
- Forms and Applications: Including passport photos or identification images in application forms.
- Creative Projects: Designing visually rich documents like e-books, brochures, or flyers.
Understanding your purpose will help you choose the most suitable method from the options below.
Methods to Insert a Photo into a PDF
Several approaches can be used to insert a photo into a PDF, ranging from free built-in tools to more robust professional software. Here we explore some of the most effective techniques:
1. Using Preview on Mac (Quick and Free for Basic Insertion)
For Mac users, Preview is a versatile built-in application that can handle basic PDF editing tasks, including inserting images. While not as feature-rich as dedicated PDF editors, Preview is perfect for quick and straightforward image additions, especially for single-page PDFs.
a) Drag and Drop for Simple Placement
The simplest method in Preview is dragging and dropping. This works best when you want to quickly place an image on a single page PDF.
- Open your PDF in Preview.
- Locate the image you want to insert on your computer.
- Drag the image file directly onto the open PDF page in Preview.
- Resize and reposition the image as needed using the handles that appear around the selected image.
- Save your PDF (File > Export as PDF) to preserve the changes.
This method is incredibly intuitive and fast for basic needs.
b) Insert from File (Utilizing PowerPoint as a Workaround)
Preview also offers an “Insert” function, which, combined with a small workaround, can be used to insert images more deliberately. This method leverages PowerPoint (or similar presentation software) as an intermediary step.
- Insert Image into PowerPoint: Open PowerPoint and insert your desired image onto a slide. You can resize and position it as needed within PowerPoint.
- Save PowerPoint Slide as PDF: Save the single PowerPoint slide containing your image as a PDF file.
- Open your Target PDF in Preview.
- Go to Edit > Insert > Page from File… in Preview.
- Select the PDF file you saved from PowerPoint. This will insert the page (and thus, your image) into your target PDF.
- Adjust Placement: The inserted image might appear as a separate page. You may need to rearrange pages in Preview’s sidebar to place it exactly where you want within your document.
- Save your PDF.
This approach is slightly more involved but can be useful when you want to pre-format the image placement before inserting it into the PDF.
c) Using the Signature Feature (Less Ideal for General Images)
While primarily designed for signatures, Preview’s “Signature” feature can technically be used to insert images, although it’s not the most intuitive or flexible method for general photo insertion.
- Open your PDF in Preview.
- Click the “Show Markup Toolbar” button (it looks like a pen tip) if the toolbar is not already visible.
- Click the “Sign” button and then select “Create Signature” > “Image”.
- Browse and select your image file. Preview will import your image as a “signature.”
- Select your newly created image signature from the “Sign” dropdown menu. This will place the image onto your PDF.
- Resize and reposition the image as needed.
- Save your PDF.
This method is less recommended for general image insertion because it’s designed for signatures and might not offer the best control over image properties.
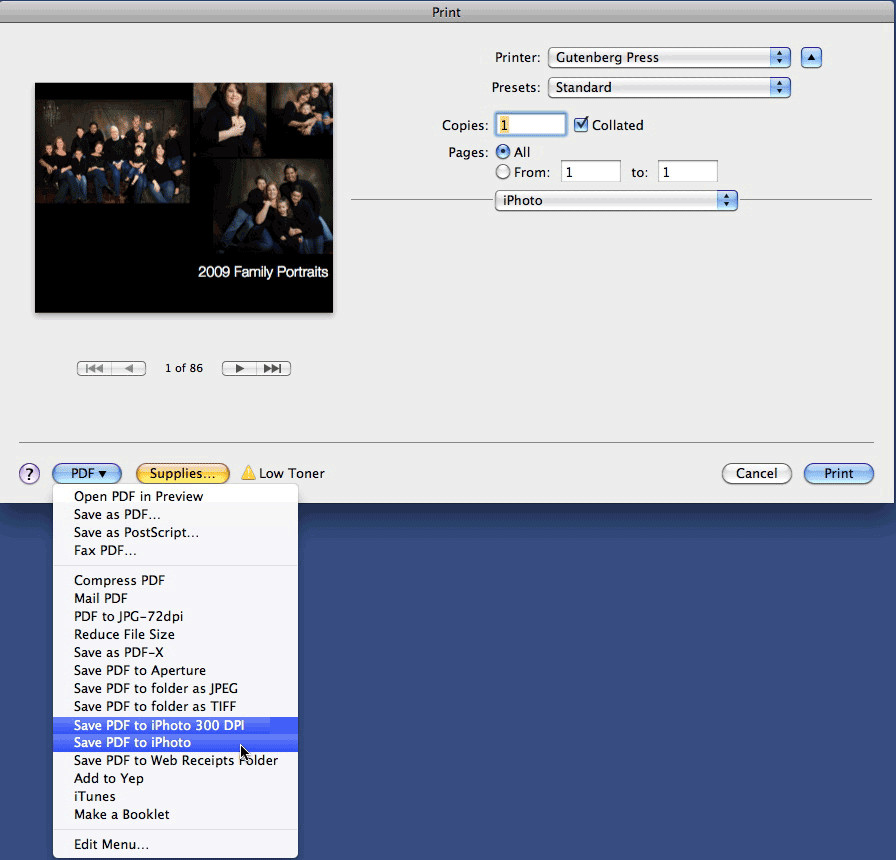 Preview Markup Toolbar Example
Example of Preview’s Markup Toolbar, highlighting the “Sign” feature which can be used to insert images.
2. Adobe Acrobat Pro DC (Professional and Feature-Rich)
Adobe Acrobat Pro DC is the industry-standard PDF editor and provides a robust and feature-rich way to insert photos into PDFs. It’s a paid software, but it offers extensive control and professional-grade results.
- Open your PDF in Adobe Acrobat Pro DC.
- Go to “Edit PDF” tool (usually found in the right-hand toolbar or under “Tools”).
- Click “Add Image” in the “Edit PDF” toolbar.
- Browse and select the image file you want to insert.
- Click on the page where you want to place the image. The image will be inserted, and you can then:
- Drag to reposition the image.
- Use the handles to resize the image.
- Use the formatting options in the right-hand pane to adjust image properties like opacity, alignment, and arrangement.
- Save your PDF.
Adobe Acrobat Pro DC offers the most comprehensive set of features for image insertion, including advanced editing options and precise placement controls.
3. Third-Party PDF Editors (Free and Paid Alternatives)
Besides Preview and Adobe Acrobat, numerous third-party PDF editors are available, offering varying degrees of functionality. Some popular options include:
- FormulatePro (Free for Mac): As mentioned in the original forum, FormulatePro is a free Mac application specifically designed for annotating and adding images to PDFs. It offers a straightforward interface for inserting images and is a good free alternative for Mac users.
- GIMP (Free, Cross-Platform): GIMP is a powerful open-source image editor that can also be used to edit PDFs. While it treats PDF pages as images, it allows for complex image manipulation, including inserting and layering photos. You can open PDF pages in GIMP, insert images, and then export the result back as a PDF. This method is more involved and rasterizes the PDF content.
- Pages (Free for Mac): Pages, Apple’s word processor, can import PDF files. You can drag a PDF into a blank Pages document, then add images, text, and shapes. Once done, you can export the document back to PDF format. This is a workaround that leverages Pages’ editing capabilities.
- Online PDF Editors: Numerous online PDF editors (like Smallpdf, PDFescape, Sejda) offer image insertion features. These are often convenient for quick edits without installing software. However, be cautious about uploading sensitive documents to online platforms and always check their security and privacy policies.
 Screenshot of GIMP interface
Example of GIMP’s interface which can be used to edit PDF pages and insert images.
4. Converting PDF to Image Format (and Back) – A Roundabout Method
Another approach, though less direct, is to convert your PDF to an image format (like JPEG), add the photo using an image editor, and then convert it back to PDF.
- Convert PDF to Image: Use an online PDF to JPG converter or software like Preview or Acrobat to export your PDF pages as images.
- Edit Image: Open the image in an image editor (like Photoshop, GIMP, or even online editors like Canva). Insert your photo, resize, and position it as desired.
- Convert Image Back to PDF: Use an online JPG to PDF converter or software to convert the edited image back into a PDF file.
This method is a workaround and can sometimes result in loss of PDF features like selectable text, as the PDF becomes essentially a collection of images. However, it can be useful in certain situations, especially if you need extensive image editing capabilities during the process.
Choosing the Right Method
The best method for inserting a photo into a PDF depends on your specific needs and resources:
- For quick, basic insertions on Mac: Preview is often sufficient and readily available.
- For professional, feature-rich editing: Adobe Acrobat Pro DC is the industry standard.
- For free alternatives (Mac): FormulatePro or Pages can be good options.
- For free alternatives (cross-platform): GIMP offers powerful image editing capabilities, albeit with a steeper learning curve for PDF editing.
- For occasional, online edits: Online PDF editors provide convenience, but be mindful of security.
- For complex image manipulations: Converting to image format and back can offer more flexibility, but with potential drawbacks regarding PDF functionality.
No matter which method you choose, remember to save your PDF after inserting the photo to ensure your changes are preserved. By understanding these different techniques, you can confidently insert photos into your PDFs and create visually enhanced and informative documents.